

Creamy Peanut butter Pie saved me during one of those long days when the craving for something sweet hits and the idea of turning on the oven sounds like a joke. If you love silky textures, a comforting peanut taste, and a no-fuss dessert, this one is for you. It comes together fast, tastes like a hug, and makes you look like you planned it all along. My family requests it constantly, and I never mind because it uses simple pantry ingredients. Let me show you exactly how I make it, plus all the little tips that make it special.
The Story Behind This Recipe
From my kitchen to yours—Creamy Peanut butter Pie mixes everyday ingredients with a cozy aroma. Tested, tasted, and ready for your table. Creamy Peanut butter Pie saved me during one of those long days when the craving for something sweet hits and the idea of turning on the…
How to Make No-Bake Peanut Butter Pie
This is the method I use on repeat because it is simple and gives that cloud-like filling with a rich peanut flavor. The whole approach is straightforward, and you can adjust the sweetness to your taste.
Ingredients
- 1 cup creamy peanut butter, room temp
- 8 oz cream cheese, softened
- 1 cup powdered sugar, sifted
- 1 teaspoon vanilla extract
- 1 and 1/2 cups cold heavy cream, whipped to soft peaks
- 1 prepared 9-inch graham cracker crust (see the next section to make it from scratch)
- Optional toppings: whipped cream, peanut butter drizzle, chocolate shavings, crushed peanuts
Directions
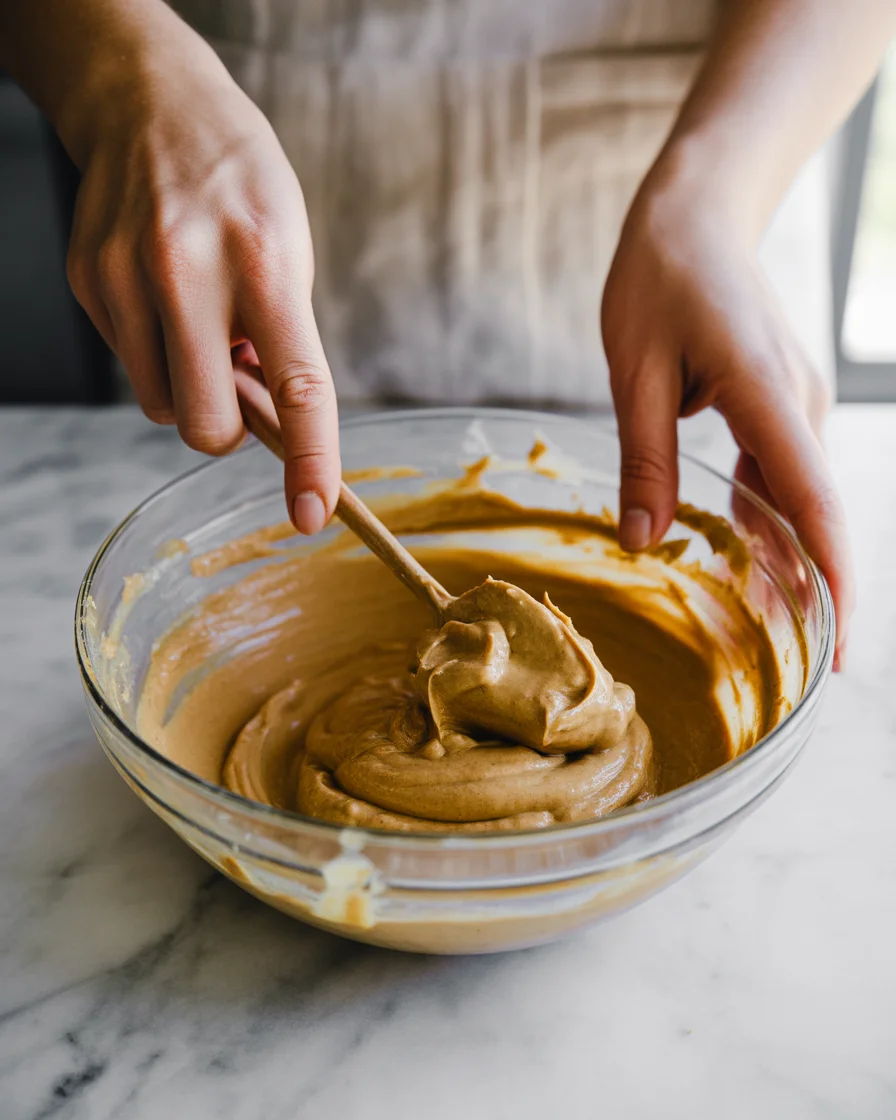
Beat the cream cheese until smooth and fluffy. Add the peanut butter and mix until fully combined. Sprinkle in the powdered sugar and vanilla. Keep mixing until creamy and uniform.
In a separate bowl, whip the heavy cream until soft peaks form. Gently fold the whipped cream into the peanut butter mixture. Do this in two or three additions so the filling stays light. You want a silky, airy texture.
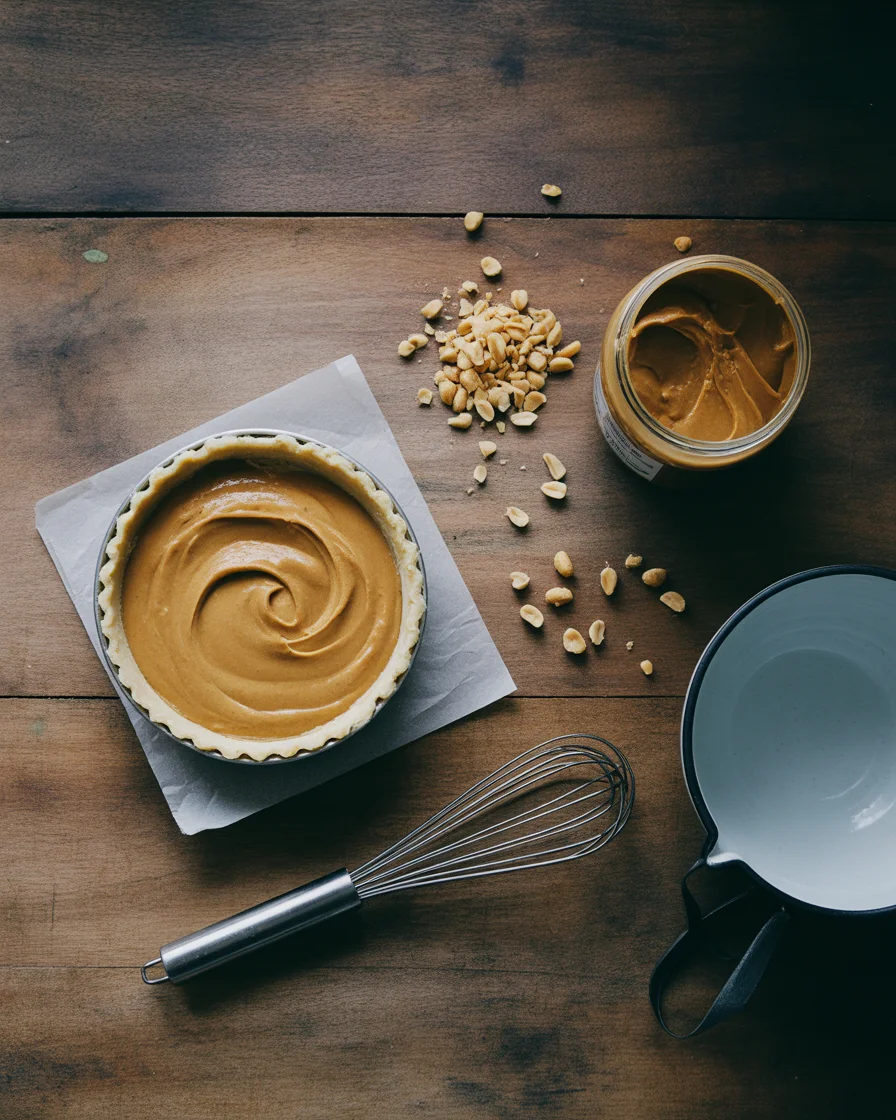
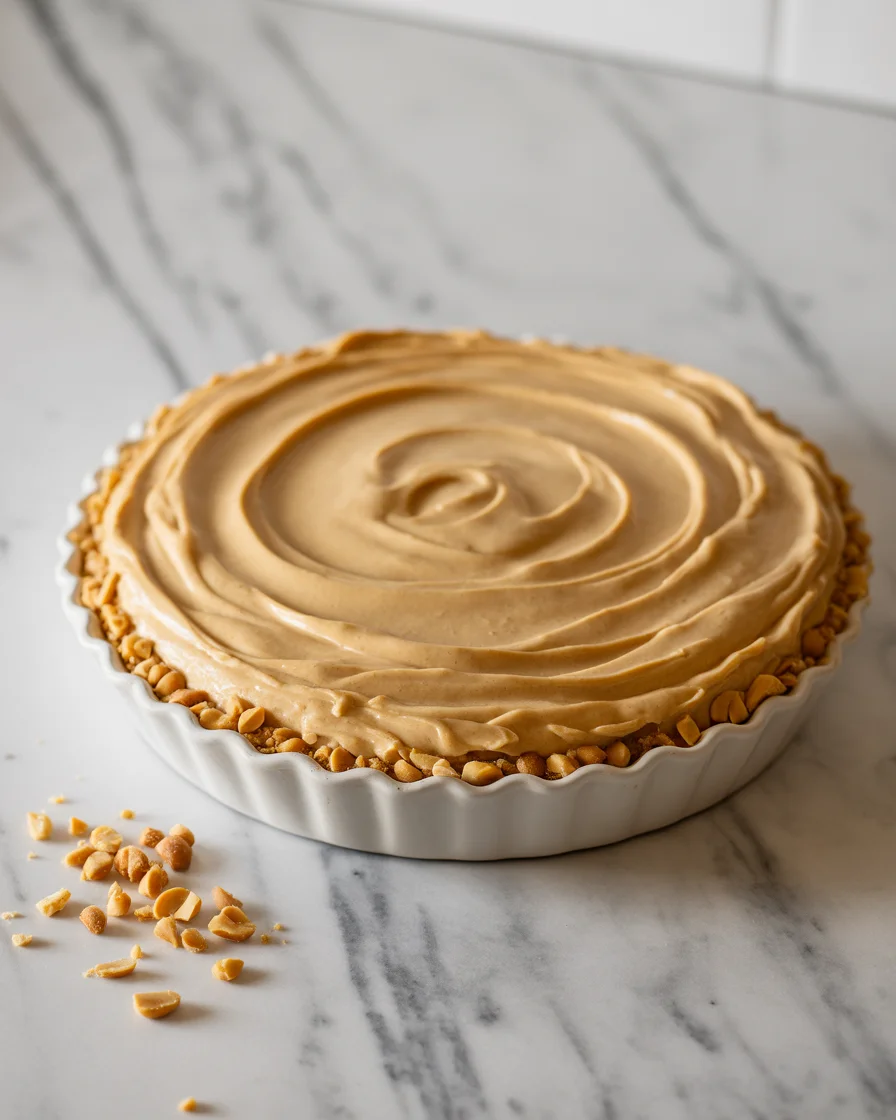
Spoon the filling into your crust and smooth the top. Chill for at least 4 hours. Overnight is even better for clean slices. Add your favorite toppings just before serving.
If you are in the mood for more peanut butter and chocolate after this, check out this fun treat I adore: chocolate peanut butter cake roll. And for bite-size dessert wins, these no-bake peanut butter cheesecake balls are perfect for snacking or gifting.
“I made this for a family get-together and my dad asked for the recipe after one bite. He thought I picked it up from a bakery. So smooth and not too sweet.”
Tip: For cleaner slices, chill the pie overnight and use a warm knife to cut. Wipe between slices.
How to Make a No-Bake Graham Cracker Crust
A good crust should be buttery, sturdy, and just sweet enough to support the creamy filling. Here is my go-to no-bake version that sets up nicely in the fridge.
Tools You Need
A 9-inch pie dish, a mixing bowl, a small saucepan or microwave-safe bowl for melting butter, and a flat-bottom glass to press the crumbs into the dish.
Mix 1 and 1/2 cups of finely crushed graham cracker crumbs with 1/3 cup granulated sugar and a pinch of salt. Stir in 6 tablespoons of melted unsalted butter until the mixture resembles damp sand. Pour into a 9-inch pie dish and press firmly across the bottom and up the sides. I use a flat-bottom glass to get sharp edges.
Pop it in the fridge for 30 minutes while you make the filling. If you want a slightly firmer crust, chill it for an hour. You can also use chocolate wafer crumbs for a chocolate crust if you crave a more candy-bar vibe.
For more dessert inspiration with a playful vibe, I also love these Reeses peanut butter chocolate brownie bars when I have extra chocolate on hand.
The Best Peanut Butter to Use
I have tested a bunch of options over the years. For a smooth filling that sets well and slices cleanly, go with a classic creamy peanut butter. I find that the stirred natural kinds can be runny and lead to a softer pie. If you only have natural, chill it first and make sure the oil is very well mixed back in before measuring.
Flavor Notes
If you like a bold and slightly salty edge, choose a standard creamy peanut butter that is not low-fat. Low-fat versions can taste a bit chalky and mess with the texture. A good middle-of-the-road brand works beautifully. The sweetness of the filling comes mostly from powdered sugar, so you control it.
Want an extra chocolate swirl? Warm 1/4 cup chocolate chips with a tablespoon of cream, then drizzle and swirl it into the top before chilling. It looks fancy with zero effort. That said, the star should still be that silky peanut flavor. When you take the first bite of this Creamy Peanut butter Pie, you want the filling to melt a little on your tongue, then land with a cozy peanut finish.
Make-Ahead Suggestions
Hosting or trying to keep things low stress? You can absolutely make the crust and filling ahead. Here is my game plan for busy weeks and holidays.
Plan 1: Make the crust a day in advance and keep it covered in the fridge. Then whip the filling the morning you need it, assemble, and chill for 4 to 6 hours.
Plan 2: Make the whole pie the night before. Chill uncovered for 30 minutes, then cover lightly with plastic so condensation does not drip onto the surface. Add toppings right before serving so everything looks fresh.
Plan 3: Prep the filling and store it in an airtight container for up to 24 hours. Re-whip for 10 to 15 seconds before filling the crust to perk it back up.
If you are building a dessert table, a fruity touch pairs nicely with this pie. I set out small cups of apple pie cheesecake trifles for a lighter contrast. The combo makes everyone happy, from chocolate fans to fruit lovers.
And if you are craving a nostalgic candy flavor next time, this Butterfinger bundt cake is an easy crowd-pleaser.
Storing and Freezing Instructions
Storage comes down to keeping the texture perfect and preventing off flavors. This is how I do it for the best results every time.
Fridge: Keep the Creamy Peanut butter Pie covered and refrigerated. It stays lovely for 3 to 4 days. If you add whipped cream on top, I recommend topping the slices as you serve them so the cream stays fluffy.
Freezer: Yes, you can freeze it. Chill the pie fully in the fridge first so it sets. Wrap the pie dish snugly with plastic, then foil. Freeze for up to 1 month. Thaw overnight in the fridge. The texture remains smooth, but the crust can soften slightly. I prefer to freeze without the toppings and finish it fresh when serving.
Slice-by-slice method: Pre-slice and freeze individual pieces on a baking sheet until solid. Then wrap each slice. This is perfect for single-serve treats when a craving hits. I have done this a lot after gatherings, and the slices do not last long.
Transporting: Chill the pie well. Use a cold pack under the pie dish if you need to travel. That extra chill keeps the edges neat and the center firm. It is worth the little effort for picture-perfect slices.
Pro tip: If you plan to layer on chocolate drizzle or peanut butter chunks, add them right before serving so they look fresh and crisp.
In case you want a cozy soup to go along with dessert night, I have served a pot of creamy navy bean soup with crusty bread, followed by a generous slice of pie. It is a comforting combo.
Common Questions
Can I use crunchy peanut butter instead of creamy?
Yes, but the filling will be less smooth. If you like little crunchy bits, go for it. I prefer creamy for that signature silky bite.
What if I only have natural peanut butter?
Stir it very well and chill it so it is thicker before mixing. You might need a bit more powdered sugar to help it set.
Can I reduce the sugar?
Absolutely. Start with 3/4 cup powdered sugar and taste. Keep in mind that less sugar can slightly soften the set, but it will still be delicious.
How long should I chill the pie?
At least 4 hours, but overnight is best for clean slices and a firm set.
Can I use a store-bought crust?
Yes. It makes the process even faster. If the crust seems loose, pop it in the fridge to firm up before filling.
A sweet finish worth sharing
Now you have everything you need for a Creamy Peanut butter Pie that tastes like pure comfort and takes minimal effort. Keep the crust simple, the filling light and creamy, and the toppings playful. Once you try it, you will find yourself making it for birthdays, cookouts, and random Tuesday nights. If you want to compare styles and pick up extra tricks, I like the walkthrough from The BakerMama’s no-bake peanut butter pie and this classic take from Handle the Heat. I hope you make it soon and share a slice with someone you love.
Creamy Peanut Butter Pie
Ingredients
Method
- Beat the cream cheese until smooth and fluffy.
- Add the peanut butter and mix until fully combined.
- Sprinkle in the powdered sugar and vanilla, mixing until creamy and uniform.
- In a separate bowl, whip the heavy cream until soft peaks form.
- Gently fold the whipped cream into the peanut butter mixture in two or three additions to maintain the light texture.
- Spoon the filling into your prepared crust and smooth the top.
- Chill for at least 4 hours, or overnight for cleaner slices.
- Add your favorite toppings just before serving.