

vanilla pudding poppers are my go to move when I need a quick dessert that feels a little fancy but takes almost no brain power. You know those nights when you promised to bring something sweet, but time got away from you and the store bakery feels kind of boring? Yep, this is for that exact moment. They are creamy, cute, and easy to eat without plates, which makes them perfect for parties and movie nights. I started making them because my family loves pudding, but nobody wants a big messy bowl on the couch. And honestly, the first time I served them, they disappeared so fast I barely got one.
Vanilla Pudding Poppers vs No-Bake Cheesecake Bites
If you have ever made no bake cheesecake bites, the vibe is similar: small, creamy, and snackable. The difference is the texture and the effort. Cheesecake bites usually need cream cheese, a little more mixing, and they can taste heavier. Vanilla pudding poppers feel lighter and fluffier, and they are a little more forgiving if you are not measuring like a scientist.
I also love how flexible they are. You can make them super simple with instant pudding and whipped topping, or you can dress them up with fruit, cookies, or a chocolate drizzle. If you want the full walk through of how I make mine most often, I keep it all in one place here: my vanilla pudding poppers recipe post.
When I am serving kids, pudding poppers win because they taste familiar and sweet without being too tangy. When I am serving adults, I might add coffee powder, caramel, or a cookie crust to make them feel more dessert bar like.
Instant Pudding vs Homemade Pudding: Which Works Better?
I have done both, and I am not here to shame anybody for choosing instant. Most of the time, instant pudding is the reason this dessert actually happens on a busy day.
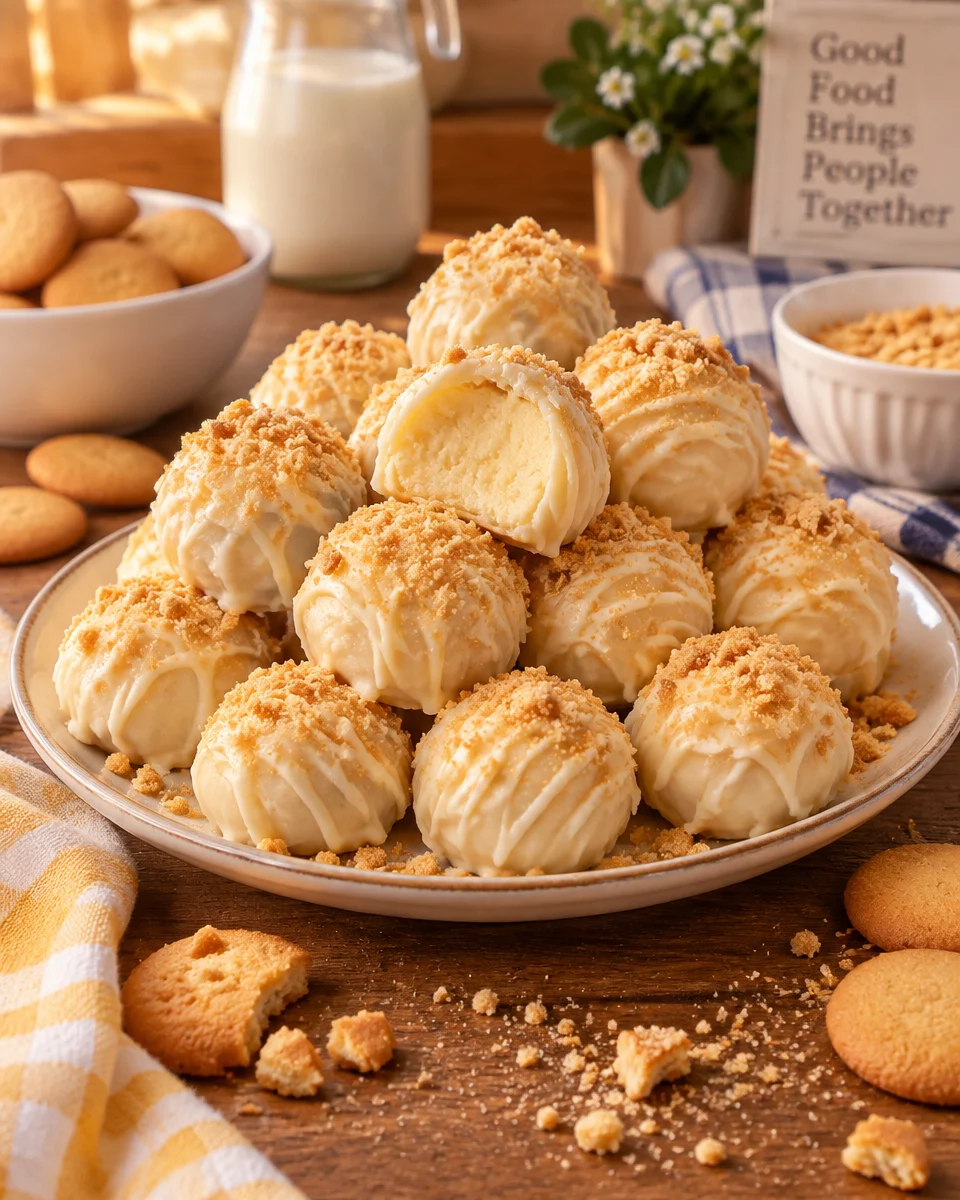
My honest take after testing both
Instant pudding is quick, consistent, and sets fast. It also gives you that classic pudding flavor that people recognize right away. For poppers, it holds up really well as long as you let it thicken properly before you fold in anything fluffy.
Homemade pudding tastes richer, and you can control the sweetness. The downside is time and cooling. If you do not cool it fully, your filling can get runny and the poppers lose that neat shape.
If I am making these for a party on a tight schedule, instant wins. If I am making a special batch for a smaller group and I have time to chill it properly, homemade is totally worth it.
One more thing. If you love pudding desserts in general, you would probably also enjoy something like banana foster pudding cups on a day you want that warm caramel banana flavor.
Tips for Getting the Perfect Creamy Filling
This is the part that makes or breaks vanilla pudding poppers. You want creamy, not stiff like a brick, and not loose like soup. Here is what I do every single time.
- Let the pudding set first: Mix it and wait until it thickens before you fold in whipped topping or cream.
- Use cold milk: Warm milk slows thickening and can make the texture uneven.
- Fold, do not beat: If you stir too aggressively after adding whipped topping, the filling gets thin.
- Chill the filling: Even 20 to 30 minutes helps it scoop cleaner and hold its shape.
- Do a quick taste check: Add a pinch of salt or a splash of vanilla if it tastes flat.
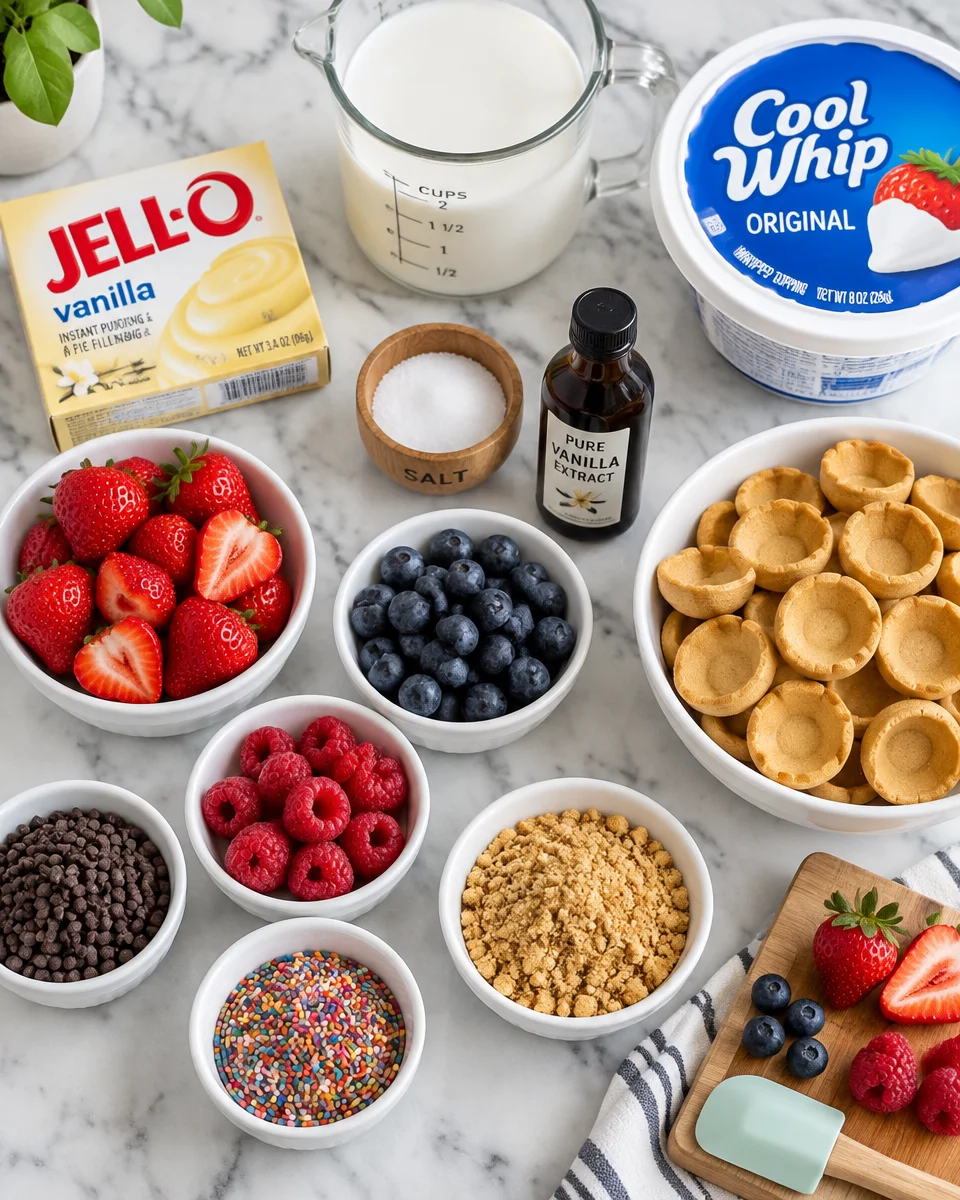
Also, pick a base that helps with structure. I like mini cookie cups, vanilla wafers, or little pastry shells. If you are a cookie cup person, these banana pudding cookie cups are a fun cousin to this idea and they always get compliments.
I brought these to a family get together and everyone kept asking where I bought them. They were shocked when I said they were homemade, and my aunt requested them for the next birthday too.
Fun Variations and Flavor Swaps
Once you have the basic idea down, it is hard to stop playing with it. Vanilla is a great base, but you can change the mood fast with one or two swaps.
Here are some easy ideas:
Cookie swap: Use chocolate sandwich cookies crushed into the bottom, or do graham cracker crumbs for a softer bite.
Fruit add in: Fold in diced strawberries, bananas, or blueberries right before filling. If you use bananas, add them last so they do not brown too fast.
Flavor boost: Stir in a little cinnamon, espresso powder, or almond extract. Go light, a little goes a long way.
Chocolate moment: Drizzle melted chocolate on top, or add mini chips into the filling for texture.
Grown up version: A tiny splash of rum extract makes it taste like a bakery dessert.
And yes, I know this is a dessert post, but if you are the kind of person who likes poppers in general, I have to mention these bacon wrapped jalapeno poppers for game day. Sweet poppers plus spicy poppers is honestly a power combo.
How to Make Vanilla Pudding Poppers Ahead of Time
If you are making these for an event, doing a little prep early saves you from that last minute kitchen panic.
What you can do ahead:
- Make the pudding filling and chill it in a covered bowl for up to 24 hours.
- Prep your cookie cups or wafer bases and store them in an airtight container.
- If you are adding fruit, wash and dry it ahead of time, but slice bananas closer to serving.
What I wait to do: I like to assemble vanilla pudding poppers the day of serving, especially if the base is crunchy. That way they stay crisp instead of turning soft. If you must assemble early, do it a few hours ahead and keep them cold.
How to Store Vanilla Pudding Poppers
Storing them is simple, but there are a couple things that keep them from getting watery.
Place vanilla pudding poppers in a single layer in a covered container. If you have to stack, put parchment paper between layers so the tops do not smear. Keep them in the fridge, not on the counter.

How long do they last? Typically 2 to 3 days, depending on the toppings and the base. Crunchy cookie bases soften over time, so day one is the best texture. If you added fresh fruit, aim for 24 to 48 hours for the freshest taste.
Can you freeze them? I do not recommend it if you want the same creamy texture. Pudding based fillings can get grainy after thawing, and the cookie base can turn weirdly damp. If you really want to experiment, freeze just the filling in a piping bag and thaw in the fridge, then assemble fresh.
Frequently Asked Questions About Vanilla Pudding Poppers
Q: Do I have to use whipped topping, or can I use whipped cream?
A: You can use either. Whipped topping is more stable and holds longer. Homemade whipped cream tastes amazing but may soften faster, so serve sooner.
Q: Why is my filling runny?
A: Usually the pudding did not set long enough before you folded things in, or your milk was not cold. Chill it longer and it should thicken up.
Q: What is the easiest base for beginners?
A: Mini vanilla wafers or store bought mini tart shells. They are sturdy and you do not have to bake anything.
Q: Can I make vanilla pudding poppers for a big crowd?
A: Absolutely. Double the filling and set up an assembly line. I scoop or pipe, then add toppings last so everything looks fresh.
Q: How do I make them look neat without fancy tools?
A: Use a zip top bag with a corner snipped off as a quick piping bag. Wipe the tip now and then and you will look like you planned it.
A Sweet Little Treat You Will Want to Make Again
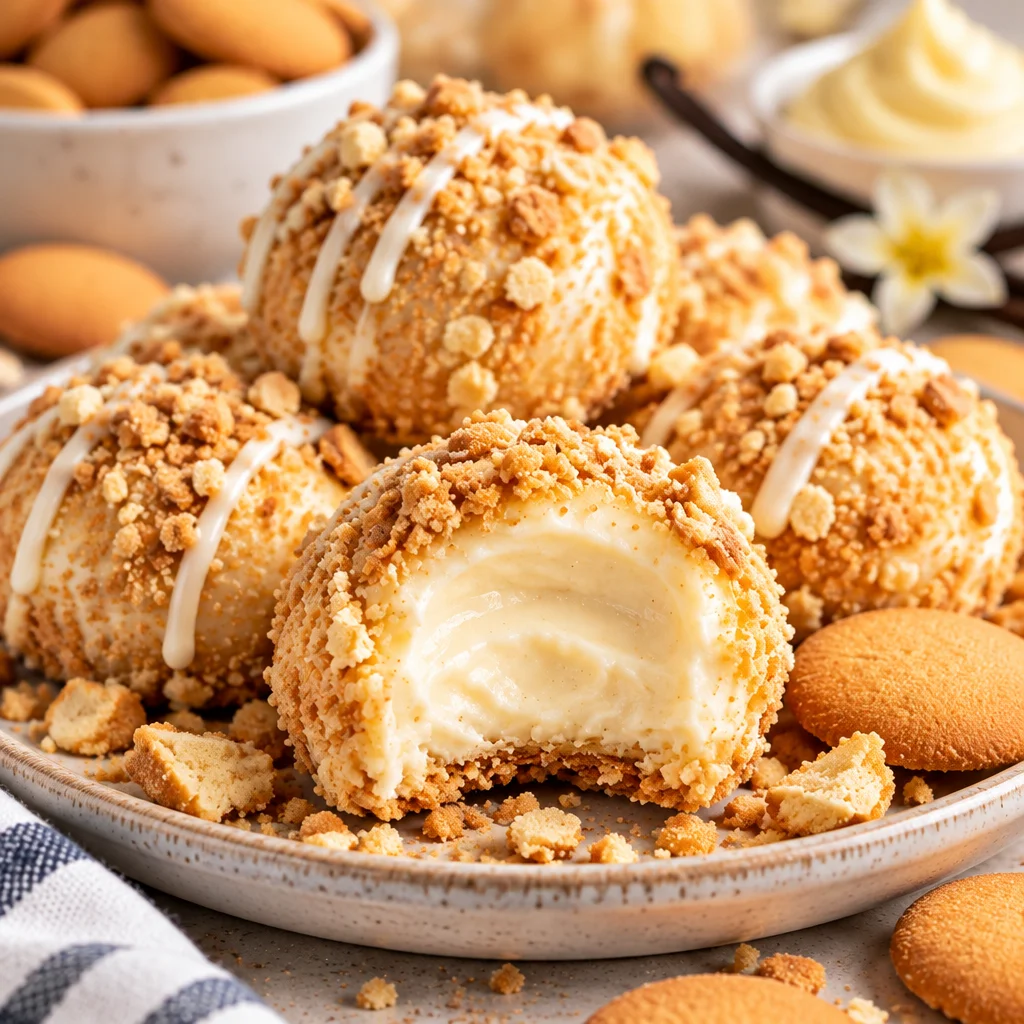
Whenever I need a reliable dessert that makes people smile, vanilla pudding poppers are what I reach for because they are simple, creamy, and easy to serve. Keep the filling cold, do not rush the setting time, and you will be in great shape. If you want another reference point, I have seen some fun ideas on Vanilla Pudding Poppers | Just A Pinch Recipes, and it is always interesting to compare little twists. If you try them, make a batch your own with a topping you love and do not stress the small stuff. Once you make them once, you will get why they are such a repeat dessert.
Vanilla Pudding Poppers
Ingredients
Method
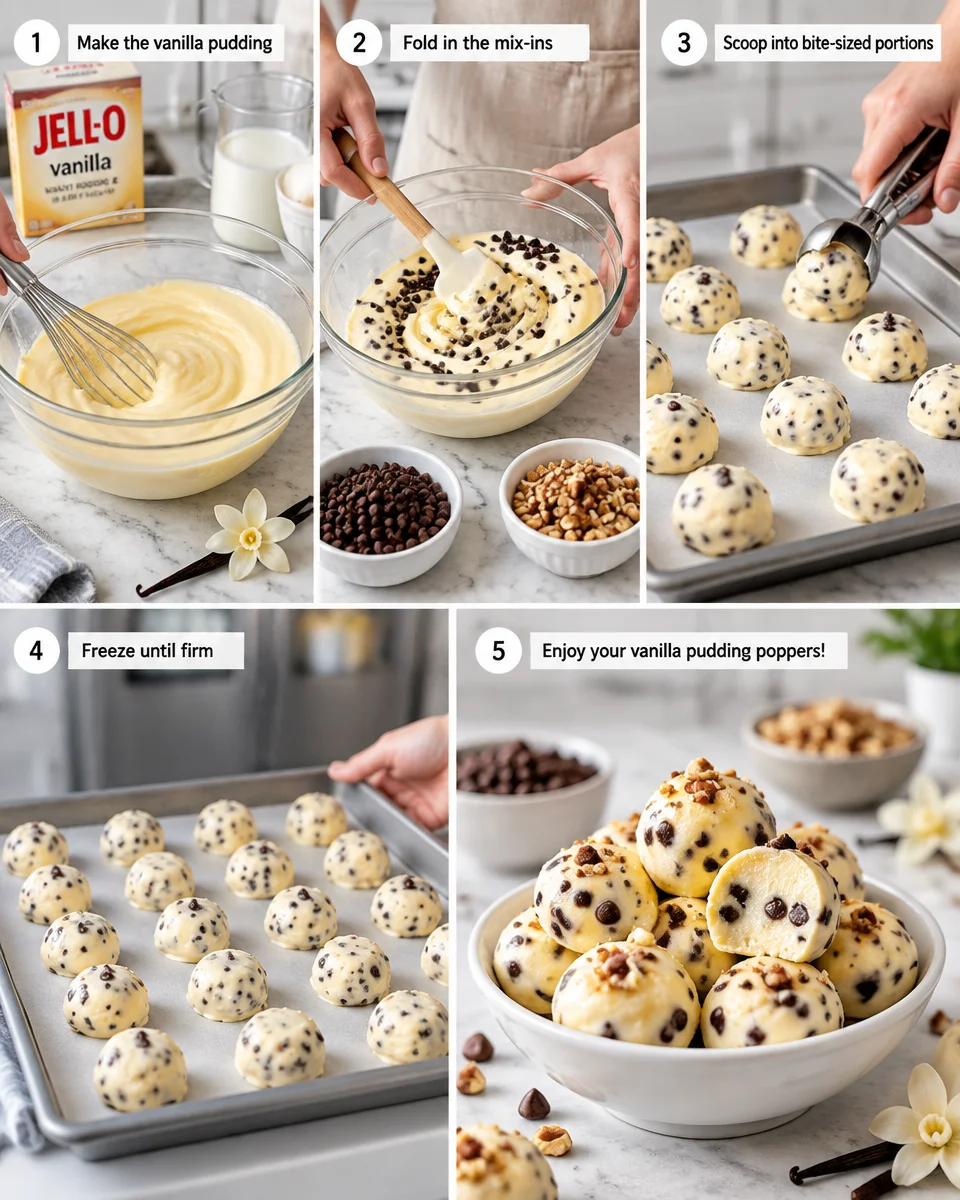
- In a bowl, mix together the cold milk and instant pudding mix until well combined. Let it set for about 5 minutes until it thickens.
- Once thickened, gently fold in the whipped topping until fully incorporated.
- Chill the filling in the refrigerator for 20-30 minutes to ensure it holds its shape.
- Prepare your serving base by placing mini cookie cups or vanilla wafers on a tray.
- Once the filling is chilled, scoop or pipe it into the prepared bases.
- Top with your choice of fruit, chocolate drizzle, or any other preferred toppings.