

Red Velvet Pound Cake is my go to dessert when I need something that feels a little fancy but doesn’t require a whole baking marathon. You know those days when you want cake, but you also want it to slice neatly, travel well, and not fall apart the second you pick it up? Yep, that’s this. It’s rich, buttery, and has that light cocoa flavor with the pop of red that makes everyone smile. I started making it for holidays, then random Sundays, and now it’s basically my comfort bake. If you’ve ever had a red velvet cake that felt too fluffy or too frosted, this one is going to feel like a sweet little upgrade.
Red Velvet Pound Cake vs Regular Red Velvet Cake: Key Differences
People ask me this a lot because they look similar, but they eat totally different. Regular red velvet cake is usually soft and airy with a lighter crumb, and it almost always leans hard on frosting to bring the richness. red velvet pound cake is denser in a good way, like a buttery slice you can hold in your hand without needing a plate and fork.
Here are the main differences you’ll notice right away:
- Texture: pound cake is tight and velvety, regular cake is fluffy and spongy.
- Flavor: pound cake tastes more buttery, with cocoa as a background note.
- Moisture style: pound cake stays moist for days without getting soggy.
- Frosting needs: pound cake can be amazing with just a glaze, not a thick layer of frosting.
If you want a simple version of this exact vibe, I keep coming back to this recipe page because it’s easy to follow and stays true to the classic: red velvet pound cake.
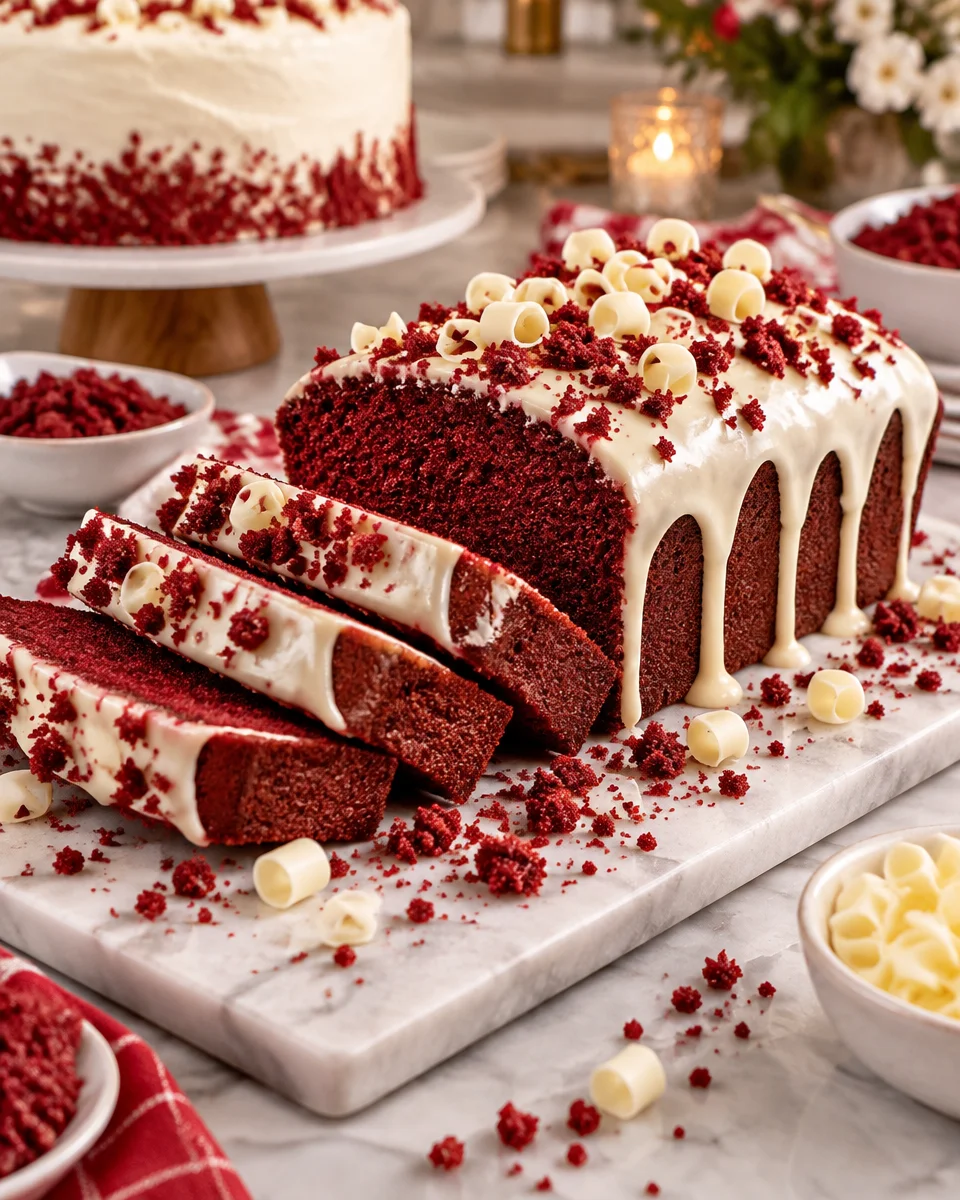
Secrets to a Perfectly Moist Red Velvet Pound Cake
Let’s talk about what actually makes or breaks this cake. I’ve had a few “almost perfect” loaves where the flavor was great, but the crumb was a little dry. Once I fixed a few small habits, the cake started coming out consistently moist and tender.
My no stress moisture checklist
These are the simple things I do every time now:
Start with room temperature ingredients. Butter, eggs, and dairy mix better when they aren’t cold. If you rush this step, the batter can look curdled and bake unevenly.
Measure flour the gentle way. Spoon it into your measuring cup and level it off. Packing flour makes a heavy cake fast.
Do not overmix once flour goes in. I know it’s tempting to keep going until it’s super smooth, but stop when you don’t see dry streaks.
Use a little cocoa, not a lot. Red velvet is not meant to taste like chocolate cake. Too much cocoa can dry things out and steal the red velvet vibe.
Don’t overbake. This is the biggest one. Check early. If a toothpick comes out with a few moist crumbs, you’re good.
And a quick personal note: I always let it cool in the pan for about 10 to 15 minutes, then turn it out. If you leave it sitting too long in a hot pan, the edges can get a little overdone.
If you’re a red velvet fan in general, you might also like this more dessert shop style option I tried recently: Copycat Cheesecake Factory Red Velvet Cheesecake. It’s totally different from pound cake, but it scratches the same itch.
Pound Cake vs Bundt Cake: Which Pan to Use
I’ve baked this in a loaf pan and a bundt pan, and both can be great. The choice mostly depends on your mood and what you want the final cake to look like.
Here’s my honest take:
Loaf pan: easiest, least dramatic, slices like a dream. If you’re bringing it to a friend or packing slices for lunchboxes, loaf is your best friend.
Bundt pan: prettier for parties, more surface area for glaze to cling to, and it feels special without extra decorating. Just make sure you grease every little corner really well, because red velvet pound cake hates getting stuck.
If you’re using a bundt pan, keep an eye on bake time since the center can take longer. I also like tapping the filled pan gently on the counter to pop any big air pockets.
And if you want something that mixes the bundt look with a layered, creamy vibe, this one is fun to browse for inspiration: Layered Red Velvet Cheesecake Bundt Cake.
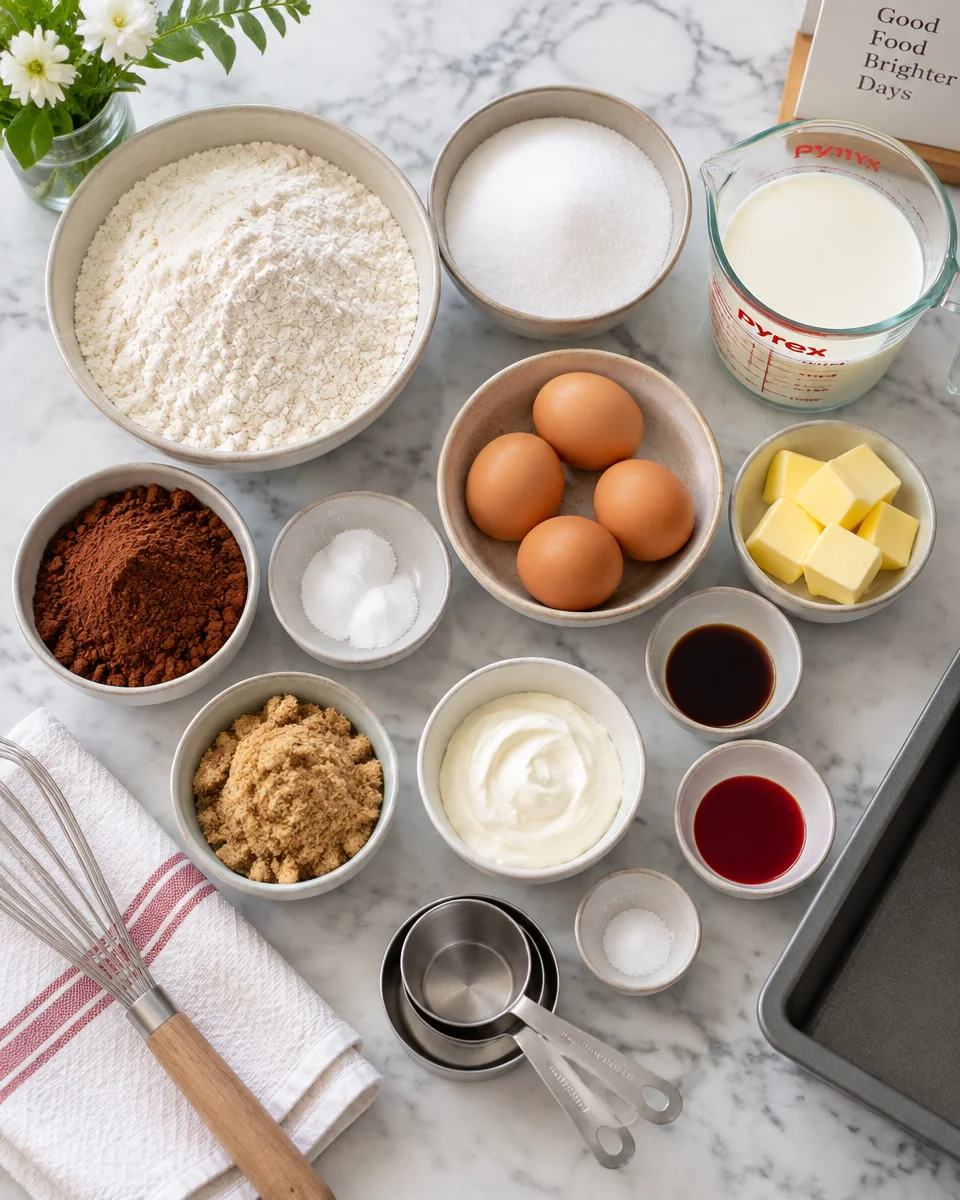
Can You Freeze Red Velvet Pound Cake?
Yes, and this is one of the reasons I love it. Freezing works surprisingly well, and the cake still tastes soft and buttery after it thaws. I do it often when I want to bake ahead for birthdays, holidays, or honestly just future me.
How I freeze it so it still tastes fresh
My method is simple:
First, let the cake cool completely. Not mostly cool, completely. Then wrap it tightly in plastic wrap, then a layer of foil. If I’m freezing slices, I wrap slices individually so I can grab one at a time.
When you’re ready to eat it, thaw it wrapped at room temperature for a few hours. If it’s already sliced, it thaws pretty fast. I like adding glaze after thawing, not before, because glazes can get weird in the freezer.

One more tip: write the date on the foil. I’ve played the “mystery cake” game too many times. For best flavor, try to enjoy it within 2 to 3 months.
Cream Cheese Glaze vs Buttercream: Best Topping Options
This part is so personal. Some people want a thick swoosh of frosting, and I get it. But for pound cake, I’m usually team glaze because it lets the buttery crumb shine.
My topping guide (based on real life eating)
Cream cheese glaze: tangy, not too sweet, and the classic match for red velvet. It also drips into the cake a little, which is basically a love language.
Buttercream: sweeter and more dramatic. If you’re serving kids or want that cupcake style vibe, buttercream makes sense.
Dusting of powdered sugar: the lazy day option, but still cute with coffee.
Chocolate drizzle: not traditional, but honestly delicious if you keep it light.
For parties, I’ll sometimes do glaze and put extra on the side for dipping. People go crazy for that.
If cheesecake desserts are your thing, you should peek at this one too because it’s basically a red velvet daydream: Red Velvet Cookie Dough Cheesecake.
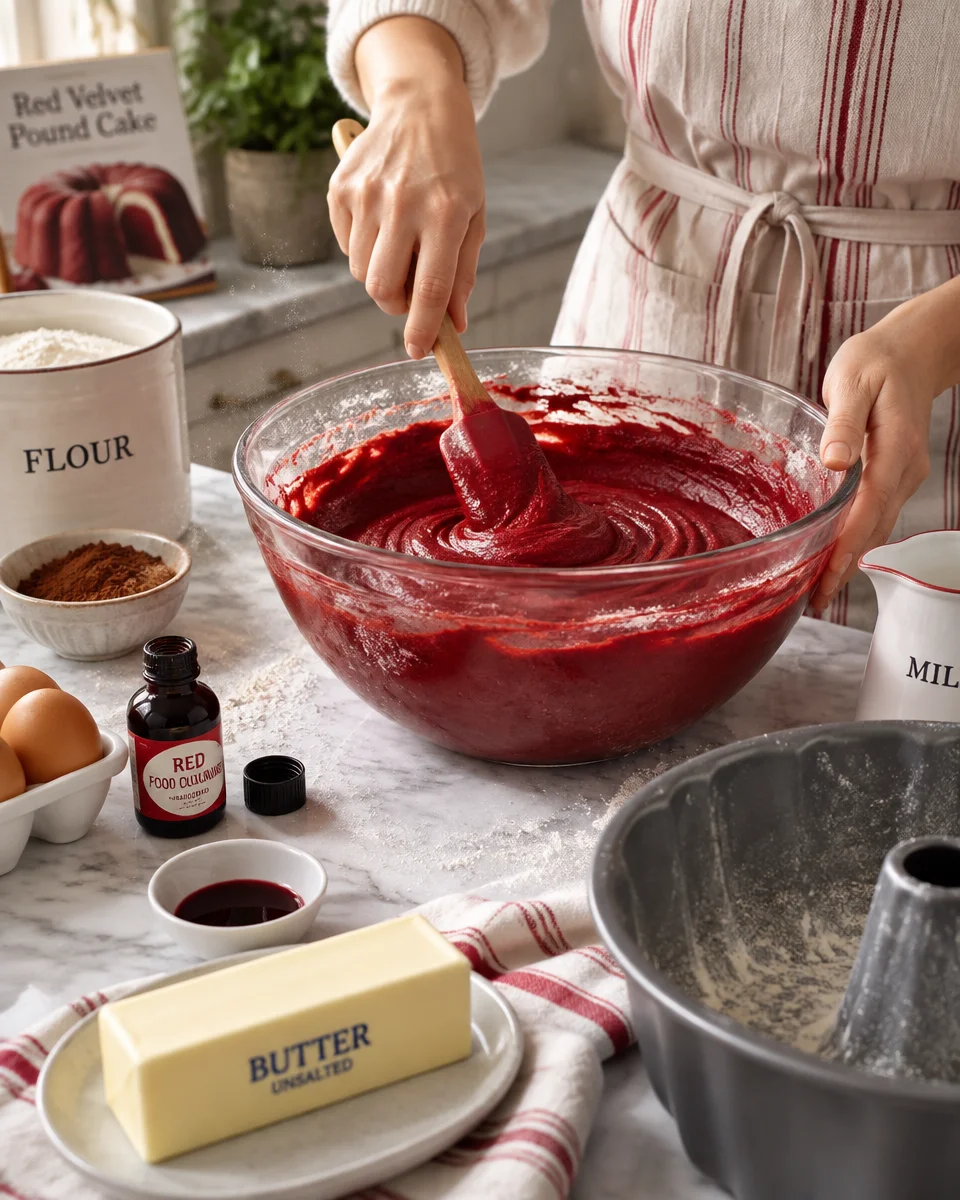
How to Store Red Velvet Pound Cake
Storage is where pound cake really wins. It’s not one of those cakes that turns sad overnight. If anything, I think the flavor settles in and gets even better the next day.
Here’s what I do:
Room temperature: If your kitchen isn’t super hot, store the cake in an airtight container for up to 3 days. If it’s glazed with cream cheese, I usually refrigerate to be safe.
Refrigerator: Keeps well for about 5 to 6 days. The texture can firm up a bit in the fridge, so I like letting slices sit out for 20 to 30 minutes before eating.
Keeping it moist: Slice only what you need. A whole loaf stays moist longer than pre sliced pieces.
“I made this for my sister’s birthday and everyone thought it came from a bakery. The crumb stayed moist for days, and the cream cheese glaze was the favorite part.”
Frequently Asked Questions About Red Velvet Pound Cake
Q: Why did my cake crack on top?
A: Totally normal for pound cakes. The top sets, then the inside keeps rising and it splits. I actually think it looks homemade in a good way, and glaze covers it nicely.
Q: Can I make it without food coloring?
A: Yes. The flavor stays the same, it just won’t be bright red. If you still want color, beet powder can work, but it can slightly change the taste.
Q: What makes red velvet taste like red velvet?
A: It’s the combo of a little cocoa, vanilla, and usually a bit of tang from buttermilk or vinegar. It’s subtle, not full on chocolate.
Q: How do I know it’s done baking without guessing?
A: Check a few signs together: the top looks set, the edges pull slightly from the pan, and a toothpick comes out with moist crumbs, not wet batter.
Q: Can I turn this into cupcakes?
A: You can, but the texture will be more dense than regular cupcakes. It’s better to treat it like mini pound cakes and not overbake them.
My final slice of advice before you bake
If you’re craving something cozy, reliable, and crowd pleasing, red velvet pound cake is the one. Keep your ingredients at room temp, don’t overmix, and pull it from the oven as soon as it’s set and tender. Once you find your favorite topping, you’ll want to make it again and again. And if you want to compare another solid version, I’ve linked a favorite resource here: Red Velvet Pound Cake with Cream Cheese Glaze – Divas Can Cook. Now go preheat that oven and make your kitchen smell amazing.
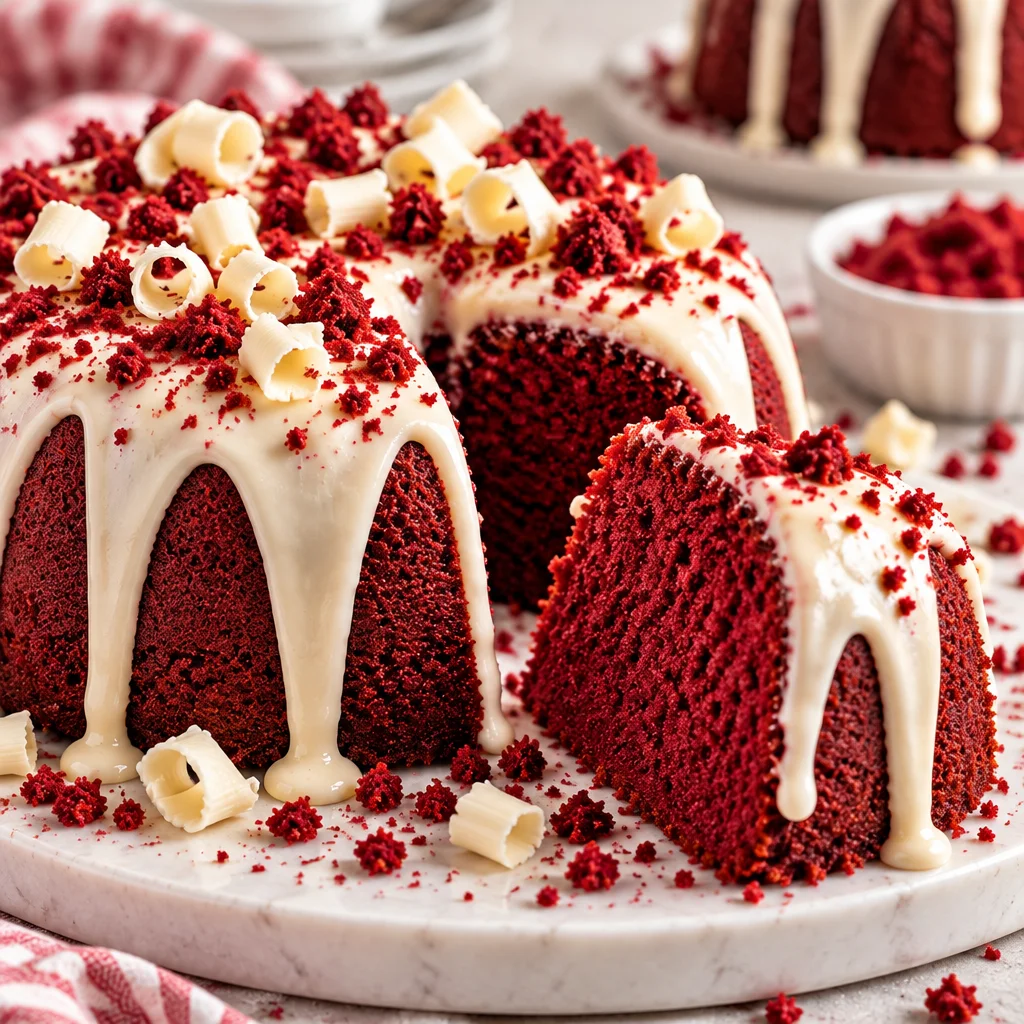
Red Velvet Pound Cake
Ingredients
Method
- Preheat the oven to 350°F (175°C). Grease and flour a loaf pan or bundt pan.
- In a large bowl, cream together the softened butter and granulated sugar until light and fluffy.
- Add the eggs one at a time, mixing well after each addition. Add the buttermilk and vanilla extract and mix until combined.
- In another bowl, whisk together the flour, cocoa powder, baking powder, and salt.
- Gradually add the dry ingredients to the wet ingredients, mixing just until combined. Do not overmix.
- Add in the food coloring and mix until evenly distributed.
- Pour the batter into the prepared pan and smooth the top.
- Bake in the preheated oven for 60-70 minutes, or until a toothpick inserted in the center comes out with a few moist crumbs.
- Let the cake cool in the pan for 10-15 minutes before transferring to a wire rack to cool completely.
- In a medium bowl, beat together the softened cream cheese, powdered sugar, vanilla extract, and milk until smooth.
- Drizzle the cream cheese glaze over the cooled pound cake.