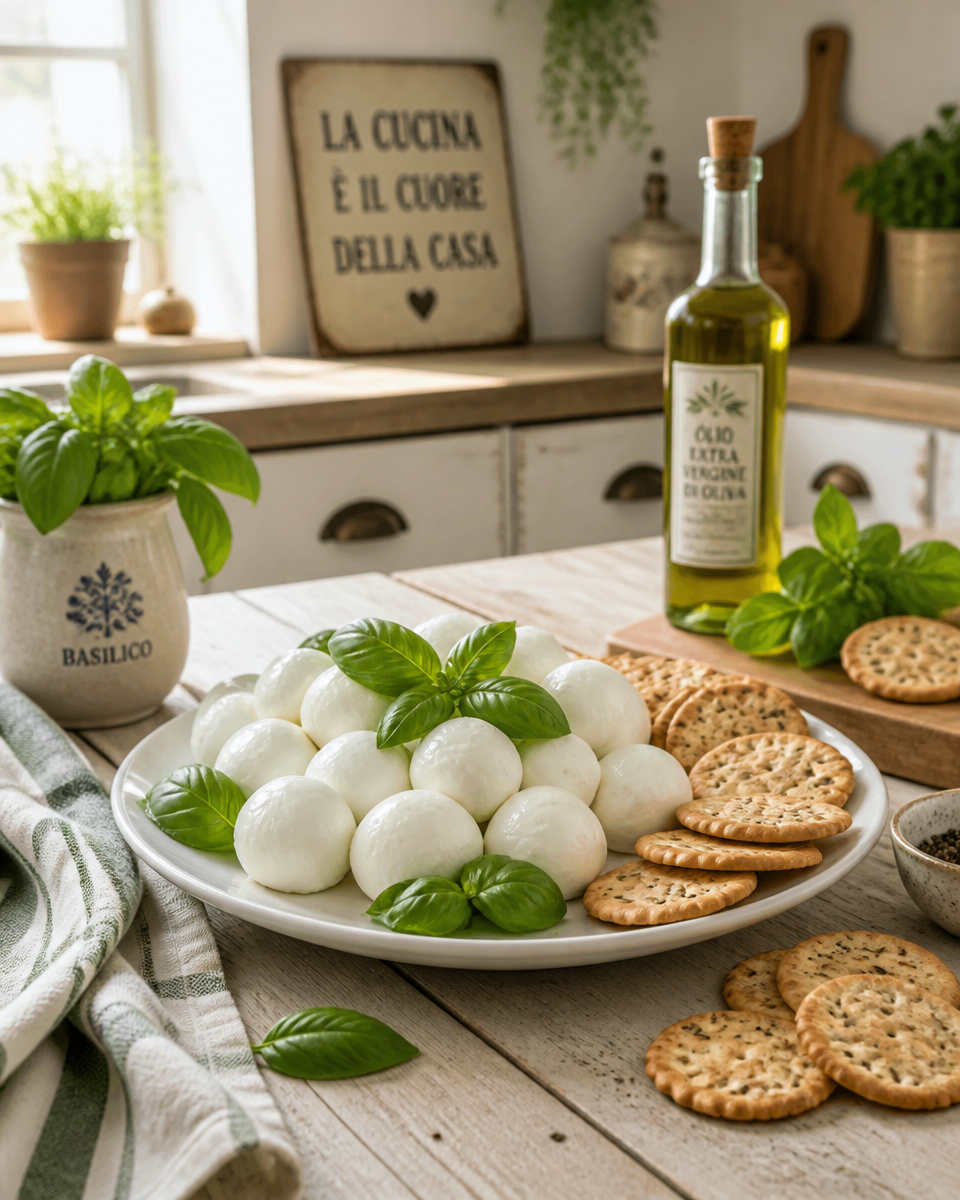

How to Make Cheese at Home is one of those kitchen projects that sounds intimidating until you actually do it once. Maybe you have a fridge full of milk you need to use up, or maybe you are just tired of paying extra for a small block of decent cheddar. I started making cheese at home on a rainy weekend when I wanted something cozy and hands on, and now I do it whenever I want that fresh, slightly tangy flavor you cannot quite get from store bought. Don’t worry, you do not need a fancy setup to get a solid farmhouse style cheddar going. You just need patience, clean tools, and a little confidence.
Make Your Own Cheddar Cheese at Home!
Let’s talk about the version I make most often, a simple farmhouse cheddar style cheese. This is not the super aged, crumbly cheddar you buy in a specialty shop, but it is absolutely delicious and it melts like a dream. The biggest win is that you control the ingredients, the salt level, and the vibe of it.
Before we jump in, I will say this clearly: cleanliness matters. Anything that touches the milk should be very clean so the good cultures can do their job without random flavors showing up. I treat it like a mini kitchen reset, which honestly pairs nicely with my general “keep life simple” mood. If you want a few practical cleaning habits that make kitchen projects easier, I keep a running list here: how to keep a clean home.
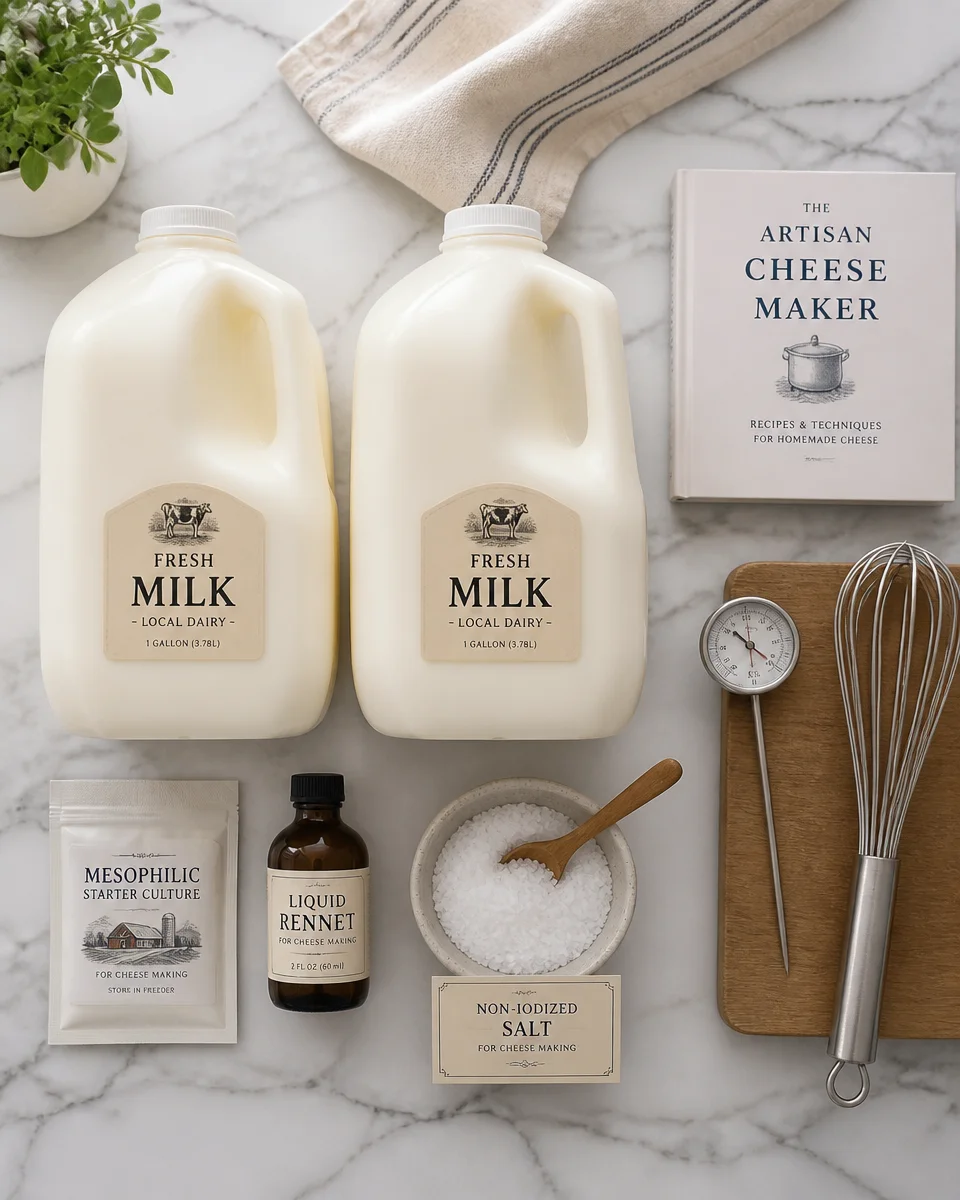
What you will need
- Milk: 2 gallons is a nice starter amount. Use fresh, high quality milk. Avoid ultra pasteurized if you can.
- Mesophilic starter culture (or a cultured buttermilk substitute in a pinch, though starter is more reliable)
- Rennet (liquid or tablets)
- Non iodized salt
- Big pot (stainless steel is best)
- Thermometer
- Long spoon
- Knife for cutting curds
- Colander and cheesecloth
- Cheese mold and press (you can improvise with a small mold and a weight)
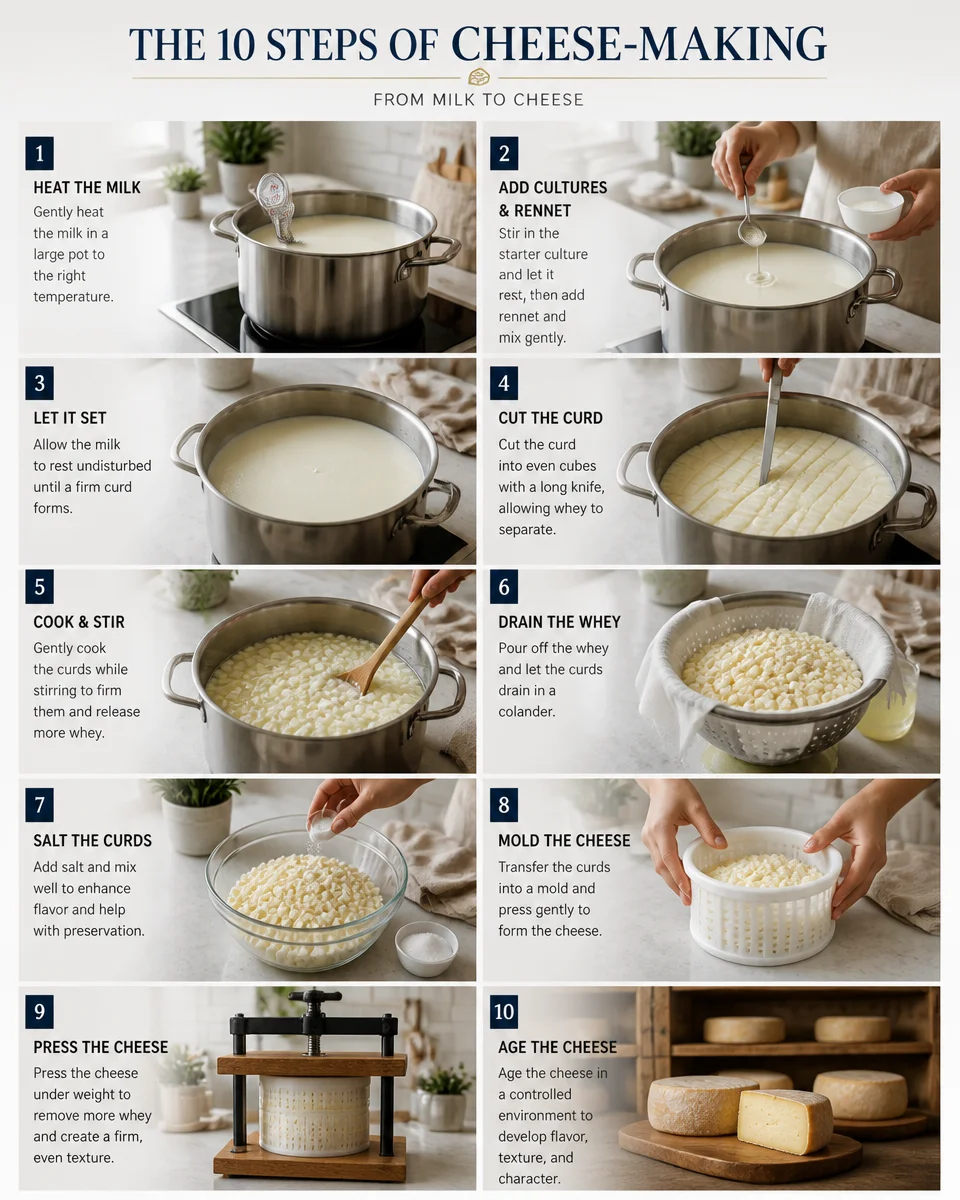
Simple step by step directions
I’m going to describe this the way I actually do it at home, in normal person language.
1) Warm the milk. Slowly heat your milk to about 86 F. Stir gently so it does not scorch. Low and slow is your best friend here.
2) Add the culture. Sprinkle the starter on top, let it sit for a minute to hydrate, then stir it in. Cover the pot and let it ripen for about 45 to 60 minutes. This is where the flavor starts building.
3) Add rennet. Dilute rennet in cool, non chlorinated water, then stir it in using an up and down motion for about 30 seconds. Cover and let it sit undisturbed until you get a clean break, usually 30 to 45 minutes.
4) Cut the curds. Slice the curd into small cubes, about 1 half inch. Let them rest 5 minutes. You will see whey pooling up, which is exactly what you want.
5) Cook the curds. Slowly raise the temp to about 100 F over 30 minutes, stirring gently. This step helps the curds firm up.
6) Drain. Pour into a colander lined with cheesecloth. Let the whey drain for a few minutes.
7) Cheddar the curds. This is the signature part. Put curds back into the warm pot, keep them around 100 F, and let them knit together in slabs. Flip the slabs every 10 to 15 minutes for about 1 to 2 hours. Then tear or cut into bite size pieces.
8) Salt. Sprinkle salt over the curds and mix well. This is where it starts smelling like real cheese, and I always get a little proud at this point.
9) Press. Pack into a mold lined with cheesecloth and press. Start with lighter weight for 30 minutes, then increase the weight and press several more hours, or overnight.
10) Dry and age. Air dry the cheese for a couple of days until the rind feels dry. Then wax it or vacuum seal it and age it in a cool spot. Even a short age gives a better texture.
Little honest moment: my first time, I pressed it too lightly and it came out with tiny openings. Still tasted great. Cheese is forgiving like that.
Natural Cheesemaking
This is the part that hooked me. Natural cheesemaking is basically letting simple ingredients do what they are supposed to do. Milk, culture, rennet, salt, time. That is it. No strange fillers, no “what is that ingredient” label reading.
If you are new, here are a few practical things that keep the process smooth:
Watch your temperatures. You do not need lab level precision, but you do want to stay close. Too hot and you can stress the culture or dry the curds.
Use non chlorinated water when diluting rennet. Chlorine can mess with how things set.
Be patient during setting. If the curd is not firm yet, give it another 10 minutes. Rushing usually leads to messy curds.
Keep notes. I literally write “tasted tangy” or “pressed 10 lbs overnight.” Next batch gets easier.
Also, I know this sounds random, but I like doing cheese days when my house feels calm. If you are in a cozy mood lately, I loved these simple ideas for the vibe: how to make bedroom cozy sleep tips color style ideas. A cozy home makes slow food projects feel extra satisfying.
“I tried this farmhouse cheddar method last weekend and I cannot believe I made real cheese. The flavor was mild but so fresh, and my kids kept sneaking pieces from the fridge.”
How To Use Farmhouse Cheddar
Once you make cheese at home, you start finding excuses to use it on everything. Farmhouse cheddar is usually a bit more mellow than a sharp aged cheddar, so it works in a lot of places without taking over.
Here are my go to ways to use it:

- Grilled cheese: especially with a little mustard or pickles.
- Breakfast eggs: shred it over scrambled eggs or fold into an omelet.
- Mac and cheese: mix it with a little milder cheese for a creamy sauce.
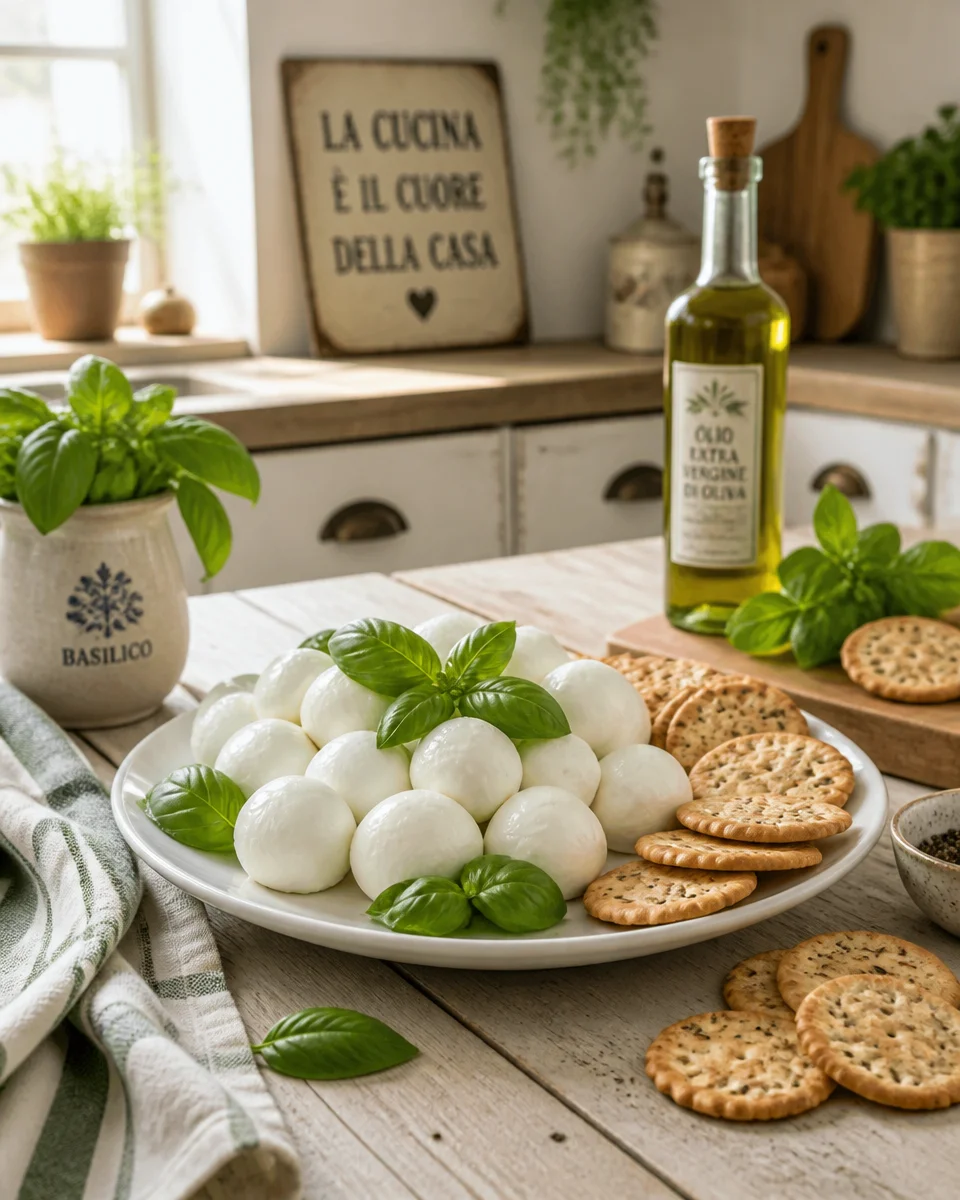
- Snack plate: cubes of cheese with fruit, nuts, olives, and crackers.
- Melts and bowls: sprinkle on roasted potatoes, rice bowls, or anything warm and savory.
One of my favorite quick lunches lately is a cozy bowl situation, and I love playing with sweet and savory toppings. If you are into bowl meals too, this one is worth a look: hot honey cottage cheese sweet potato beef bowl. Different vibe than cheddar, but it gets you thinking about how dairy can add protein and creaminess.
And if you want a fun dessert moment after all the savory, I have totally served a little cheese board before a slice of this copycat treat: Copycat Cheesecake Factory red velvet cheesecake. Not “cheddar related,” but it is definitely “happy kitchen related.”
Sourcing Ingredients
The biggest factor in flavor is the milk. When people ask me why their homemade cheese tastes flat, nine times out of ten it is the milk. You want the freshest milk you can get, and if you can find local milk that is not ultra pasteurized, even better.
Here is what I look for when I shop:
Milk: Low temp pasteurized is great. Raw milk can work if it is legal where you live and you trust the source, but it is a personal choice and you should be cautious and informed.
Culture: Buy from a reputable cheesemaking supplier. It is not expensive, and it makes results more consistent.
Rennet: Liquid rennet is easy. Tablets keep longer. Either works.
Salt: Use non iodized salt. Iodine can affect cultures and flavor.
Also, a quick note about tools: you do not need a stainless steel palace of a kitchen. But I do recommend having a dedicated thermometer and a pot that you can comfortably stir in without sloshing milk everywhere. Ask me how I learned that.
If you are planning a full cheese day, I like having something fun to sip while I wait through the ripening and pressing time. This one is playful and easy: dirty soda recipe how to make.
How Long Does It Take to Make Farmhouse Cheddar?
Let’s be real about time, because this is usually what stops people. The hands on part is not constant, but the total process takes most of a day.
Here is a realistic timeline for how to make cheese at home in this farmhouse cheddar style:
Milk heating and ripening: about 1.5 hours
Setting with rennet: 30 to 45 minutes
Cutting and cooking curds: about 45 minutes
Draining and cheddaring: 1.5 to 2 hours
Salting and molding: 15 to 30 minutes
Pressing: 6 hours to overnight
Drying: 1 to 3 days
Aging: 2 weeks minimum for a young cheese, 1 to 3 months is even better
If you are only aging for a couple of weeks, you will still get a nice sliceable cheese. If you can wait longer, the flavor deepens and it feels more “cheddary.” I know waiting is hard. I have cut into a wheel early just because I was curious. No regrets.
Common Questions
Can I make cheese at home without rennet?
You can make simple fresh cheeses without rennet, like paneer or ricotta style cheese. For cheddar style cheese, rennet really helps create that firm curd and proper texture.
Why did my curds not set?
Usually it is old rennet, milk that is ultra pasteurized, or the milk was too cold or too hot. Also double check you used non chlorinated water to dilute the rennet.
Do I need a cheese press?
It helps a lot, but you can improvise with a mold and steady weight. Just aim for even pressure and flip the cheese between presses so it forms nicely.
How do I store homemade cheddar?
Once it is aged, keep it wrapped or sealed in the fridge. If you wax or vacuum seal for aging, you will open it later and then store it like normal cheese.
Is it safe to do natural cheesemaking at home?
Yes, if you keep tools clean, use quality ingredients, and follow reliable instructions. If you are unsure, start with a tested recipe and take notes as you go.
A cozy final push to try it
If you have been curious about How to Make Cheese at Home, I hope this makes it feel doable and not like a science project. Start with good milk, keep everything clean, and give yourself time because cheddar rewards patience. If you want extra reading that lines up well with what we did here, check out Basic Steps of How to Make Cheese – Instructables and this super helpful guide, Easy Farmhouse Cheddar Hard Cheese Recipe. Then pick a weekend, clear a little space in the kitchen, and just go for it. You are going to feel ridiculously proud when you slice into your first wheel.
Farmhouse Cheddar Cheese
Ingredients
Method
- Warm the milk to about 86°F, stirring gently to avoid scorching.
- Sprinkle the mesophilic starter culture on top of the milk, let it hydrate for a minute, and then stir it in. Cover the pot and let it ripen for about 45-60 minutes.
- Dilute the rennet in cool, non-chlorinated water and stir it into the milk using an up-and-down motion for about 30 seconds. Cover and let it sit undisturbed until a clean break forms, typically 30-45 minutes.
- Cut the curds into small cubes of about 1/2 inch and let them rest for 5 minutes.
- Raise the temperature to about 100°F over 30 minutes, stirring gently to firm up the curds.
- Drain the curds by pouring them into a colander lined with cheesecloth and allowing the whey to drain for a few minutes.
- Put the curds back into the warm pot at about 100°F and let them knit together in slabs, flipping every 10-15 minutes for 1-2 hours.
- Sprinkle salt over the curds and mix well.
- Pack the curds into a mold lined with cheesecloth and press, starting with lighter weight for 30 minutes, then increasing the weight and pressing for several more hours or overnight.
- Air dry the cheese for 1-3 days until the rind feels dry, then wax or vacuum seal it and age in a cool spot.
Notes