


Chocolate Covered Peanut Butter Hearts are my go to fix for that moment when you want something sweet, a little salty, and honestly kind of comforting. You know the vibe: it is late, you are scrolling, and suddenly you are craving that classic peanut butter and chocolate combo that tastes like a certain famous heart shaped candy. I started making these because store bought ones disappear fast in my house, and also because homemade means I can make them thicker, softer, and extra chocolatey. The best part is you do not need fancy tools or candy making skills to pull it off. If you can stir peanut butter and melt chocolate, you are in. 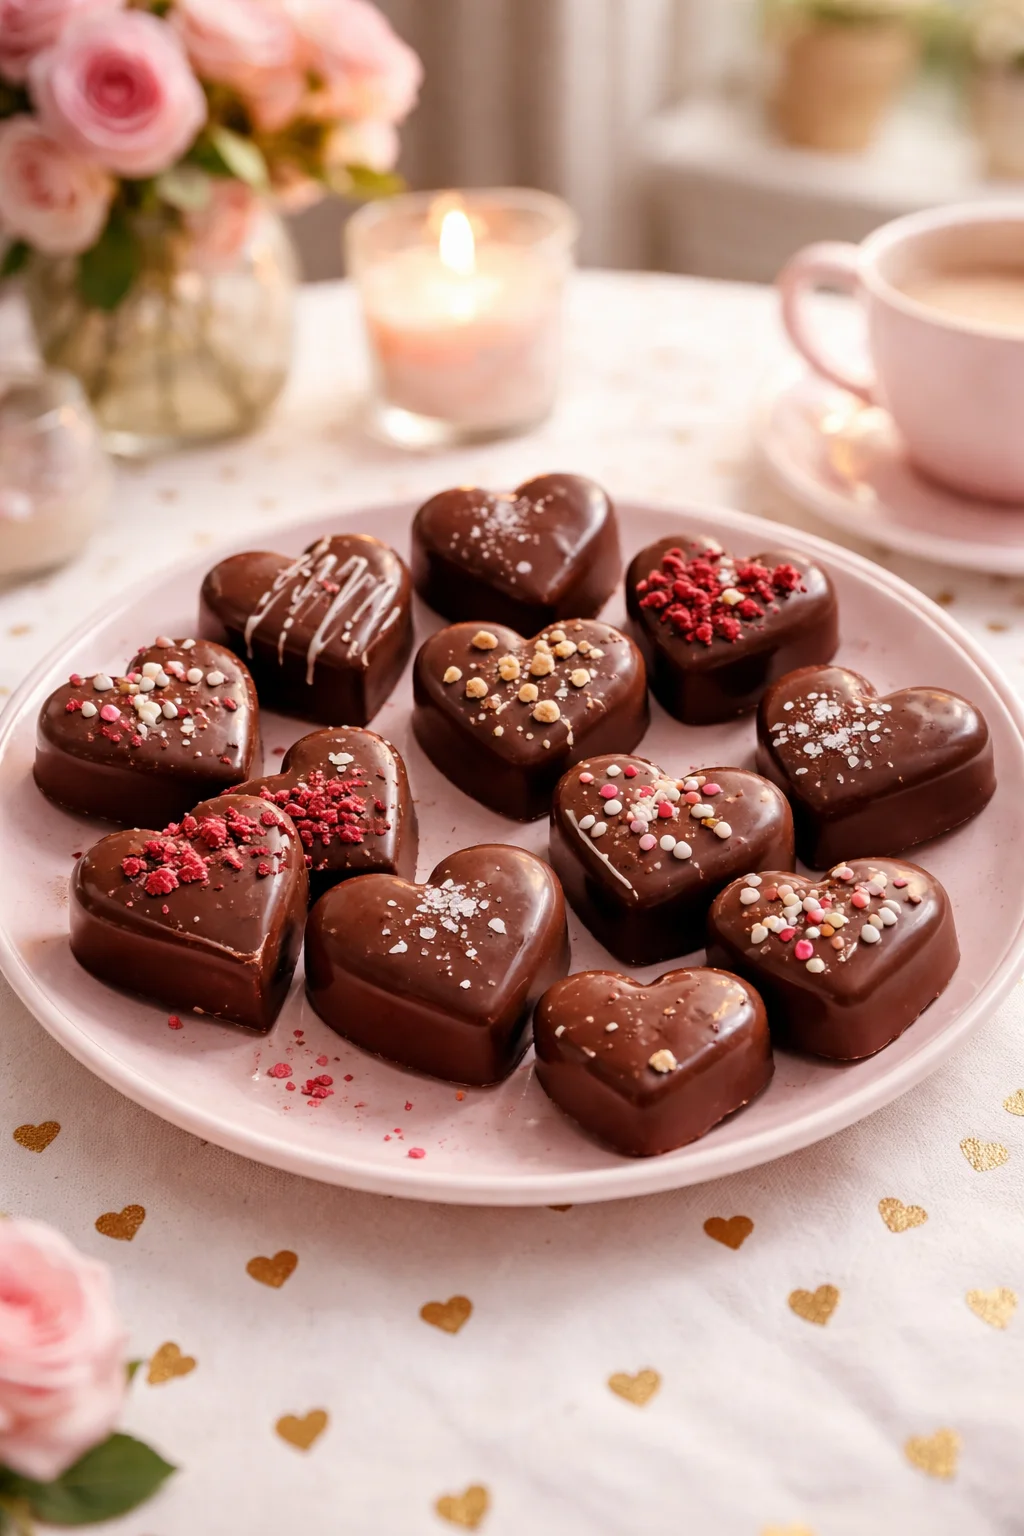
The Story Behind This Recipe
I’ve spent years testing recipes for Midd Leeast Sector, and this Chocolate Covered Peanut Butter Hearts is a keeper: fast to prep with no weird tricks. Chocolate Covered Peanut Butter Hearts are my go to fix for that moment when you want something sweet, a little salty, and honestly kind of comforting.…
How to Make Chocolate Peanut Butter Hearts
Let us keep this simple and very doable. The “heart” part sounds intimidating, but the filling is basically a peanut butter dough that you shape, chill, then dip in melted chocolate. I like making a batch on a quiet evening, then keeping them in the fridge for whenever a craving hits.
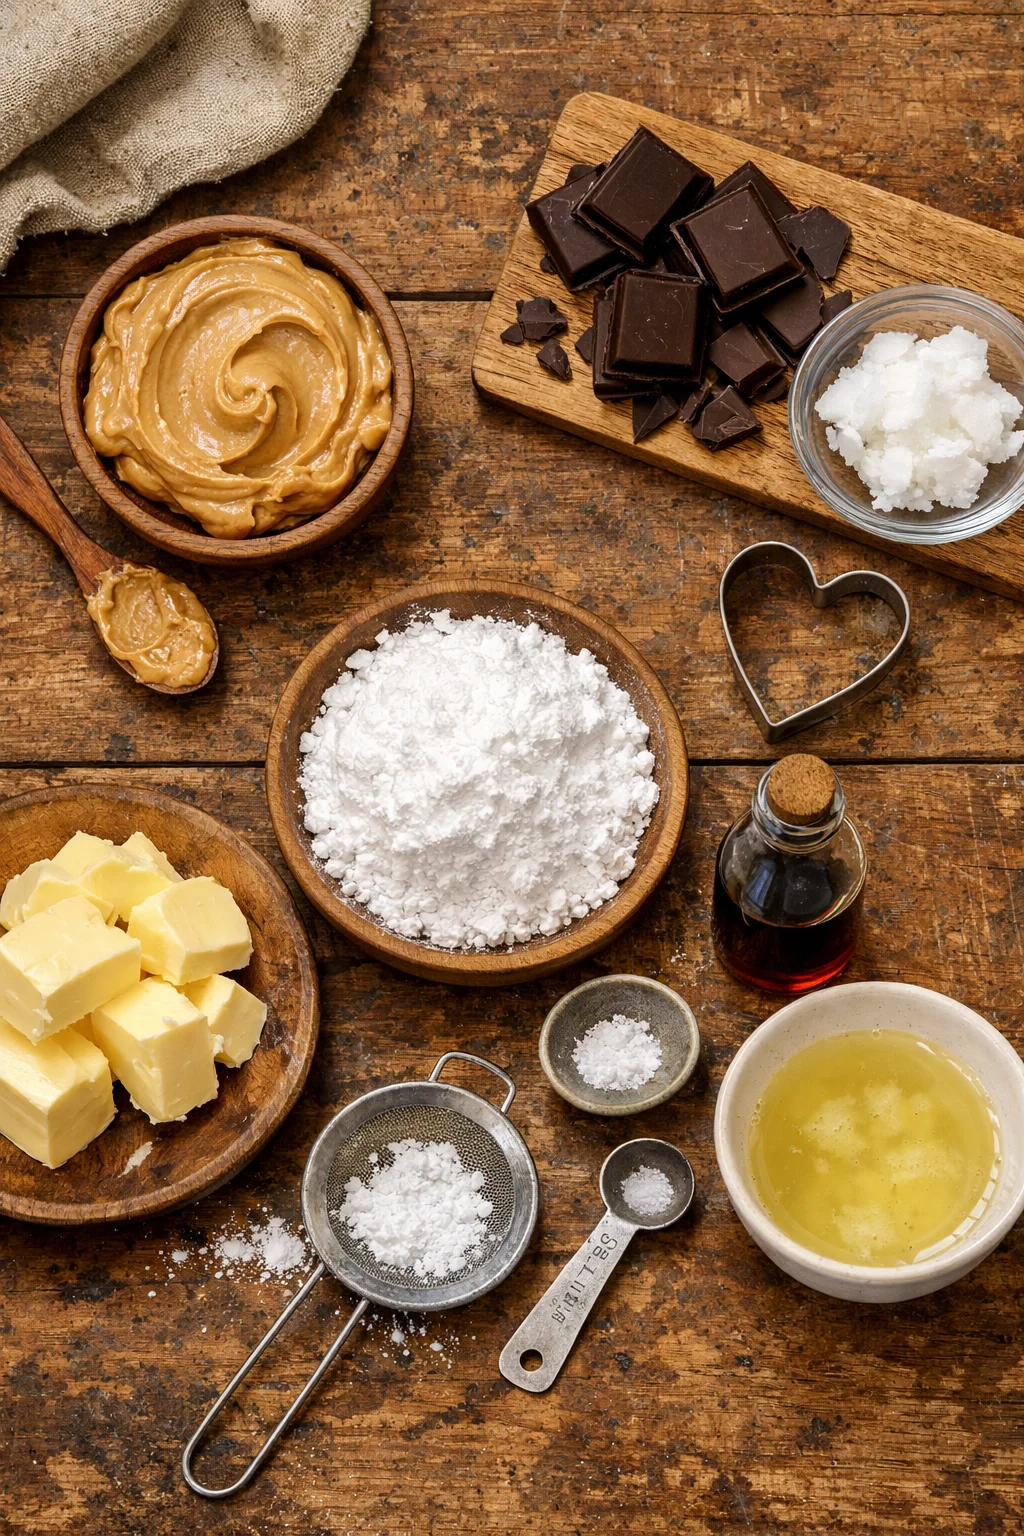
Here is what you will need. I am giving you my most reliable version, the one I have repeated enough times to trust it completely.
- Creamy peanut butter: shelf stable works best so the filling sets up nicely
- Butter: softened, not melted
- Powdered sugar: this makes the filling firm and candy like
- Vanilla and a tiny pinch of salt: optional, but it makes the flavor pop
- Chocolate: melting wafers or chocolate chips
- Optional: 1 teaspoon coconut oil or shortening to help chocolate dip smoother
If you love chocolate and peanut butter in all forms, you might also want to peek at these chocolate peanut butter peanut clusters on another day. Same flavor family, different crunch level.
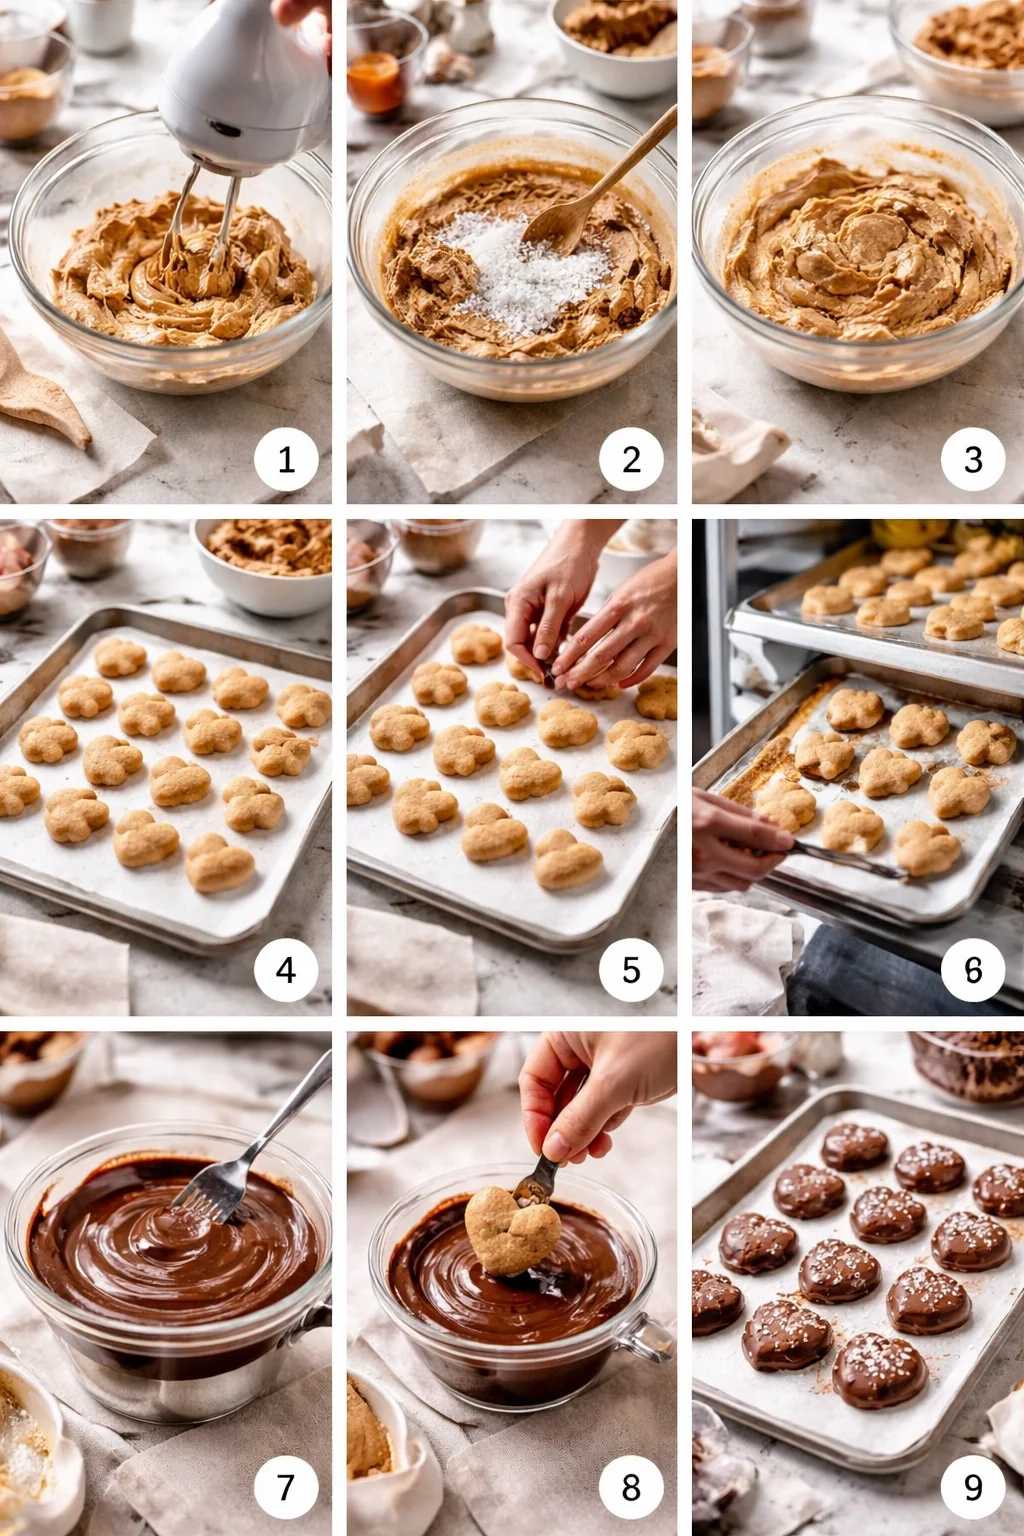
Basic mixing method: beat peanut butter and butter together until smooth, then mix in powdered sugar a little at a time until you get a soft dough that holds its shape. If it feels sticky, add a bit more powdered sugar. If it feels dry and crumbly, add a tiny spoon of peanut butter and mix again.
One little personal note: I used to rush the chilling step and regret it every time. Warm filling plus warm chocolate equals a messy situation. Chilling is what makes these feel like the real candy shop experience, just made in your kitchen.
Step by Step Instructions for Shaping and Dipping
This is where the magic happens, and also where people tend to overthink things. Do not stress about making perfect hearts. Once they are dipped in chocolate, they look adorable even if they are a bit “rustic.”
Shaping the hearts without special tools
Here is my easiest method:
Roll the peanut butter dough into small balls, about 1 to 1.5 tablespoons each. Flatten each ball into a thick oval on a parchment lined tray. Then pinch the top center to create the heart dip, and gently pinch the bottom to make a point. If one looks weird, just roll it back into a ball and try again. No one is grading you.
Chill the shaped pieces for at least 30 to 45 minutes in the fridge, or 15 minutes in the freezer. You want them firm so they do not fall apart when dipped.
Dipping so the chocolate looks smooth
Melt your chocolate slowly. Microwave in short bursts and stir a lot, or use a double boiler if you like that method. If the chocolate is thick, stir in a small amount of coconut oil or shortening for a smoother dip.
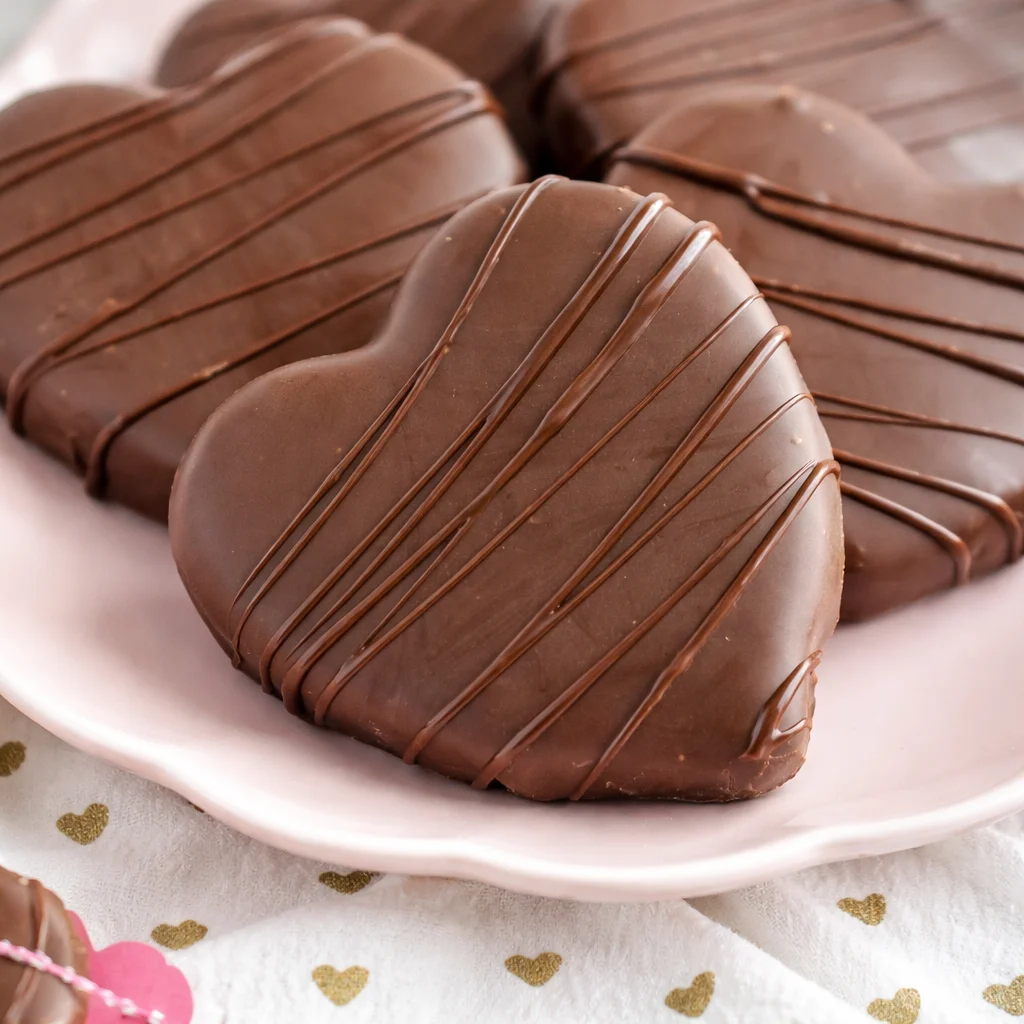
Dip each chilled heart using a fork. Tap the fork lightly on the bowl edge to let extra chocolate drip off, then slide the heart back onto parchment. If you want a cute finish, sprinkle a tiny pinch of flaky salt on top, or drizzle with a little extra melted chocolate.
If you are in the mood for more no bake chocolate peanut butter treats later, these chocolate peanut butter rice krispy cups are super fun and have that snacky crunch.
“I made these for my sister and she legit thought I bought them. The peanut butter center was soft like the real thing and the chocolate snap was perfect after chilling.”
Let the chocolate set in the fridge for about 20 to 30 minutes, then move them to a container. Try not to stack them until fully set or you will get smudges. They still taste great, but you know how it is when you want them to look cute too.
Do They Taste Like the Real Thing?
Yes, and in some ways, they are even better. The store version has a very specific texture: firm but creamy, sweet but not too sweet. Homemade Chocolate Covered Peanut Butter Hearts get you right in that zone, especially if you chill them long enough and use a good peanut butter.
The biggest difference is that homemade lets you adjust everything. Want it less sweet? Cut back a little powdered sugar. Want it more candy like? Add a bit more. Want it saltier? Add a pinch of salt and sprinkle the tops too. You are in control, and that is kind of the best part.
Also, the chocolate matters. If you use chocolate wafers, you get that smoother candy coating finish. If you use chocolate chips, it still works, but it can be a little softer unless you add a tiny bit of coconut oil or shortening. Either way, once you bite in and get that peanut butter center, you will get the idea fast.
If you are a serious peanut butter and chocolate person, you should also check out this Reeses peanut butter chocolate brownie sometime. It hits the same cravings, just in a fudgy pan form.
One more thing: making Chocolate Covered Peanut Butter Hearts at home tastes fresher. The peanut butter flavor is brighter, and you can make the center thicker than the store ones, which is exactly how I like it.
Tips for Storing Peanut Butter Hearts
These store really well, which is great because you can make a batch and snack all week. Or “share,” if you are feeling generous.
Here is what works best in my kitchen:
Fridge: Keep them in an airtight container for up to 10 days. I separate layers with parchment so the chocolate stays pretty. They taste amazing chilled, especially if your house runs warm.
Freezer: Freeze on a tray first, then transfer to a freezer bag or container. They keep for about 2 to 3 months. Let one sit on the counter for 5 to 10 minutes before eating, or just bite carefully if you like them super cold.
Room temp: Only if your house is cool and you used a coating that sets firm. Otherwise the chocolate can get a little soft.
Troubleshooting quickies:
If the filling is too soft: add a bit more powdered sugar and chill again.
If the filling is crumbly: add a spoon of peanut butter and mix until it holds together.
If the chocolate looks streaky: it may have gotten too hot or cooled unevenly. Still totally edible, just not as glossy.
When I am planning ahead for gifting, I make the hearts, chill them overnight, then pack them the next day. It keeps fingerprints off the chocolate and makes them look more polished with basically zero extra effort.
Seasonal Chocolate Covered Peanut Butter Desserts
Once you make Chocolate Covered Peanut Butter Hearts, you start seeing how easy it is to turn the same idea into treats for every season. Different shapes, different toppings, same comforting center.
Easy seasonal swaps I actually do
Valentine’s Day: hearts, obviously. Add red and pink sprinkles right after dipping.
Halloween: shape into little pumpkins or simple rounds, then drizzle with orange tinted white chocolate.
Christmas: make them into small logs or squares and top with crushed candy canes.
Spring: shape into eggs and use pastel drizzle.
If you are looking for another dessert that feels perfect for holidays and parties, this no-bake chocolate peanut butter swirl pie is a total crowd pleaser and does not heat up your kitchen.
The point is, once you have the peanut butter center down, you can play. I have even done a “stuffed” version where I press a mini pretzel or a little bit of crushed cookie into the center before shaping. It is not traditional, but it is very snackable.
Common Questions
Can I use natural peanut butter?
You can, but it is trickier. Natural peanut butter can be runnier and the filling may not set as firmly. If you use it, chill longer and expect to add extra powdered sugar.
What chocolate is best for dipping?
Melting wafers are the easiest for a smooth finish. Chocolate chips work too, especially if you add a small spoon of coconut oil or shortening to help it dip thinner.
Why did my hearts lose their shape in the chocolate?
They were probably not cold enough. Pop the shaped centers in the freezer for 10 to 15 minutes before dipping and work in small batches.
Can I make them dairy free?
Yes. Use a dairy free butter alternative and dairy free chocolate. Just choose one that melts smoothly for dipping.
How do I make them look extra neat for gifting?
Chill the centers well, use a fork to dip, tap off excess chocolate, and let them set completely before stacking. A simple drizzle on top also hides little imperfections.
A sweet little treat you will want to make again
Chocolate Covered Peanut Butter Hearts are one of those recipes that feels fun, familiar, and surprisingly easy once you try it. Chill the peanut butter centers, dip in melted chocolate, and you have that classic candy vibe right from your own fridge. If you want to compare methods or get more heart shaped inspiration, I like browsing Homemade Reese’s Peanut Butter Hearts – Baker by Nature and Chocolate Peanut Butter Valentine’s Heart. Make a batch, stash a few in the freezer, and future you will be very thankful when the craving hits. Let me know if you try a topping or twist that you end up loving.
Chocolate Covered Peanut Butter Hearts
Ingredients
Method
- Beat peanut butter and butter together until smooth.
- Gradually mix in powdered sugar until you get a soft dough that holds its shape.
- Chill the mixture before shaping to avoid mess.
- Roll the peanut butter dough into small balls, then flatten into thick ovals.
- Pinch the top center to create a heart dip, and pinch the bottom to make a point.
- Chill the shaped pieces for at least 30 to 45 minutes.
- Melt chocolate slowly, using microwave or double boiler method.
- Dip each chilled heart using a fork and shake off excess chocolate.
- Sprinkle with flaky salt or drizzle with more chocolate if desired.
- Let chocolate set in the fridge for 20 to 30 minutes before storing.