


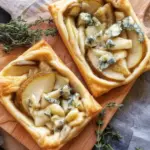
Blue Cheese and Pear Tartlets are my go-to when I want something snacky, classy, and fast. They solve that last-minute appetizer panic when friends are on the way and you only have pears, a block of blue cheese, and some store-bought pastry. The flavors sound fancy, but the process is surprisingly simple. You can make them bite-sized for parties or slightly bigger for a light lunch with salad. If you already love sweet and salty combos, this one hits the spot in a big way.
The Story Behind This Recipe
From my kitchen to yours—Blue Cheese and Pear Tartlets mixes everyday ingredients with bright flavor. Tested, tasted, and ready for your table. Blue Cheese and Pear Tartlets are my go-to when I want something snacky, classy, and fast. They solve that last-minute appetizer panic when friends are on…
Understanding the Flavor Profile of Blue Cheese and Pear
Let’s break down what makes this combo so good. Blue cheese brings a bold, creamy, slightly salty vibe. Pears bring sweetness and juicy freshness. Together, they make that sweet-savory balance that feels indulgent without being heavy. The pastry adds crunch and buttery comfort, and a little honey or black pepper can tie it all together.
Why the Combo Works
When you pair salty cheese with sweet fruit, it wakes up every taste bud. The creamy texture softens the edges of the blue cheese, and the pear’s fragrance makes each bite smell as good as it tastes. If you are still on the fence about blue cheese, starting with mild varieties like Danish blue or young gorgonzola can ease you in. And if you want more inspiration for pairing these flavors, check out something similar like blue cheese stuffed pears for a simple, elegant twist.
One more tip about balance. A drizzle of honey, a teensy splash of balsamic glaze, or a sprinkle of toasted nuts builds layers of flavor without complicating the recipe. In short, the magic is contrast. Let the fruit and cheese play off each other, and the pastry simply holds the party together.
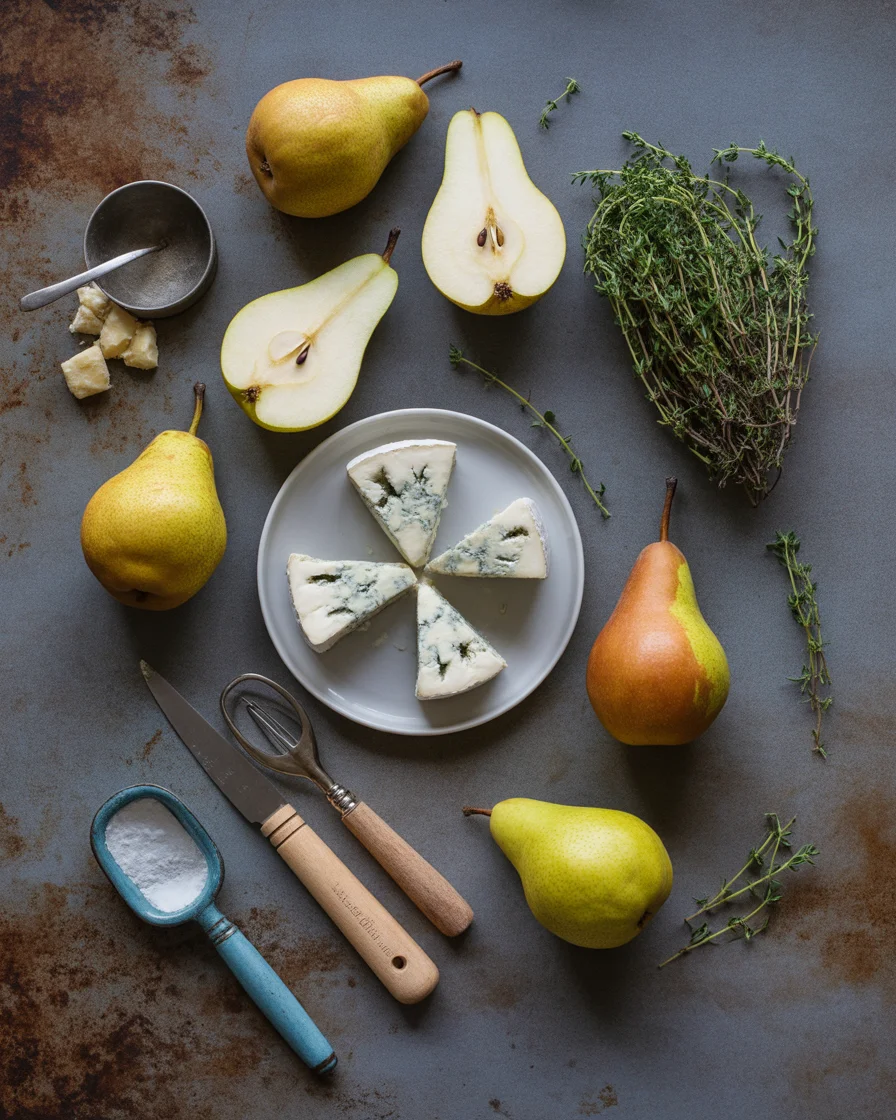
Tips for Choosing the Best Ingredients
Picking the Right Pears
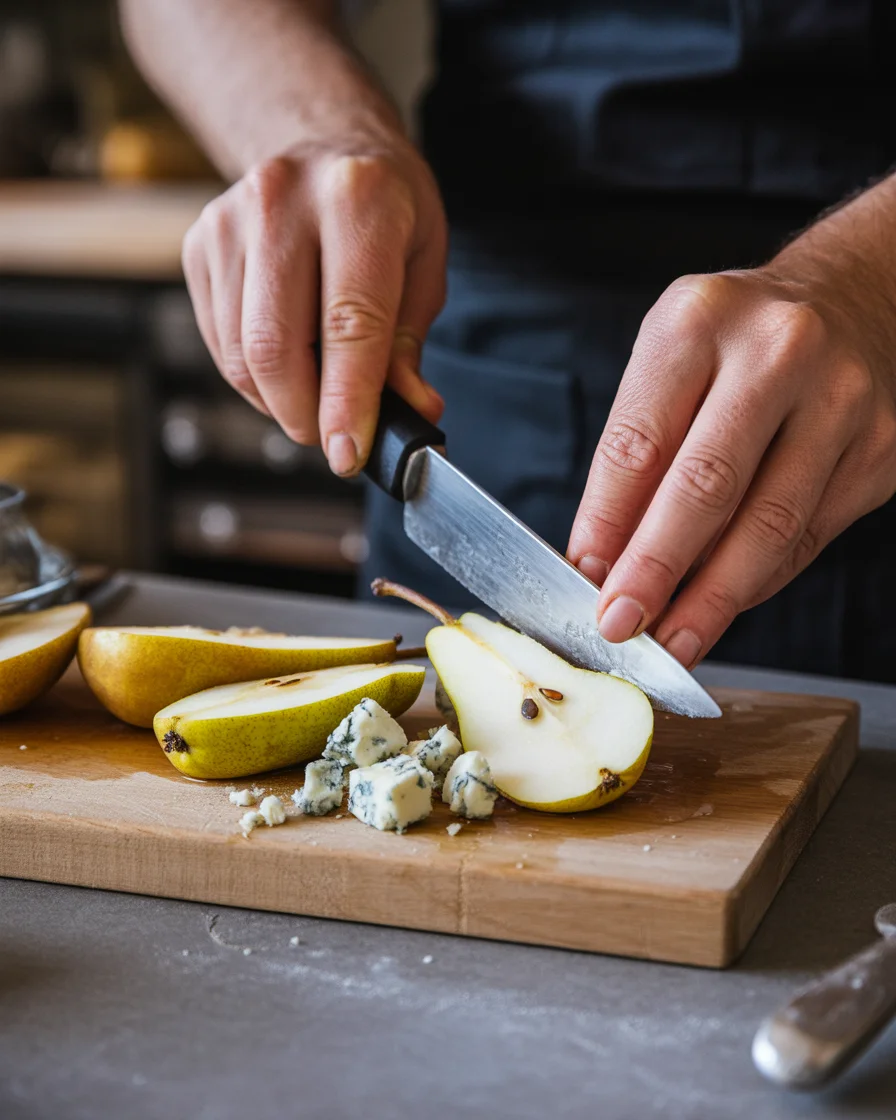
You do not need perfect pears, but you do want them slightly firm so they hold shape in the oven. Bosc and Anjou are my personal favorites. They are sweet but not mushy, and they slice cleanly. If your pears are very ripe, slice them a bit thicker so they do not melt into the pastry. If they are on the firm side, slice thinner and let the oven do the softening.
Cheese and Pastry Essentials
- Cheese: Choose a blue that you actually enjoy nibbling plain. Mild blue cheese gives a softer, creamy finish. A stronger one like Roquefort will make the tartlets more punchy. Both are great, just know your audience.
- Pears: Choose fruit that smells fragrant at the stem and feels firm with a slight give. Avoid pear stones or gritty cores by trimming neatly and cutting away seeds.
- Pastry: Puff pastry is easiest for quick layers and crisp edges. Shortcrust works if you like a sturdier bite. If using frozen puff pastry, thaw in the fridge until pliable, not sticky.
- Balancers: Honey, fig jam, balsamic glaze, or a squeeze of lemon help tame the cheese and brighten the fruit.
- Extras: Walnuts, pecans, thyme, or black pepper add great contrast. Keep it simple so the pear and cheese shine.
Little details matter. Chill your pastry before it goes into the oven so it puffs nicely. Pat the pears dry if they are very juicy to avoid sogginess. Crumble the cheese rather than layering thick slices, so it melts in gentle pockets. If you want dessert after your tartlets, a fresh, bright bake like this blueberry lemon loaf is a lovely finish to the meal.
Serving Suggestions for Blue Cheese and Pear Tartlets
You can serve these warm or at room temp. I love them fresh out of the oven with some greens and peppery notes to balance the richness. They fit date night, family dinner, or holiday spreads. And they look like you tried way harder than you did, which is always fun.
- Top with a light drizzle of honey or balsamic glaze right before serving.
- Serve with a simple arugula salad tossed in lemon and olive oil to cut through the richness.
- Add a small handful of toasted nuts on the side. If you want a sweet crunch, these candied pecans make people swoon.
- For a holiday table, garnish with pomegranate arils for sparkle and freshness.
- Create an appetizer board: olives, prosciutto, grapes, and a creamy dip like this cream cheese jalapeno cranberry dip for a little sweet heat.
- Drinks that sing with these tartlets: crisp white wine, dry cider, or sparkling water with lemon.
When I set a tray of these on the counter the other night, my friend took one bite and just closed her eyes like, wow. Then she reached for a second before I even put the salad on the table. That is the kind of reaction I live for.
Variations of Blue Cheese and Pear Tart Recipes
Make-Ahead and Mini vs Full-Size
There is more than one way to pull these off, so use what you have. Mini tart shells or puff pastry squares are great for bite-sized treats. Full-size tart pans make it feel like a proper lunch or brunch centerpiece. You can prep the pastry and slice the pears ahead, then assemble and bake right before guests arrive.
Try adding a very thin layer of fig jam under the pears for sweetness. Or a sprinkle of fresh thyme for herby depth. If you love crunch, chopped walnuts or pecans are a winner. You can also lay a couple of ribbons of prosciutto over the pears for a salty kick. Caramelized onions turn it into something cozy and dinner-worthy. If you want a spicy note, a drizzle of hot honey is gorgeous.
Short on time or in a no-bake mood for dessert afterward? Balance your savory tartlets with an easy sweet treat like this creamy no bake blueberry cheesecake. It is cool, bright, and a nice contrast to warm pastry.
Gluten-free friends can use gluten-free puff or a sturdy almond crust. Dairy-sensitive cooks can try a blue-style alternative or go for a tangy goat cheese and a sprinkle of crumbled blue on just a few pieces. The idea is to keep the spirit of the dish while making it work for your table.
Common Mistakes to Avoid When Making Tartlets
Even simple recipes have a couple of gotchas. These are the usual suspects and how to dodge them.
Soggy bottoms: If pears are very juicy, pat them dry and do not pile them too thick. A light layer of ground nuts or breadcrumbs under the pears can act as a barrier if your pastry tends to get moist.
Overloading with cheese: It is tempting, but too much blue cheese can turn salty fast. Crumble lightly and let the pear speak too.
Unchilled pastry: Warm pastry slumps. Keep it chilled until the moment it goes in the oven for the best puff and crisp edges.
Skipping seasoning: A touch of black pepper, a few thyme leaves, or a pinch of flaky salt makes everything pop. Simple, but big payoff.
Not tasting before serving: Cut a tiny corner and sample one. If it needs brightness, add honey or lemon. If it is too sweet, crack more pepper or add a few salty nuts. Small tweaks make it perfect.
Pear ripeness mismatch: Too ripe and they collapse. Too firm and they lack juice. Aim for just tender when pressed near the stem.
Forgetting contrast: This dish shines with a fresh side. Add greens or something crisp so the rich cheese stays exciting.
Common Questions
Can I make Blue Cheese and Pear Tartlets ahead?
Yes. Assemble up to a few hours in advance, keep chilled, then bake right before serving. You can also bake, cool, and reheat at 350 F for 5 to 8 minutes.
Which blue cheese is best for beginners?
Mild options like Danish blue or young gorgonzola melt beautifully and taste less sharp. Start there, then try stronger varieties once you are hooked.
Do I need to peel the pears?
Peeling is optional. I like to leave the skin on for color and texture, but peel if you want a softer bite.
How do I keep the tartlets from getting soggy?
Pat pears dry, avoid overfilling with juicy slices, and bake on a preheated sheet. You can also dock the pastry with a fork and chill it before baking.
Can I freeze them?
Freeze unbaked tartlets on a tray, then store in a bag. Bake from frozen at a slightly lower temp for a bit longer so the pastry cooks through.
A tasty little showstopper you can actually pull off
At the end of the day, Blue Cheese and Pear Tartlets are stylish without the stress. Use good pears, a blue cheese you enjoy, and a few smart add-ons like honey or thyme. If you want to compare methods or see other takes, this Blue Cheese and Pear Tartlets Recipe is a helpful reference, and I also love the savory twist in Caramelized Pear and Blue Cheese Tart from RecipeTin Eats. Give them a try this week and watch them disappear faster than you can refill the tray. Trust me, once you make them, you will keep coming back to Blue Cheese and Pear Tartlets for every occasion.
Blue Cheese and Pear Tartlets
Ingredients
Method
- Preheat the oven to 400°F (200°C).
- Roll out the puff pastry on a floured surface and cut into desired shapes.
- Slice the pears thinly, keeping them firm to hold shape.
- Crumble the blue cheese into small pieces.
- Place the pastry on a baking tray lined with parchment paper.
- Arrange the pear slices evenly on top of the pastry.
- Sprinkle the crumbled blue cheese over the pears.
- Chill the assembled pastry in the fridge for 10 minutes.
- Bake in the preheated oven for 20 minutes or until pastry is golden and puffed.
- Remove from oven and drizzle with honey and optional balsamic glaze.
- Serve warm or at room temperature with a simple arugula salad.
- Add toasted nuts on the side for crunch.