

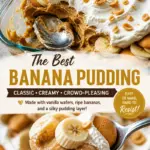
No-Bake Peanut Butter Banana Pudding Cups are my little rescue plan for those nights when I want something sweet, but I do not want to turn on the oven or wash a mountain of dishes. You know the vibe: you open the fridge, spot a couple of bananas getting spotty, and suddenly you feel personally challenged by produce. This is the kind of dessert that feels cozy and nostalgic, but it is also quick enough for a weekday. It is creamy, peanut buttery, and layered in a cup so everyone gets their own perfect portion. If you are bringing dessert to a get together, this one travels like a champ too. 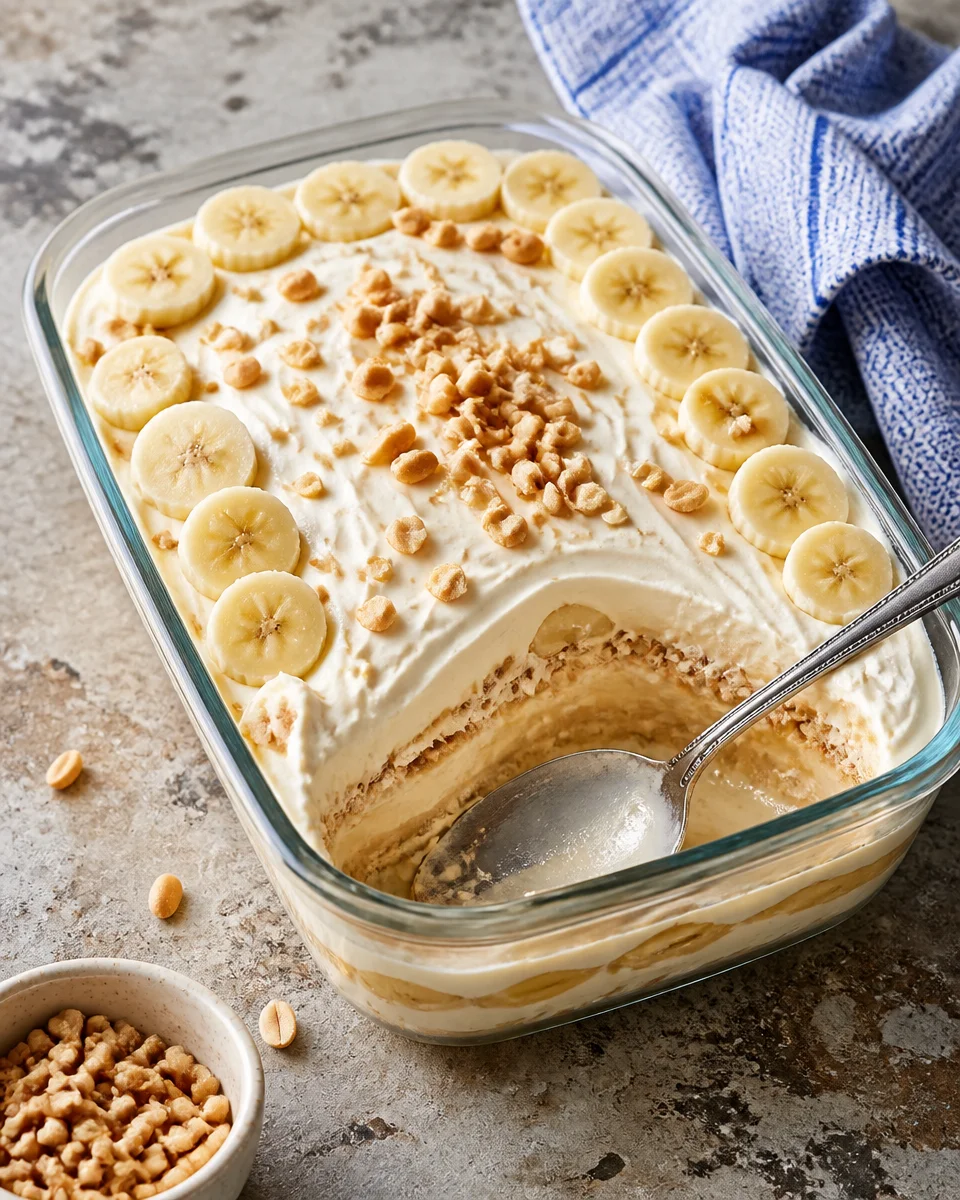
The Story Behind This Recipe
Here’s why I love this No-Bake Peanut Butter Banana Pudding Cups: it uses pantry staples and it tastes like a weekend dinner. No-Bake Peanut Butter Banana Pudding Cups are my little rescue plan for those nights when I want something sweet, but I do not want to turn…
Best Variations of Banana Pudding
I make these cups the classic way most of the time, but I also love switching them up depending on what is in my pantry. The base idea stays the same: creamy pudding, ripe banana, and a crumbly layer for texture. The peanut butter twist makes it feel extra satisfying, like a dessert that actually sticks with you.
If you like recipe hopping the way I do, you might also enjoy these banana pudding cups for more classic flavor ideas and layering inspiration.
Easy flavor swaps that still taste amazing
- Chocolate drizzle: A little melted chocolate over the top makes it taste like a peanut butter cup had a banana pudding moment.
- Crunchy topping: Swap crushed cookies for chopped peanuts, granola, or even crushed pretzels if you like sweet and salty.
- Berry add in: A few sliced strawberries layered with the bananas makes it feel like a fresh summer dessert.
- Extra peanut butter: Add a thin peanut butter layer between pudding and bananas. Not subtle, but very good.
- Mini trifle style: Use bigger jars and do more layers for a party look.
One more fun idea: if you are into no bake treats with that same chocolate and peanut butter combo, these chocolate peanut butter no bake cookies are a great side quest for your dessert week.
How to Make Banana Pudding from Scratch
I know some people hear from scratch and think it means stress. Not here. For No-Bake Peanut Butter Banana Pudding Cups, from scratch can still be simple. You are basically making a quick pudding on the stove (or a very easy shortcut version), then letting it cool before you layer everything up.
I usually go with a homemade pudding when I have a few extra minutes because the texture is thicker and the flavor is richer. If you are short on time, a good quality instant pudding works too, and I will not judge you. I have done both, depending on the day.
My simple from scratch method
Here is the low effort version that still feels homemade:
- Warm milk in a saucepan over medium heat until it is hot but not boiling.
- In a bowl, whisk sugar, cornstarch, and a pinch of salt.
- Whisk in egg yolks, then slowly whisk in some hot milk to temper.
- Pour it all back into the saucepan and stir until it thickens.
- Turn off the heat and stir in vanilla and a spoonful of peanut butter until smooth.
- Cover with plastic wrap pressed to the surface and cool.
The key is patience during cooling. Warm pudding plus bananas can turn a little messy, and the layers will slide around. Still tasty, but not as pretty. If you want that neat, spoonable layer look, let the pudding get fully cool.
Also, for another no bake cup idea with that same fun layering vibe, I have been obsessed with these chocolate peanut butter rice krispy cups. Crunchy and sweet in the best way.

Essential Ingredients for Banana Pudding
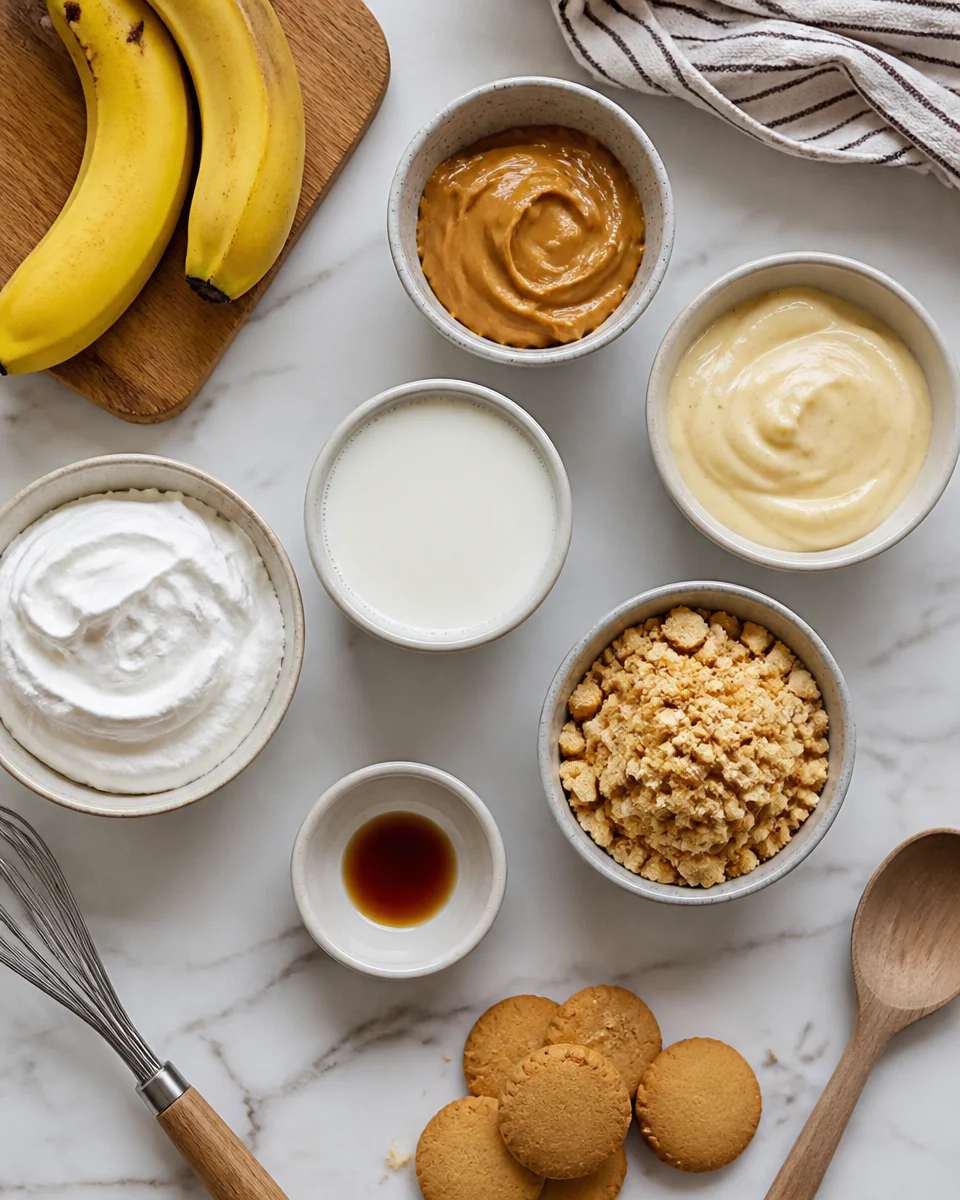
Let us talk about what actually matters here. The ingredient list is short, but each item pulls its weight. The bananas bring sweetness and that familiar pudding comfort, and the peanut butter adds richness that makes people go back for more.
Here is a simple breakdown you can screenshot in your brain for later. And yes, this is where I sneak in a little SEO friendly info for you too: the main things that make No-Bake Peanut Butter Banana Pudding Cups work are ripe bananas, a creamy pudding base, and a sturdy crunchy layer.
What you will need
- Bananas: Ripe but not totally mushy. A few brown spots are perfect.
- Peanut butter: Creamy is easiest to mix. Natural peanut butter works, just stir it well first.
- Pudding: Homemade vanilla pudding or instant vanilla pudding.
- Milk: Whole milk gives the creamiest texture, but 2 percent works.
- Whipped topping or whipped cream: Optional, but it makes the cups feel airy and light.
- Crunch layer: Crushed vanilla wafers, graham crackers, or sandwich cookies.
- Vanilla: A small splash makes everything taste more like dessert and less like plain milk.
;
“I made these for my kids and my husband kept sneaking cups from the fridge. The peanut butter makes it taste like a fancy bakery dessert, but it was so easy.”
Little personal note: when I am making No-Bake Peanut Butter Banana Pudding Cups for friends, I slice bananas fresh for each layer and press them gently into the pudding. It keeps them from floating up and turning the top layer weird. Tiny detail, big difference.
If you are craving a different twist that still gives you that banana dessert energy, take a peek at these no bake banana split dessert cups. They are fun and feel like a party in a cup.
Storage Tips for Banana Pudding
Banana pudding is one of those desserts that tastes even better after it sits for a bit, because the layers mingle and the cookies soften just enough. But bananas can get a little tricky, so storage matters if you want it to stay cute and fresh.
For No-Bake Peanut Butter Banana Pudding Cups, I usually assemble them a few hours before serving, then stash them in the fridge. If I am making them a day ahead, I do a couple of small things differently.
My go to storage rules:
- Cover each cup tightly with plastic wrap or a lid.
- Refrigerate for up to 2 days for best texture.
- If making ahead, add the top crunchy layer right before serving so it stays crisp.
- To slow banana browning, slice bananas right before layering, or toss slices with a tiny bit of lemon juice (not too much or it will taste lemony).
Freezing is not my favorite for this one. The pudding can get a little grainy after thawing, and bananas get watery. If you must freeze, freeze the pudding base alone, not the finished cups.
Helpful Cooking Tips and Tricks
This recipe is simple, but I have made it enough times to learn a few things the hard way. Here are the little tips that make your cups look better, taste better, and honestly just feel less annoying to assemble.
- Use a piping bag or a zip bag: Snip the corner and pipe pudding into the cups for clean layers.
- Pick the right cups: Clear cups or small jars make the layers look so tempting.
- Do not overmix whipped cream: If you fold whipped topping into the pudding, do it gently so it stays fluffy.
- Balance the peanut butter: Start with a smaller amount, taste, then add more. Some peanut butters are saltier than others.
- Make it party friendly: Set out a topping bar with crushed cookies, chocolate chips, and chopped peanuts.
And because I know someone will ask, yes, you can absolutely make No-Bake Peanut Butter Banana Pudding Cups without whipped topping. They will just be a bit denser, more like a classic pudding cup. Still a win.
Common Questions
Can I use instant pudding for No-Bake Peanut Butter Banana Pudding Cups?
Yes. Use instant vanilla pudding, then mix in peanut butter once the pudding has thickened. Chill it for a bit so it firms up before layering.
How do I keep bananas from turning brown?
Slice bananas right before assembling. If you need extra help, toss them very lightly with lemon juice, then pat dry.
What is the best cookie layer for these cups?
Vanilla wafers are the classic, but graham crackers are great too. If you want more sweetness, crushed sandwich cookies work really well.
Can I make these dairy free?
You can. Use a plant based milk that works for pudding (some are too thin), and use a dairy free whipped topping. Peanut butter is naturally dairy free.
How far ahead can I assemble them?
I like them best within 24 hours. You can go up to 2 days, but add crunchy toppings right before serving for the best texture.
A sweet little sign off from my kitchen
If you keep a few basics around, No-Bake Peanut Butter Banana Pudding Cups are one of those desserts you can pull together without stress, even when your day has been a lot. You get creamy pudding, soft bananas, and that peanut butter flavor that makes everything feel extra comforting. Try them once, then play with the layers and make them your own. And if you are still in a banana dessert mood, I have bookmarked this Banana Pudding Peanut Butter Pie Recipe – The Gold Lining Girl because it is a fun next recipe to bake when you actually feel like turning the oven on.
No-Bake Peanut Butter Banana Pudding Cups
Ingredients
Method
- Warm milk in a saucepan over medium heat until hot but not boiling.
- In a bowl, whisk together sugar, cornstarch, and a pinch of salt.
- Whisk in egg yolks, then gradually whisk in hot milk to temper.
- Pour this mixture back into the saucepan and stir until thickened.
- Remove from heat and stir in vanilla and peanut butter until smooth.
- Cover with plastic wrap pressed against the surface and allow to cool.
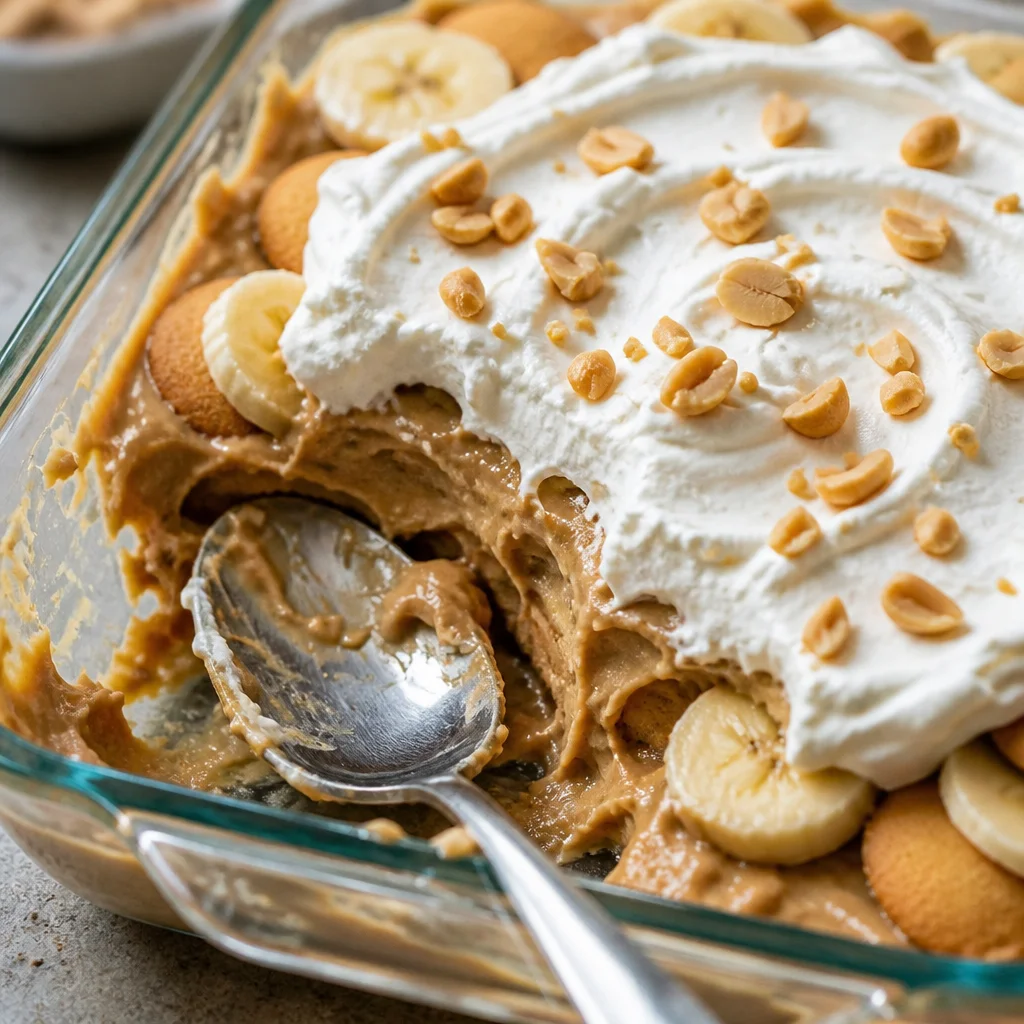
- Once pudding is cooled, layer it in cups: start with pudding, followed by sliced bananas, then crushed cookies.
- Repeat layers until cups are filled, finishing with a layer of whipped topping if desired.
- Cover and refrigerate until ready to serve.