

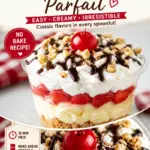
No-Bake Banana Split Dessert Cups are my go to solution for those days when you want something fun and sweet, but you do not want to turn on the oven or wash a sink full of dishes. Maybe you promised to bring dessert, maybe the kids are suddenly starving at 8 pm, or maybe you just want a treat that feels like an ice cream shop moment at home. These little cups hit that happy place with creamy pudding, fresh fruit, and a crunchy base that takes about five minutes to pull together. They are cute for parties, but also totally reasonable for a random Tuesday night. And the best part is you can make them ahead, then just grab one from the fridge when the craving hits.
The Story Behind This Recipe
From my kitchen to yours—No-Bake Banana Split Dessert Cups mixes everyday ingredients with a cozy aroma. Tested, tasted, and ready for your table. No-Bake Banana Split Dessert Cups are my go to solution for those days when you want something fun and sweet, but you do not want to…
Reasons to Love this Banana Split Pudding Parfait Cup Recipe
Let me tell you why I keep coming back to these No-Bake Banana Split Dessert Cups. They are basically a banana split, but in a portable cup that does not melt all over your hands. I have made them for potlucks, family movie nights, and even as a quick dessert when guests show up last minute.
What makes them such a win
The vibe here is simple: layer, chill, eat. You do not need fancy skills, and you can adjust everything to what you already have in the kitchen.
- No oven needed, not even for the crust if you use cookie crumbs.
- Easy to scale from 4 cups to 14 cups without changing the method.
- Kid friendly because everyone can build their own and pick toppings.
- Make ahead friendly so you are not stressed right before serving.
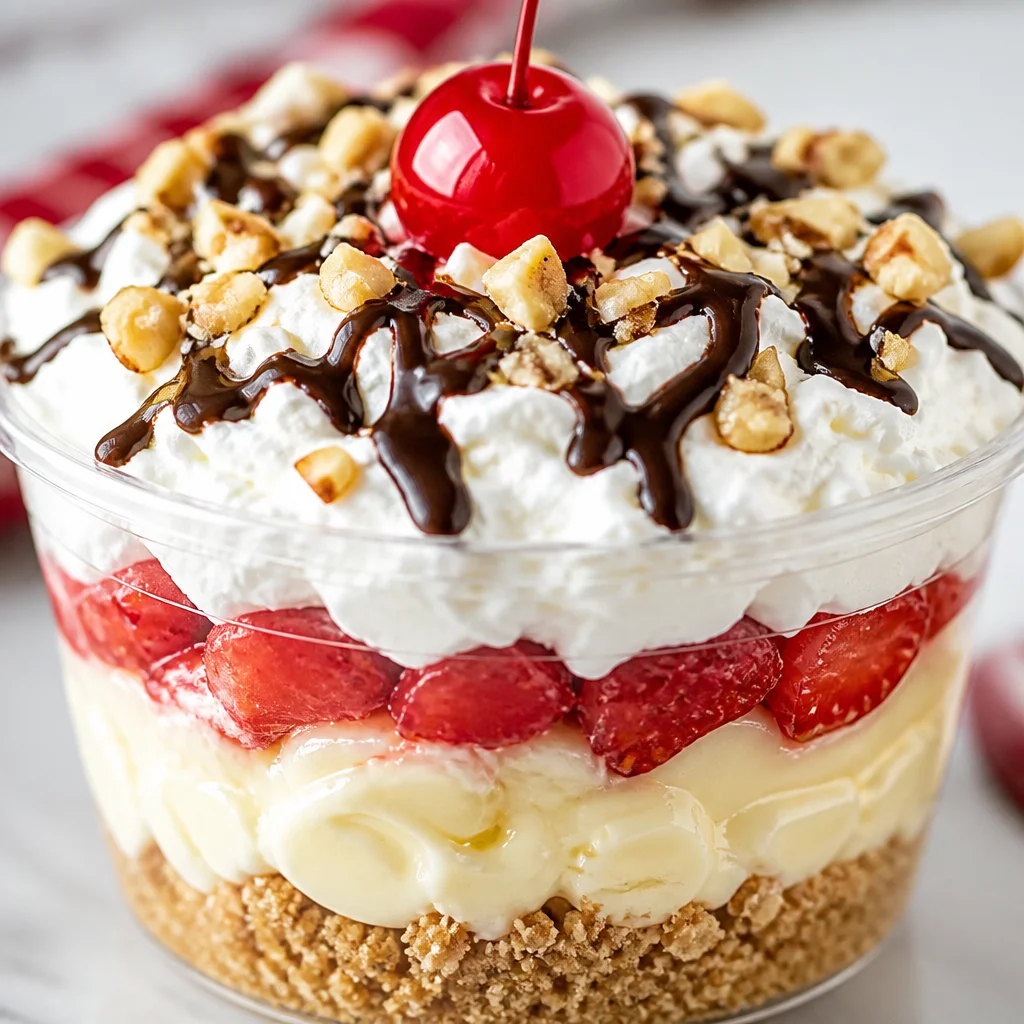
- Classic banana split flavors with banana, chocolate, strawberry, and whipped topping.
I also love how this dessert feels nostalgic. It tastes like the banana splits I used to beg for, but without the “please do not drip on the couch” drama.
If you are into easy cup desserts like I am, you might also like these banana pudding cups for another creamy, comforting option.
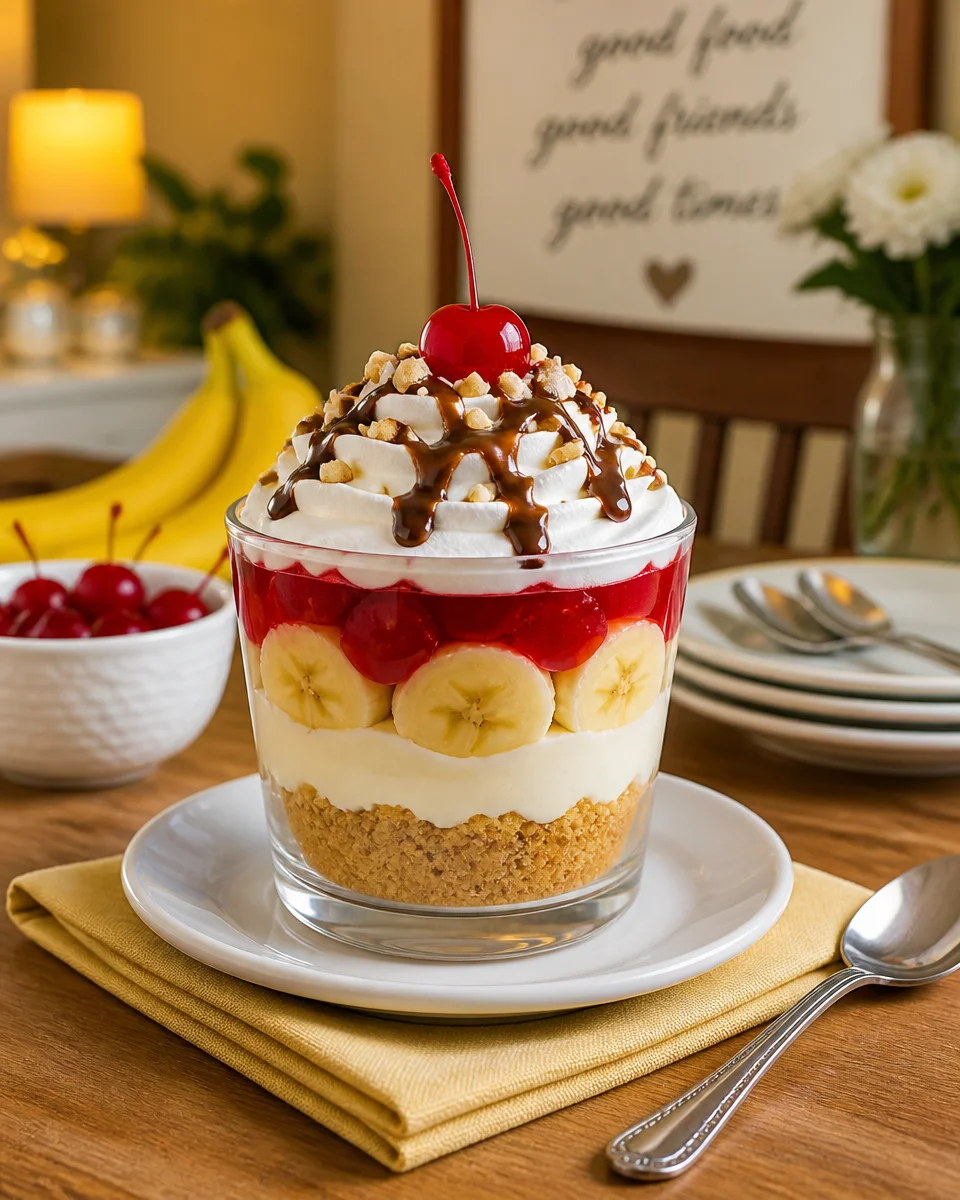
Here is the basic idea of how I assemble mine. I am not putting this in strict recipe card mode because this is truly forgiving, but this will get you perfect cups:
Base: crushed vanilla wafers or graham crackers mixed with a little melted butter (or just crumbs if you are keeping it super simple).
Middle: vanilla pudding or banana pudding mixed with whipped topping for that fluffy texture.
Fruit: sliced bananas plus strawberries and pineapple bits, or whatever fruit you love.
Top: a swirl of whipped topping, chocolate syrup, and a cherry if you are feeling fancy.
“I brought these to our school potluck and the cups were gone in minutes. People kept asking if they were hard to make and I was like nope, it is just layers.”
Fun Variations to Try
This is where you can make the No-Bake Banana Split Dessert Cups feel brand new every time. I have a few versions I rotate depending on the season and what is in my fridge.
Flavor swaps that actually work
Chocolate lover version: Use chocolate pudding instead of vanilla, then add mini chocolate chips between layers. It tastes like a sundae shop in the best way. If you love chocolate in cup form, these Oreo dessert cups are also a really fun treat for cookie lovers.
Strawberry lemonade vibe: Mix cheesecake pudding with a little lemon zest and fold in whipped topping, then add strawberries. It reminds me of those bright, summery desserts that disappear fast at barbecues. If that sounds like your thing, check out these no-bake strawberry lemon cheesecake cups too.
Tropical banana split: Add extra crushed pineapple, toasted coconut, and a drizzle of honey. You can even use coconut whipped topping if you want a dairy free style. If tropical desserts make you happy, you might want to save this no-bake pineapple heaven cheesecake dessert for later.
Caramel banana twist: Swap chocolate syrup for caramel and sprinkle chopped nuts on top. It is sweet, cozy, and a little grown up. If you are a caramel person, you would probably enjoy these caramel apple dessert cups as well.
A quick banana tip from my own trial and error: slice the bananas right before you layer them if possible. If you need to prep ahead, toss slices with a tiny bit of lemon juice to slow browning. It keeps the cups looking fresh, especially if you are serving them to guests.

Supplies for Assembly
You do not need much, which is honestly part of the charm. I have made these with proper parfait glasses, and I have also made them in plastic cups from the grocery store. Both work great.
My simple grab and go setup
- Clear cups (8 ounce is a sweet spot) so you can see the layers
- Mixing bowl for pudding and whipped topping
- Whisk (or a spoon if you are keeping it casual)
- Measuring cup for milk and quick eyeballing
- Zip top bag to crush cookies with a rolling pin
- Spoon for layering, or a piping bag if you want clean layers
- Knife and cutting board for fruit
If you want the layers to look extra neat, spoon pudding into a zip top bag, snip the corner, and squeeze it in like a DIY piping bag. I do this when I am trying to impress people, but on regular nights I just use a spoon and nobody complains.
What to Serve with Pudding Cups
No-Bake Banana Split Dessert Cups are already pretty complete, but if you are serving them for a party or a family dinner, here are a few things that pair nicely without making your life harder.
For casual gatherings: coffee, iced coffee, or a simple cold milk situation. The creamy pudding with coffee is a really good combo, especially if you add extra chocolate drizzle on top.
For a kid party: tiny pretzel sticks, popcorn, or a fruit tray. The salty snack plus sweet cups balance each other really well.
For a bigger dessert spread: I like serving these alongside something crunchy or chewy, like cookies or brownies. You can even set up a toppings bar with sprinkles, chopped nuts, mini marshmallows, and extra fruit, and let everyone make their own.
One little serving trick I learned: keep the whipped topping and cherries as the last step. If you are transporting the cups, bring the topping in a container and add it once you arrive. It keeps everything looking fresh and not smushed.
How to Store
These cups store surprisingly well, as long as you treat the bananas with a little care.
In the fridge: Cover the cups and refrigerate. They are best within 24 hours, but they will still taste good up to 2 days. The cookies will soften a bit, which some people actually love because it turns more cake like.
To avoid brown bananas: Slice bananas right before building, or toss slices lightly with lemon juice. Do not go heavy or the lemon will take over.
Do not freeze: I do not recommend freezing these. The pudding texture can get weird and watery when it thaws, and the fruit gets mushy.
If you are making ahead for a party: Build the crumb layer and pudding layer first, chill, then add fruit and toppings closer to serving time. It is a small step that makes them look much prettier on the table.
Common Questions
1) Can I make No-Bake Banana Split Dessert Cups the night before?
Yes, but for the best look, add the banana slices and whipped topping closer to serving. If you do make them fully ahead, use the lemon juice trick on the bananas and cover the cups tightly.
2) What pudding flavor is best?
Vanilla is the most classic. Banana pudding makes them taste extra nostalgic. Chocolate is amazing if you want a richer cup.
3) What can I use instead of vanilla wafers?
Graham crackers, crushed shortbread, or crushed chocolate sandwich cookies all work. Just pick what you like and what you have.
4) How do I keep the layers from mixing together?
Make sure the crumb layer is pressed down lightly, and spoon the pudding gently on top. If you want super clean layers, pipe the pudding from a bag instead of spooning it in.
5) Can I make this without dairy?
You can try plant based pudding, dairy free whipped topping, and a non dairy milk that the pudding mix works with. The texture may be slightly different, but it is still tasty.
A sweet little dessert you will actually make again
If you want a dessert that feels fun but is still easy, these No-Bake Banana Split Dessert Cups are the answer. They are quick to layer, easy to customize, and they disappear fast wherever you take them. For even more inspiration, I like peeking at this No-Bake Banana Split Pudding Cups Recipe – A Magical Mess and this kid friendly take, Banana Split Pudding Cups – An Easy No-Bake Dessert for Kids!, especially when I need new topping ideas. Now go grab some cups and a bunch of bananas, and make a batch that will make your fridge feel like a tiny dessert shop.
No-Bake Banana Split Dessert Cups
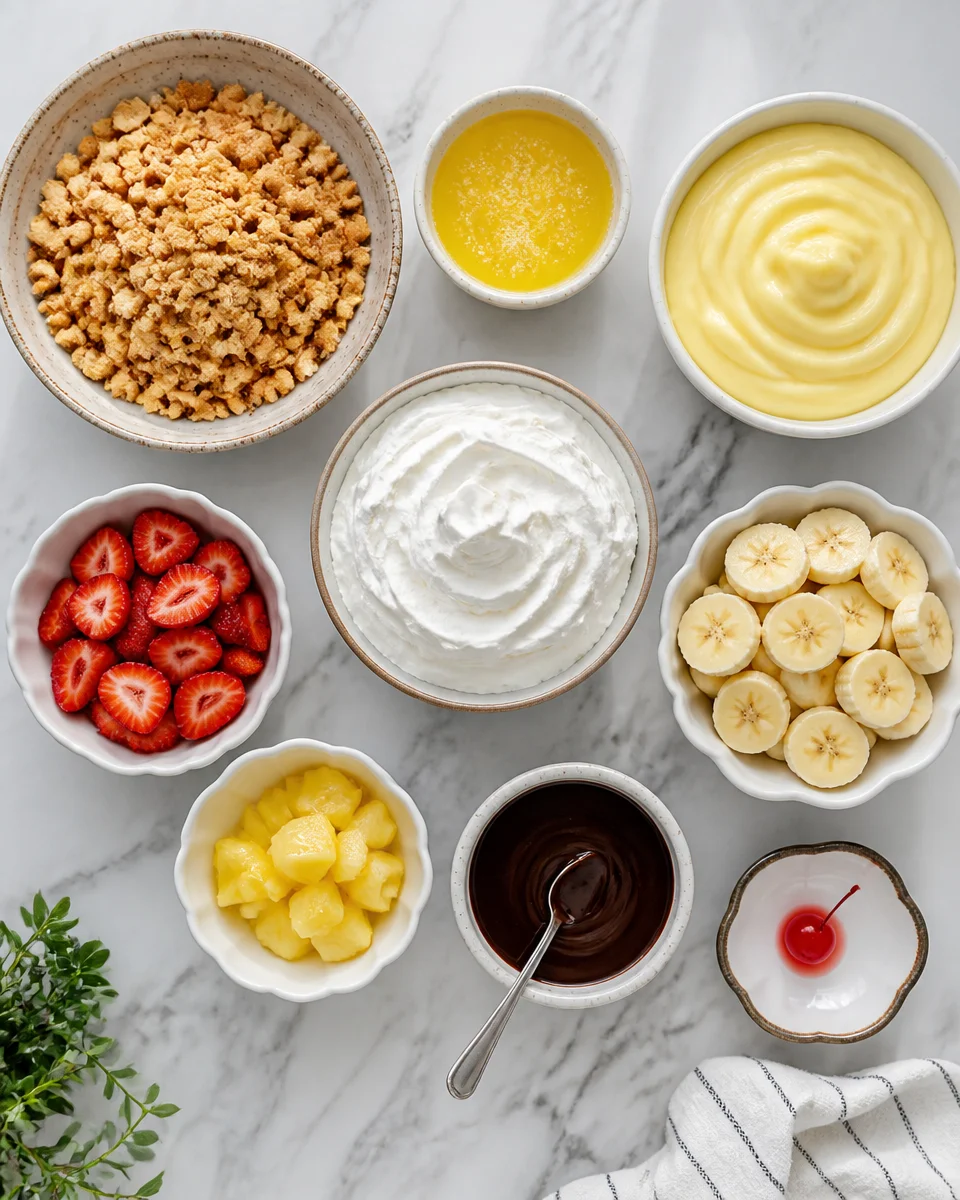
Ingredients
Method
- In a mixing bowl, combine crushed vanilla wafers or graham crackers with melted butter and mix well.
- Layer the crumb mixture at the bottom of each cup, pressing down lightly.
- In another bowl, mix the pudding with the whipped topping until well combined.
- Spoon the pudding mixture over the crumb layer in each cup.
- Add a layer of sliced bananas, strawberries, and pineapple on top of the pudding.
- Top with a swirl of whipped topping, a drizzle of chocolate syrup, and a cherry if desired.