

HOMEMADE CREAM CHEESE MINTS are the kind of little treat you don’t think about until you really need them. Like when you’re pulling together a baby shower tray, packing holiday cookie boxes, or you suddenly remember you promised to bring something sweet to a family dinner. I love them because they look fancy, but they’re actually super doable at home. They’re also one of those old school candies that make people smile because they taste like something their grandma used to serve with coffee. If you’ve ever bought those soft butter mints at a wedding and thought, I want that, you’re in the right place. 
The Story Behind This Recipe
I’m Alexandraa, the cook behind this HOMEMADE CREAM CHEESE MINTS. On a rainy weekend, I dialed in the flavors so it’s approachable and full of comfort vibes. HOMEMADE CREAM CHEESE MINTS are the kind of little treat you don’t think about until you really need them. Like when you’re pulling together a baby…
Key Benefits and Features
I keep coming back to HOMEMADE CREAM CHEESE MINTS for a few reasons, and none of them involve complicated candy thermometers or boiling sugar. This recipe is more like a cozy kitchen project you can do while something’s in the oven or while you’ve got a podcast on.
Here’s what makes them such a win:
- No baking, which means you can make them anytime, even when your oven is busy.
- Easy to customize with food coloring, extracts, and shapes.
- Make ahead friendly, perfect for parties and holidays.
- Soft, creamy texture that melts in your mouth instead of crunching.
The flavor is simple, sweet, and minty, but not toothpaste minty. More like a gentle, clean finish after a rich meal. And if you’re already in a cream cheese mood, you might also like something savory and cozy like this cream cheese green bean casserole for the same holiday table.
One more thing I love is how cute they look on a platter. If you have a little candy mold, great. If not, you can just roll tiny balls and press them with a fork like peanut butter cookies, and people still think you went all out.
Common Mistakes to Avoid
Okay, let’s talk about the stuff that can make these go sideways, because it’s almost always the same few issues. The good news is they’re easy fixes, and once you learn them, you’ll feel like you can make HOMEMADE CREAM CHEESE MINTS on autopilot.
Mistake 1: Using cream cheese that’s too soft or watery.
If your cream cheese is super melty, the dough turns sticky and you’ll keep adding powdered sugar until it’s overly sweet. Use block cream cheese, not whipped. Let it soften a bit, but not to the point where it’s glossy and slumpy.
Mistake 2: Adding all the powdered sugar at once.
Dumping it in can make it clump and puff everywhere. Add it gradually so you can stop when the texture is right.
Mistake 3: Too much extract.
Mint extract is strong. A little goes a long way. If you overdo it, it tastes sharp and kind of medicinal. Start small, taste, then adjust.
Mistake 4: Not letting them dry long enough.
They need time to set on the outside so you can store them without smudging. If you rush, they’ll stick to each other and lose those pretty ridges or stamped shapes.
If you’re making a full party spread, it helps to balance sweets with something creamy and tangy like this cranberry cream cheese spread. It’s a nice break between bites.
“I made these for my sister’s bridal shower and everyone kept asking where I bought them. The drying time tip was everything, they stayed perfect in the container for days.”
Expert Tips and Best Practices
I’m not a professional candy maker, but I’ve made these enough times to know what actually helps in a normal home kitchen. These are the little tricks that make your HOMEMADE CREAM CHEESE MINTS look neat and taste balanced.
Keep your tools simple. A hand mixer works great. If you only have a spoon and some elbow grease, that works too, but mixing takes longer.
Coloring tip: Use gel food coloring if you can. Liquid coloring can make the mixture softer, and then you’re chasing the texture with more sugar.
Flavor options beyond mint: Peppermint is classic, but you can also do vanilla, almond, lemon, or a mix like vanilla plus a tiny touch of peppermint for that “wedding mint” vibe.
Shaping ideas:
If you have silicone molds, lightly dust them with powdered sugar. If you don’t, roll small balls and press with a fork, or press with a clean stamp style cookie press.
Storage: Once they’re dry, store in an airtight container with parchment between layers. They hold up well for several days, and you can even freeze them for longer storage.
Also, if you’re the type who loves cream cheese treats in general, you should peek at these raspberry cream cheese bites sometime. They’re a totally different vibe, but still that creamy, snacky sweetness.
Step-by-Step Process
This is the method I use every time. It’s straightforward, and it doesn’t require anything fancy. Just give yourself a little counter space and a bit of time to let them dry.
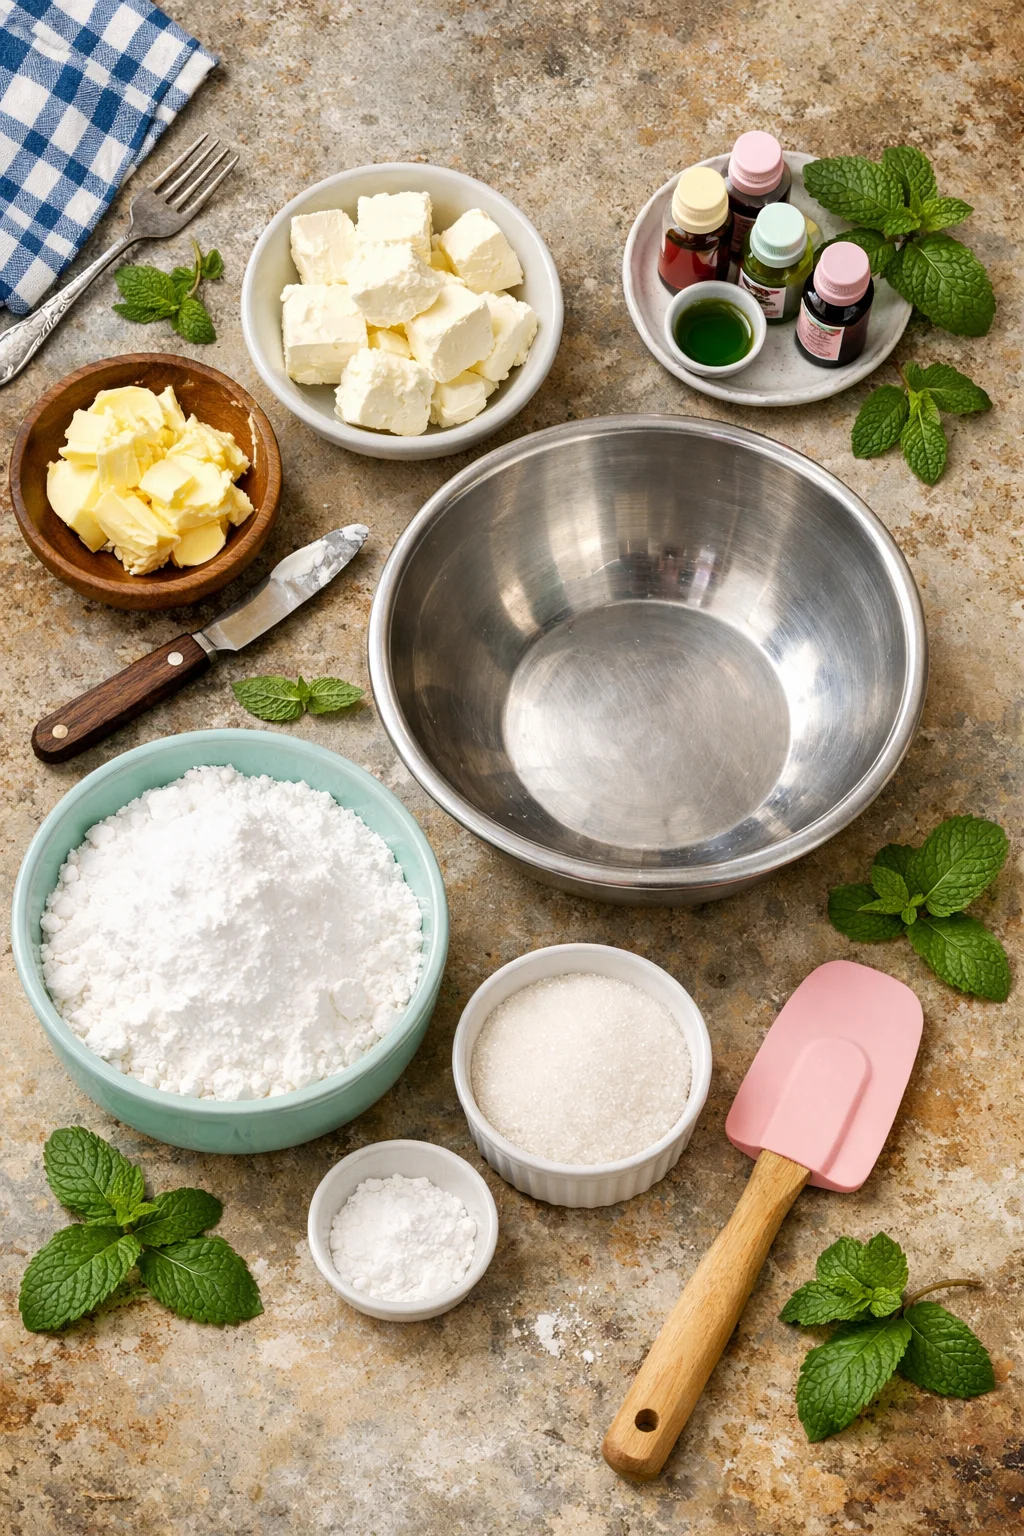
What you will need
- 8 oz block cream cheese, softened
- 4 to 5 cups powdered sugar, plus extra for dusting
- 1/4 to 1/2 tsp peppermint extract (start small)
- Food coloring (optional)
- Pinch of salt (optional, but helps with sweetness)
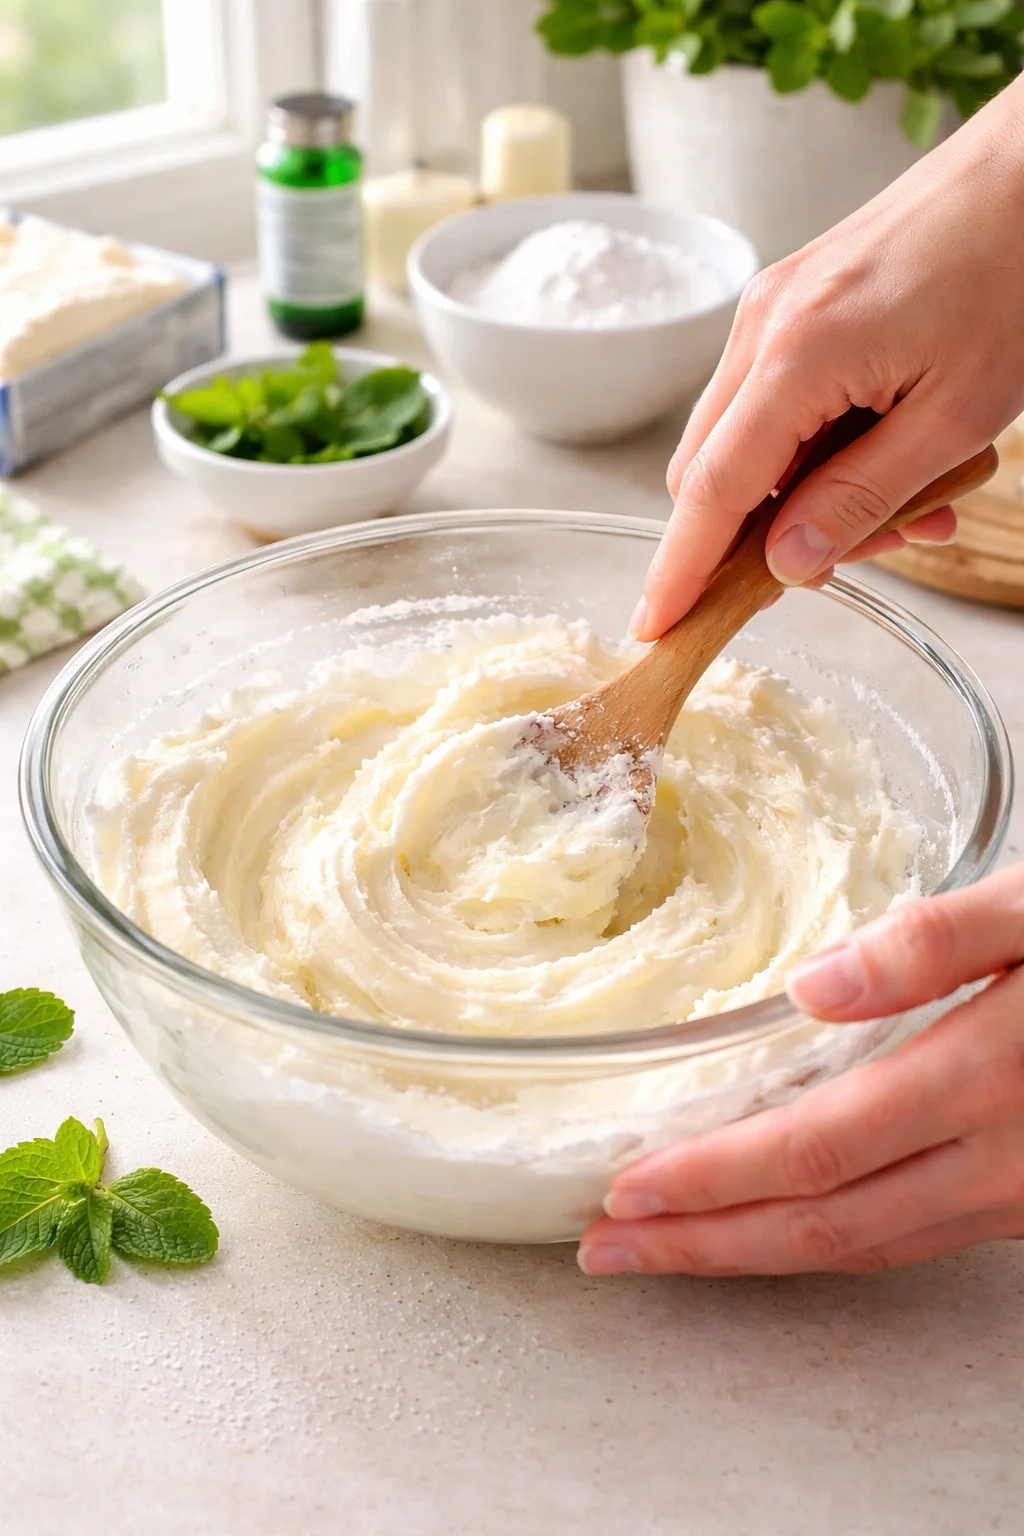
Mix the dough
In a medium bowl, mix the softened cream cheese until it’s smooth. Add peppermint extract and a tiny pinch of salt if you want. Then start adding powdered sugar one cup at a time, mixing as you go. You’re looking for a soft dough that doesn’t stick badly to your fingers. It should feel like play dough, not frosting.
Color and shape
If you’re coloring the batch, split the dough into smaller bowls and tint each one. Keep the coloring light at first because it deepens a bit as you mix. Dust your hands with powdered sugar, pinch off small pieces, and roll into balls. Press with a fork, press into molds, or gently flatten into little patties.
Dry and store
Place the mints on a parchment lined baking sheet. Let them sit out at room temperature to dry until the outside feels set. In my kitchen, that’s usually several hours, sometimes overnight if they’re thicker. Once dry, store in an airtight container with parchment between layers.
If you’re building a comfort food menu for guests and want something hearty along with these sweet mints, I’m a fan of pairing party snacks with something like baked cream cheese spaghetti. Not the same category at all, but it makes a fun, filling spread when you’re feeding a crowd.
Frequently Asked Questions
Why are my mints sticky even after adding powdered sugar?
Your cream cheese may have been too warm or you used spreadable cream cheese. Chill the dough for 15 to 20 minutes, then dust your hands with powdered sugar and reshape.
How strong should the peppermint flavor be?
It should be gentle, not harsh. Start with 1/4 teaspoon, mix, taste a tiny bit, then add a drop more if needed. Mint extract can go from nice to overpowering fast.
Do I need molds to make them look pretty?
Nope. A fork press gives that classic look, and it’s honestly what I do most of the time. You can also roll tiny ropes and cut little pillows if you want something different.
How far ahead can I make HOMEMADE CREAM CHEESE MINTS?
I usually make them 2 to 5 days ahead for parties. Keep them airtight, layered with parchment, and they stay soft inside with a dry outer shell.
Can I freeze them?
Yes. Freeze in a sealed container with parchment between layers. Thaw in the fridge or on the counter with the lid on so they don’t collect moisture.
A sweet little finish for any gathering
If you try HOMEMADE CREAM CHEESE MINTS, you’ll see why they’ve stuck around for so long. They’re easy, they’re cute, and they disappear fast on a dessert table. If you want to compare versions, I’ve found helpful notes from Cream Cheese Mints – Sugar Spun Run, and this nostalgic take from Old-Fashioned Cream Cheese Mints Recipe is great too. Make a batch, play with the colors, and don’t stress the shapes, they’ll still taste amazing. Save a few for yourself with a cup of coffee, because you deserve the best ones.

Homemade Cream Cheese Mints
Ingredients
Method
- In a medium bowl, mix the softened cream cheese until it’s smooth.
- Add peppermint extract and a pinch of salt if desired.
- Start adding powdered sugar one cup at a time, mixing as you go until you achieve a soft dough that doesn’t stick.
- If coloring, split the dough and tint each portion as desired.
- Dust your hands with powdered sugar, roll small pieces into balls, and shape as desired with a fork or molds.
- Place the mints on a parchment-lined baking sheet.
- Let them dry at room temperature until set, usually several hours or overnight.
- Store in an airtight container with parchment between layers.