

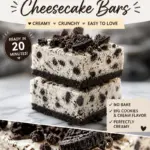
No-Bake Oreo Cheesecake Bars are my little secret weapon for days when I need a dessert that feels special but I do not feel like turning on the oven. You know those moments when guests are coming, the kitchen is already messy, and you still want something that makes people say wow after one bite? This is that recipe. It is creamy, cookies and cream packed, and honestly hard to mess up if you follow a few simple steps. I have made these for birthdays, potlucks, and random Tuesday nights when I needed a sweet reset. Let us get into it. 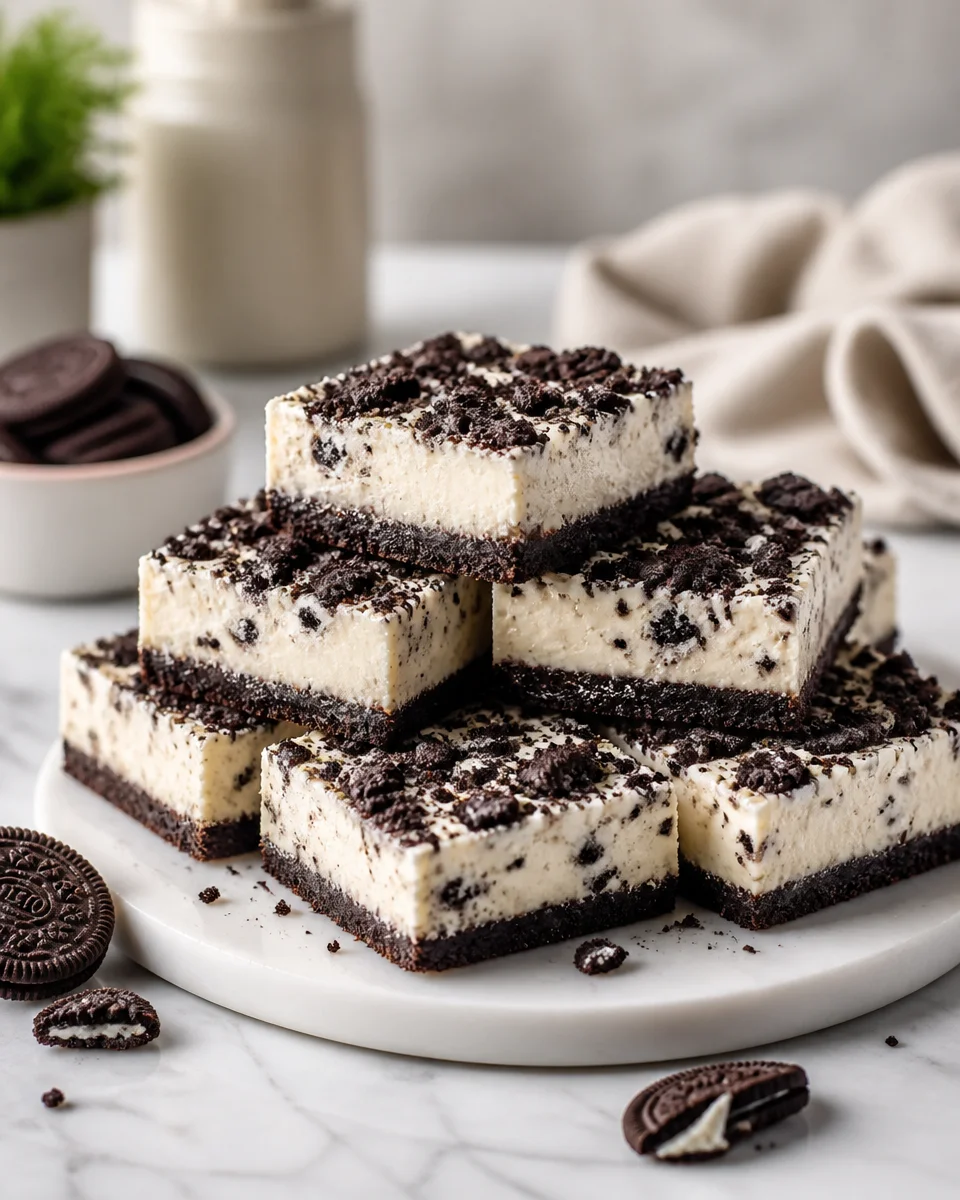
The Story Behind This Recipe
I’ve spent years testing recipes for Middle East Sector, and this No-Bake Oreo Cheesecake Bars is a keeper: crowd-pleasing with no weird tricks. No-Bake Oreo Cheesecake Bars are my little secret weapon for days when I need a dessert that feels special but I do not feel like turning…
6 Simple Ingredients
I love recipes that do not ask me to buy a cart full of stuff I will never use again. These bars keep it simple, and each ingredient actually matters. The Oreos bring chocolate crunch, the cream cheese brings that classic cheesecake tang, and the rest just makes everything smooth and sliceable.
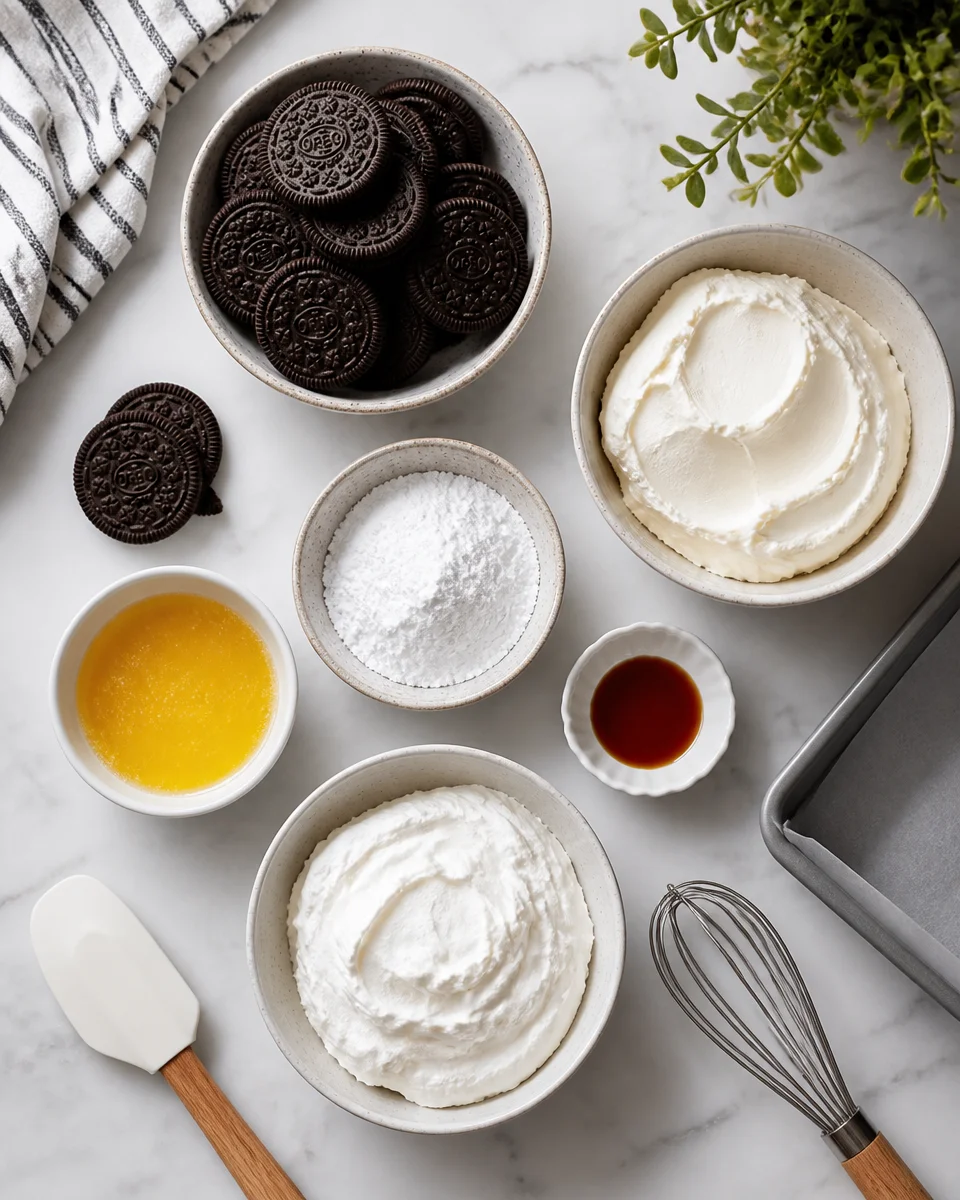
Here is what you need for these No-Bake Oreo Cheesecake Bars:
- Oreos: regular, not double stuffed for the crust (you can use double for the topping if you want)
- Butter: melted, to hold the crust together
- Cream cheese: full fat, softened to room temperature
- Powdered sugar: for sweetness without graininess
- Whipped topping or whipped cream: for that light, mousse like texture
- Vanilla extract: small amount, big difference
That is it. If you are the kind of person who likes to keep a rotating list of easy no bake desserts, you might also like these no bake blueberry cheesecake vibes when you want something fruity instead of chocolate.
Tips for Perfect Cheesecake Bars
I have made this recipe enough times to learn what actually makes the difference between good bars and the kind that disappear in ten minutes. The good news is you do not need fancy tools. You just need a little patience and a couple smart moves.
Little things that make a big difference
Soften the cream cheese. If it is cold, it will clump and you will be tempted to overmix, which can make the filling looser. I leave mine out for about 45 minutes. In a rush, you can cut it into cubes to soften faster.
Press the crust firmly. Use the bottom of a measuring cup or a glass. If the crust is loose, the bars crumble when you slice them. I press until it looks packed and even, especially around the edges.
Chill long enough. These are no bake, but they still need time to set. I know it is hard to wait. Still, plan for at least 4 hours in the fridge. Overnight is even better if you want super clean slices.
Use a lined pan. Parchment paper is your best friend. Let it hang over the sides so you can lift the whole thing out like a tray. This is the difference between neat bars and a messy scoop situation.
“I made these for a family dinner and my uncle, who never compliments desserts, asked if I could bring them again next weekend. They sliced perfectly and tasted like cookies and cream cheesecake from a bakery.”
If you are in a peanut butter mood sometime, I am also obsessed with these no bake buckeye cheesecake bars. Same easy energy, totally different flavor.
How To Make Oreo Cheesecake Bars
This is the part where you realize how low effort this really is. No water bath. No cracked cheesecake stress. Just crush, mix, chill, and try not to sneak too many spoonfuls of filling while you are at it.
Step by step, no stress
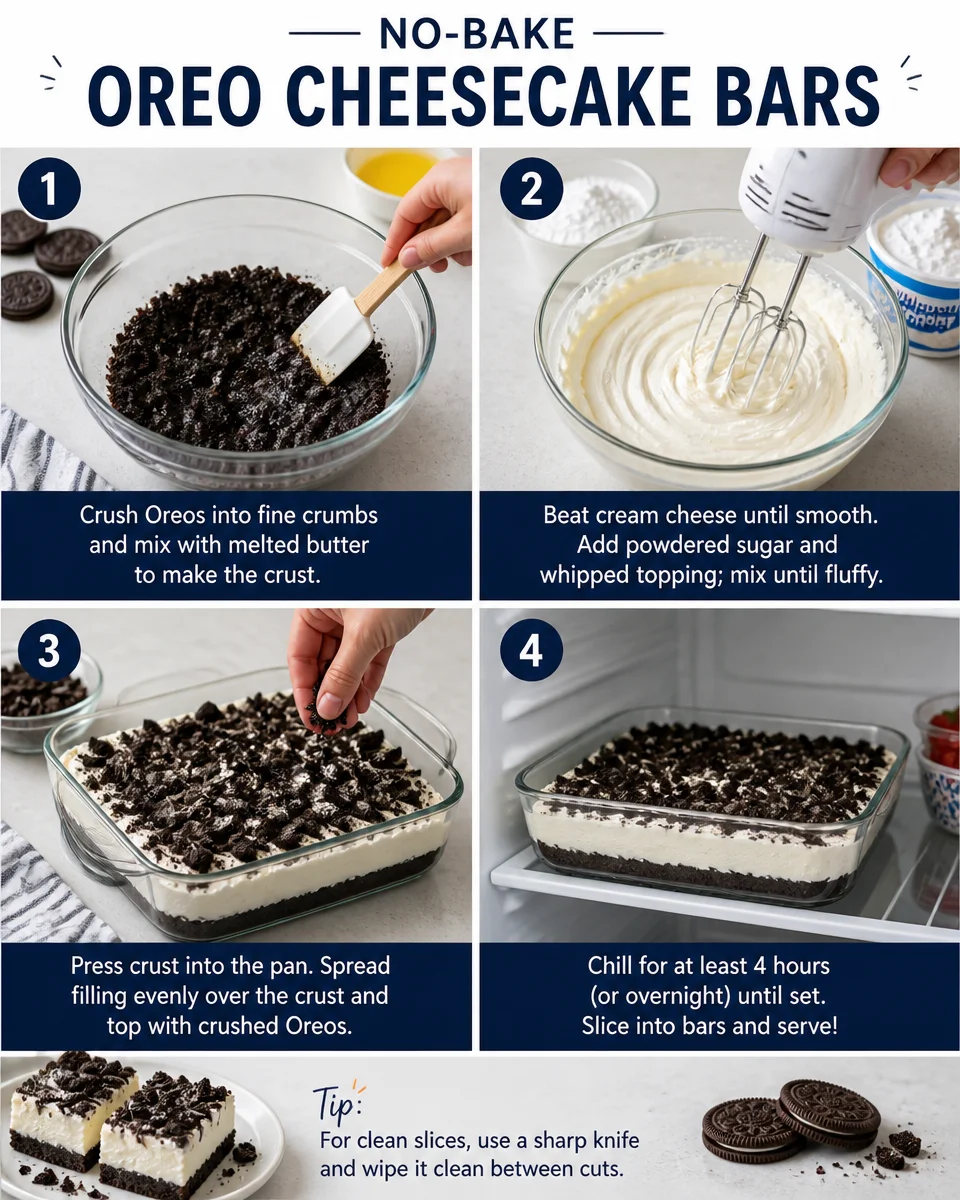
1) Make the crust. Crush the Oreos into fine crumbs. I use a food processor, but a zip top bag and rolling pin works too. Mix crumbs with melted butter until it looks like wet sand. Press into a lined 9×9 pan (or 8×8 for thicker bars). Pop it in the fridge while you make the filling.
2) Mix the filling. Beat softened cream cheese until smooth. Add powdered sugar and vanilla and mix again until creamy. Fold in whipped topping gently. You want it fluffy, not deflated. If you are adding extra crushed Oreos inside the filling, this is the time.
3) Assemble. Spread filling over the crust and smooth the top. Sprinkle crushed Oreos on top, or add bigger chunks if you like texture. I do a mix because I cannot decide.
4) Chill. Cover and refrigerate at least 4 hours. Overnight is perfect. Then lift out using the parchment, slice, and watch everyone hover around the pan.
If you want a fun party twist another time, check out this strawberry Oreo cheesecake cups idea. Same cookies and cream comfort, but in cute little servings.
Recipe Tips And Variations
Once you make No-Bake Oreo Cheesecake Bars the classic way, you will start thinking of all the ways to switch them up. I do this depending on the season, who I am baking for, and what I have in the pantry.
Make them extra thick: Use an 8×8 pan. You will get taller bars that feel super bakery style.
Add a chocolate layer: Drizzle melted chocolate or hot fudge over the chilled top. Let it set, then slice. It makes the top look fancy with almost zero effort.
Try a different cookie: Golden Oreos make a vanilla version. Mint Oreos make a cool, refreshing one that feels perfect in summer.
Make it more “cheesecake”: Add a tablespoon or two of sour cream to the filling for more tang. Do not add too much or the set can get softer.
Want caramel vibes? A caramel drizzle plus a pinch of salt is so good. If caramel is your thing, you might want to peek at these caramel cheesecake bars too.
One more honest tip from my kitchen: when slicing, wipe your knife between cuts. It takes ten seconds and makes the bars look so clean, like you bought them somewhere.
Serving Suggestions
These bars are rich, so a little goes a long way, but people always go back for “just one more small piece.” Here are my favorite ways to serve them, depending on the mood.
- Classic and simple: straight from the fridge with extra crushed Oreos on top
- Dress them up: a swirl of whipped cream and a few cookie crumbs
- Birthday style: add sprinkles or mini chocolate chips on top
- Chocolate lover: drizzle chocolate syrup and add a pinch of flaky salt
- With coffee: this is my favorite, especially as an afternoon treat
If you are building a little dessert table with different no bake options, something colorful like Lucky Charms no bake cheesecake can be a fun contrast next to these chocolatey bars.
Common Questions
Can I make No-Bake Oreo Cheesecake Bars ahead of time?
Yes, and they are actually better that way. Make them the night before so they set fully and slice neatly.
How do I store them?
Keep them covered in the fridge for up to 5 days. I like storing slices in a single layer so the topping stays pretty.
Can I freeze them?
Yep. Freeze slices on a tray first, then wrap and store. Thaw in the fridge for a few hours. The texture stays creamy, just a bit more firm when cold.
What if I do not have whipped topping?
You can whip heavy cream to stiff peaks and fold it in. It tastes amazing and feels a little more homemade.
Why did my bars turn out soft?
Usually it is not chilled long enough, or the cream cheese got overmixed and loose. Next time, chill overnight and mix just until smooth.
A sweet little final note
If you try these No-Bake Oreo Cheesecake Bars, I really think they will land in your repeat dessert list. They are easy, they travel well, and that cookies and cream combo is always a win. For more ideas and another take on the recipe, I have also enjoyed reading No Bake Oreo Cheesecake Bars – Fork in the Kitchen and Oreo Cheesecake Bars – Sugar Spun Run when I am comparing tips and topping ideas. Clear a little fridge space, grab your Oreos, and make it happen this week. You will be so glad you did.
No-Bake Oreo Cheesecake Bars
Ingredients
Method
- Crush the Oreos into fine crumbs. Mix crumbs with melted butter until it resembles wet sand. Press into a lined 9×9 or 8×8 pan.
- Beat the softened cream cheese until smooth. Add powdered sugar and vanilla, and mix until creamy. Fold in the whipped topping gently.
- Spread the filling over the crust and smooth the top. Sprinkle crushed Oreos on top.
- Cover and refrigerate for at least 4 hours, or overnight for best results. Lift out using the parchment and slice before serving.