


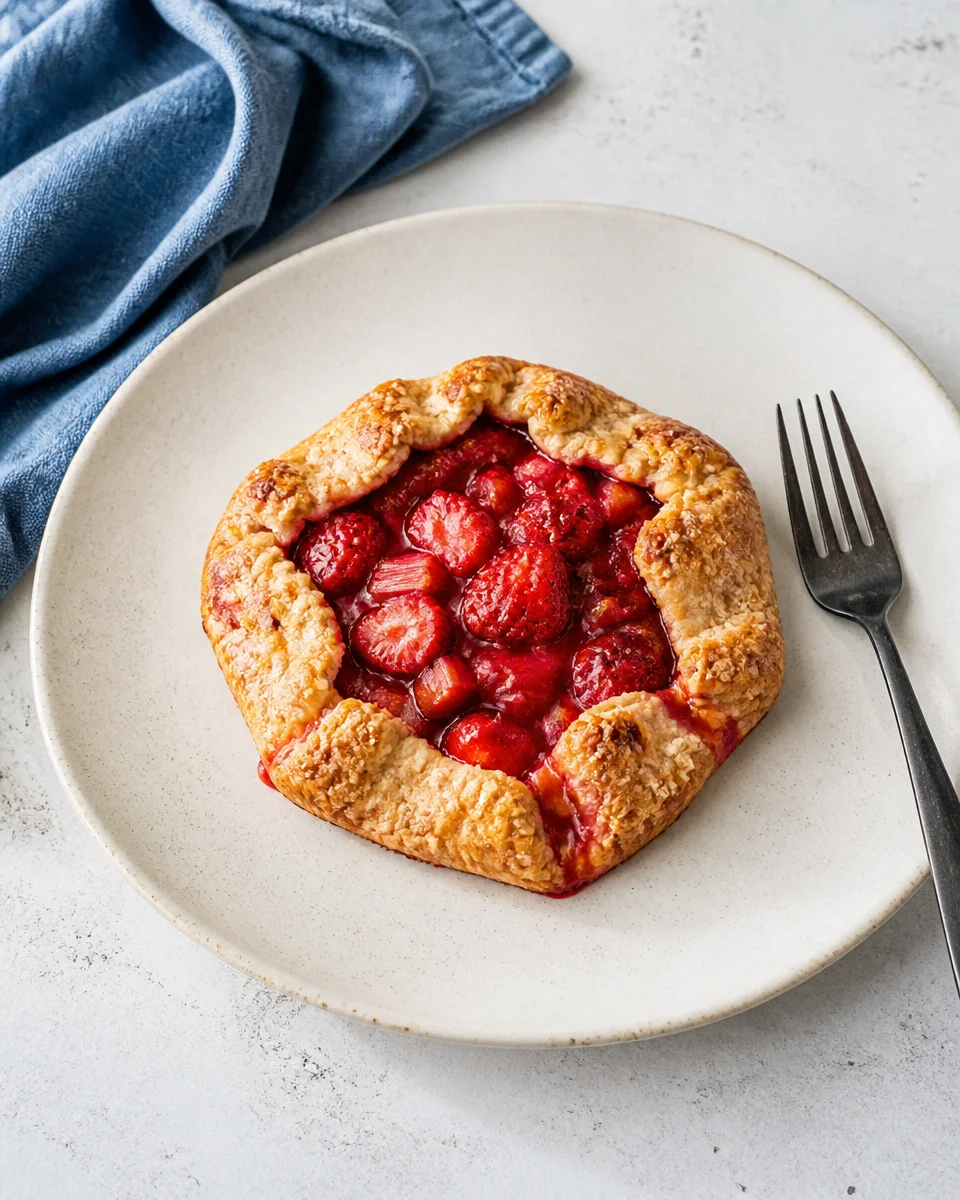
Easy Strawberry Galette ” Rustic Free Form Tart ” is my go to dessert for those days when I want something homemade, but I do not want to babysit a pie. You know the feeling, right? You have strawberries that are getting a little too ripe, you want something sweet, and the idea of rolling out a perfect circle crust feels like too much. This is where the galette shines because it is supposed to look rustic, and that takes the pressure off. It bakes up bubbly, jammy, and golden, and it makes your kitchen smell like a bakery. Let me walk you through how I make mine so you can pull it off on a regular weeknight, not just on a special occasion.
The Story Behind This Recipe
Hey, I’m Alexandraa! This Easy Strawberry Galette ” Rustic Free Form Tart “ was built for busy nights: simple steps, reliable results, and flavor that makes people ask for seconds. Easy Strawberry Galette " Rustic Free Form Tart " is my go to dessert for those days when I want something homemade, but I do not…
What is a Galette?
A galette is basically pie’s chill cousin. It is a free form tart where you roll out dough, pile fruit in the middle, then fold the edges up and over. No pie pan needed, no crimping, no stress.
I love an Easy Strawberry Galette ” Rustic Free Form Tart ” because strawberries are naturally juicy and sweet, so the filling tastes like peak summer with very little effort. If you are into strawberry desserts in general, you might also like this fun bake that feels a little nostalgic: strawberry pop tart pie. Different vibe, same strawberry happiness.
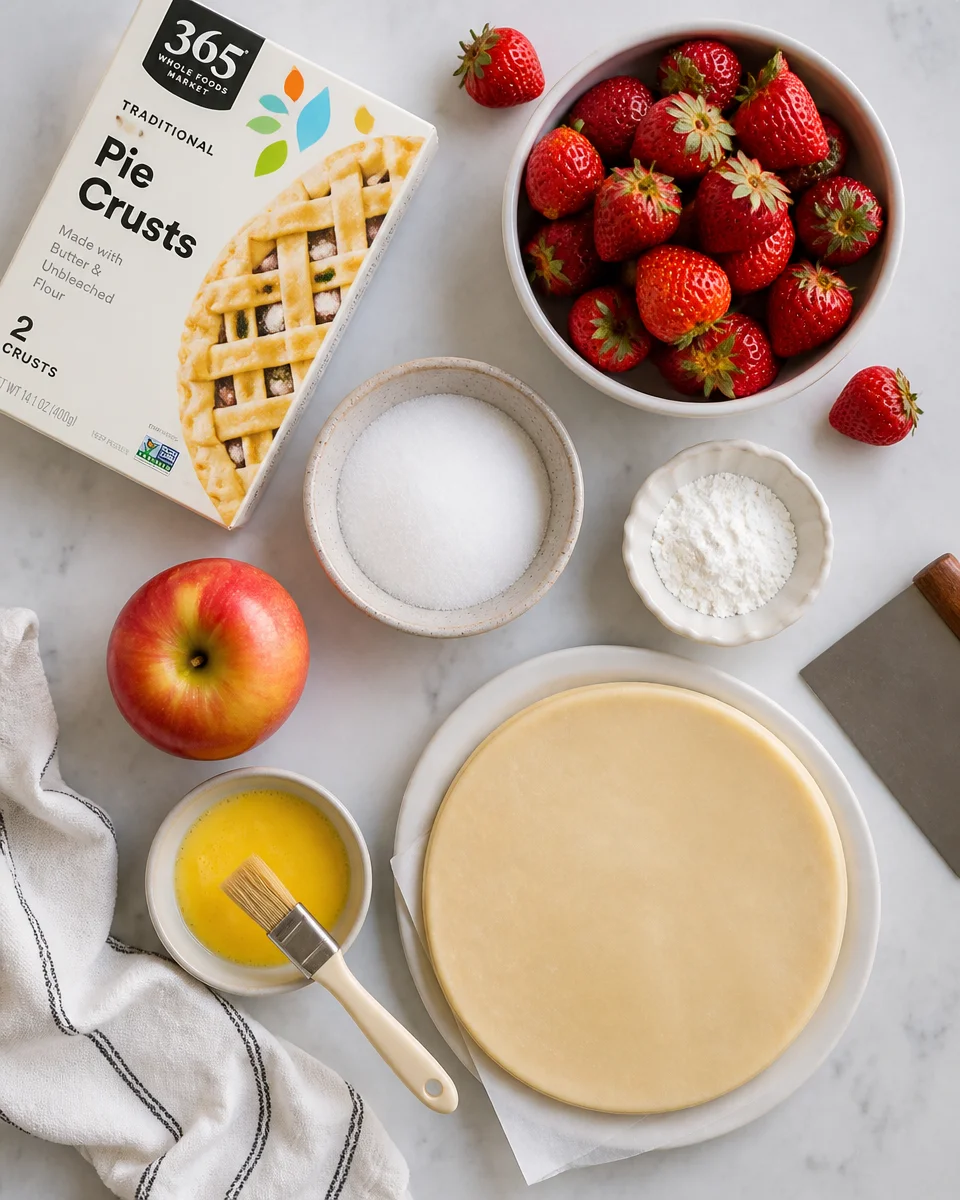
Here is the basic vibe of what you need, nothing fancy:
- Dough: store bought pie dough works, but homemade tastes extra buttery
- Strawberries: fresh is best, but you can use frozen if you thaw and drain them well
- Sugar: just enough to bring out the berry flavor
- Tapioca flour (or starch): to thicken the juices
- One apple: sounds odd, but trust me, I will explain later
- Egg wash: for that golden crust
Since this is a free form tart, you can go a little wild with the shape. Aim for “mostly round,” fold the edges, and call it charming. That is honestly part of why Easy Strawberry Galette ” Rustic Free Form Tart ” is so beginner friendly.
;
Make Ahead
If you are the kind of person who likes dessert ready without the chaos, galette is a great make ahead option. I do this a lot when friends are coming over and I want to actually hang out instead of being stuck in the kitchen.
My favorite prep plan
You have a few simple options:
1 day ahead: Make the dough, wrap it tight, and chill it. You can also slice strawberries and keep them in the fridge, but do not add sugar until closer to baking or they will get too watery.
Same day, earlier: Mix the filling and keep it in the fridge for up to a couple hours. If it gets juicy, just stir again before piling it on the dough.
Fully baked: Bake it, cool it, and keep it at room temp for a few hours. Rewarm in the oven for 8 to 10 minutes to crisp the crust back up.
Sometimes, when I have extra strawberries, I do something even easier and make a quick jar of strawberry freezer jam. It is perfect if you want the strawberry flavor without turning on the oven, and it is also amazing spooned over a warm slice of galette.
My Galette Wisdom
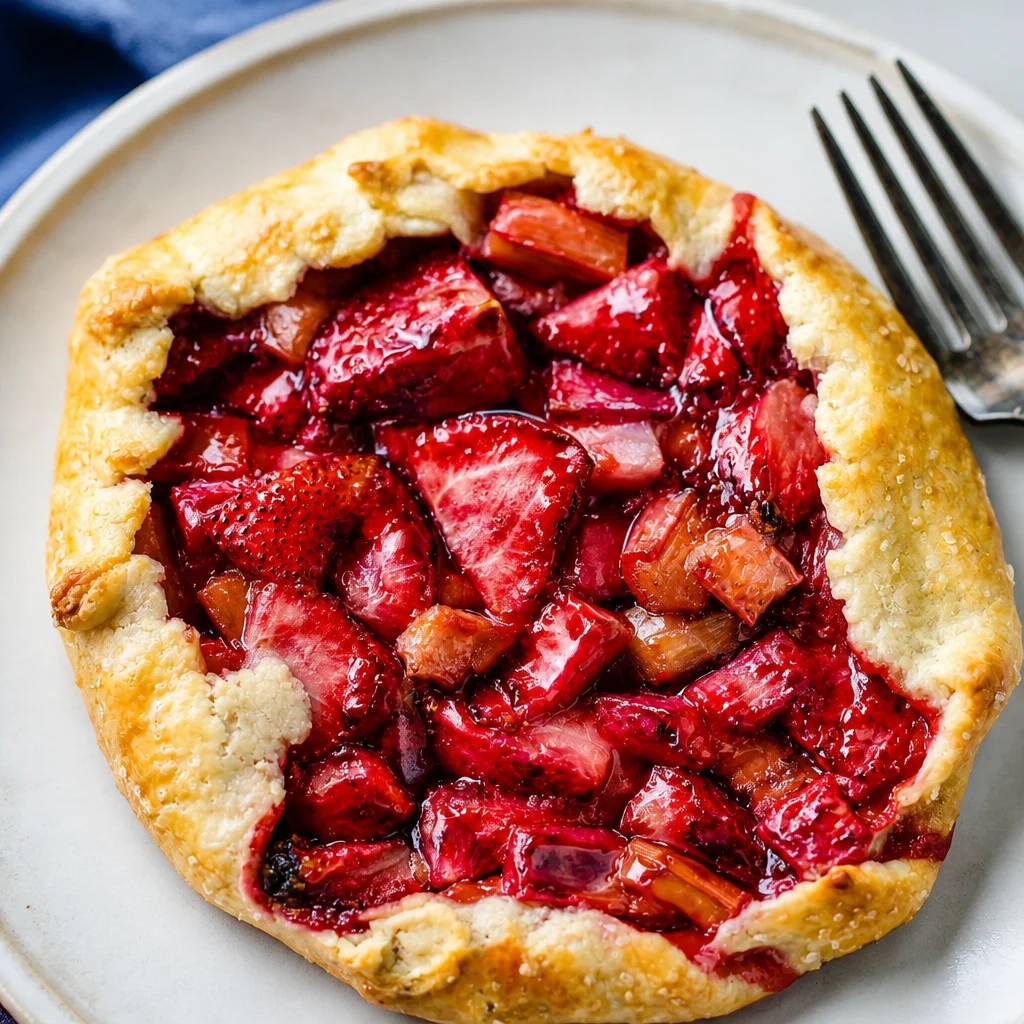
I have made this enough times to learn what matters and what really does not. The big goal is a crisp bottom crust with a filling that is thick and glossy, not soupy.
Here is what I always do now:
- Keep the dough cold. If it gets warm and soft, pop it in the fridge for 10 minutes before filling.
- Do not overload the center. It is tempting, but too much fruit makes it leak and collapse.
- Leave a border of about 2 inches so you have room to fold.
- Use parchment paper. It saves you if any juices bubble over.
- Bake until deeply golden. Pale crust is a sad crust.
Also, I always put the baking sheet in the oven while it preheats, then slide the parchment and galette onto the hot pan. That little trick helps the bottom crisp up fast. And speaking of “little tricks,” if you are anything like me, you end up with labels stuck on jars or baking dishes after stocking up on ingredients. This guide on removing sticky sticker residue from dishes has saved my patience more than once.
“I tried your strawberry galette method for a family dinner and it came out perfect. The crust stayed crisp and the filling was not runny at all. Everyone thought I bought it from a bakery.”
Once you bake an Easy Strawberry Galette ” Rustic Free Form Tart ” successfully, it feels like a superpower because it looks impressive but is secretly low stress.
Why use an apple in the filling
Okay, the apple thing. I know it sounds like I am trying to sneak in fruit you did not ask for, but hear me out. I grate about half of a small apple right into the strawberry filling. You do not really taste “apple.” What it does is help the filling set and feel a bit more like a jammy pie filling instead of strawberry soup.
Here is why it works:
Apples have natural pectin, which helps thicken fruit fillings. Strawberries are delicious but they do not have a ton of pectin, so they can get runny.
The grated apple disappears. It melts into the filling while baking, giving you body without chunks.
It stretches the strawberries just a little. Helpful if your berry stash is not huge.
If you are making Easy Strawberry Galette ” Rustic Free Form Tart ” for the first time and you are nervous about the filling leaking everywhere, the apple is one of my easiest little safeguards. It is not mandatory, but it is a nice trick.
Why use tapioca flour in the filling
Tapioca flour is my favorite thickener for strawberry desserts because it turns the juices glossy and it does not leave a chalky taste. You can usually find it near gluten free baking stuff or in the baking aisle.
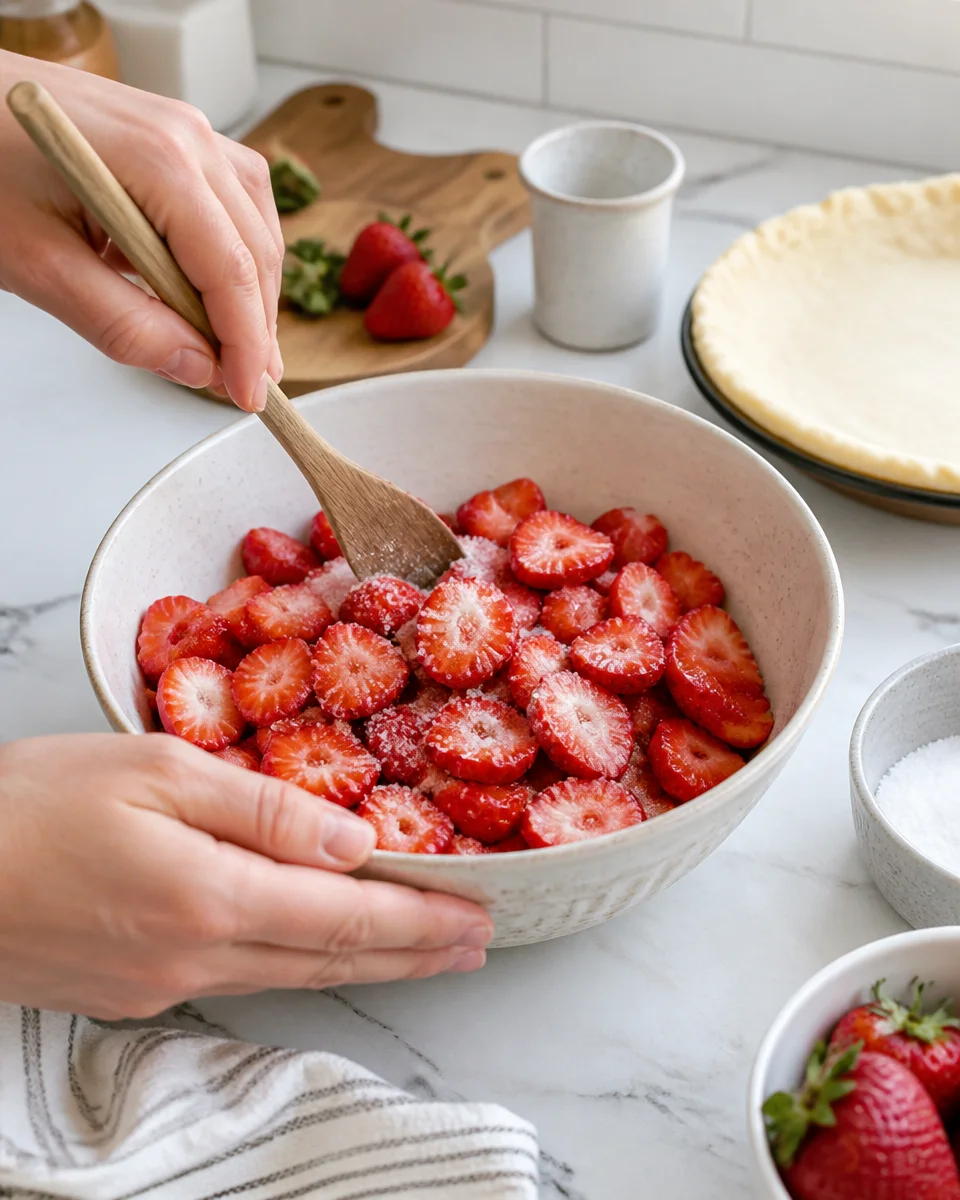
Here is how I use it: for about 3 cups of sliced strawberries, I use 1 to 1 and a half tablespoons of tapioca flour, plus sugar and a pinch of salt. Let it sit for 5 minutes, then spoon the fruit onto the dough, leaving most of the extra liquid behind in the bowl.
Why tapioca flour beats other options for me:
It stays clear, so the filling looks bright and not cloudy.
It holds up even after the galette cools, so slices do not fall apart.
It plays nice with juicy fruit like strawberries.
If you only have cornstarch, you can use it, but I usually cut the amount slightly and make sure the galette bakes long enough to cook out any starchy taste. Tapioca flour just feels more foolproof for an Easy Strawberry Galette ” Rustic Free Form Tart “.
Common Questions
Can I use frozen strawberries?
Yes, but thaw them first and drain well. Frozen berries release more water, so you may need a little extra tapioca flour.
How do I keep the bottom from getting soggy?
Use a hot baking sheet, do not pile in too much liquid, and bake until the crust is properly browned. If it still seems soft, give it 5 more minutes.
What is the easiest dough option?
Store bought pie dough is totally fine. Let it sit at room temp for a few minutes so it rolls without cracking, but keep it cool.
Can I make it gluten free?
Yes, with a good gluten free pie crust. Tapioca flour already fits right in, so you are halfway there.
How do I store leftovers?
Cover and refrigerate for up to 3 days. Rewarm in the oven or toaster oven to re crisp the crust.
A sweet little send off
If you have been wanting a dessert that feels special but does not require perfection, this Easy Strawberry Galette ” Rustic Free Form Tart ” is the one. It is cozy, flexible, and honestly pretty hard to mess up once you know the thickening tricks. After it is done, I usually do a quick cleanup, and if your dishwasher is acting funky, this post on easy ways to clean a dishwasher is a lifesaver. Then I grab a slice, and if I have been hunched over the counter too long, I swear by these easy stretches for tight shoulders. If you want more galette inspiration, I love browsing Strawberry Rhubarb Galette – Eat The Love and this Rustic strawberry galette that is beautiful and easy to put together. for extra ideas. Now go bake it, lean into the rustic folds, and enjoy that first warm, jammy bite.
Strawberry Galette
Ingredients
Method
- Preheat the oven and place a baking sheet in the oven to heat.
- Roll out the dough into a roughly circular shape on parchment paper.
- In a bowl, mix together the sliced strawberries, grated apple, tapioca flour, and sugar. Let it sit for 5 minutes.
- Spoon the fruit mixture onto the center of the dough, leaving a 2-inch border.
- Fold the edges of the dough over the filling, pleating as needed.
- Brush the edges with the egg wash.
- Slide the parchment with the galette onto the preheated baking sheet.
- Bake until the crust is golden and the filling is bubbly, about 35-40 minutes.