

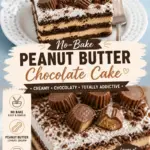
No-Bake Peanut Butter Chocolate Icebox Cake is my go to dessert for those days when I want something that feels special, but I do not want to turn on the oven or deal with a sink full of dishes. You know that moment when you promise dessert for tonight, then realize you are tired and short on time? This is the fix. It tastes like a peanut butter cup decided to become a chilled, sliceable cake. The best part is you can make it earlier in the day and forget about it until you are ready to serve. If you can stir and stack, you can make it. 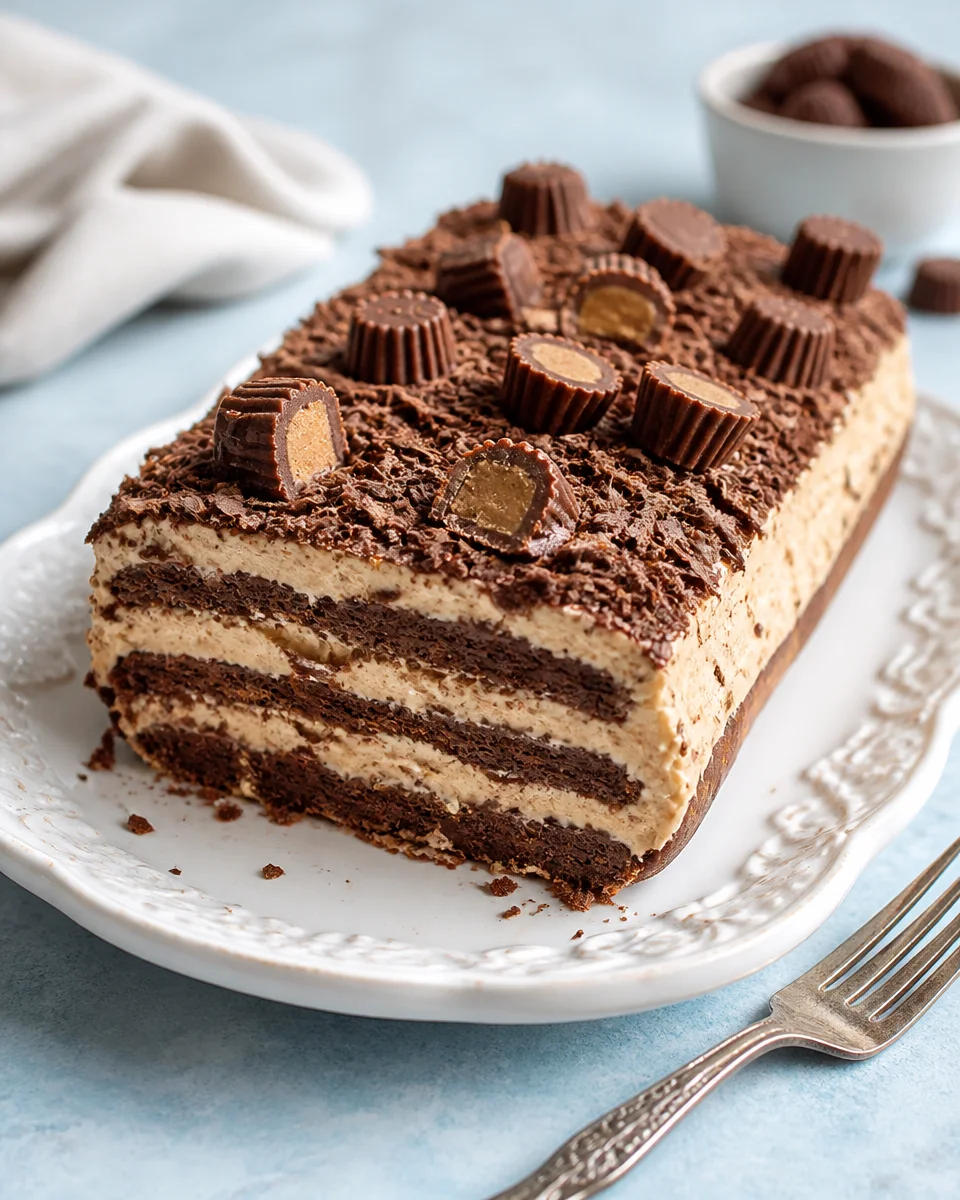
The Story Behind This Recipe
I’ve spent years testing recipes for Middle East Sector, and this No-Bake Peanut Butter Chocolate Icebox Cake is a keeper: big on flavor with no weird tricks. No-Bake Peanut Butter Chocolate Icebox Cake is my go to dessert for those days when I want something that feels special, but I do not want…
What is an Icebox Cake?
An icebox cake is basically a no bake dessert that “sets” in the fridge while you go live your life. Instead of baking, you build layers of cookies or crackers with a creamy filling, then chill it long enough for everything to soften and slice nicely.
The magic is the waiting. The cookies soak up a little moisture from the filling, turning into a tender, cake like layer. It is one of those old school desserts that still works because it is simple and honestly kind of genius.
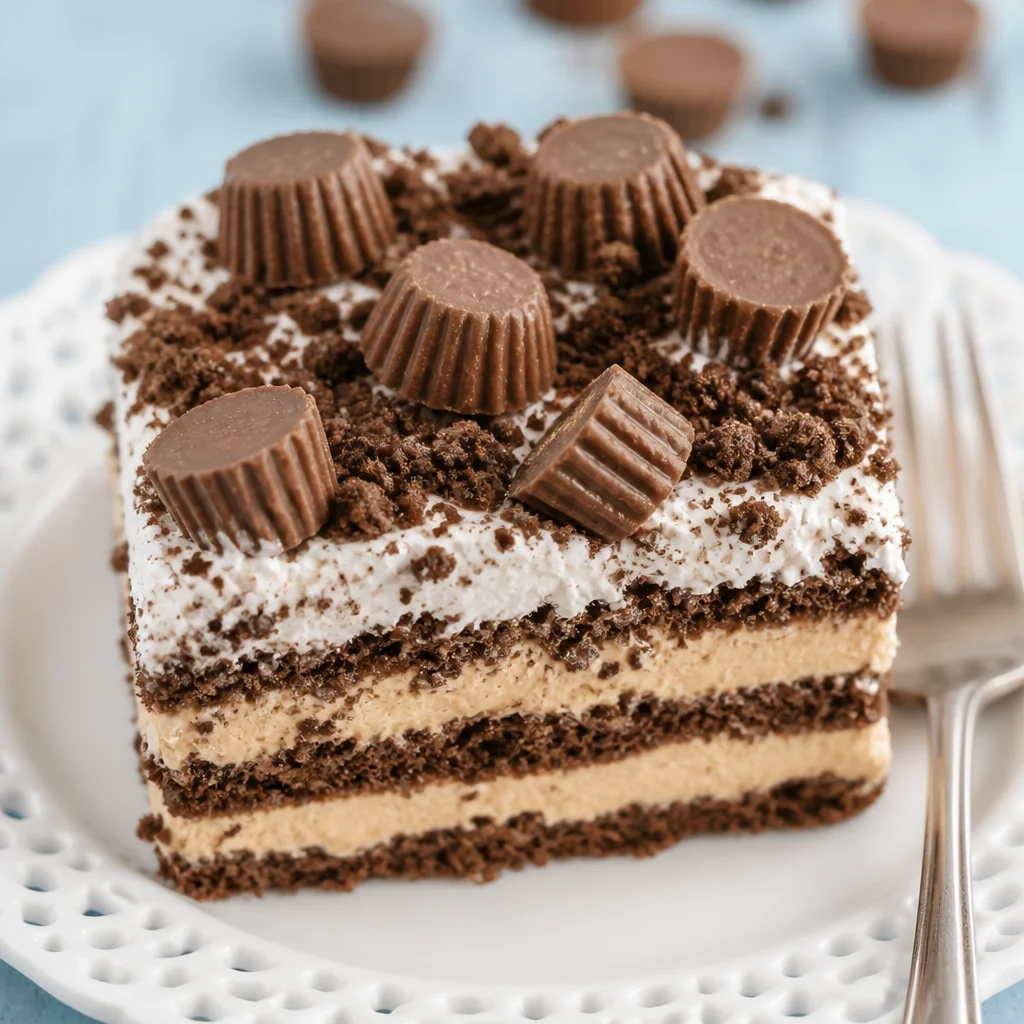
For this No-Bake Peanut Butter Chocolate Icebox Cake, we are leaning hard into two big flavors: **peanut butter** and **chocolate**. The result is rich but still easy to eat, especially when it is cold straight from the fridge.
If you are on a peanut butter and chocolate kick like I usually am, you might also like this clickable recipe for chocolate peanut butter crazy cake. That one is baked, but the flavor vibe is very similar.
How to Make Peanut Butter Chocolate Icebox Cake
I make this in a standard loaf pan when I want tall slices, or a square 8 inch pan when I want more of a classic cake look. Either way is fine. The biggest “skill” here is just spreading the layers gently so they stay neat.
Quick step by step directions
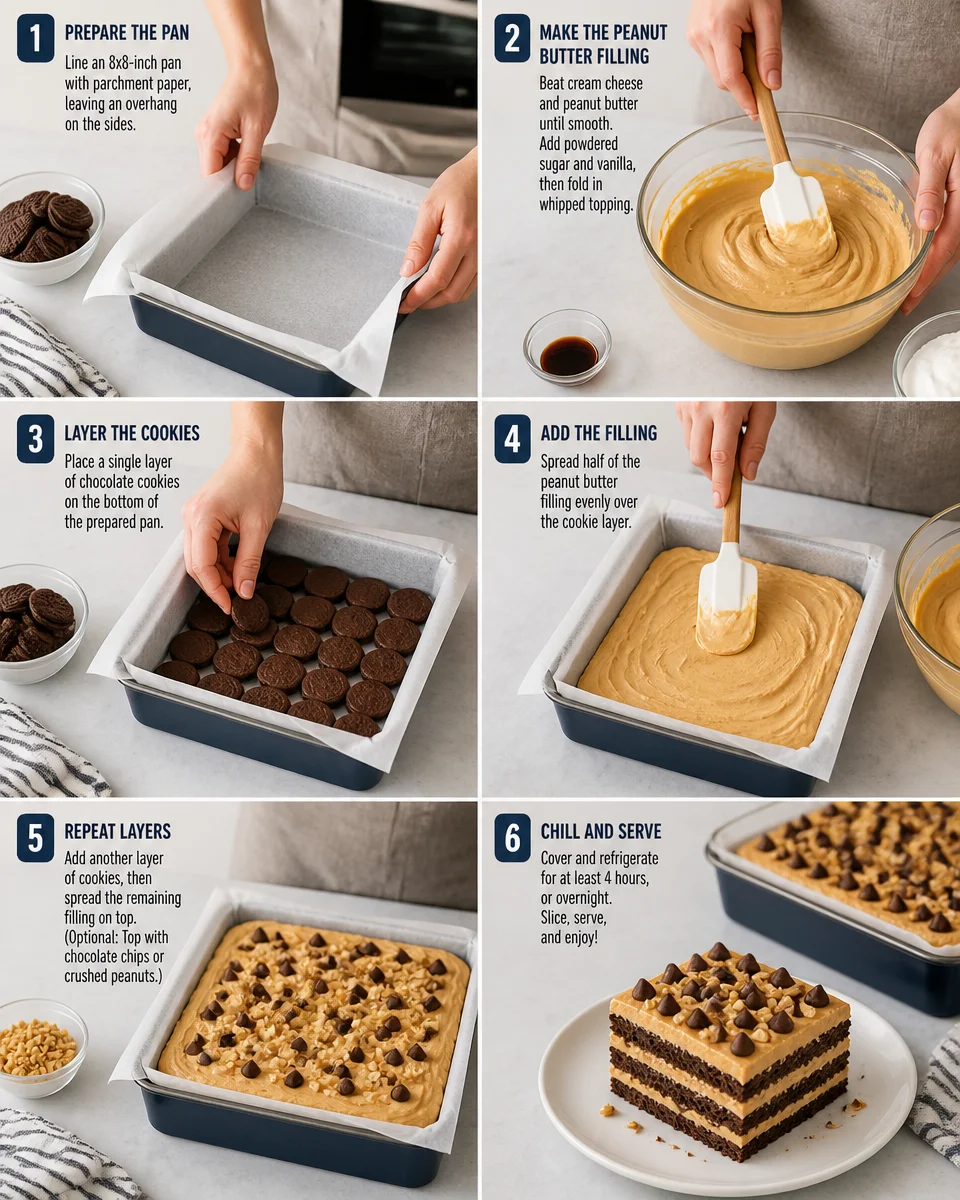
- Line your pan with parchment paper or plastic wrap so it lifts out easily later.
- Make the peanut butter filling by mixing peanut butter with a creamy base like whipped topping or whipped cream plus a little powdered sugar and vanilla.
- Start layering: a thin layer of filling, then a layer of chocolate cookies or chocolate graham crackers, then repeat.
- Add a simple chocolate layer if you want, like chocolate ganache or a drizzle of chocolate syrup between some layers.
- Chill for at least 6 hours, but overnight is best for clean slices.
- Slice and serve cold, topped with chopped peanut butter cups if you are feeling extra.
Small personal note: the first time I made an icebox cake, I tried to slice it after two hours because I was impatient. It tasted good, but it kind of slid around like a dessert landslide. Overnight chilling is not just a suggestion. It is the difference between “messy but yummy” and “wow, look at those layers.”
If you want another easy treat that is basically made for busy days, I have also bookmarked these chocolate peanut butter no bake cookies for when I need something fast and snacky.
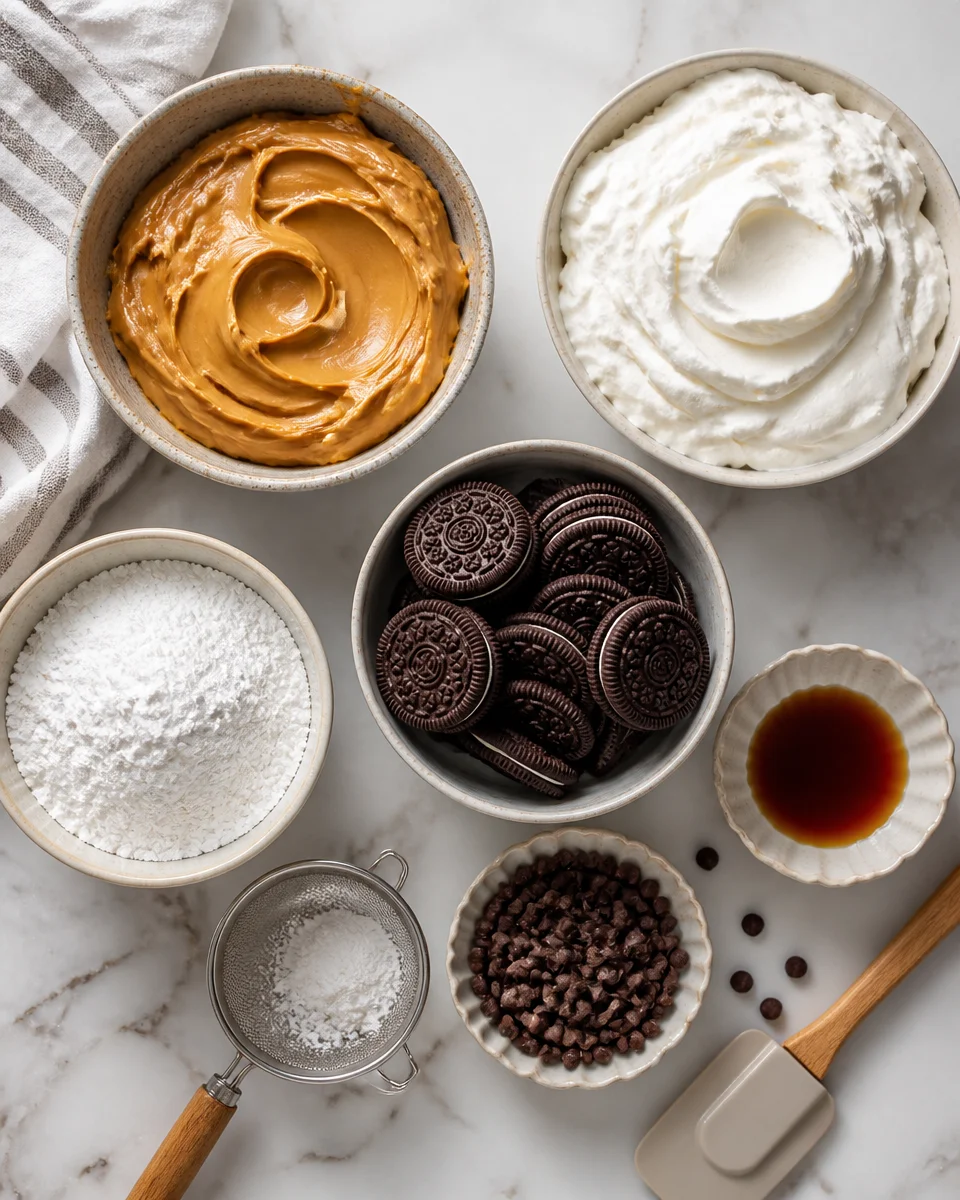
Ingredients in Peanut Butter Icebox Cake
Here is what I use most often. The nice thing about this dessert is you can adjust it based on what is already in your pantry. Also, this section is where you can control how sweet and rich you want it.
- Peanut butter: Creamy works best for smooth layers. Use regular, not the natural kind that separates, unless you stir it extremely well.
- Whipped topping or heavy cream: Whipped topping is easiest and super stable. If using heavy cream, whip it to soft peaks first.
- Powdered sugar: Just enough to sweeten and help the filling hold its shape.
- Vanilla extract: Makes the filling taste more like a real dessert and less like straight peanut butter.
- Chocolate cookies or chocolate graham crackers: This is your “cake” layer. Anything crisp that softens in the fridge works.
- Chocolate chips (optional): For a quick ganache drizzle or a sprinkle between layers.
- Pinch of salt: If your peanut butter is unsalted, add a pinch. It makes the chocolate pop.
I usually keep it classic, but if you want that peanut butter cup feeling, add chopped mini cups on top right before serving. It is also fun to add a thin layer of chocolate between every other cookie layer. Not required, but it makes the whole thing feel like a bakery dessert.
“I made this for a family movie night and it disappeared fast. Even my picky kid asked for a second slice, which never happens.”
If you love the peanut butter and chocolate combo and want something a little more “fancy slice” for a weekend project, take a look at this decadent chocolate peanut butter cake roll. Totally different method, same cozy flavors.
Expert Tips + Variations
This is the part where I save you from the little things that can go wrong. None of these are hard fixes, but they make your No-Bake Peanut Butter Chocolate Icebox Cake come out more reliable every time.
Tips that actually help
Chill long enough. I know I said it already, but it is the main trick. Overnight gives you the cleanest slices.
Use a lined pan. Parchment or plastic wrap means you can lift it out and slice like a pro. It also keeps the first slice from being a tragedy.
Do not soak the cookies. No dunking, no brushing with milk. The filling will soften them naturally, and you will avoid a mushy middle.
Balance sweetness. If your cookies are super sweet, you can reduce powdered sugar a bit. Taste the filling before you layer.
Easy variations
Crunchy texture: Add chopped roasted peanuts between layers.
Extra chocolate: Stir mini chocolate chips into the peanut butter filling.
Banana twist: Add thin banana slices between layers, but serve within 24 hours so they stay fresh.
Gluten free: Use gluten free chocolate cookies and double check your other labels.
And if you are in a serious no bake mood, these no bake chocolate peanut butter cookies are another good one to keep in your back pocket. Same flavor family, zero stress.
More No Bake Desserts to Make!
Once you make one icebox cake, it kind of opens a door. Suddenly you start looking at cookies and fillings like building blocks. If you are making this No-Bake Peanut Butter Chocolate Icebox Cake for a party, it is also nice to have one extra no bake option in case someone wants a grab and go bar or cookie.
One of my favorite add ons for a dessert table is no bake chocolate peanut butter oat bars. They are sturdy, they travel well, and they feel like a snack and dessert at the same time.
For serving ideas, I keep it simple:
Serve it cold with hot coffee, or add a scoop of vanilla ice cream if you want a full on dessert moment. A sprinkle of flaky salt on top is also surprisingly good, especially if you went heavy on the chocolate.
Common Questions
1) How long does it need to chill?
At least 6 hours, but overnight is best. The longer chill helps the layers soften evenly so it slices clean.
2) Can I freeze No-Bake Peanut Butter Chocolate Icebox Cake?
Yes. Freeze it wrapped well, then thaw in the fridge for a few hours before slicing. You can also eat it slightly frozen like an ice cream cake.
3) What cookies work best?
Chocolate graham crackers, chocolate wafer cookies, or any crisp chocolate cookie that softens nicely. Avoid cakey cookies since they can get gummy.
4) Can I use natural peanut butter?
You can, but it is looser and can make the filling less stable. If you do use it, stir very well and consider adding a little extra powdered sugar for structure.
5) How long will it keep in the fridge?
About 3 to 4 days covered. The layers get softer over time, but the flavor is still great.
A sweet little final note
If you want a dessert that feels like a treat but fits into real life, this No-Bake Peanut Butter Chocolate Icebox Cake is it. It is simple, super satisfying, and honestly a lifesaver when you need a make ahead option. If you want to compare other versions, I found great inspiration from Chocolate Peanut Butter Icebox Cake – Live Well Bake Often and this cozy take on Peanut Butter Icebox Cake – Mom On Timeout. Put it in the fridge, let it do its thing, then slice and watch people get very quiet in the best way. Let me know how you top yours, because I am always looking for an excuse to make it again.
No-Bake Peanut Butter Chocolate Icebox Cake
Ingredients
Method
- Line your pan with parchment paper or plastic wrap.
- In a bowl, mix together the peanut butter, whipped topping, powdered sugar, and vanilla until well combined.
- Spread a thin layer of peanut butter filling in the lined pan.
- Add a layer of chocolate cookies or graham crackers on top of the filling.
- Repeat the layers of filling and cookies until the pan is full.
- For added decadence, drizzle chocolate ganache or syrup between layers if desired.
- Cover the pan and chill in the refrigerator for at least 6 hours, preferably overnight.
- Once chilled, remove the icebox cake from the pan and slice into pieces.
- Serve cold and top with chopped peanut butter cups if desired.