

No-Bake Chocolate Mousse Cups are my answer to that familiar moment when you want something rich and chocolatey, but you do not want to turn on the oven or wash a sink full of dishes. I started making these on busy weekdays, and now they are my go to dessert for random cravings and last minute guests. They look fancy in little cups, but the process is honestly super simple. If you can whip cream and stir chocolate, you can make this. And yes, people will think you worked way harder than you did. 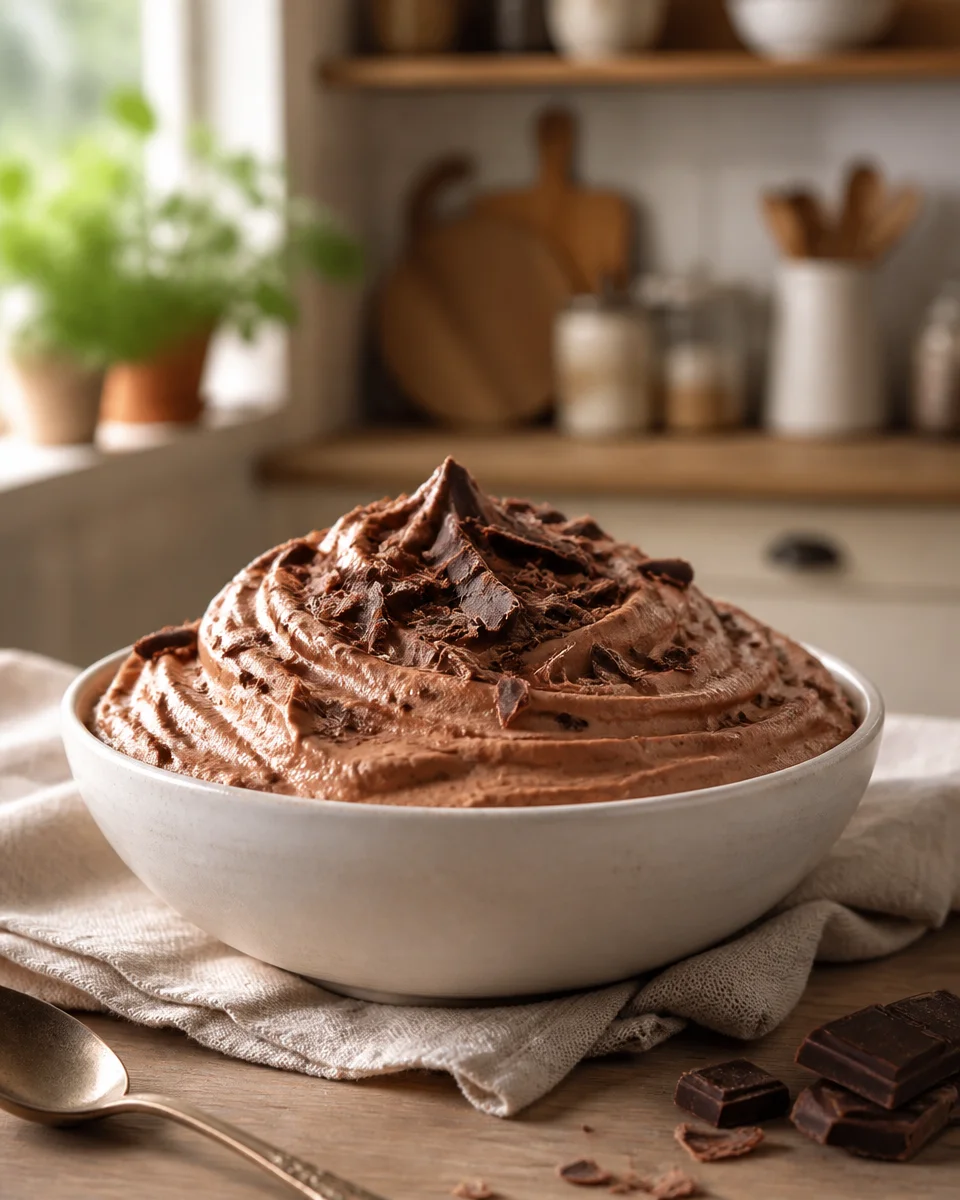
The Story Behind This Recipe
I’m Alexandraa, the cook behind this No-Bake Chocolate Mousse Cups. When the craving hit, I dialed in the flavors so it’s approachable and full of comfort vibes. No-Bake Chocolate Mousse Cups are my answer to that familiar moment when you want something rich and chocolatey, but you do not want to turn on…
EASY CHOCOLATE MOUSSE RECIPE OVERVIEW
I like to keep this recipe straightforward and repeatable, because that is what makes it a true favorite. These No-Bake Chocolate Mousse Cups are basically a fluffy chocolate cloud sitting in a cute cup, and you can dress them up or keep them plain.
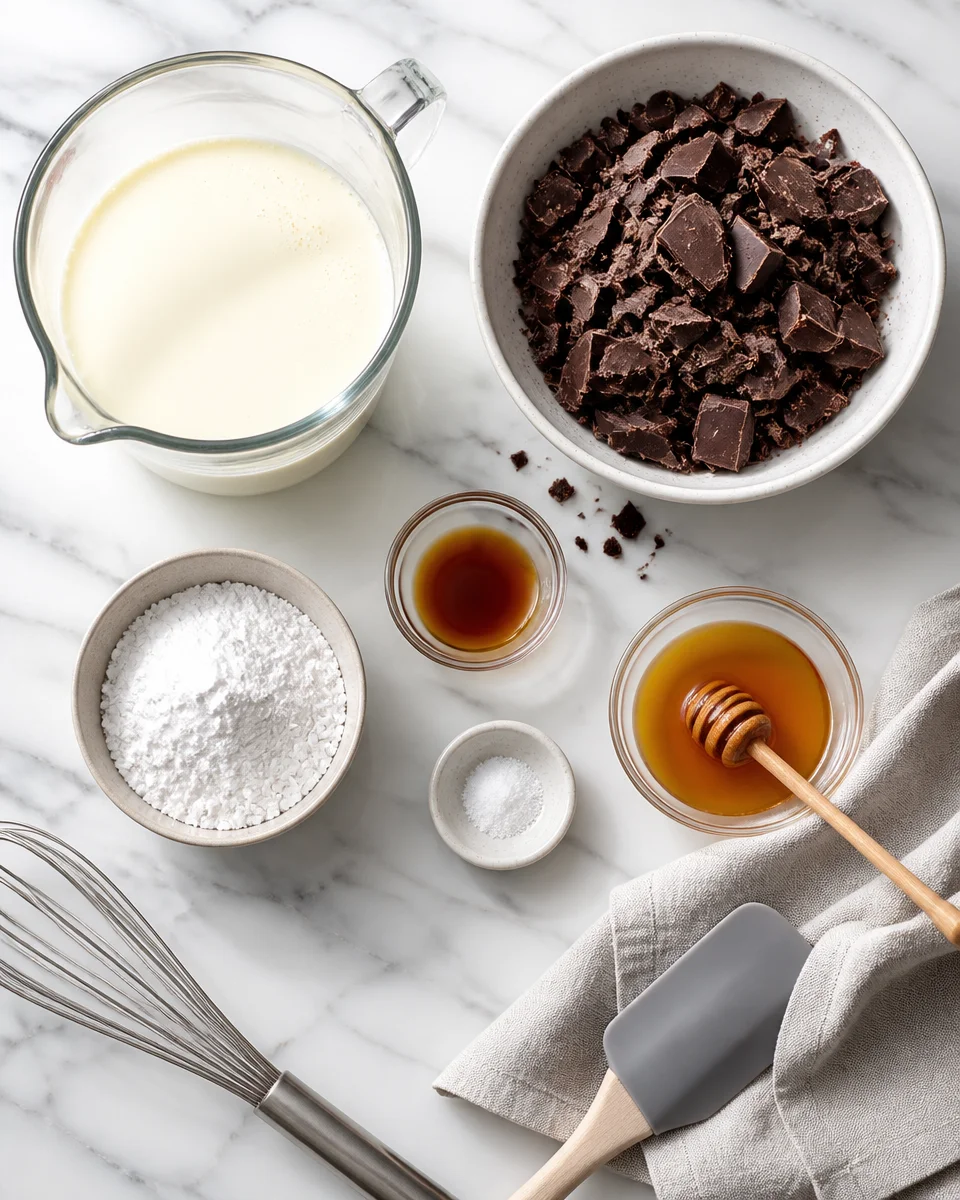
What you will need
- Heavy whipping cream, cold
- Chocolate, chopped (semi sweet is my usual, but dark works too)
- Powdered sugar or a little honey (optional, depending on how sweet your chocolate is)
- Vanilla extract (optional, but it makes the chocolate taste warmer)
- Pinch of salt (tiny but important)
If you are the kind of person who loves a brownie moment too, you might also want to bookmark these chocolate mousse brownies for the next time you want something extra indulgent.
How I make it, step by step
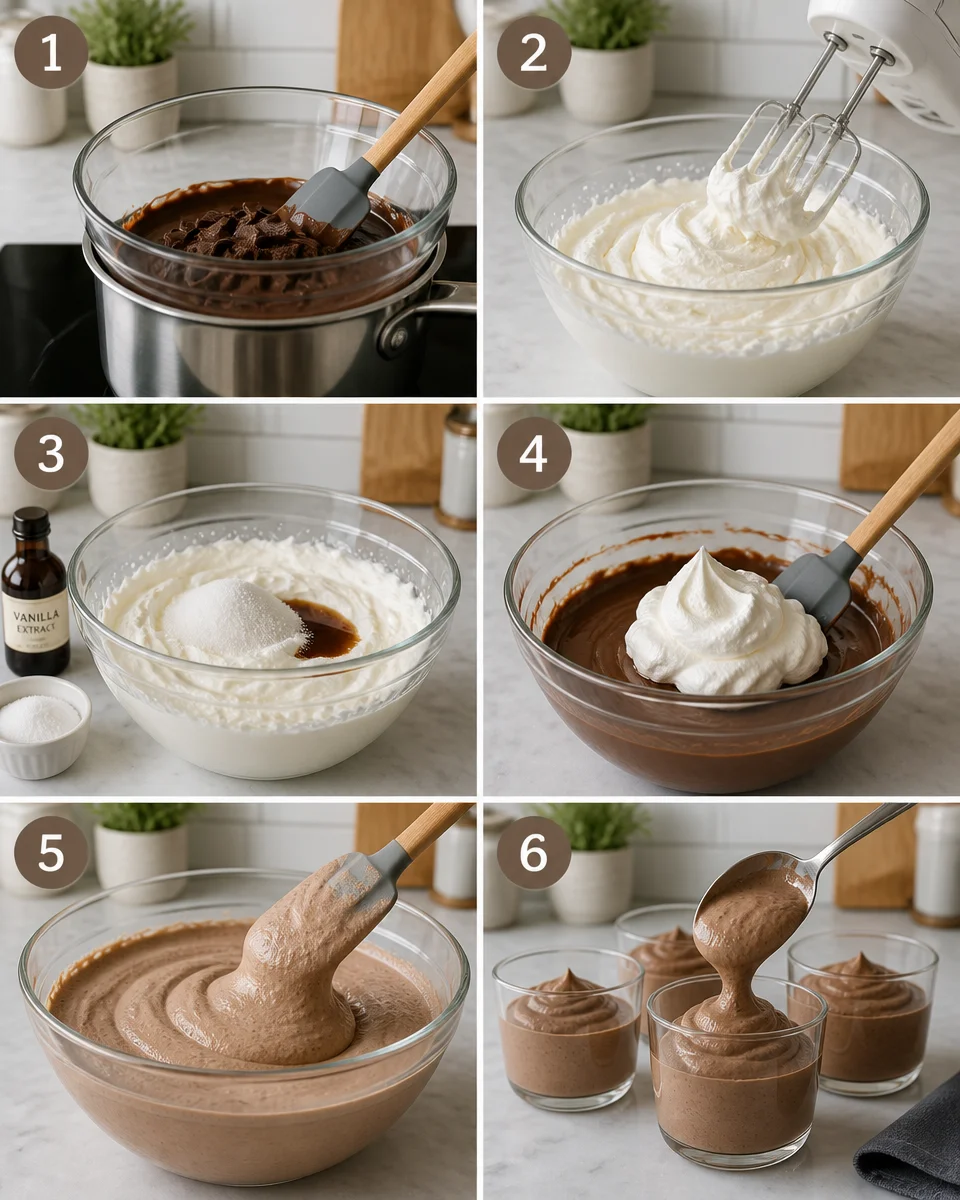
First, melt your chocolate and let it cool a bit. Not cold, just not hot enough to mess with the whipped cream. While that is happening, whip your cold heavy cream until it holds soft peaks. I usually add a spoon or two of powdered sugar and a splash of vanilla while whipping, but that is optional.
Now the key move: add a small scoop of whipped cream into the melted chocolate and stir it in. This lightens the chocolate so it blends smoothly. Then gently fold the chocolate mixture back into the rest of the whipped cream until it turns into a fluffy, even mousse. Spoon into cups, chill, and try not to eat it straight from the bowl.
That is it. That is why I love No-Bake Chocolate Mousse Cups. Minimal work, maximum reward.
RECIPE TIPS
Let me save you from the little mistakes I made the first few times. The recipe is easy, but a couple of small details make the difference between “wow” mousse and “eh” mousse.
- Keep the cream cold. Cold cream whips faster and holds its shape better.
- Cool the chocolate before combining. Warm chocolate can melt the whipped cream and you will lose that airy texture.
- Do not over whip. Stop when you see soft to medium peaks. If it looks grainy, it is heading toward butter territory.
- Use a pinch of salt. It makes the chocolate taste deeper, not salty.
- Fold gently. Think slow and careful, not aggressive stirring.
If you want a fun no bake treat for later in the week, these chocolate peanut butter no-bake cookies are another easy win. I make them when I need something sweet but I do not want to measure a bunch of ingredients.
“I made these for a small family dinner and everyone thought they were from a bakery. I topped them with raspberries and it looked so fancy, but it was honestly the easiest dessert I have made in months.”
SERVING & STORAGE OPTIONS
This is the part where these cups really shine. You can serve them casual or dressy, depending on the vibe.
Serving ideas that make them look special
Here are a few of my favorite toppings and add ons. Pick one or do a little mix and match.
- Shaved chocolate or cocoa powder on top
- Fresh berries like strawberries or raspberries
- Crushed cookies or graham cracker crumbs for crunch
- Whipped cream swirl (yes, extra whipped cream on mousse, no shame)
- Chopped nuts or toasted coconut
If you like the cup dessert vibe, you will probably love these chocolate peanut butter rice krispy cups too. They are crunchy and snacky, and they disappear fast in my house.
For storage, cover the cups and keep them in the fridge. They are best within 2 to 3 days, but I have eaten them on day 4 and they were still good. The texture just gets a tiny bit less airy over time. I do not love freezing them because the mousse can get a little weepy after thawing, but if you must, freeze in airtight containers and thaw in the fridge overnight.
HOW TO STABILIZE CHOCOLATE MOUSSE USING GELATIN
You do not always need gelatin, but it is helpful if you want your No-Bake Chocolate Mousse Cups to stay extra firm for a party, a picnic, or a longer fridge life. It also helps if your kitchen is warm or if you want a mousse that holds up under heavier toppings.
Here is the simple way I do it:
Sprinkle 1 teaspoon unflavored gelatin over 1 tablespoon cold water in a small bowl. Let it sit for about 5 minutes to bloom. Then warm it gently until it turns into a clear liquid. You can do this in the microwave in very short bursts, like 5 to 8 seconds at a time. Do not boil it.
Next, stir the melted gelatin into your melted chocolate (after the chocolate has cooled slightly). Then proceed with the recipe as usual, folding the chocolate mixture into the whipped cream. The gelatin sets as it chills, giving you a mousse that feels a bit more structured.
Quick note from my own trial and error: if your chocolate is too hot when you add gelatin, or if you pour gelatin straight into cold whipped cream, you can get tiny lumps. Mixing gelatin into the chocolate first helps it blend smoothly.
VERSATILE CHOCOLATE MOUSSE VARIATIONS
Once you have the base down, it is kind of addictive to play with flavors. This is where No-Bake Chocolate Mousse Cups become your personal dessert canvas.
Here are a few easy variations I actually make:
Mocha mousse: Stir 1 to 2 teaspoons instant espresso powder into the melted chocolate. It makes the chocolate taste deeper, not like coffee dessert.
Orange chocolate: Add a little orange zest to the mousse, or a drop of orange extract. It tastes like those fancy chocolate bars.
Mint chocolate: Add a tiny splash of peppermint extract. Go slow because mint can take over fast.
Peanut butter swirl: Warm a spoonful of peanut butter and swirl it on top before chilling. It looks pretty and tastes even better.
Baileys inspired: For an adult version, a small splash of Irish cream is so good. If you like that flavor profile, this no-bake Baileys chocolate pie is also a dreamy dessert for gatherings.
Common Questions
1) Can I make No-Bake Chocolate Mousse Cups ahead of time?
Yes, and I actually prefer it. Make them the night before so they have plenty of time to chill and set.
2) What kind of chocolate works best?
Use a chocolate you like eating. Semi sweet is balanced, dark is richer, and milk chocolate is sweeter and softer in flavor.
3) Why did my mousse turn runny?
Usually the chocolate was too warm, the cream was not whipped enough, or the cream got over mixed and collapsed. Chill time helps, but starting texture matters.
4) Can I use store bought whipped topping instead of heavy cream?
You can, but it will taste a bit more processed and less rich. If you are in a rush, it works, but heavy cream gives the best flavor and texture.
5) How long do they need to chill?
At least 2 hours. If you want the nicest scoop and the best texture, go for 4 hours or overnight.
A sweet little final note before you grab a spoon
If you have been wanting a dessert that feels special without any baking stress, these No-Bake Chocolate Mousse Cups are it. Keep the cream cold, cool your chocolate a bit, and fold gently, and you will get that fluffy texture every time. If you want an even faster version for a hectic day, check out EASY Chocolate Mousse in 5 Minutes – Kitchen Cents and compare it to this one. Either way, I hope you make a batch soon and enjoy that first creamy chocolate bite.
No-Bake Chocolate Mousse Cups
Ingredients
Method
- Melt the chopped chocolate and let it cool slightly.
- Whip the cold heavy cream until it holds soft peaks, optionally adding powdered sugar and vanilla.
- Stir a small scoop of whipped cream into the melted chocolate to lighten it.
- Gently fold the chocolate mixture back into the remaining whipped cream until smooth and fluffy.
- Spoon the mousse into cups and chill in the refrigerator for at least 2 hours.