


Homemade angel biscuits are the answer when you want a biscuit that bakes up tall, tender, and almost foolproof, even on a busy morning. Maybe your last batch turned out dense or a little flat, or maybe you’re just tired of wrestling with sticky dough. I’ve been there, and this recipe has rescued many weekend breakfasts at my place. The secret is simple: a light touch and a few clever tricks, plus one little tool I love, my favorite pastry cutter, that makes cutting in the fat quick and clean. Stick with me and you’ll get biscuits with flaky layers, soft centers, and that buttery aroma that has everyone hovering near the oven.
The Story Behind This Recipe
From my kitchen to yours—Homemade angel biscuits mixes classic comfort with a buttery finish. Tested, tasted, and ready for your table. Homemade angel biscuits are the answer when you want a biscuit that bakes up tall, tender, and almost foolproof, even on a busy morning. Maybe your…
What is the best flour for biscuits?
The short answer: use a low to moderate protein flour so your biscuits stay tender. All-purpose flour is reliable and easy to find, and it works beautifully for angel biscuits. If your all-purpose flour runs on the higher protein side, you might notice the biscuits are a touch chewier. In that case, blend in a little cake flour to soften the texture. A simple ratio is 2 cups all-purpose to 1 cup cake flour when you want an extra delicate crumb.
Self-rising flour is another great path if you like simplicity. It already has leavening and salt mixed in, which tightens up your ingredient list. If you go this route, cut back on the salt and skip the baking powder the recipe calls for, but still keep the yeast for that signature angel biscuit lift. Bleached flour typically yields a slightly softer biscuit than unbleached, thanks to how it absorbs liquid. It’s not mandatory, but if your goal is cloud-soft layers, bleached flour can help.
Understanding protein levels
Protein content in flour affects gluten development. Less protein means less gluten, which means a more tender bite. That’s why you often see biscuits made with soft wheat flours in the South. No need to stress if you can’t find a specialty flour though. Work gently, avoid overmixing, and your dough will stay soft. Also, spoon your flour into the cup and level it off rather than scooping directly from the bag. Scooping packs the flour and throws off the moisture balance.
One last tip: keep your dry ingredients cold before mixing. Cool flour plays nicely with cold butter or shortening, giving you those beautiful pockets of fat that melt in the oven and puff the biscuits. If you love quick references, here’s a little snapshot you can save for later:
Finish with a light brush of butter after baking, and you’ll get a tender sheen on top without toughening the surface. 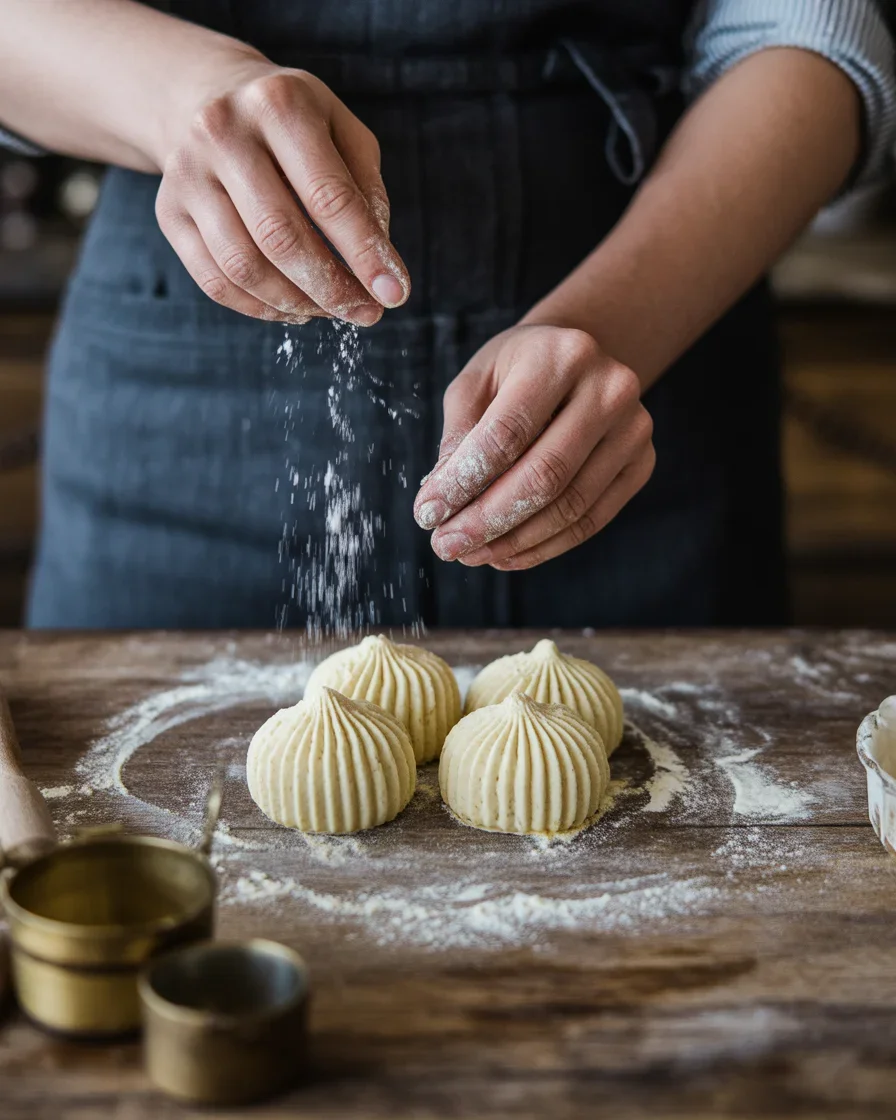
Tips for Light and Fluffy Biscuits
If you’ve ever had biscuits turn out tough or squat, a few tiny adjustments can make a big difference. These are the little habits that keep my Homemade angel biscuits tall and dreamy every time.
- Keep everything cold: butter, milk, even your bowl if your kitchen is warm. Cold fat equals flaky layers.
- Use a pastry cutter or two forks to work the fat into the flour until you see pea-sized bits. Larger bits make flakier layers, but keep them fairly uniform.
- Mix just until the dough comes together. Once you add the liquid, use a gentle hand. Overmixing builds gluten, which toughens biscuits.
- Fold the dough 3 to 4 times like a letter. This stacks layers and encourages height without the hassle of laminating.
- Cut straight down, don’t twist. Twisting seals the edges and prevents a strong rise.
- Use a hot oven: 425 to 450 F. Quick heat gives that instant steam for lift.
- Bake biscuits close together so they help each other climb, then brush with melted butter right after baking.
“I followed your folding trick and finally got bakery-level biscuits at home. My kids asked if I bought them from a cafe.”
Want a fun pairing? These buttery layers love a little sweet heat. Try your fresh-baked biscuits with a spoonful of homemade sweet chili sauce alongside salty ham or crispy bacon. The combo sounds odd, but that sweet-spicy kick on a warm, flaky biscuit is wow-level good. 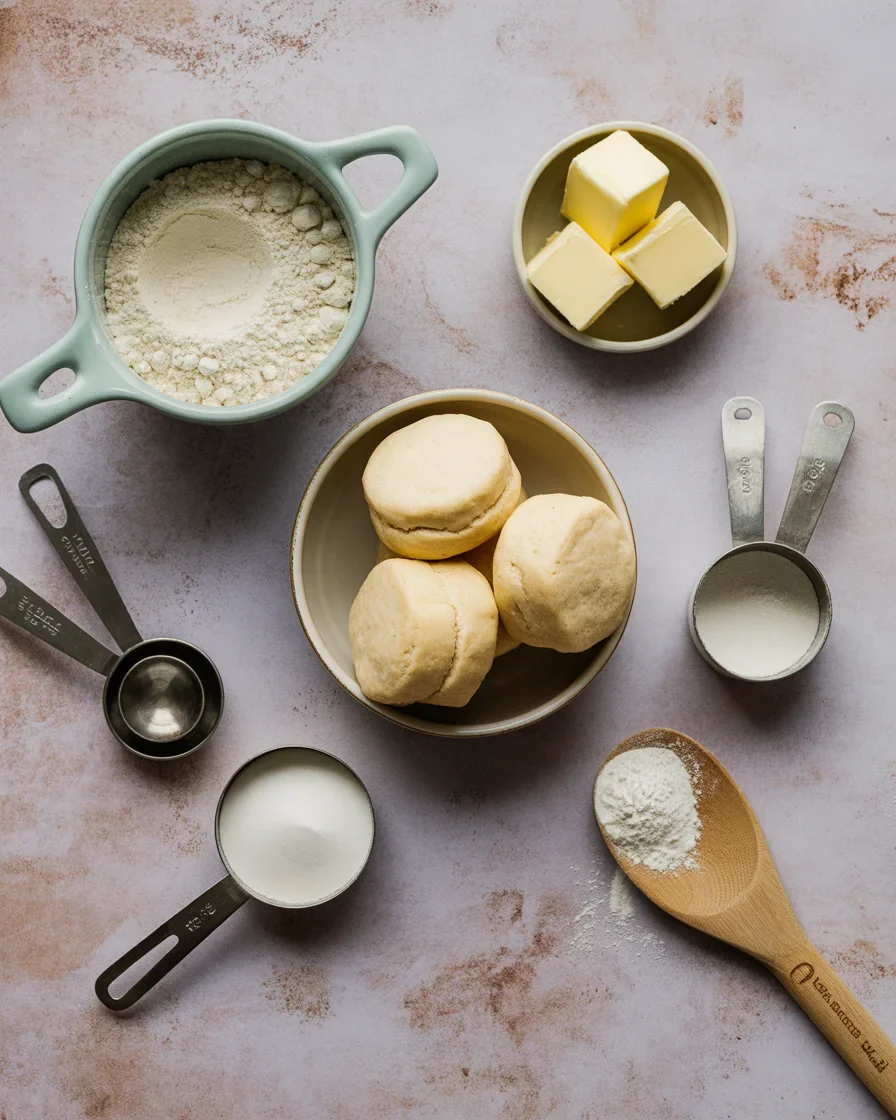
How to Store and Freeze Angel Biscuits
Let’s keep those beautiful biscuits tasting fresh after the first day. Angel biscuits are sturdy thanks to yeast plus chemical leaveners, but they still need a little care.
Short-term storage
Cool biscuits completely on a rack so moisture doesn’t make the bottoms soggy. Then store in an airtight container at room temperature for up to 2 days. Reheat in a 350 F oven for about 5 to 7 minutes to refresh the crumb and bring back the gentle crisp on top. A microwave will warm them, but the oven gives the best texture.
Freezing baked biscuits
Freeze baked biscuits the same day you make them for the best flavor. Wrap each cooled biscuit individually in plastic or parchment, then tuck them into a freezer bag. When you’re ready, reheat from frozen in a 350 F oven for 12 to 15 minutes. They’ll taste just-baked. If you’re stocking your kitchen for busy mornings, consider stashing them in the kind of sturdy, stackable containers I use, like these airtight containers. It keeps the biscuits from getting crushed and protects them from freezer odors.
- Fridge: not ideal for baked biscuits, they dry out faster.
- Freezer: yes for both baked and unbaked biscuits.
- Reheat: oven for best results, toaster oven works too.
Label and date your freezer stash so you remember what’s inside and when you made it. Freshness matters for flavor.
Make-Ahead Angel Biscuits
This is where angel biscuits shine. The dough can be mixed, rested, and baked on your schedule. It’s one of the reasons I’m obsessed with keeping Homemade angel biscuits in rotation for holidays and brunches.
Refrigerator schedule for busy days
Mix the dough and let it rest in the fridge, covered, for up to 24 hours. The cold rest lets the yeast work slowly and develop flavor while keeping the butter firm for clean layers. When you’re ready, roll and cut, then let the biscuits sit on the counter 20 to 30 minutes while the oven preheats. This short warm-up gives them a head start so they rise sky-high in the oven.
Freeze unbaked biscuits
Cut the dough into rounds, place on a sheet pan, and freeze until firm. Transfer to a freezer bag and bake straight from frozen at 425 F, adding a few extra minutes. You’ll get fresh-baked biscuits any time with zero morning mess. I’ll sometimes pair a hot biscuit with a spoonful of sweet chili sauce for a cheeky breakfast slider with eggs and sausage. It’s fast and seriously satisfying.
For quick prep, keep a dedicated cutter and bench scraper handy. If you need gear, the little set I mentioned in the intro, like this pastry cutter, makes shaping the dough quick, clean, and consistent.
Should I let my angel biscuits sit overnight?
Short answer: yes, if you can. A rest in the fridge gives better flavor, more reliable rise, and a softer crumb. The yeast has time to relax the dough just a touch, and the butter firms up so you get clearer layers. That said, you can absolutely bake the same day and still get amazing results. If time is tight, even a 30-minute chill helps.
Why the rest helps
Angel biscuits are special because they combine three leaveners: yeast, baking powder, and baking soda. Resting overnight lets the yeast do a little quiet work in the background, which boosts oven spring and adds gentle tang. I’ve found that my weekday batches benefit from any rest I can give them, while my weekend batches often get the full overnight treatment for extra height. Stack a warm biscuit with ham, eggs, and a drizzle of that sweet chili sauce and you’ve built a little morning magic.
Common Questions
Q: Do I have to use yeast for angel biscuits?
A: Yes, that’s what sets angel biscuits apart. The yeast works with baking powder and soda to give extra lift and a tender, airy crumb.
Q: Can I swap buttermilk with regular milk?
A: Use regular milk with a tablespoon of lemon juice or vinegar to mimic buttermilk’s gentle tang and acidity. Let it sit 5 minutes before using.
Q: Is shortening better than butter?
A: Butter gives great flavor and nice layers. Shortening offers a touch more tenderness and height. A blend of both can be the best of both worlds.
Q: Why are my biscuits leaning or lopsided?
A: Usually twisting the cutter or uneven oven heat. Cut straight down and bake on the middle rack with a fully preheated oven.
Q: Can I make smaller slider-size biscuits?
A: Absolutely. Cut them at 2 inches and reduce the bake time by a couple minutes. Keep an eye on the bottoms so they don’t overbrown.
Ready to bake a heavenly batch?
If you’ve been craving a reliable, go-to biscuit that works for breakfast, brunch, or a cozy dinner side, Homemade angel biscuits will make you so happy. Keep your ingredients cold, fold the dough a few times, and cut straight down for tall, flaky layers. For more inspiration and a classic approach, I love checking the style of this trusted guide, Angel Biscuits BEST RECIPE from-scratch – Divas Can Cook. Try a batch this week, and don’t be surprised if they vanish before they cool. You’ve got this, and your kitchen is about to smell amazing.
Angel Biscuits
Ingredients
Method
- In a large bowl, whisk together all-purpose flour, cake flour, baking powder, salt, and baking soda.
- Add cold butter to the flour mixture using a pastry cutter until the mixture resembles pea-sized crumbs.
- In a separate bowl, mix the buttermilk and yeast until well combined.
- Add the buttermilk mixture to the flour mixture, stirring gently until just combined.
- Fold the dough 3 to 4 times like a letter to stack the layers.
- Cover the dough and allow it to rest in the refrigerator for at least 30 minutes or overnight for better flavor.
- Preheat your oven to 425°F (220°C).
- Roll out the dough on a floured surface and cut out biscuits using a straight down motion, without twisting.
- Place the biscuits close together on a baking sheet.
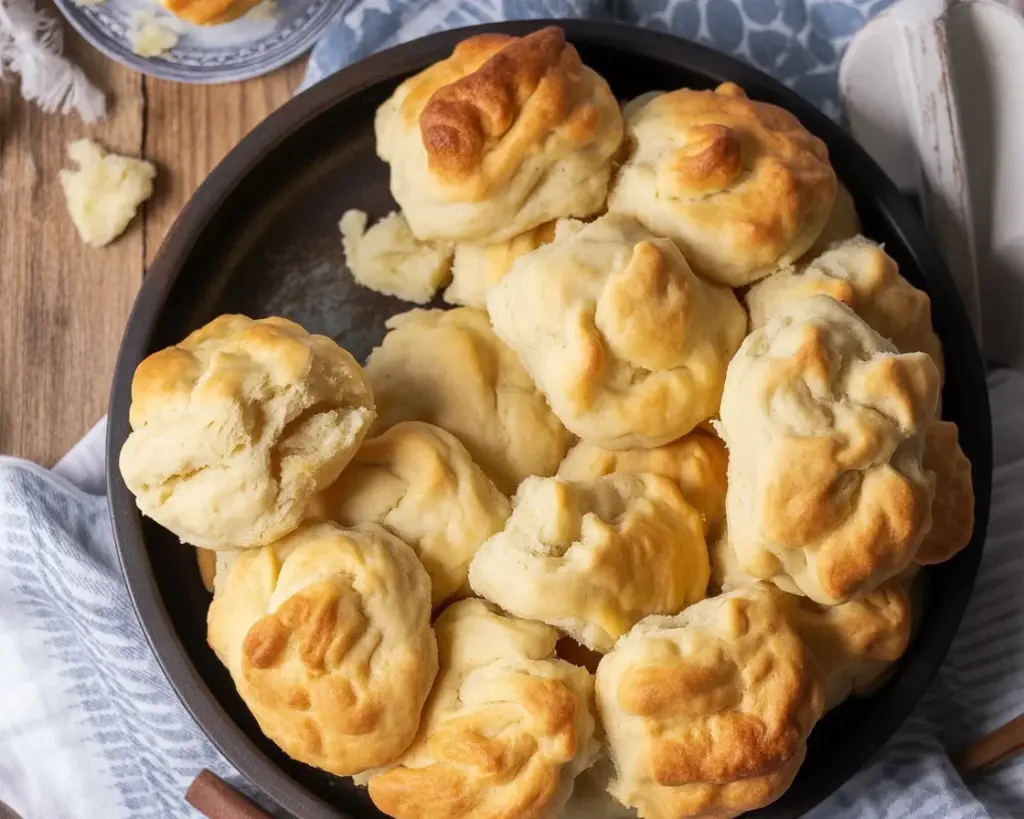
- Bake for 12 to 15 minutes until golden brown.
- Brush with melted butter immediately after baking.