

chocolate cherry muffins are my go to fix when I want something that feels like a treat but still totally acceptable for breakfast. You know those mornings when you are rushing, you want coffee, and you also want something warm and chocolatey that does not taste like a sad snack bar? That is exactly when I bake these. The cherries get jammy, the chocolate turns gooey, and the whole kitchen smells like you did something way fancier than muffins. I also love that you can make them with whatever cherries you have, so you are not stuck waiting for peak season.
Chocolate Cherry Muffins vs Black Forest Cake
Let us talk expectations for a second. People hear chocolate and cherry together and immediately think Black Forest cake, like layers of chocolate sponge, whipped cream, and cherries. These muffins hit a similar vibe, but they are much more weeknight friendly and way less messy.
Black Forest cake is usually lighter in texture with a strong cream element. Muffins are more grab and go and they feel cozy, like something you can eat in your pajamas while checking emails. With gooey chocolate tucked inside, these give you that dessert feeling without committing to a whole cake project.
If you are looking for the exact recipe I make all the time, this is the one I keep coming back to: Gooey Chocolate Cherry Muffins. It is basically my sweet spot between chocolate overload and fruity brightness.
One more thing. Muffins also let you play around more. Add extra chocolate chunks, swap the type of cocoa, or use different cherries depending on what is in your pantry. Black Forest cake tends to be a bit more strict.
Fresh vs Canned vs Frozen Cherries: Which Is Best?
I have made chocolate cherry muffins with all three, and honestly each option can work if you treat it right. The best choice is usually the one that fits your time and budget that day.
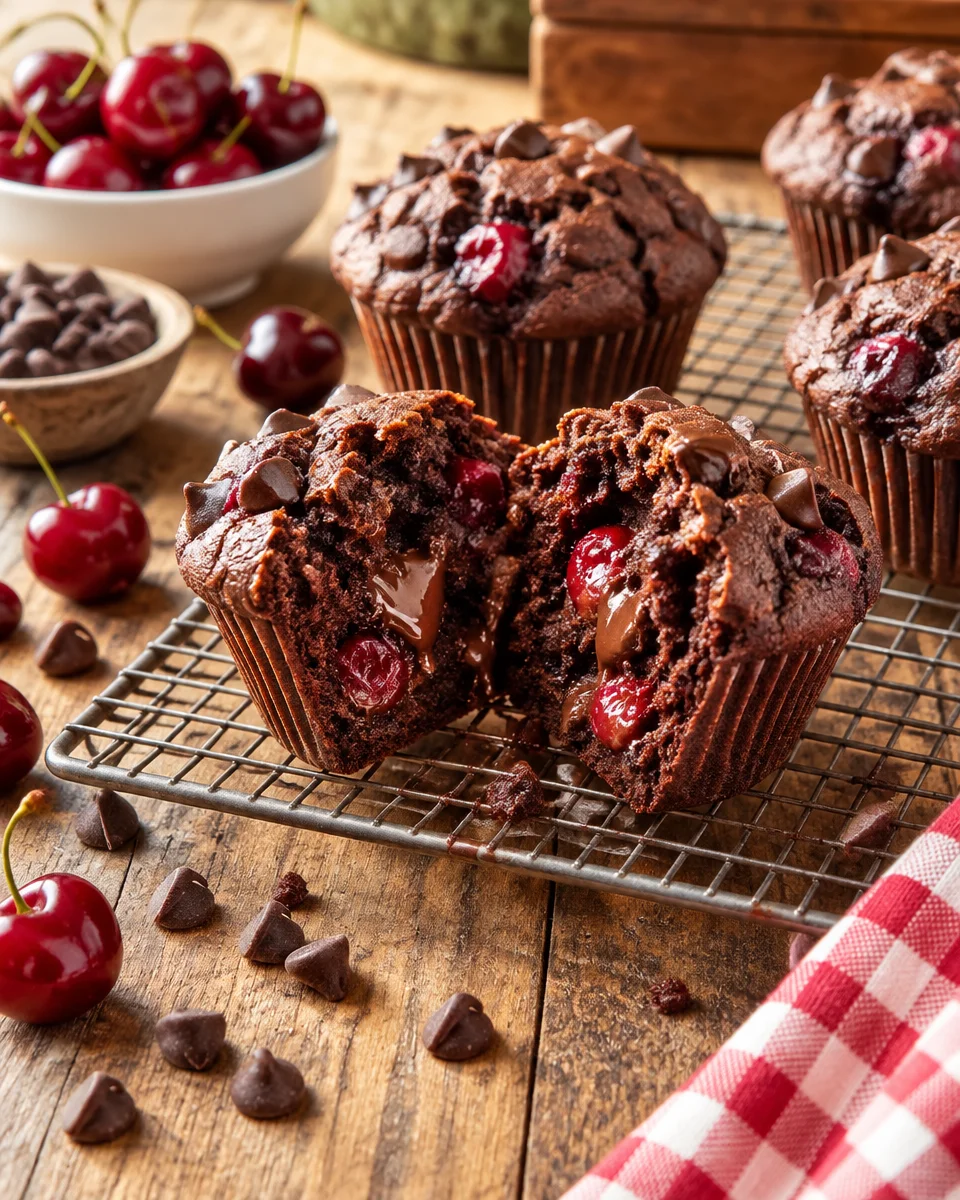
My honest take on each cherry option
Fresh cherries are amazing when they are in season. They taste bright, they hold their shape, and they look beautiful in the batter. The only downside is the work. Pitting cherries is not hard, but it is one more step, and it can get a little messy.
Frozen cherries are my most used option. They are already pitted, available year round, and they bake up nicely. My tip is to keep them frozen until the last second, then toss them with a spoonful of flour before folding into the batter. That helps reduce streaky purple batter and sinking fruit.
Canned cherries can work, but you have to be picky. If they are in heavy syrup, your muffins may end up too sweet and a bit wet. If you use canned, drain them well and pat them dry with paper towels. I usually chop them a bit too so the pockets of cherry do not turn the muffin soggy.
If you love cherry baking as much as I do, you might also want to peek at these cherry muffins for a simpler, more fruit forward version when you are not in a chocolate mood.
Quick cherry checklist before you bake:
- Remove pits, even if you think you got them all
- Dry the cherries if they look very wet
- Toss with a little flour to help them stay suspended in the batter
Tips for Bakery-Style Domed Muffin Tops
I love a tall muffin top. It makes the whole thing feel bakery level, even if you are baking in an old pan you have had forever. The good news is you do not need fancy equipment. You just need a couple of small habits.
First, do not overmix. Once the flour is added, stir gently until you stop seeing dry patches. Lumpy batter is normal. Overmixing is the fastest way to get dense muffins that barely rise.
Second, fill the muffin cups properly. I fill mine about three quarters full, sometimes a tiny bit more. If you barely add batter, you will get small flat muffins. If you go too far, they can spill over. Three quarters is the sweet spot for a nice dome.
Third, let the batter rest for 10 minutes before baking if you have time. This simple pause helps the batter thicken a little and can give you a better rise.
And here is a real life trick: start with a hotter oven for the first few minutes, then lower it. That blast of heat helps the tops lift fast. After that, they bake through without drying out. It is a small move that makes a big difference.
By the way, when I want a smaller quick bake that still feels like a treat, I make these mini chocolate chip muffins. The same domed top tips apply, just shorten the baking time.
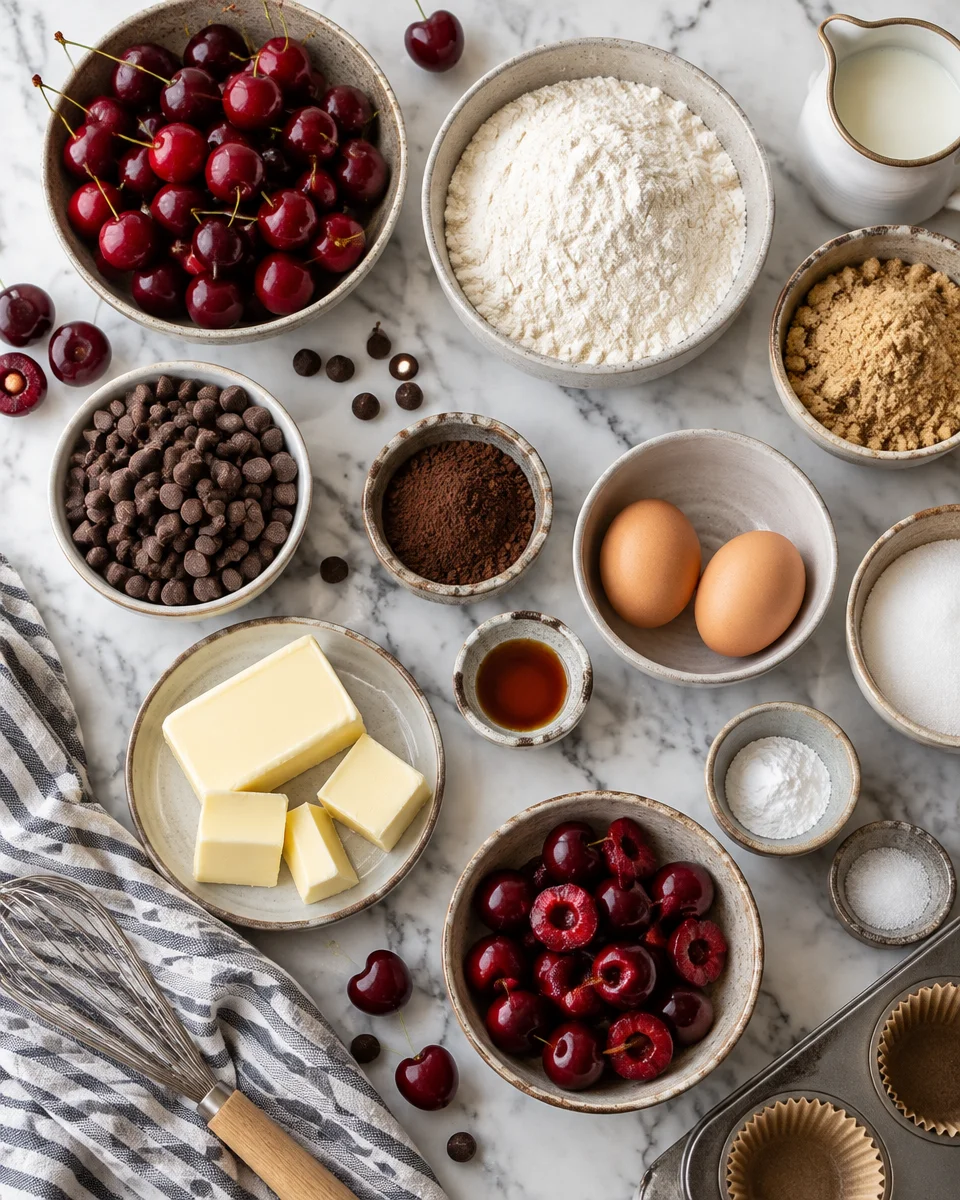
Dark Chocolate vs Milk Chocolate: Best for Cherry Muffins
This part is personal, but I will give you my honest take from too many test batches. Dark chocolate and cherries are best friends. The slight bitterness from dark chocolate makes the cherry flavor pop, and it keeps the muffins from tasting overly sweet.
Milk chocolate is softer and sweeter, and it melts into very creamy pockets. If you are baking for kids or you know you prefer a sweeter bite, milk chocolate is totally fine. Just keep in mind that if you are using canned cherries in syrup, milk chocolate can push the sweetness over the edge.
My usual combo is this: cocoa powder in the batter for that deep chocolate base, then chopped dark chocolate or chocolate chunks for the gooey bits. It is the best of both worlds, especially when you want gooey chocolate cherry muffins that feel rich without being heavy.
If you are picky about chocolate (I kind of am), choose a bar you would snack on. The flavor really shows up here.
How to Keep Chocolate Cherry Muffins Moist
Dry muffins are such a disappointment. You take a bite expecting soft and tender, and you get crumbly and sad. Here is how I keep chocolate cherry muffins moist every time.

Do not overbake. This is the big one. Every oven runs a little different, and muffins can go from perfect to dry fast. Start checking a few minutes early. A toothpick should come out with a few moist crumbs, not wet batter. If it comes out totally clean, you may already be on the edge of overbaked.
Use oil or a mix of oil and butter. Butter tastes amazing, but oil tends to keep muffins soft longer. A combination gives you flavor plus moisture.
Do not skimp on add ins. Cherries add moisture. Chocolate chunks melt and keep pockets soft. This is one reason gooey chocolate cherry muffins feel so tender even the next day.
Also, please let them cool in the pan for about 5 minutes, then move them to a rack. If they sit too long in the hot pan, steam can make the bottoms a little damp. If you move them too fast, they can fall apart. Five minutes is the calm middle ground.
One little testimonial from a friend who tasted these straight off my counter:
“I thought I did not even like fruit in chocolate desserts, but these muffins changed my mind. The cherry pieces taste like little pockets of jam and the chocolate stays melty for hours.”
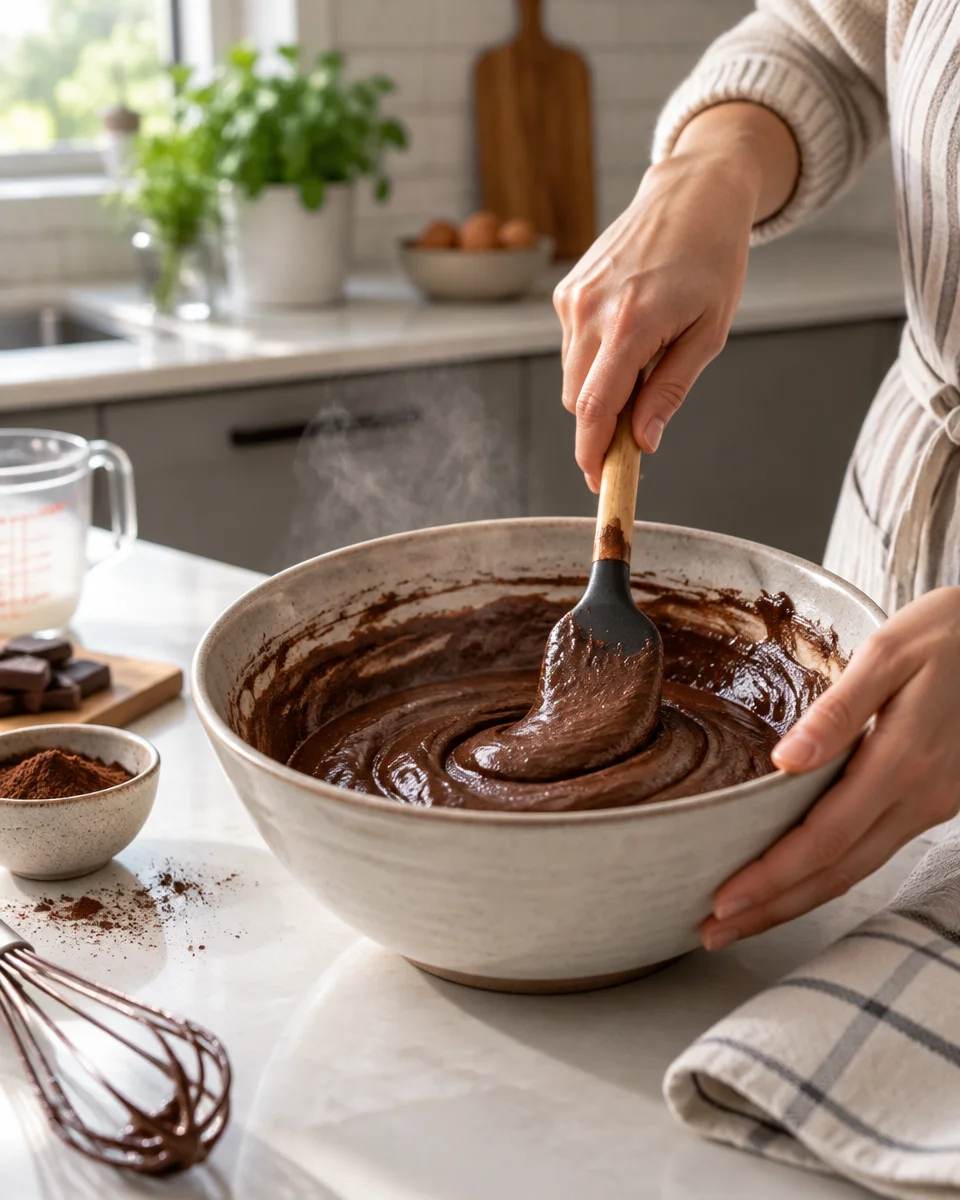
How to Store and Freeze Chocolate Cherry Muffins
I usually bake a batch and keep a few for the next couple of days, then freeze the rest so I have emergency chocolate on hand. Storing them the right way keeps that soft texture you worked for.
For the counter: let them cool completely, then store in an airtight container. I like to add a paper towel under the muffins and another on top. It helps absorb extra moisture so the tops do not get sticky. They are best within 2 to 3 days.
For the fridge: I only refrigerate if the kitchen is very warm. The fridge can dry muffins out a bit, so if you do fridge them, warm one up for 10 to 15 seconds in the microwave before eating. It brings the chocolate back to life.
For the freezer: wrap muffins individually in plastic wrap, then place in a freezer bag. They keep well for about 2 months. To thaw, leave one on the counter for an hour, or microwave for about 20 to 30 seconds. If you want that fresh baked vibe, split and toast lightly, then add a tiny smear of butter. Not necessary, but very comforting.
Also, if you are in a cherry dessert phase, you might be obsessed with these too: air fryer cherry cheesecake egg rolls. They are crunchy, creamy, and dangerously snackable.
Frequently Asked Questions About Chocolate Cherry Muffins
Quick Q and A from my kitchen to yours
1) Can I use dried cherries instead of fresh or frozen?
Yes. Chop them and soak in warm water (or even warm coffee) for about 10 minutes, then drain well. Dried cherries are chewy and a little more intense, so you may want a bit less than you would use for fresh.
2) Why did my cherries sink to the bottom?
Usually the batter got overmixed or the cherries were very wet. Tossing them with a little flour helps, and folding gently makes a difference too.
3) Can I make these into mini muffins?
Absolutely. Fill the mini muffin pan about three quarters full and start checking for doneness around 9 to 11 minutes, depending on your oven.
4) What cocoa powder should I use?
Regular unsweetened cocoa powder works great. If you like a deeper, darker taste, Dutch process cocoa is also good, especially paired with dark chocolate chunks.
5) How do I get that gooey chocolate center?
Use chopped chocolate bars or big chocolate chunks, not just small chips. Chips are designed to hold their shape, while chunks melt into those gooey pockets everyone fights over.
A sweet final note before you bake
If you have been craving gooey chocolate cherry muffins that feel cozy and a little special, I really hope you try them this week. Focus on good cherries, do not overmix, and pull them from the oven as soon as they are set so they stay soft. For more inspiration and a slightly different spin, I have also enjoyed this Dark Chocolate Cherry Muffins Recipe – Barley & Sage when I am in the mood to compare notes and tweak flavors. Let me know how yours turn out, and do not be surprised if you start keeping a batch in the freezer at all times.
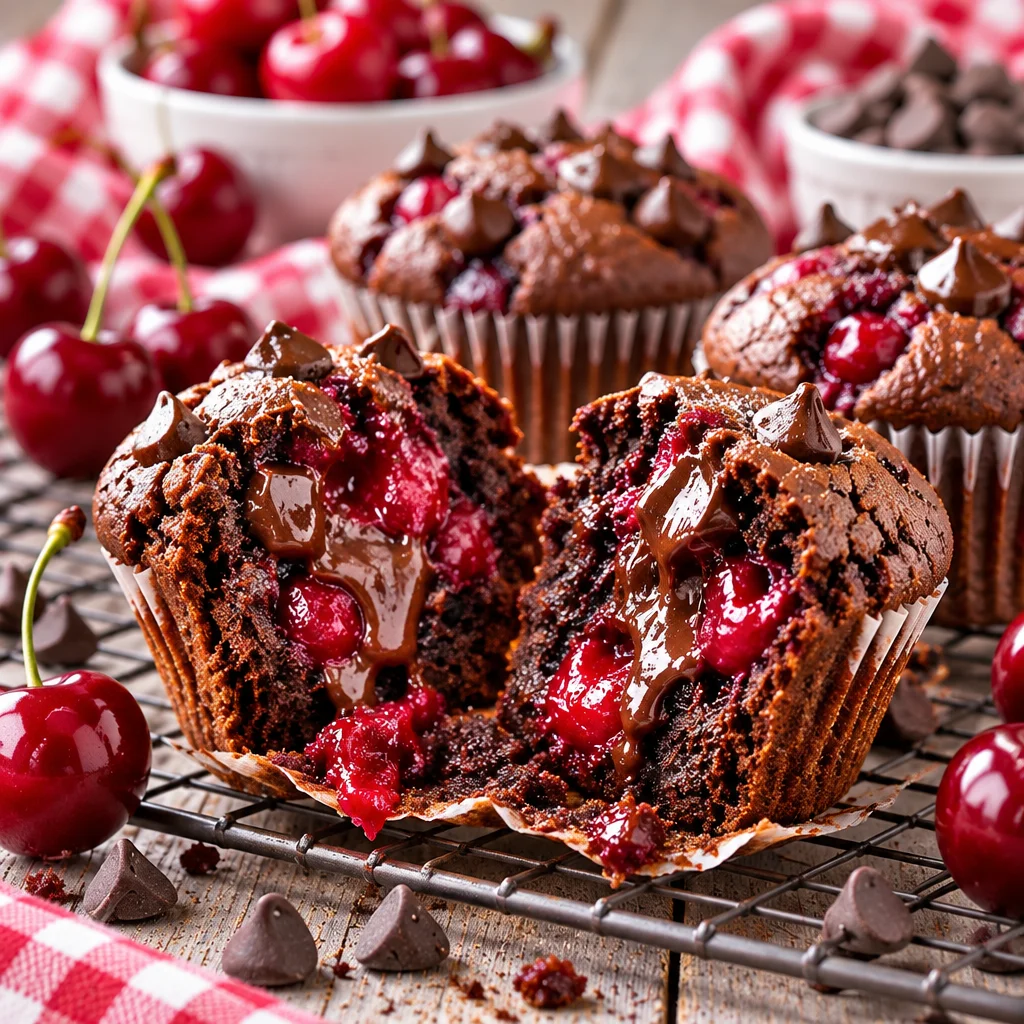
Gooey Chocolate Cherry Muffins
Ingredients
Method
- Preheat the oven to 400°F (200°C) and line a muffin pan with liners.
- In a large bowl, whisk together the flour, sugar, cocoa powder, baking powder, and salt.
- In another bowl, whisk together the milk, oil, eggs, and vanilla extract.
- Pour the wet ingredients into the dry ingredients and mix gently until just combined, being careful not to overmix.
- Fold in the chocolate chunks and cherries lightly.
- Fill the muffin cups about three quarters full with the batter.
- Bake for 18 to 20 minutes, or until a toothpick inserted comes out with a few moist crumbs.
- Let the muffins cool in the pan for 5 minutes, then transfer to a wire rack to cool completely.