


Christmas Poke Cake is the kind of dessert that saves the day when you need something festive, simple, and totally crowd pleasing. Maybe you promised to bring dessert to the office party and time slipped away. Or your kids announced a class treat request at bedtime. Or you’re hosting a small gathering and want a bright, cheery sweet that looks like you fussed, even if you didn’t. This cake checks every box. It’s easy, it’s moist, and it wears red and green like a holiday sweater in the best way.
The Story Behind This Recipe
Here’s why I love this Festive Christmas Poke Cake – Easy & Delicious: it’s budget-friendly and it tastes like a weekend dinner. Christmas Poke Cake is the kind of dessert that saves the day when you need something festive, simple, and totally crowd pleasing. Maybe you promised to…
Why You’ll Love this Christmas Poke Cake
There’s something magical about a cake that soaks up flavor and stays tender for days. This one does exactly that. You start with a simple white cake mix, poke holes, pour in a stripe of colorful pudding or gelatin, then top it with fluffy whipped topping and sprinkles. It’s bright, fun, and honestly kind of therapeutic to make.
I love that you can make it a day ahead and it only gets better. It travels well for potlucks, and you don’t need fancy decorating skills to make it look special. A swirl of whipped topping and a generous blizzard of sprinkles is enough to earn oohs and aahs. If you’re building a dessert table, pair it with a classic like Christmas butter cookies or browse more inspiration in my Christmas holiday treats collection.
“I brought this to our neighborhood ornament exchange and people asked for the recipe before the first slice was gone. My kids now call it the party cake.”
When you want a reliable holiday dessert that looks cheerful and tastes like pure nostalgia, this delivers.
Helpful Tools
You don’t need much to pull this off. That’s the beauty here. If you’ve got a 9×13 pan and a whisk, you’re halfway there. A few extra tools make it easier and neater, especially for those pretty red and green stripes.
- 9×13 baking pan, preferably metal or glass
- Hand mixer or whisk for cake batter and pudding
- Wooden spoon handle or skewer for poking holes
- Offset spatula for smoothing whipped topping
- Two small bowls for coloring pudding or gelatin
- Plastic wrap for easy chilling and transport
Optional but fun: a piping bag if you want to add little rosettes on top. If you like playful dessert mashups, check out these air fryer cherry cheesecake egg rolls for another easy party favorite.
How to Make Christmas Poke Cake
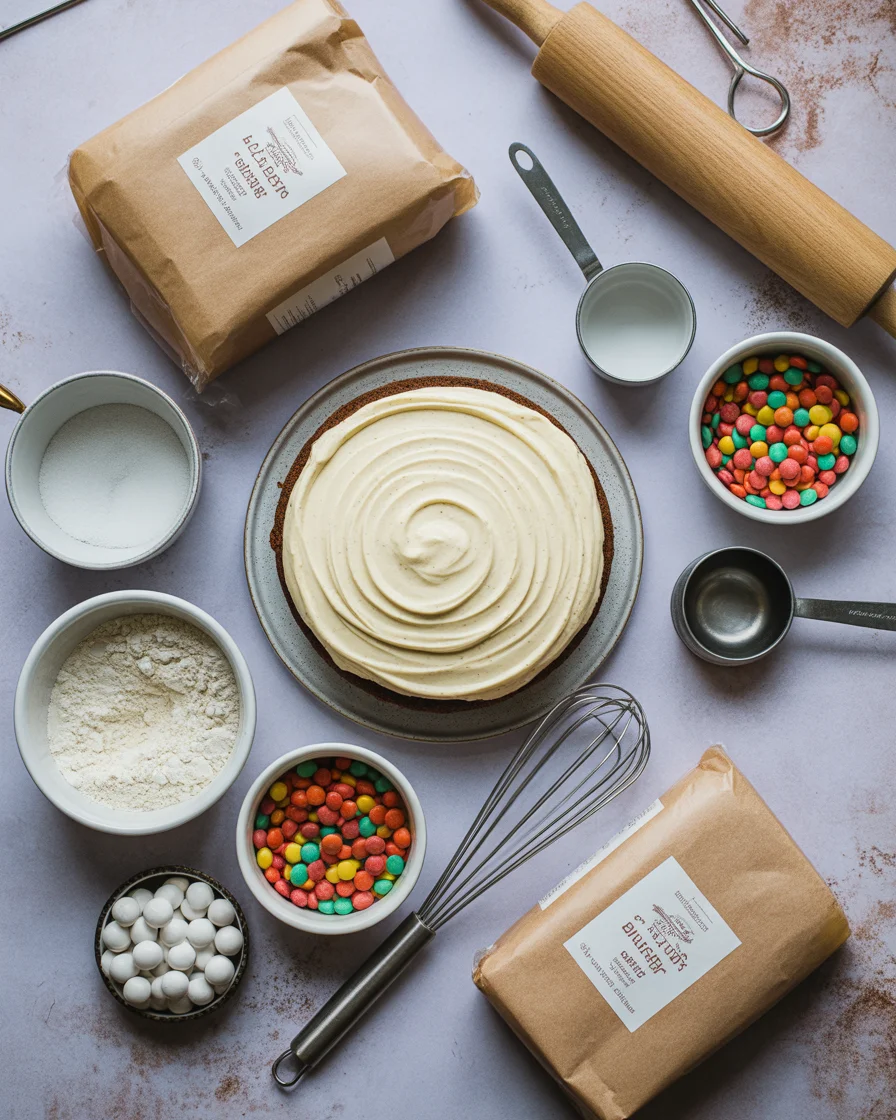
Ingredients
- 1 box white cake mix, plus ingredients listed on the box
- 1 cup milk for richer cake flavor, optional
- 2 packages instant pudding mix, vanilla or white chocolate
- 3 cups cold milk for pudding
- Red and green gel food coloring
- 1 tub whipped topping, thawed
- Holiday sprinkles, crushed peppermint, or mini chocolate chips
Step-by-Step
- Prep and bake: Heat your oven per the cake mix box. Mix the cake batter as directed, swapping in milk for water if you want extra richness. Bake in a 9×13 pan until a toothpick comes out clean.
- Poke: Let the cake cool for 10 minutes, then use a wooden spoon handle to poke holes all over the surface, spaced about an inch apart. Try to go about three quarters of the way down.
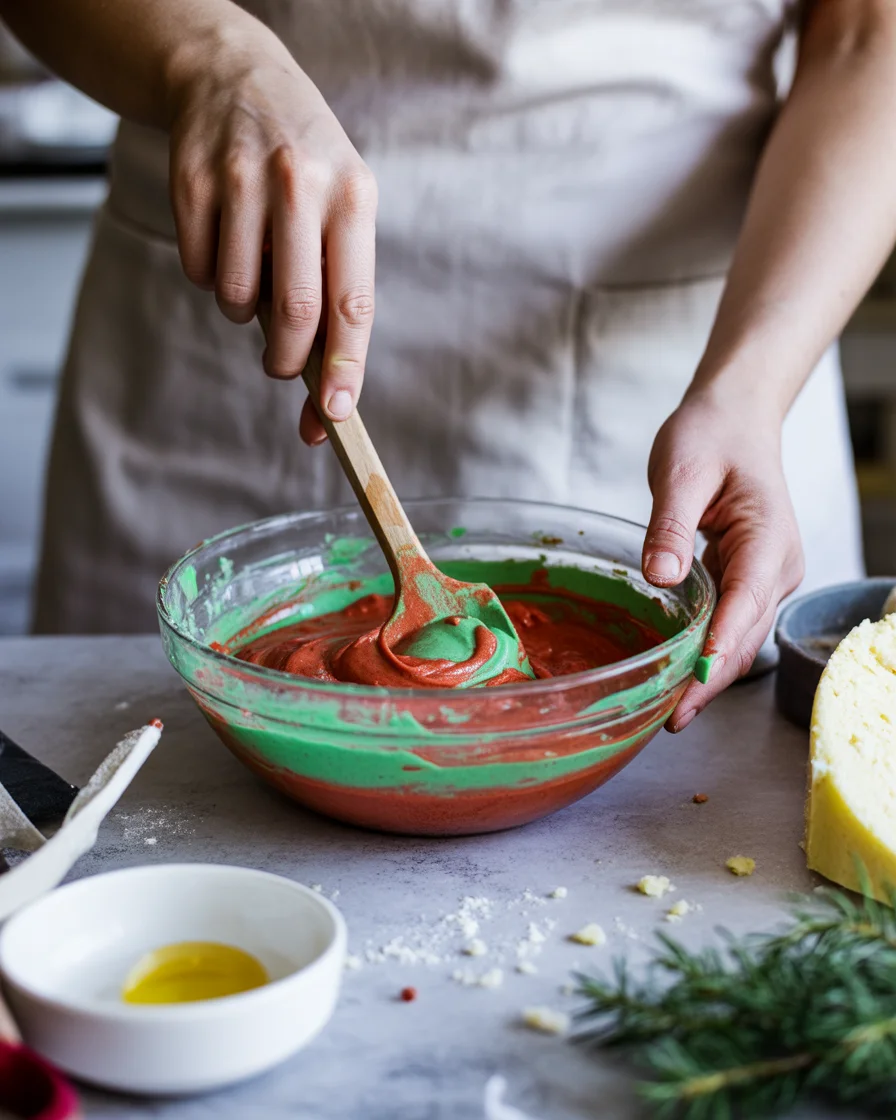
- Color the filling: Whisk instant pudding with cold milk until it thickens slightly, about 2 minutes. Divide into two bowls. Tint one bowl red and the other green. Go slow with the color so it stays bright, not dark.
- Fill the holes: Spoon or pipe the red and green pudding over the cake, alternating colors so you get a fun stripe effect when slicing. Work quickly so the pudding doesn’t set too early.
- Chill: Cover and refrigerate at least 2 hours to let the cake absorb the filling and set.
- Top and decorate: Spread whipped topping across the chilled cake. Add sprinkles, crushed peppermint, or chocolate chips. Keep chilled until serving.
Want to try another fun twist for your dessert tray? I’ve got a creamy cannoli poke cake that pairs so well with this festive version. You can serve both for a poke cake duo that disappears fast.
Decoration ideas
Keep it simple with red and green sprinkles, or create a little winter wonderland by adding crushed candy canes and a few sugar snowflakes on top. Either way, you’ll get that cheerful holiday look without a ton of effort.
Tips for Success
Let the cake cool slightly before poking. If it’s piping hot, the holes can close back up or pull too many crumbs. Ten minutes is the sweet spot. You want it warm, not hot.
Use gel food coloring rather than liquid so you get vivid red and green without thinning the pudding. A little goes a long way. Start with a small drop, stir, and add more if needed.
Pudding thickens fast, so have bowls and spoons ready to go. If it gets too thick to spoon neatly, whisk in a tablespoon of cold milk to loosen it up.
Don’t skip the chill time. This is when the magic happens. The cake absorbs flavor, the layers settle, and everything slices cleanly. It also makes the cake extra moist and satisfying.
Want a cozy flavor twist? Add a dash of cinnamon to the cake batter or a touch of peppermint extract to the whipped topping. And if you’re building a bigger dessert spread, try the warming flavors in this eggnog blondie cheesecake to complement your cake.
For the cleanest slices, run a knife under hot water, wipe it dry, then slice. Repeat between cuts. You’ll get those pretty red and green streaks showing in every piece.
Finally, don’t stress the decorations. A smooth top and a handful of sprinkles looks polished. If you want to go extra, pipe a border or scatter mini candies along the edges. It all works.
Can I make Christmas Poke Cake ahead of time?
Yes. In fact, this cake begs to be made ahead. The flavors meld and the texture turns ultra moist overnight. You can bake the cake the day before, poke and fill, then chill. Add the whipped topping a few hours before serving for the fluffiest finish. If you like planning your holiday menu early, take a peek at my make-ahead treats like this light and creamy blueberry cheesecake parfait that also chills beautifully.
Storage is easy. Keep the cake covered in the fridge for up to 3 days. The whipped topping holds well and the colors stay bright. Freezing works too, but it’s best to freeze the cake after poking and filling, before adding the whipped topping. Thaw in the fridge, then finish with the topping and decorations.
If you’re traveling, assemble it in a pan with a secure lid so it’s easy to stack and chill wherever you’re headed. Your future self will thank you.
Common Questions
Can I use gelatin instead of pudding for the filling? Yes. Mix red and green gelatin separately with hot water, then pour them into the holes while the cake is still warm. Chill until set, then top with whipped topping.
What cake flavor works best? White cake makes the colors pop, but yellow or vanilla cake tastes great too. You can even use red velvet for extra holiday flair, though the stripes will be subtler.
Can I lighten it up? Use sugar free pudding, light whipped topping, and a cake mix with reduced sugar. It will still be delicious and festive.
How do I keep the colors from bleeding? Gel food coloring helps. Also, let the cake chill fully before adding the whipped topping, and avoid heavy swirling once the topping is on.
Could I turn this into cupcakes? Absolutely. Bake cupcakes, poke with a skewer, spoon a little colored pudding into each, chill, then top with whipped topping. So cute for parties.
A sweet little finale for your holiday table
That’s the beauty of a simple dessert: it looks joyful, tastes amazing, and frees you up to enjoy the people around the table. This Christmas Poke Cake is bright, moist, and so easy to make ahead, which is exactly what we need during the busy season. If you like browsing for variations, this guide for a similar style from Julie’s kitchen is helpful too: Christmas Poke Cake – Quick & Easy! – Julie’s Eats & Treats ®. Make it once and it’ll become a tradition. I’m cheering you on and can’t wait for you to slice into those festive layers.

Christmas Poke Cake
Ingredients
Method
- Preheat your oven according to the cake mix box instructions.
- Mix the cake batter as directed, using milk instead of water if desired.
- Bake in a 9×13 pan until a toothpick comes out clean.
- Let the cake cool for 10 minutes, then poke holes across the surface using a wooden spoon handle.
- Whisk the instant pudding with cold milk until it thickens slightly, about 2 minutes.
- Divide the pudding into two bowls and tint one red and the other green.
- Spoon or pipe the colored pudding over the cake, alternating colors to create a striped effect.
- Cover the cake and refrigerate for at least 2 hours to allow the cake to absorb the filling.
- Spread the whipped topping over the chilled cake and add sprinkles, crushed peppermint, or chocolate chips.
- Keep chilled until serving.