


Classic Creme Brulee is one of those desserts I used to order at restaurants because I assumed it was too fussy to make at home. Then one weekend I had extra egg yolks, a little time, and that specific craving for something creamy with a crackly sugar top. If you have ever had a custard come out watery, or you have torched the sugar and accidentally made it taste burnt, you are not alone. This post is for the cozy home cook who wants a reliable win without weird steps or fancy talk. I will walk you through exactly what I do, what to watch for, and how to get that satisfying sugar crack. 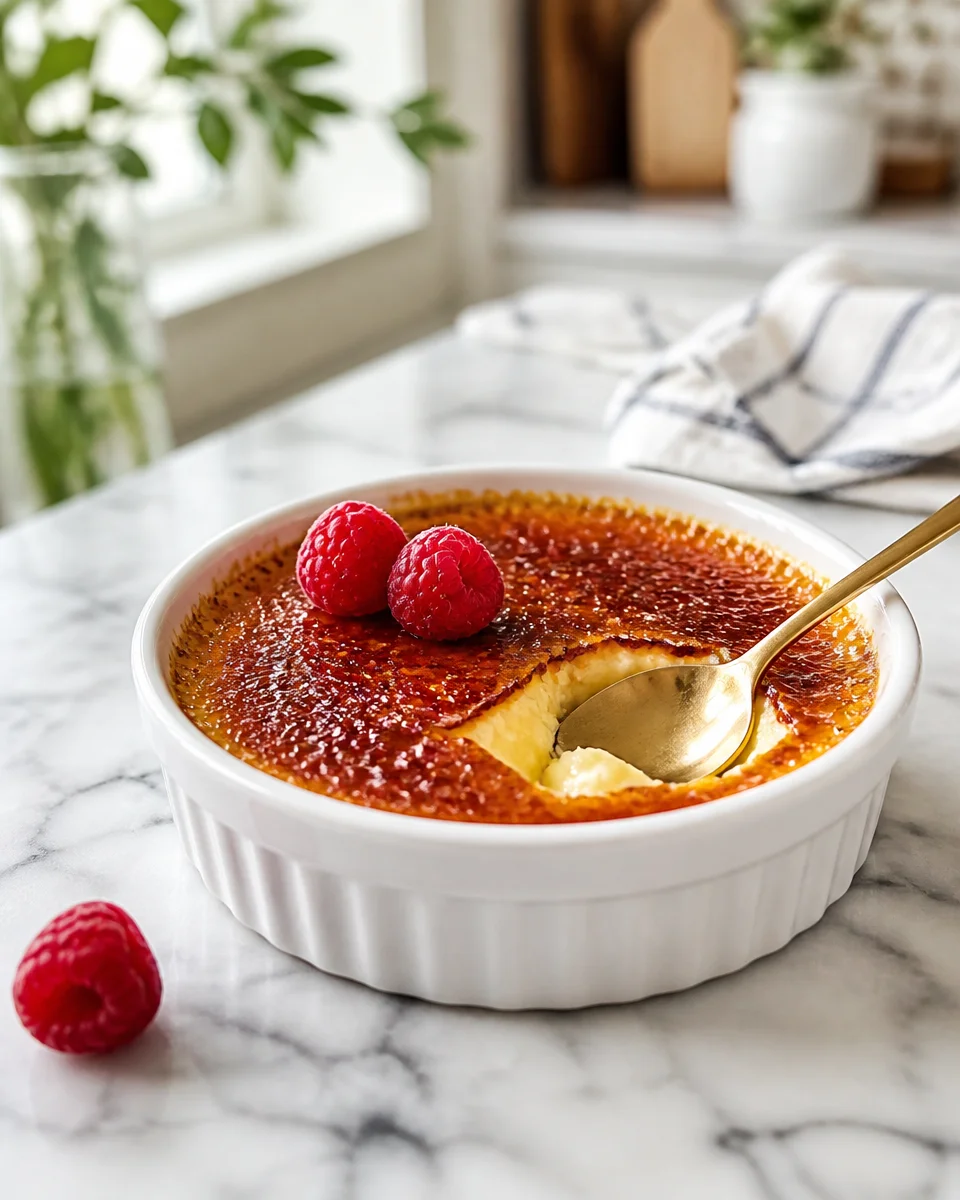
The Story Behind This Recipe
Hey, I’m Alexandraa! This Classic Creme Brulee was built for busy nights: simple steps, reliable results, and flavor that makes people ask for seconds. Classic Creme Brulee is one of those desserts I used to order at restaurants because I assumed it was too fussy to make at home. Then…
What is classic creme brulee?
Classic Creme Brulee is a smooth baked custard, usually made with cream, egg yolks, sugar, and vanilla, topped with a thin layer of sugar that gets caramelized into a crisp shell. The name basically describes what you eat: creamy custard underneath and a burnt sugar crust on top.
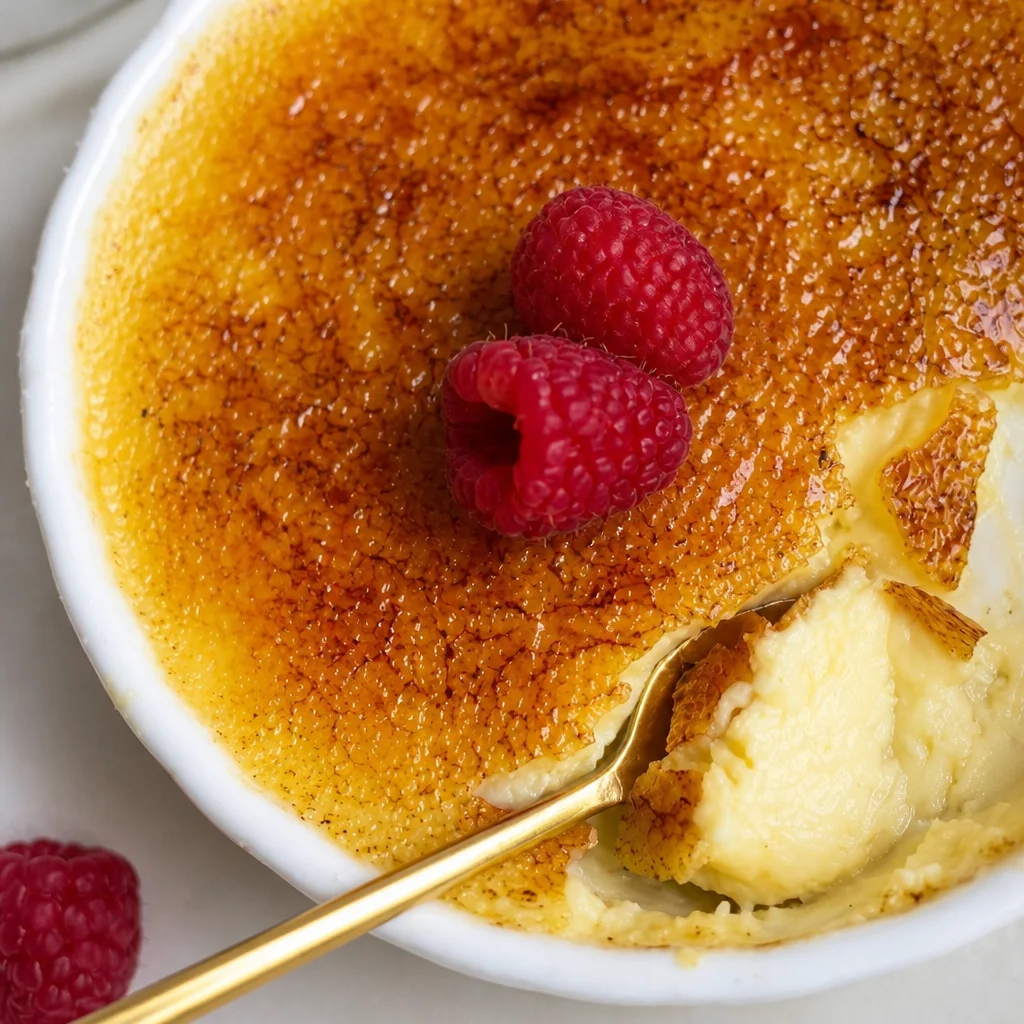
The texture is the whole point. You want it to feel silky and rich, not like pudding from a box, and not like scrambled eggs either. When you tap the top with a spoon, it should crack, then you slide into that chilled custard. It is dramatic in the best, most low effort way.
And if you love desserts that lean vanilla and creamy, you might also enjoy something a bit more celebratory like this French vanilla creme brulee layer cake. It scratches the same flavor itch, just in cake form.
Why you’ll love this creme brulee recipe
I like recipes that feel special but are secretly simple. This one is exactly that. Once you do it one time, you realize it is mostly patience and a few key temperature cues.
- It tastes like a restaurant dessert, but you control the sweetness and the vanilla.
- Great make ahead dessert because it needs chilling time anyway.
- Simple ingredient list, no hard to find stuff.
- That crackly sugar top never gets old. It is oddly satisfying.
Also, if you are the type who likes a little dessert spread for friends, creme brulee plays really well with other treats. For example, a cozy brunch moment with these Alton Browns classic scones is honestly such a vibe.
“I thought I would mess it up, but your step by step notes made it so doable. The custard set perfectly and my kids fought over the last ramekin.”
How to make Creme Brulee {video_youtube}
Here is my straight up, no stress way to make it. Read through once before you start, because timing and temperatures matter more than fancy technique. And yes, a water bath is worth it. It keeps the custard gentle and smooth.
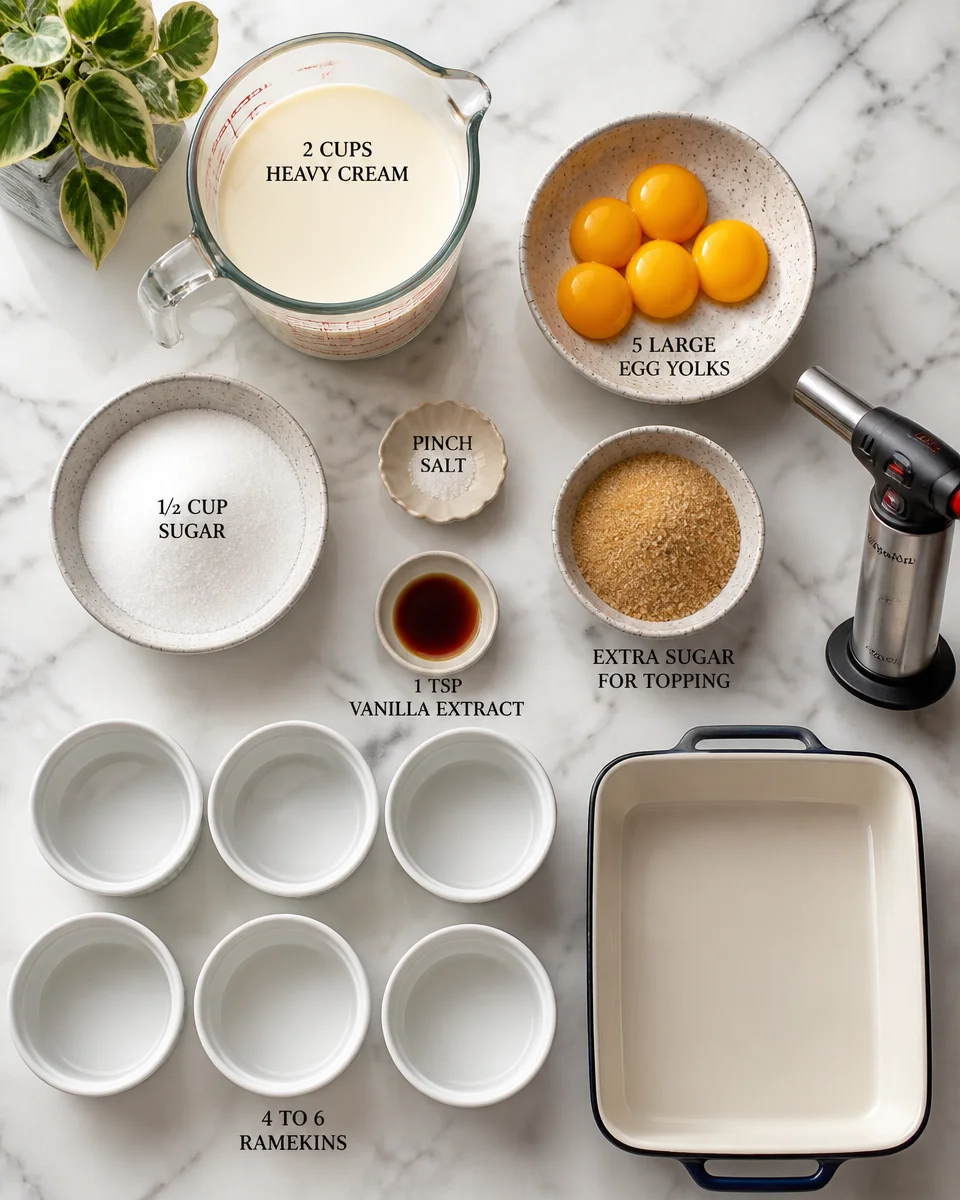
Ingredients and what you will need
- 2 cups heavy cream
- 5 large egg yolks
- 1/2 cup sugar, plus extra for topping (about 1 to 2 teaspoons per ramekin)
- 1 teaspoon vanilla extract or vanilla bean paste
- Pinch of salt
- 4 to 6 ramekins (depending on size)
- A baking dish to hold the ramekins
- Hot water for the water bath
- Kitchen torch (or your oven broiler, with extra attention)
Step by step directions
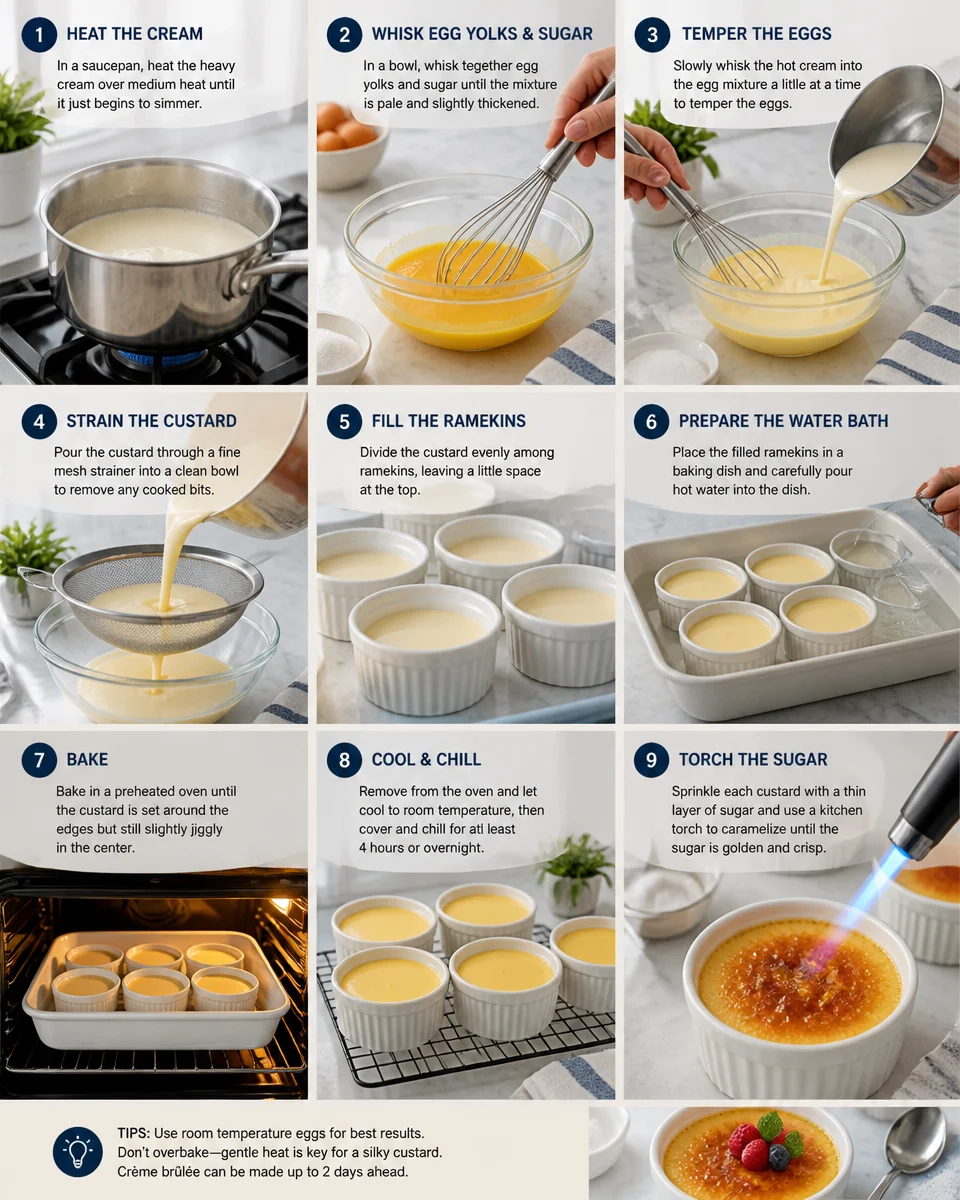
1) Heat the cream. Pour the cream into a saucepan and warm it over medium heat until it is steaming and just starting to bubble around the edges. Do not boil it hard. Turn off the heat and let it sit for about 5 minutes.
2) Whisk yolks and sugar. In a bowl, whisk egg yolks, sugar, salt, and vanilla until it looks slightly lighter and smooth. You do not need to whip air into it, just combine well.
3) Temper the eggs. Slowly pour a little warm cream into the yolk mixture while whisking. Keep going in a thin stream until most of the cream is mixed in. This prevents eggy lumps and keeps the custard silky.
4) Strain for insurance. I strain the mixture through a fine sieve into a measuring jug. It catches any tiny bits and makes pouring easier. Not required, but it is one of those “why not” steps that helps.
5) Fill ramekins. Place ramekins in a baking dish, then pour custard into each one.
6) Add the water bath. Carefully pour hot water into the baking dish so it comes about halfway up the sides of the ramekins. Move slowly so you do not splash water into the custard. This is the calm, gentle heat that Classic Creme Brulee loves.
7) Bake. Bake at 325 F (about 160 C) until the edges look set but the center still has a slight jiggle. For most ramekins, that is around 30 to 40 minutes. Start checking early.
8) Cool and chill. Remove ramekins from the water bath and cool at room temp, then refrigerate at least 4 hours, or overnight.
9) Torch the sugar. Right before serving, sprinkle a thin, even layer of sugar over the top. Torch until it melts and turns deep golden. Let it sit 1 to 2 minutes so it hardens into that crisp shell.
If you do not have a torch, the broiler can work, but keep a close eye. Put ramekins on a chilled baking sheet, set them close to the broiler, and watch constantly. Sugar can go from caramelized to bitter fast.
By the way, if you are making desserts for a party and you want an easy snacky sweet alongside, this best oatmeal creme pie dessert dip is a fun one to set out. Creme brulee is more elegant, but the dip is pure comfort.
Expert Tips:
These are the little things that make the difference between “pretty good” and “wow, you made this?” I learned most of them by doing it wrong once.
Do not boil the cream. If it is aggressively boiling, it is too hot and can mess with the texture. Steamy with tiny bubbles at the edge is perfect.
Go easy on whisking. You are not making a cake batter. Too much air can lead to bubbles on top, which can look a little rough.
Check for the jiggle. The custard should not slosh. It should look set around the edges with a soft wobble in the center. It firms up more as it cools.
Chill fully before torching. Warm custard plus torch heat is not your friend. You want cold custard so only the sugar top melts.
Use a thin sugar layer. Thick sugar makes a too hard crust that is hard to crack and can taste slightly bitter. Thin and even is the goal.
If you taste eggs, it is usually overbaked. Next time pull it earlier. Slight jiggle is not undercooked, it is correct.
Also, if you are the kind of baker who likes a dependable “people will ask for the recipe” cake, keep this classic earthquake cake on your list. It is totally different from Classic Creme Brulee, but it is the same kind of crowd pleasing energy.
Creme Brulee Variations
Once you nail the base, it is honestly hard to stop playing around. I still come back to Classic Creme Brulee the most, but these are fun when you want something a little different without learning a new method.
Citrus twist: Add a little orange or lemon zest to the warm cream, let it steep for 10 minutes, then strain. It makes the flavor brighter without turning it into a totally different dessert.
Coffee: Dissolve 1 to 2 teaspoons of instant espresso in the warm cream. It tastes like a latte in custard form.
Chocolate: Whisk in a small handful of chopped chocolate into the hot cream until melted. Keep it light so it still sets nicely.
Coconut: Swap part of the cream for full fat coconut milk and top with toasted coconut after torching. It is cozy and a little tropical.
Vanilla bean: If you have it, use it. Split the bean, scrape it into the cream, and steep. The little specks make it feel extra special.
Common Questions
1) Can I make creme brulee without a torch?
Yes. Use your oven broiler, but watch it nonstop and keep the custard cold. A torch is easier and more consistent, though.
2) Why is my custard runny?
It was probably underbaked or not chilled long enough. Bake until the edges are set and the center gently jiggles, then chill at least 4 hours.
3) Why did my creme brulee taste eggy?
That usually happens from overbaking or too much heat. Pull it sooner next time and make sure your oven temperature is accurate.
4) Can I make Classic Creme Brulee ahead of time?
Absolutely. Make the custards and chill them overnight. Torch the sugar right before serving so the top stays crisp.
5) What sugar is best for the topping?
Regular white granulated sugar is the easiest and most reliable. It melts evenly and gives that classic crack.
A sweet little plan for your next dessert night
If you have been nervous to try it, I hope this makes it feel doable, because it really is. Classic Creme Brulee is just creamy custard, a slow bake, a good chill, and that quick caramelized finish that makes everyone smile. Keep the sugar layer thin, pull it from the oven while it still jiggles a bit, and do the torching right before you serve. If you want another solid reference point, I also like how clearly this resource explains the process, so here is Classic Crème Brûlée (versatile and easy) – The Flavor Bender. Now go grab a spoon and enjoy that crackly top moment you totally earned.
Classic Creme Brulee
Ingredients
Method
- Heat the cream. Pour the cream into a saucepan and warm it over medium heat until it is steaming and just starting to bubble around the edges. Do not boil it hard. Turn off the heat and let it sit for about 5 minutes.
- Whisk yolks and sugar. In a bowl, whisk egg yolks, sugar, salt, and vanilla until it looks slightly lighter and smooth. You do not need to whip air into it, just combine well.
- Temper the eggs. Slowly pour a little warm cream into the yolk mixture while whisking. Keep going in a thin stream until most of the cream is mixed in. This prevents eggy lumps and keeps the custard silky.
- Strain the mixture through a fine sieve into a measuring jug. It catches any tiny bits and makes pouring easier. Not required, but it helps.
- Fill ramekins. Place ramekins in a baking dish, then pour custard into each one.
- Add the water bath. Carefully pour hot water into the baking dish so it comes about halfway up the sides of the ramekins.
- Bake at 325 F (about 160 C) until the edges look set but the center still has a slight jiggle, around 30 to 40 minutes. Start checking early.
- Remove ramekins from the water bath and cool at room temperature, then refrigerate for at least 4 hours, or overnight.
- Right before serving, sprinkle a thin, even layer of sugar over the top. Torch until it melts and turns deep golden. Let it sit for 1 to 2 minutes to harden.