
Christmas Gingerbread House from Scratch is one of those projects that sounds cute in your head, until you realize you have to roll dough, cut pieces, and keep little hands from eating the roof. I have been there. The good news is it does not have to be stressful, and you do not need fancy tools to make it work. This is the version I make when I want sturdy walls, lots of cozy spice, and a house that actually stands up long enough for photos. If you have been wanting to do a from scratch house instead of a boxed kit, I will walk you through it like a friend in your kitchen. 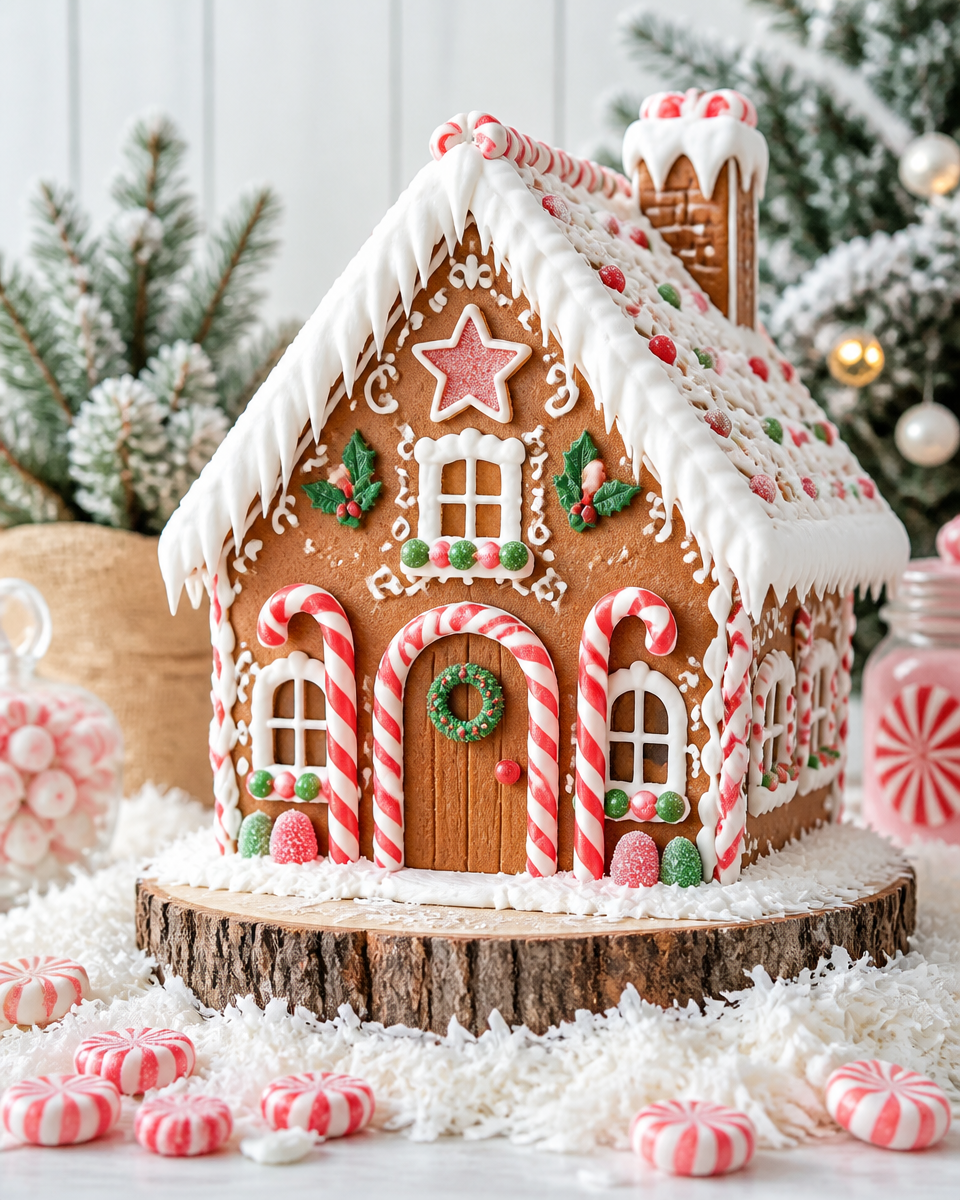
Why You Should Try This Gingerbread House This Season
I love a holiday baking moment that feels like an event, and this one totally does. A from scratch gingerbread house smells like warm molasses, cinnamon, and cloves while it bakes, and that alone is worth it. Plus, you get to control the flavor and the sturdiness, which is the part that boxed kits never quite nail.
Another reason I keep coming back to this Christmas Gingerbread House from Scratch is that it is surprisingly memory making. Even if your house leans a little, you will laugh about it. And if you want to turn it into a whole dessert table night, it pairs nicely with other cozy treats. I have done this after brunch where I served air fryer cinnamon rolls from scratch, and everyone was already in a sweet, happy mood before we even opened the candy bags.
Also, it is a sneaky way to get people to help in the kitchen. Someone can mix icing, someone can sort candies, someone can cut out windows. You do not have to do it all alone.
What You Need
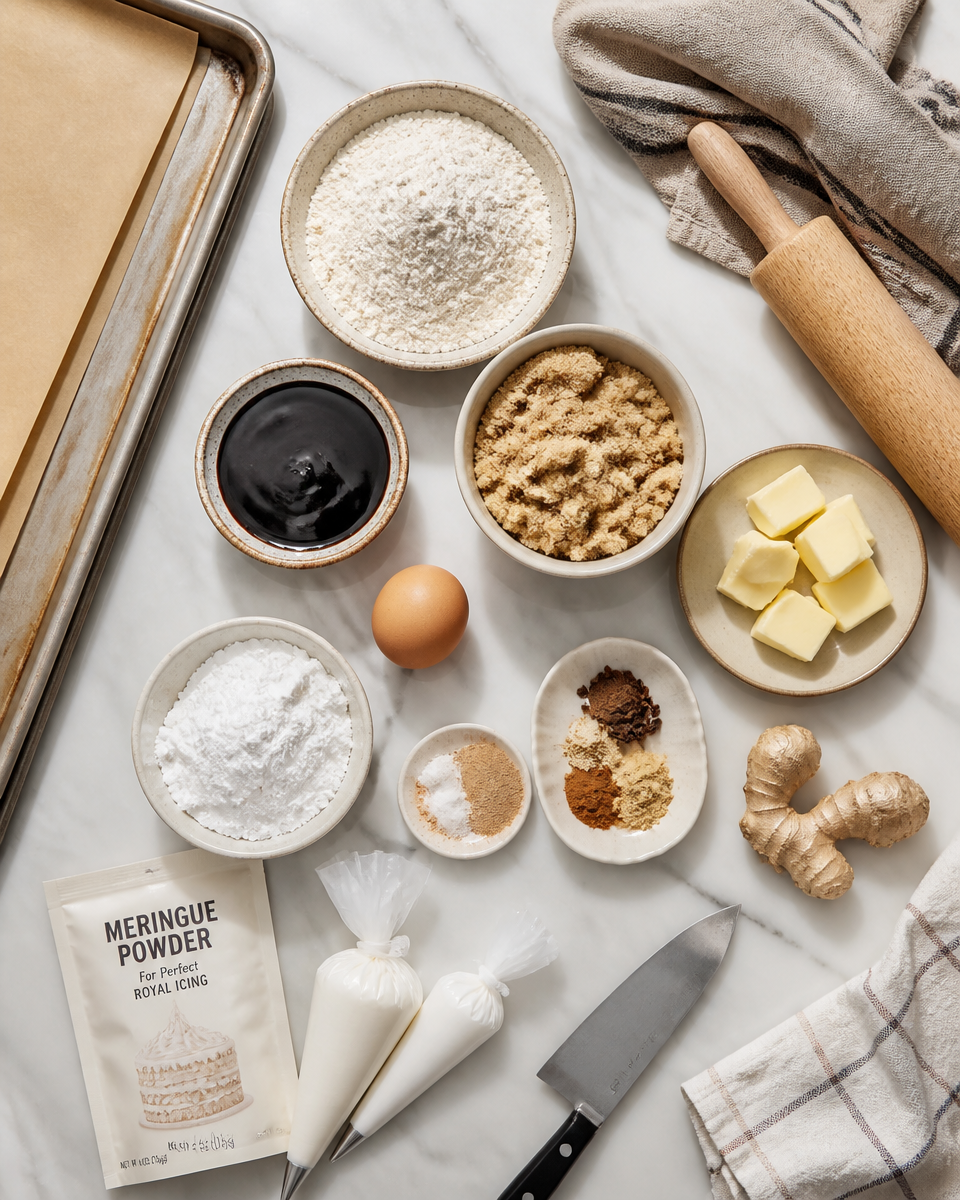
Let us keep this simple and realistic. You need gingerbread dough that bakes up firm, a strong icing that works like edible glue, and a basic template. You can draw your own template on cardboard, or print one and trace it. I usually keep the design classic: two sides, two roof pieces, a front, and a back.
Ingredients and tools that make life easier
- All purpose flour
- Molasses for that deep gingerbread flavor
- Brown sugar
- Butter
- Egg
- Spices: ginger, cinnamon, cloves (nutmeg is optional)
- Baking soda, salt
- Powdered sugar and meringue powder (or egg whites) for royal icing
- Parchment paper
- Rolling pin
- Sharp knife or pizza cutter
- Sheet pans
- Piping bags or zip top bags with the corner snipped
- Cans or cups to prop walls while drying
Decorating is the fun part, so grab what you like. Gumdrops, mini candy canes, chocolate rocks, sprinkles, and little cookies all work. I sometimes do a snacky mix vibe too, and yes, I have absolutely placed tiny dots of icing and stuck on pomegranate arils after making authentic pico de gallo from scratch earlier in the day. Not traditional, but it looked adorable and nobody complained.
How to Make a Gingerbread House Step-By-Step
This is the part where most people get nervous, but you are fine. You are basically making a cookie dough that is meant to be a little tough and structured. We are not chasing soft and chewy here, we want clean edges and pieces that hold their shape.
My sturdy gingerbread dough method
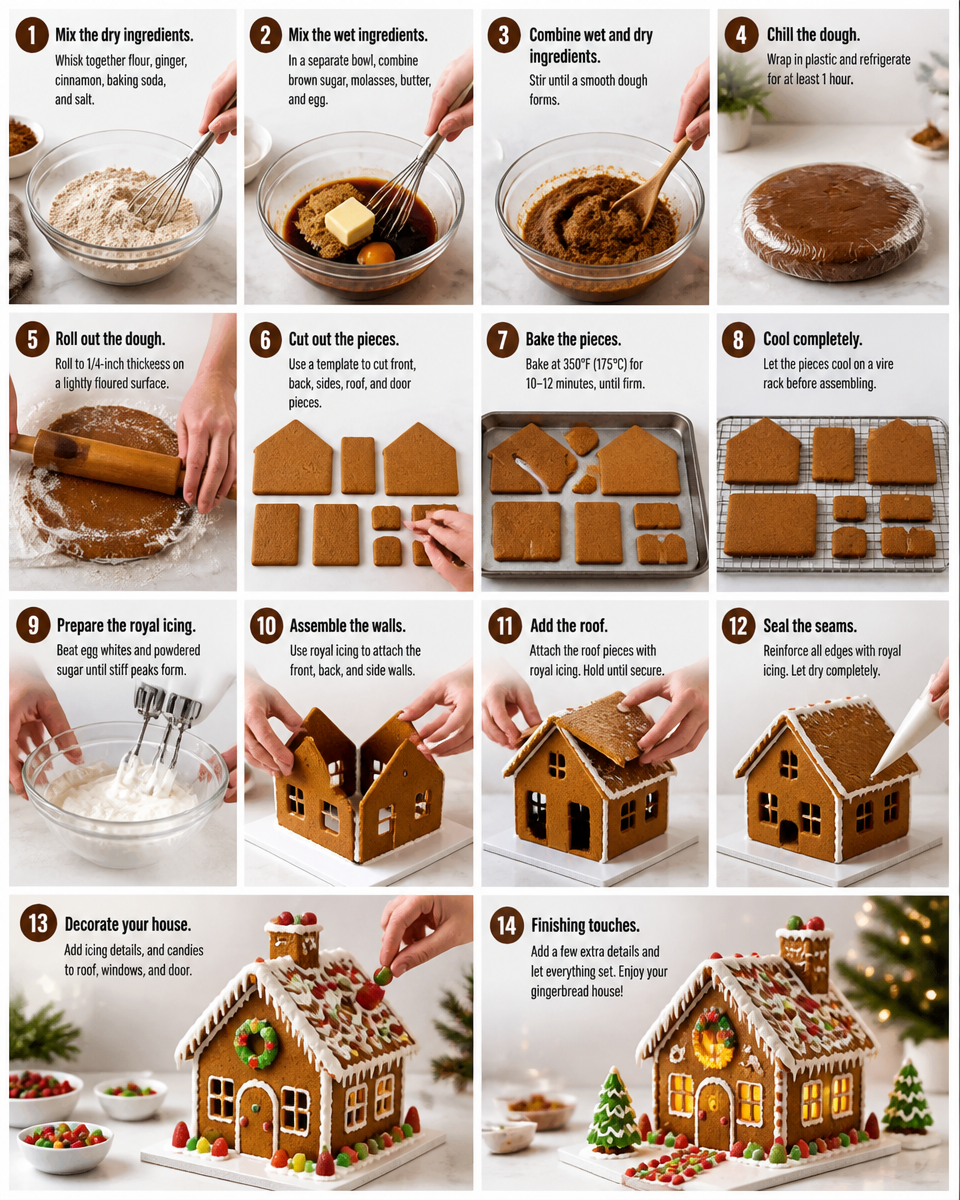
1) In a bowl, whisk the flour, baking soda, salt, and spices. Set it aside.
2) In another bowl, beat the butter and brown sugar until it looks smooth. Add the molasses and egg and mix again. It will smell like the holidays immediately.
3) Add the dry ingredients to the wet ingredients and mix until you get a thick dough. If it feels sticky, add a spoonful of flour. If it feels dry and crumbly, let it sit for a minute and it usually comes together.
4) Wrap the dough and chill it for at least 1 hour. I do this because it makes rolling and cutting so much easier.
5) Roll the dough between two sheets of parchment paper to about 1/4 inch thick. Thicker pieces are stronger, but too thick makes the house bulky. This thickness is my sweet spot.
6) Cut your template pieces. Transfer the parchment with pieces onto sheet pans.
7) Bake at 350°F (175°C) until the pieces look dry and set, usually 12 to 16 minutes depending on size. If the edges puff, do not panic.
8) While the pieces are still warm, re trim them with your template and a sharp knife for crisp edges. This step is magic for making the walls line up later.
Let the pieces cool completely before building. Warm gingerbread is fragile and will crack if you rush it.
If you want a cozy holiday spread while your pieces cool, I love having something warm and comforting on the stove like chicken and dumpling soup from scratch. It makes the whole day feel like a winter Saturday at home.
How to Assemble a Gingerbread House
Assembly is all about patience and thick icing. Royal icing dries hard, so it is your best friend here. I like to mix it until it holds stiff peaks, kind of like toothpaste consistency. If it is too runny, your walls will slide around and you will feel personally attacked by gravity.
Here is my simple building order:
1) Prep your base. Use a sturdy board or a flat tray. Pipe a thick outline of icing where the walls will sit.
2) Attach the first wall, then the second wall. Hold them together for a minute, then prop them with cans or cups. Repeat with the remaining walls.
3) Let the walls dry for at least 30 minutes before you even think about the roof. If you can, wait an hour. This is the difference between a stable house and a holiday collapse.

4) Add the roof pieces with a thick line of icing along the top edges of the walls. Hold, prop, and let dry again.
5) Once the structure is solid, decorate. This is when you can relax and have fun.
My personal decorating tip: start with big pieces first, like candy canes and cookies, then fill gaps with smaller sprinkles. It looks more intentional that way. And if you want extra baking ideas to go with your decorating night, something like candied yams from scratch southern style can be a cozy dinner side before the sugar fest begins.
“I used your thicker icing tip and my kids finally made a house that stayed up overnight. We woke up and it was still standing, and they were so proud. Best holiday win.”
Common Gingerbread House Problems
Let me guess, you made it this far and you are thinking, what could go wrong? Honestly, not much if you know the usual trouble spots. Here are the big ones I have run into, plus what actually fixes them.
Problem: Pieces spread or look warped.
Fix: Chill the cut pieces on the pan for 10 minutes before baking. Also make sure your oven is fully preheated. Re trimming the warm pieces with the template helps a lot too.
Problem: Walls will not stick.
Fix: Your icing is too thin or your pieces are dusty with flour. Make thicker royal icing and wipe the edges of the gingerbread with a dry paper towel before piping icing.
Problem: The roof slides down.
Fix: Let the walls dry longer. Also pipe more icing than you think you need. Roof time is not the moment to be dainty.
Problem: Cracks in the gingerbread.
Fix: Small cracks can be patched with icing like spackle. For big breaks, use a little extra icing and support the piece with a cup until it dries.
Problem: Decorations fall off.
Fix: Hold the candy in place for a few seconds after pressing it into fresh icing. If you are decorating on fully dried icing, add a new dot of icing as glue.
Also, if you are planning a full dessert lineup, I love making a simple cake earlier in the day so nobody gets hangry during gingerbread construction. This cherry chip cake from scratch is sweet and festive without being fussy.
Common Questions
Can I make the gingerbread pieces ahead of time?
Yes. Bake the pieces, cool them, and store them in an airtight container at room temperature for up to a week. I actually prefer making pieces 1 to 2 days early so they are fully firm.
Do I have to use royal icing?
For building, I really recommend it because it dries hard. If you only want to decorate cookies, buttercream is fine, but for a Christmas Gingerbread House from Scratch you want that strong glue effect.
What if I do not have a piping bag?
Use a zip top bag and snip a tiny corner off. It is not fancy, but it works.
How do I keep kids entertained without chaos?
Give them a candy sorting job and a small decorating zone. I like to let them decorate the yard area or a little “tree” made from an upside down ice cream cone.
How long does it take from start to finish?
If you do it all in one day, plan for about 3 to 4 hours with chilling and drying time. If you split it into two days, it feels much easier.
A cozy final note before you start baking
If you take one thing from this post, let it be this: go slow, use thick icing, and give your walls time to dry. Christmas Gingerbread House from Scratch is supposed to be fun, not a pressure test. If you want extra guidance and a slightly different take, I have also found helpful tips in Gingerbread House Recipe – Sally’s Baking Addiction and Gingerbread House Recipe – Sugar Spun Run, especially when you are comparing dough textures and icing consistency. Now grab your candy, put on a holiday playlist, and build the little wonky house of your dreams.

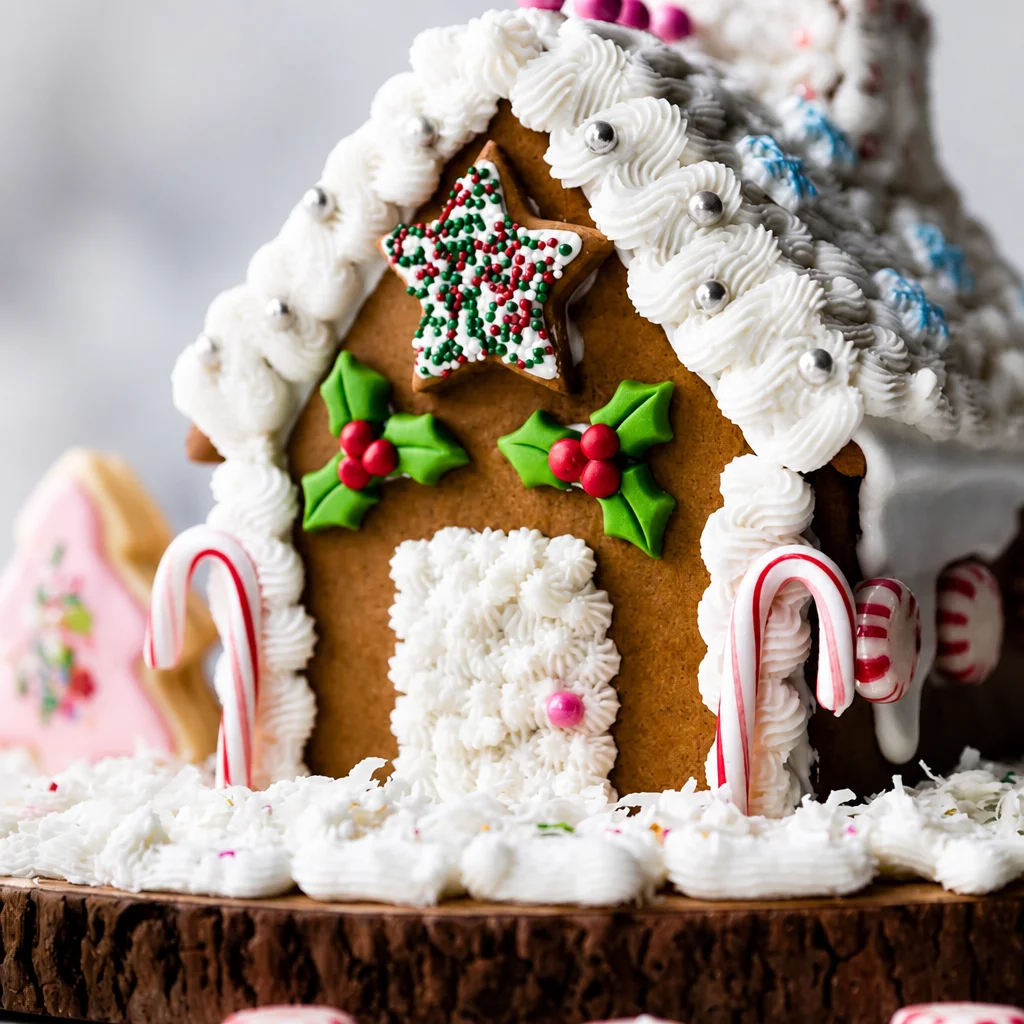
Christmas Gingerbread House
Ingredients
Method
- In a bowl, whisk the flour, baking soda, salt, and spices. Set it aside.
- In another bowl, beat the butter and brown sugar until smooth. Add the molasses and egg, and mix again.
- Combine the dry ingredients with the wet ingredients. Mix until you get a thick dough, adjusting with flour if sticky or letting it sit if dry.
- Wrap the dough and chill for at least 1 hour for easier rolling and cutting.
- Roll the dough between two sheets of parchment paper to about 1/4 inch thick.
- Cut template pieces and place them on sheet pans.
- Bake at 350°F (175°C) for 12 to 16 minutes until dry and set.
- Trim the warm pieces with your template for clean edges and let cool completely.
- Prep your base with a sturdy board or flat tray, piping a thick outline of icing.
- Attach and prop the walls with cans or cups, allowing them to dry for at least 30 minutes.
- Add the roof pieces with a thick line of icing along the top edges, holding until it sets.
- Once the structure is stable, decorate with candies and icing.
