


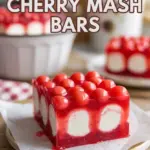
Homemade Cherry Mash Bars always seem to steal the show at family get-togethers. You know those moments when you want something that tastes like childhood but also feels a little fancy for guests? This recipe does that. It has a nostalgic cherry center, a creamy chocolate top, and that satisfying peanut crunch. It’s simple to make, sets beautifully, and slices into neat squares you’ll be proud to share. If you’ve been craving a quick dessert that still feels special, this one’s your new go-to.
The Story Behind This Recipe
I’ve spent years testing recipes for Middle East Sector, and this Homemade Cherry Mash Bars is a keeper: fast to prep with no weird tricks. Homemade Cherry Mash Bars always seem to steal the show at family get-togethers. You know those moments when you want something that tastes like childhood but…
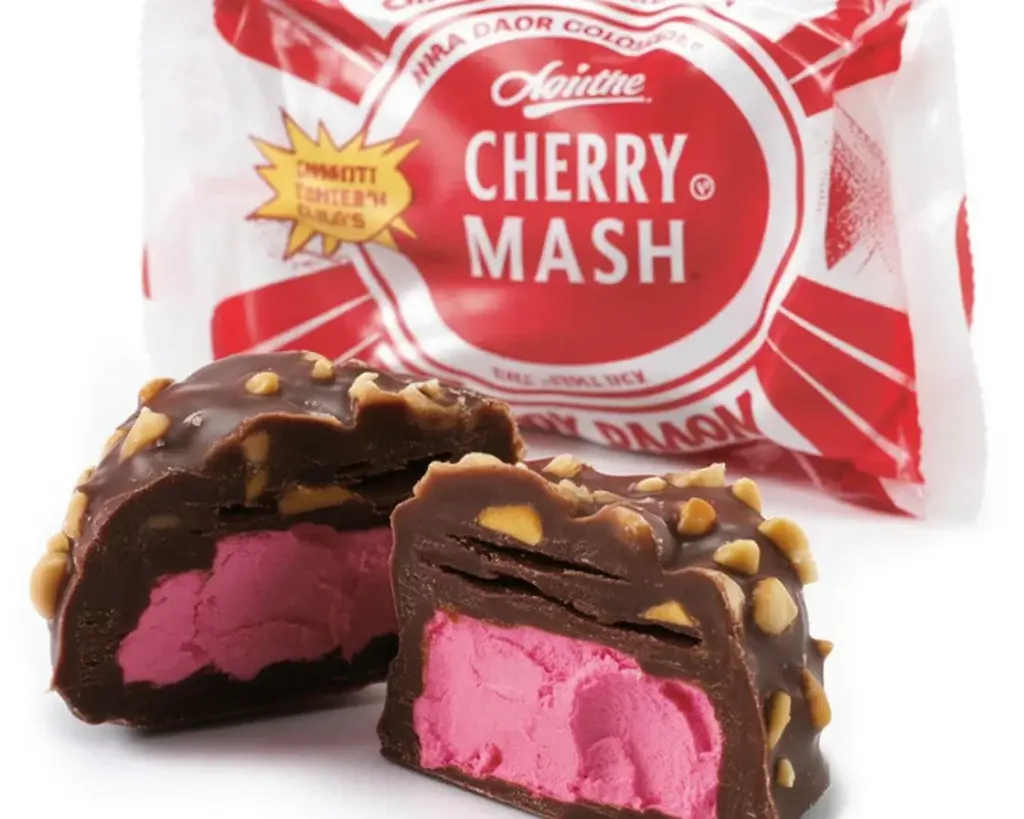
What are Cherry Mash Truffles?
If you’ve never tried Cherry Mash, think of it as a candy shop classic turned easy home treat. Traditionally, Cherry Mash shows up as truffles or small candies with a bright cherry center and a chocolate peanut shell. The filling is sweet and chewy with little bits of real cherry, and the outside has the crunch and creaminess of chocolate and peanuts together.
For these bars, I tap into that same flavor, but I skip the individual rolling and dipping. Instead, I press the cherry mixture into a pan, pour the chocolate-peanut topping right over the top, and let it set. The result is the same fun taste with a much simpler path to dessert bliss.
And here’s the best part: these bars fit anywhere. Bake sale? Yes. Weeknight treat? Absolutely. Holiday tray? They look gorgeous. If you love cherry-forward desserts like Grandma’s cherry delight, you’ll be right at home with these.
What makes them special is the contrast. The filling is sweet, soft, and pink, while the top is rich and nutty. Cut into squares, they’re pretty, portable, and irresistibly snackable. They’re also one of the easiest ways to make candy-like treats without a candy thermometer.
For me, Homemade Cherry Mash Bars hit that sweet spot between nostalgic and practical. They feel like something your favorite aunt would bring over, wrapped in wax paper and good intentions.
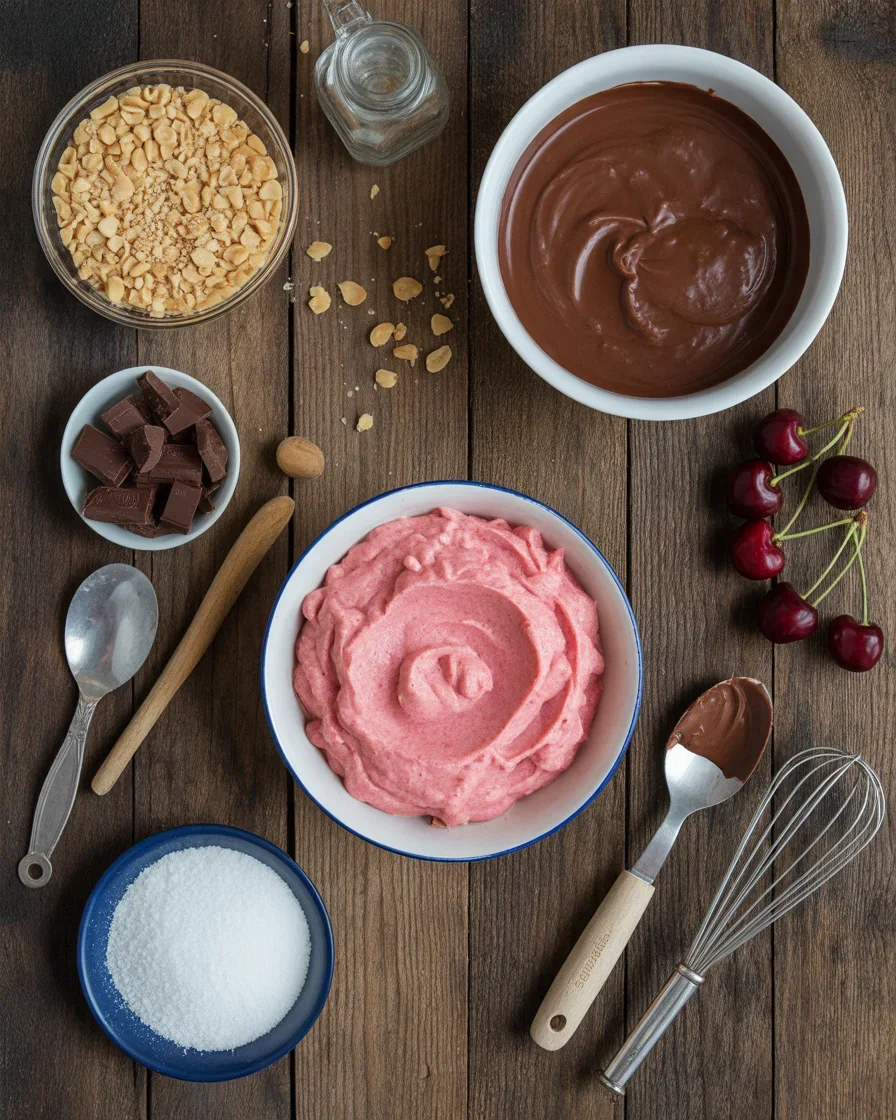
Key Ingredients for Cherry Mash Truffles
Before you start, take a quick look at your pantry. Most of this is simple stuff, and I’ll share easy swaps if you can’t find certain items. Here’s what you’ll need and why it matters:
- Maraschino cherries: Drained and chopped. They bring the color and that classic cherry flavor. Pat them dry so the filling sets well.
- Sweetened condensed milk: Binds the filling and keeps it soft.
- Powdered sugar: Adds structure to the cherry base. You’ll mix it in until the filling is thick and workable.
- Unsweetened shredded coconut (optional): Adds a subtle chew and helps the base hold together.
- Cherry chips or white chocolate + cherry extract: Cherry chips are fun, but if your store doesn’t carry them, use white chocolate and a few drops of cherry extract.
- Chocolate chips: Semi-sweet or milk chocolate for the top. Use what you love.
- Creamy peanut butter: Mixed with the chocolate for a silky topping that sets but stays easy to slice.
- Roasted peanuts, chopped: That signature crunch and old-school candy texture.
- Vanilla and a pinch of salt: Rounds out the flavors so the sweetness doesn’t overwhelm.
Pro tip: If you enjoy cherry baked goods like these soft and fruity cherry muffins, you’ll love how the cherries shine here too. And since this is a no-fuss bar, you don’t need fancy tools. A mixing bowl, a spatula, a saucepan, and an 8 or 9 inch pan will do the trick.
Ingredient highlight: Peanuts are non-negotiable for that classic candy vibe. Use salted roasted peanuts for the best flavor pop.
Step-by-Step Instructions
Make the cherry base
- Line an 8 or 9 inch square pan with parchment, leaving a little overhang.
- Chop and blot the maraschino cherries until very dry. You don’t want extra liquid in the base.
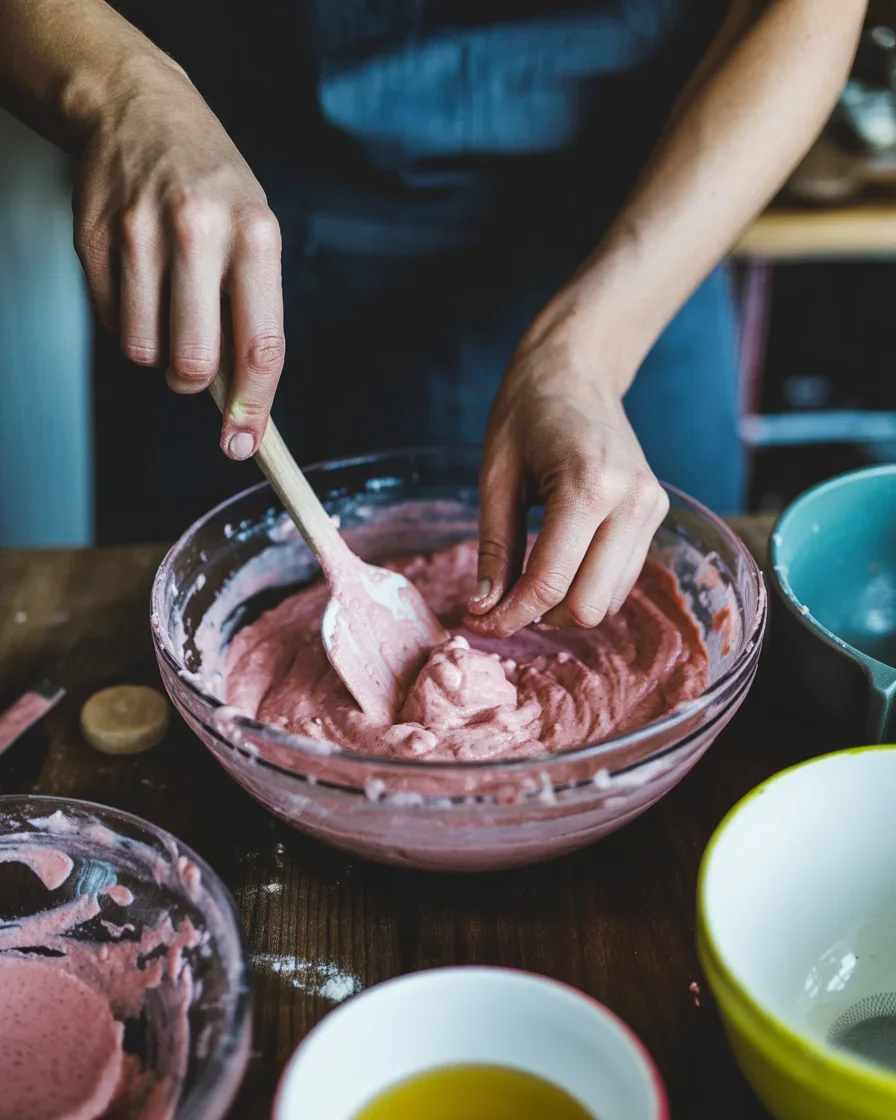
- In a large bowl, stir together sweetened condensed milk, cherry chips or melted white chocolate, vanilla, and a pinch of salt. Fold in the cherries.
- Add powdered sugar in batches until the mixture thickens and feels like soft dough. If using coconut, mix it in now.
- Press the cherry mixture evenly into the prepared pan. Chill 20 to 30 minutes to set slightly.
Make the chocolate peanut topping
- In a small saucepan on low heat, melt chocolate chips with peanut butter, stirring until smooth and glossy. Remove from heat and stir in the chopped peanuts.
- Pour the topping over the chilled cherry layer and spread to the edges. Gently tap the pan to level it out.
Set and slice
- Refrigerate 1 to 2 hours, until firm enough to slice cleanly.
- Use the parchment overhang to lift the slab onto a cutting board. Warm a sharp knife under hot water, wipe dry, then slice into squares.
Serve and store
- Serve slightly chilled for the neatest bites or room temp for a softer chew.
- Store in an airtight container in the fridge for up to 1 week, or freeze for up to 2 months. Separate layers with parchment to keep the tops tidy.
Chocolate lovers, the topping here is a dream. If you’re into layered treats like gooey s’mores chocolate bars or candy bars with texture like strawberry nougat chocolate bars, you’ll appreciate how the peanuts keep each bite interesting.
“I brought a tray of these to a neighborhood cookout and they disappeared in minutes. People kept asking which bakery made them. The look on their faces when I said they were homemade made my whole week.”
Nutrition Facts
These Homemade Cherry Mash Bars are a treat, so I keep portions modest. One small square hits that sweet spot without overdoing it. Here’s an estimate for a 16 square pan cut:
Per bar, approximate: 220 to 260 calories, 14 g fat, 24 g carbs, 3 g protein. Sugar varies based on chocolate choice and whether you add coconut. Using semi-sweet chocolate and salted peanuts tends to balance the sweetness better than milk chocolate.
Looking for lighter tweaks? Use a higher percentage dark chocolate and reduce the powdered sugar a bit, adding more coconut to help the texture. You can also cut into 20 smaller pieces for a lower calorie bite that still satisfies.
Tips for Perfecting Your Cherry Mash Truffles
Dry your cherries well. Excess moisture is the number one reason the base turns gooey or sticky. Spread chopped cherries on a paper towel and blot, blot, blot.
Adjust powdered sugar gradually. Different brands of cherries and white chocolate can change the texture. Add sugar in stages until you can press the mixture without it sticking badly to your fingers.
Don’t scorch the chocolate. Melt low and slow. If the topping gets too hot, it can separate. A gentle melt gives you that shiny finish.
Use the right pan size. An 8 inch pan makes thicker bars with bigger contrast between layers. A 9 inch pan makes thinner bars that set a bit faster. Both work, it’s just about preference.
Chill long enough to set. The topping needs time to firm. If you’re in a rush, pop the pan in the freezer for 20 minutes, then move it back to the fridge before slicing.
For sharper cuts, warm your knife, wipe between slices, and don’t rush. Clean edges make these look bakery ready.
Flavor swaps: Try almond extract in the base for a cherry almond moment, or add a sprinkle of flaky salt on top before the chocolate sets for a sweet-salty finish. If you like classic cherry vibes, you’ll also enjoy the old fashioned goodness in Grandma’s cherry delight.
Common Questions
Can I make these without peanuts?
Yes. Swap peanuts for toasted almonds or leave out nuts entirely and add crispy rice cereal for texture.
What if I can’t find cherry chips?
Use white chocolate and a few drops of cherry extract. You can also add a tablespoon of cherry juice to the base, but make sure to add extra powdered sugar to keep it workable.
Do these need to be refrigerated?
I recommend storing them in the fridge so the layers stay firm. They’re fine at room temperature for a couple of hours when serving.
Can I use fresh cherries?
Fresh cherries are tasty, but they add too much juice for the base. For this recipe, maraschino cherries are the safer bet and give the classic flavor.
How far in advance can I make them?
Make them up to 3 days ahead. They taste even better on day two as the flavors settle.
A Sweet Little Wrap Up
If you’re craving a nostalgic candy bar vibe without fuss, these Homemade Cherry Mash Bars are your answer. They come together quickly, slice beautifully, and always make people smile. Keep the cherries dry, melt the chocolate gently, and give the bars time to chill. Once you nail those basics, you’ll be set.
Want to compare techniques or explore variations? I found great ideas in this easy guide from Cherry Mash Truffles – Strawberry Blondie Kitchen, and this classic formula on Cherry Mash Bars Recipe – Food.com is a helpful reference too. Whichever route you choose, I hope your kitchen smells like chocolate and cherries soon. You’ve got this.
Homemade Cherry Mash Bars
Ingredients
Method
- Line an 8 or 9 inch square pan with parchment, leaving a little overhang.
- Chop and blot the maraschino cherries until very dry.
- In a large bowl, stir together sweetened condensed milk, cherry chips or melted white chocolate, vanilla, and a pinch of salt. Fold in the cherries.
- Add powdered sugar in batches until the mixture thickens.
- Press the cherry mixture evenly into the prepared pan. Chill 20 to 30 minutes to set slightly.
- In a small saucepan on low heat, melt chocolate chips with peanut butter, stirring until smooth.
- Remove from heat and stir in the chopped peanuts.
- Pour the topping over the chilled cherry layer and spread to the edges.
- Refrigerate 1 to 2 hours, until firm enough to slice.
- Use the parchment overhang to lift the slab onto a cutting board.
- Warm a sharp knife under hot water, wipe dry, then slice into squares.
- Serve slightly chilled or at room temperature.
- Store in an airtight container in the fridge for up to 1 week, or freeze for up to 2 months.