
Hojicha Ice Cream (3 Ingredients, No Churn) is my little rescue plan for those nights when I want dessert but absolutely do not want to babysit an ice cream machine. You know the vibe: it is late, the kitchen is quiet, and you are craving something creamy but not too sweet. Hojicha has this cozy roasted tea flavor that feels like a warm hug, even when it is frozen. This recipe is simple enough that I can make it while half listening to a podcast. And the best part is it tastes like something you would buy at a nice cafe, not something you threw together in five minutes. 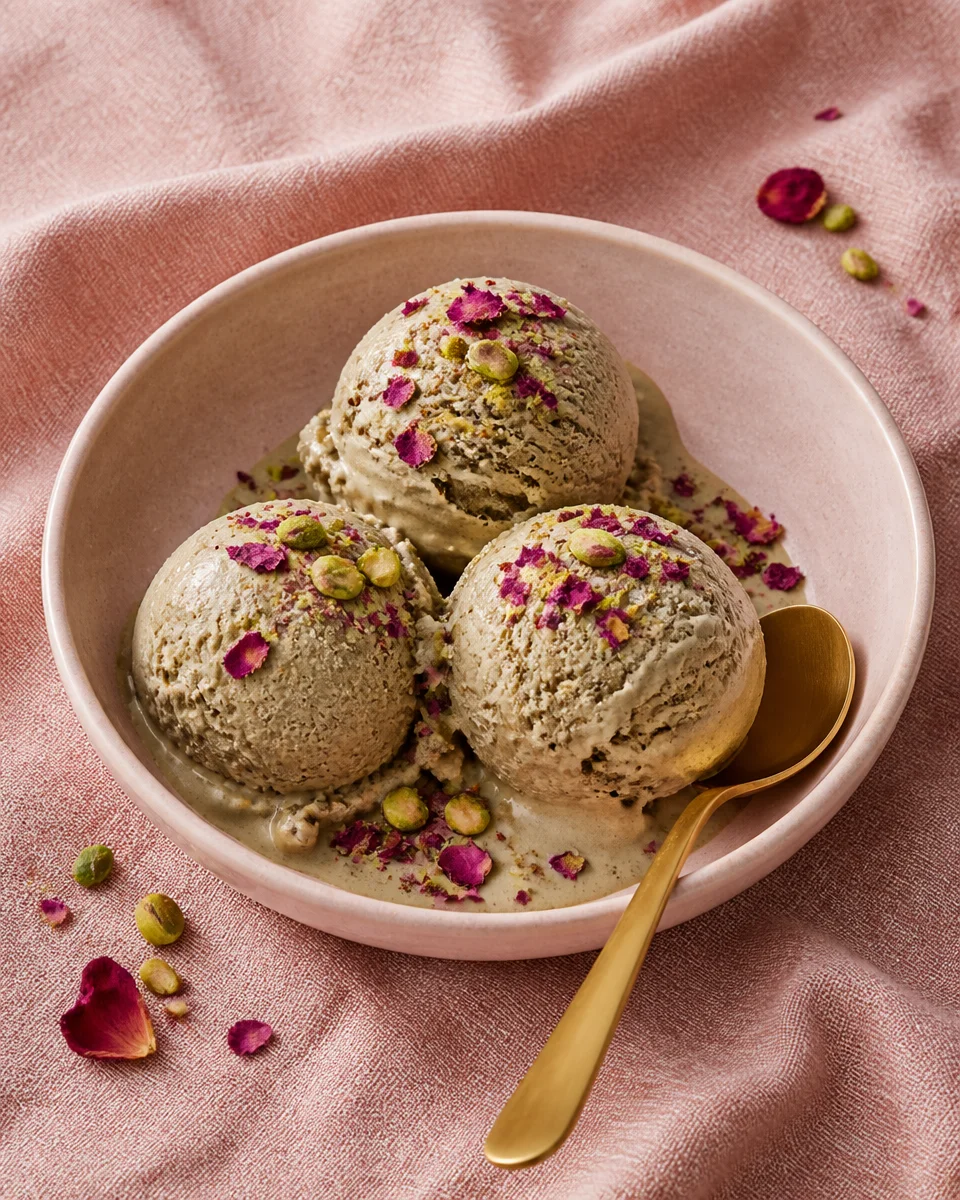
What is hojicha?
Hojicha is a Japanese roasted green tea, usually made from roasted bancha or sencha leaves. Because it is roasted, it has a totally different personality than regular green tea. Think toasty, nutty, a little caramel like, and super mellow.
When you use hojicha powder (the easy option for desserts), it blends right into creamy bases and gives you that signature roasted flavor without any steeping drama. It also tends to be lower in caffeine than matcha, which is honestly why I reach for it at night.
If you are new to hojicha desserts, this is a great entry point because the flavor is clear but not intense. It is like coffee vibes but softer and more tea like.
Also, if you are on an ice cream kick, you might like other fun flavors too. I keep a running list of favorites, like this black sesame ice cream when I want something nutty and deep.
Why No-Churn Works So Well with Hojicha
No churn ice cream gets a bad reputation sometimes, like it is going to be icy or feel like a frozen block. But hojicha actually plays really nicely with the no churn method. The roasted tea flavor cuts through the richness and keeps it from tasting heavy.
Here is why it works so well:
Hojicha is bold enough to stand up to sweetened condensed milk, so the flavor still feels balanced.
It is naturally smooth when you use a fine hojicha powder, so you get that cafe style taste without extra steps.
The color is pretty in a calm way, like a light mocha shade. Not neon, not artificial.
I also like that this style of recipe is forgiving. If your whipping cream is slightly under whipped, it still freezes up nicely. If you want another simple frozen dessert that is also no churn, this 2 ingredient cottage cheese ice cream is surprisingly good and feels like a totally different vibe.
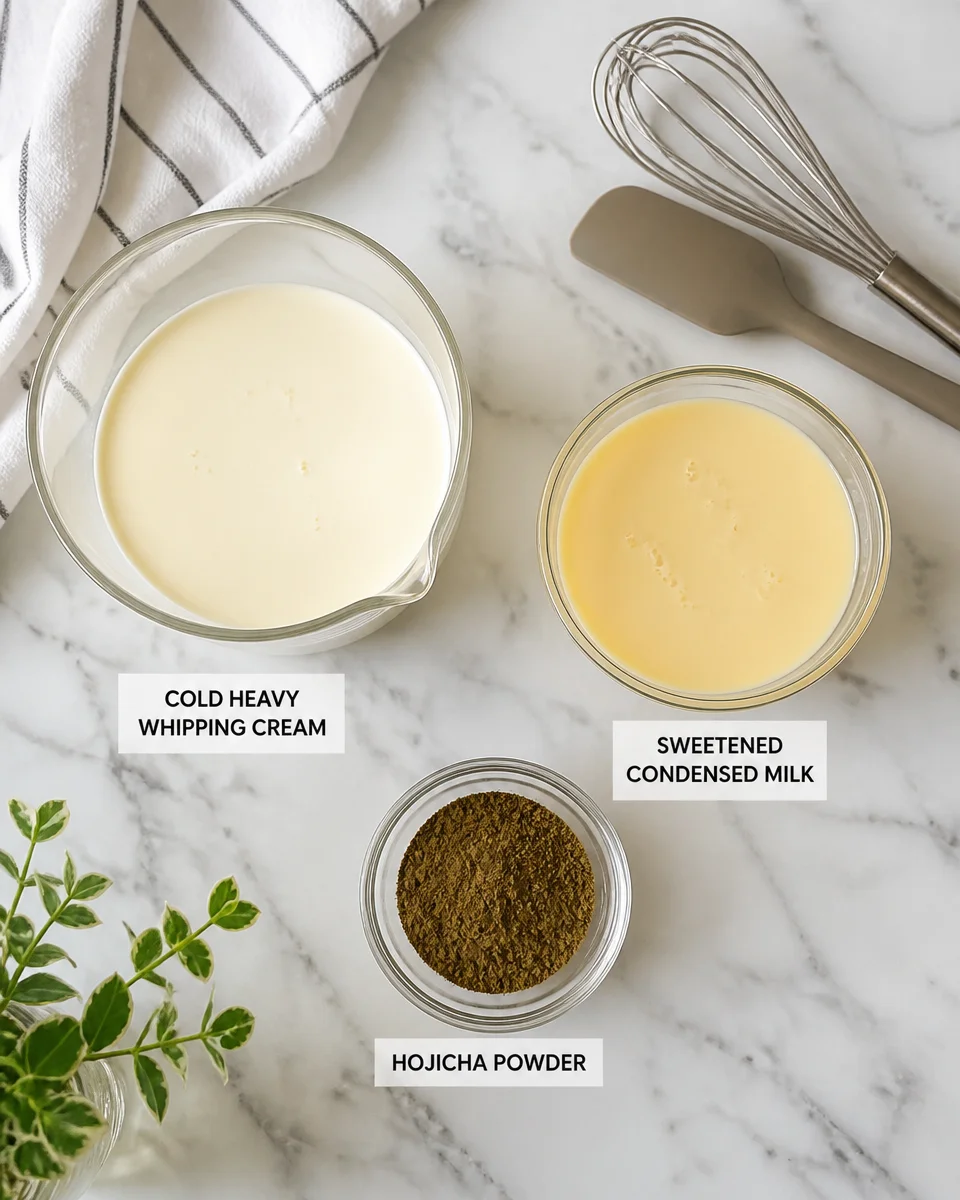
Ingredient Line-Up
Three ingredients, that is it. No eggs, no cooking, no fancy stabilizers. I am putting the amounts in a simple table too, because I always appreciate when someone does that.
- Heavy whipping cream (cold): this is your fluffy base and what brings the creamy texture.
- Sweetened condensed milk: sweetness plus that scoopable texture, since it does not freeze rock solid like plain milk.
- Hojicha powder: the star. Use a fine powder meant for cooking or drinks.
A few quick shopping notes from my own trial and error:
- If your hojicha powder is clumpy, sift it first. It makes a difference.
- Use full fat condensed milk, not a low sugar version, unless you are ready for texture changes.
- Real heavy cream whips best when it is very cold. I even chill my bowl if my kitchen is warm.
If you are making a whole dessert table, I love pairing this tea flavor with something playful for kids, like Cookie Monster ice cream. It makes the hojicha feel extra grown up in the best way.
Step-by-Step Method
My easy no stress process
I have made this enough times that I do it on autopilot, but here is the exact flow that keeps it smooth and creamy.
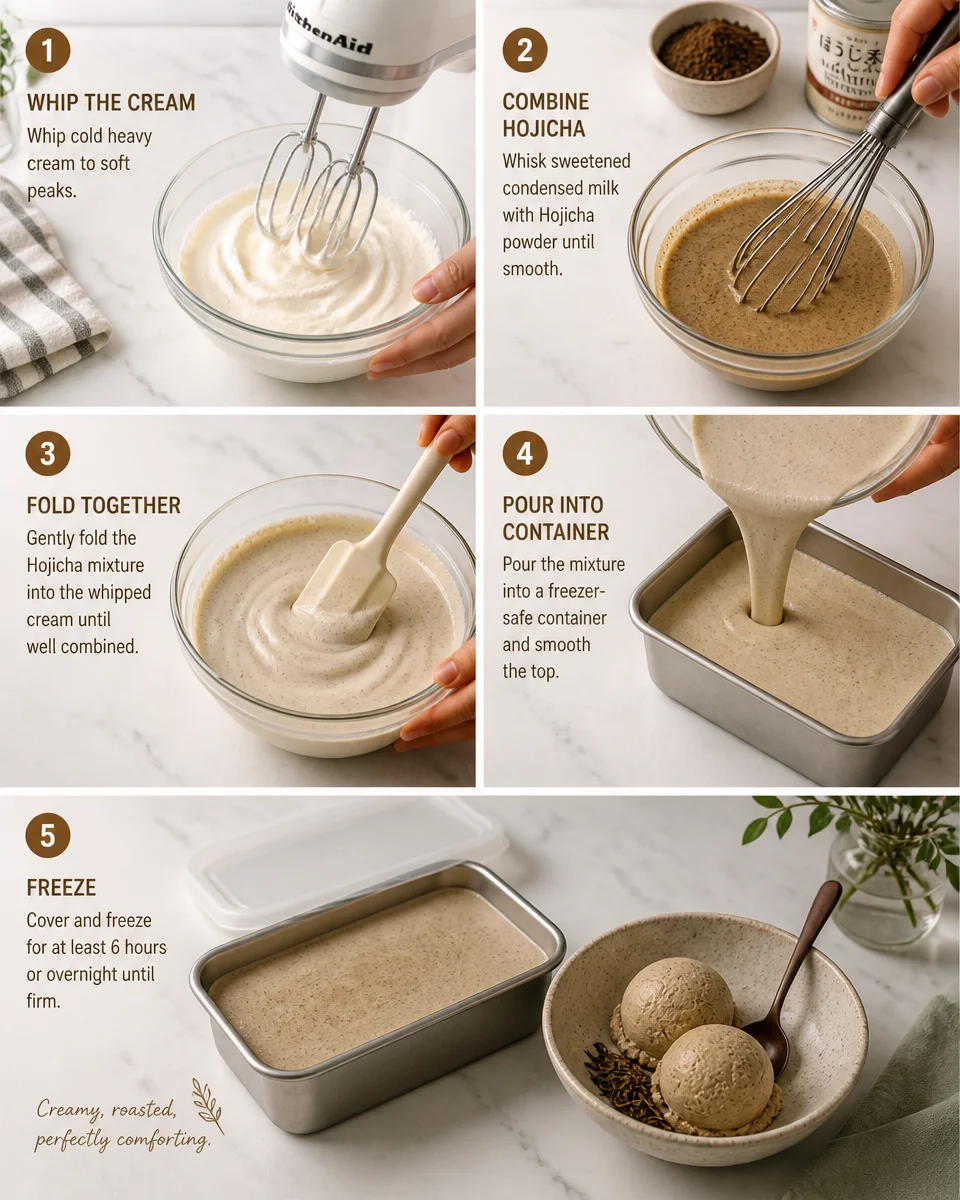
- Step 1: In a large bowl, whip the cold heavy cream until it looks thick and holds soft peaks. You want it fluffy, not stiff and dry.
- Step 2: In a separate bowl, whisk the sweetened condensed milk with hojicha powder until the color is even and you do not see dry streaks.
- Step 3: Add about a third of the whipped cream into the hojicha mixture and gently mix to lighten it.
- Step 4: Pour that back into the remaining whipped cream and fold gently until you do not see swirls. Try not to overmix.
- Step 5: Spoon into a loaf pan or freezer safe container, smooth the top, cover, and freeze for at least 6 hours.
That is it. The hardest part is waiting.
Little personal tip: I like to let the container sit on the counter for 5 minutes before scooping. It turns from hard to dreamy without melting into soup.
“I made this for a small dinner with friends and everyone asked where I bought it. The hojicha flavor was so comforting and it scooped perfectly the next day too.”
If you are a toppings person, you can go simple with crushed toasted nuts, or you can go full dessert mode. I once served it alongside slices of a homemade ice cream cake and felt like a genius. If you want that kind of party energy, check out this Buster Bar ice cream cake for inspiration.
And if you want to see the full version of my hojicha recipe with extra tips and photos, I keep it updated here: Hojicha Ice Cream (3 Ingredients, No Churn).
Texture Troubleshooting
How to keep it creamy, not icy
No churn recipes are simple, but small details matter. If your texture is not what you hoped, here is what usually fixes it.
Problem: It froze too hard.
This can happen if your freezer runs very cold or if the container is shallow and freezes fast. Let it sit out 5 to 10 minutes before scooping. Also make sure you used sweetened condensed milk, not evaporated milk. Those two cans look way too similar on the shelf.
Problem: It tastes a little flat.
Add a tiny pinch of salt next time. I know it is not in the official three ingredients, but it wakes up the roasted flavor like magic. Also, some hojicha powders are lighter than others, so you may need a bit more to taste.
Problem: Grainy or speckled texture.
That is usually hojicha clumps. Sift the powder before mixing, or whisk it into the condensed milk really well. If you still see specks, let the mixture sit for 2 minutes, then whisk again.

Problem: It feels airy and not creamy.
You may have over whipped the cream into stiff peaks. Next time stop at soft peaks. The cream should look plush and spoonable, not chunky.
Once you get the feel for it, this becomes one of those recipes you can make without thinking. And because the flavor is roasted and gentle, it is easy to serve after almost any meal.
Common Questions
Quick answers I wish I had the first time
Can I use brewed hojicha tea instead of hojicha powder?
I would not for this recipe. Adding liquid can make the ice cream icy. Powder gives you strong flavor without changing the texture.
How long does it take to freeze?
Usually 6 hours for a firm scoop, but overnight is best if you are planning to serve it to guests.
Do I need to toast the hojicha powder first?
Nope. It is already roasted by definition. Just sift it if it is clumpy.
How long will it keep in the freezer?
It is best within 1 to 2 weeks for the freshest flavor and creamiest texture. Keep it tightly covered to avoid freezer smells.
Can I make it less sweet?
A little, but be careful. Sweetened condensed milk helps with texture. If you cut it too much, it may freeze harder. A better trick is using a bit more hojicha powder or adding a pinch of salt to balance the sweetness.
A sweet little freezer win
If you have been craving something calm and cozy, Hojicha Ice Cream (3 Ingredients, No Churn) is such a satisfying place to start. It is creamy, scoopable, and the roasted tea flavor feels special without being fussy. If you want to compare methods or see other approaches, I found No-Churn Hojicha Ice Cream | Sift & Simmer helpful, and this one too: Ultra-Creamy 3-Ingredient No-Churn Hojicha Ice Cream. Now promise me you will actually make it, not just bookmark it like we all do. Scoop it into a bowl, take that first roasted tea bite, and enjoy the fact that you pulled off a fancy tasting dessert with basically no effort. 
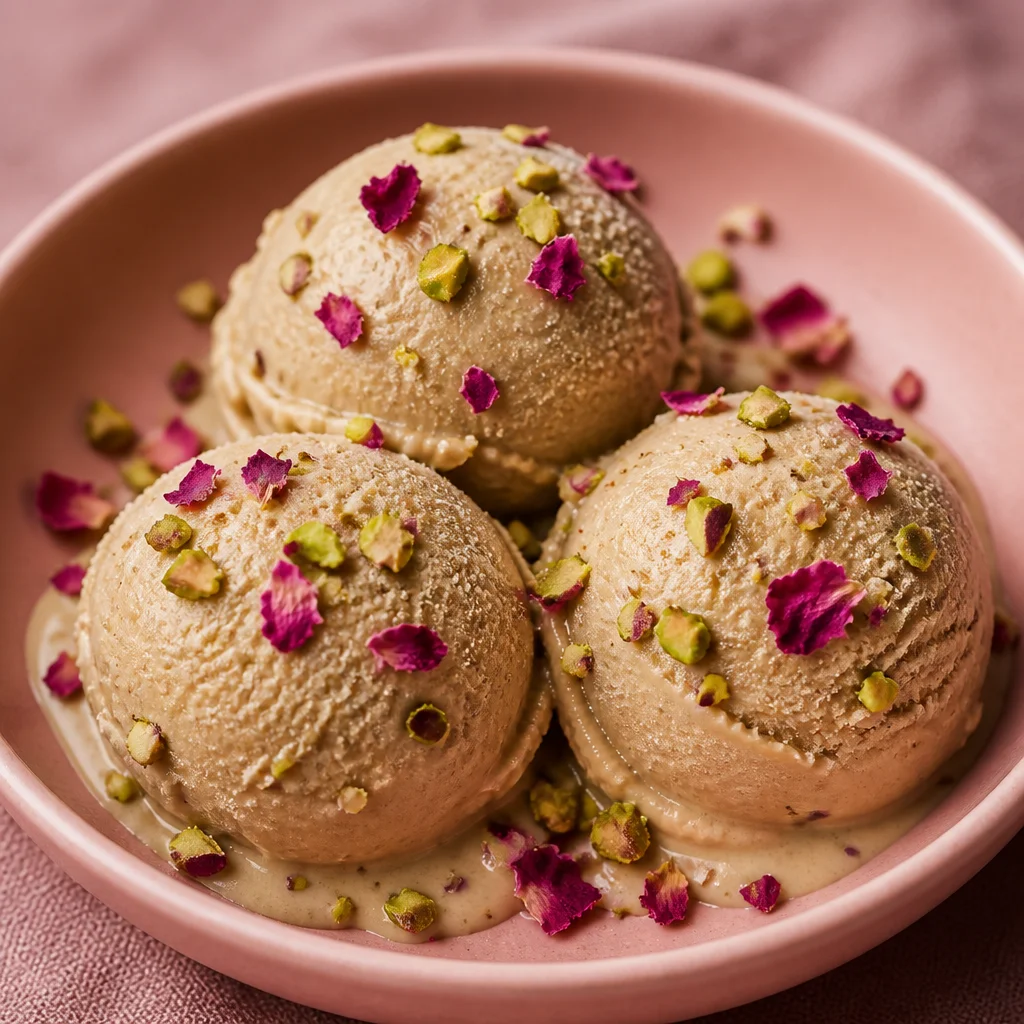
Hojicha Ice Cream
Ingredients
Method
- In a large bowl, whip the cold heavy cream until it looks thick and holds soft peaks.
- In a separate bowl, whisk the sweetened condensed milk with hojicha powder until the color is even and there are no dry streaks.
- Add about a third of the whipped cream into the hojicha mixture and gently mix to lighten it.
- Pour the hojicha mixture back into the remaining whipped cream and fold gently until well combined.
- Spoon the mixture into a loaf pan or freezer-safe container, smooth the top, cover, and freeze for at least 6 hours.
