


You know when you want something sweet (but not, like, horrendously complicated) on a chilly fall afternoon? The 3-Ingredient Apple Danish solves that exact problem. You’re not looking for an all-day baking project here – just a quick treat, something cozy and easy to whip up. I’ve tried it with more involved recipes, but honestly, less is more in this case. Might as well impress your family or friends with zero stress, right?
The Story Behind This Recipe
Hey, I’m Alexandraa! This 3-Ingredient Apple Danish was built for family tables: simple steps, reliable results, and flavor that makes people ask for seconds. You know when you want something sweet (but not, like, horrendously complicated) on a chilly fall afternoon? The 3-Ingredient Apple Danish solves that exact problem. You’re…
Three Ingredient Apple Danish Recipe
I can’t say it any fancier: this recipe is perfect for those what-do-I-even-have-in-the-fridge kind of days. All you need is puff pastry (yep, don’t even bother making your own), a can of apple pie filling, and an egg for the wash. That’s it! For real. These come out looking like you picked them up at a five-star bakery. Plus, using pre-made pastry makes this so much easier than traditional methods. If you’ve tried my 3-ingredient peach cobbler dump cake, you already know simple recipes can be shockingly delicious.
What shocks me every time? Folks always think I’ve slaved for hours. If they only knew. These Apple Danishes taste even better on the second day (if you manage to keep them that long). They’re best while still a bit warm, but nobody’s judging around here.
“Made these apple danishes for Sunday brunch and my kids devoured them before I even sat down. INSANELY easy and absolutely delicious!” – Marissa R.
How to Make the Three Ingredient Apple Danishes
Let’s get to the good part. You’ll want to start with fully thawed puff pastry. Don’t rush it, even if you’re psyched. Cold pastry cracks and makes a total mess. Preheat your oven to 400°F. I always do this first because—well, my memory’s not great, and I hate surprises.
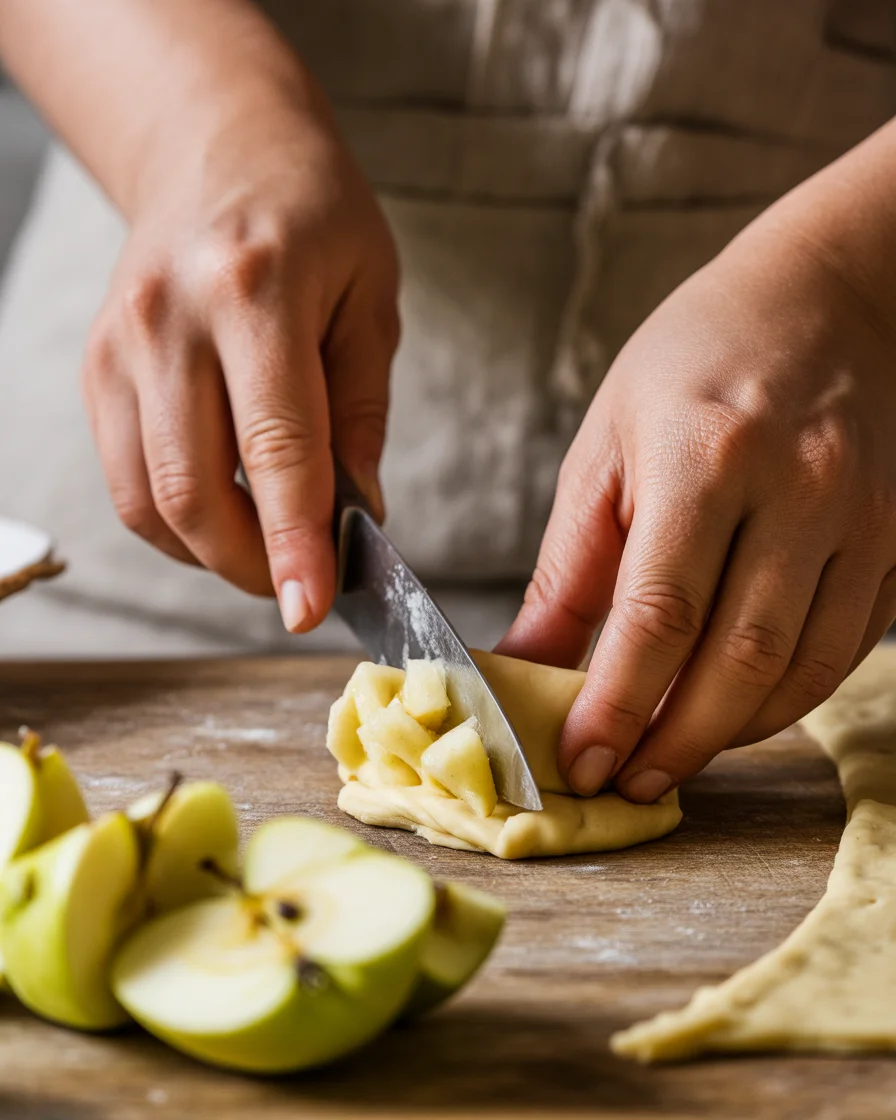
Roll the pastry out a bit, but don’t press it too thin. You want it puffy. Cut it into squares (I do whatever size I feel like, honestly). Then scoop a generous spoonful of apple pie filling right in the center of each square. Yup, canned works stellar here. Pull up the corners toward the middle and give a gentle pinch. Don’t worry about making them look perfect—rustic is the vibe.
Brush the tops with a beaten egg. This isn’t just “for show”—it gives your pastries that gorgeous golden color. I sometimes sprinkle a bit of cinnamon sugar on top if I’m feeling wild. Throw these babies in the oven for about 15 minutes. Watch them puff up and get all toasty. If you like this recipe, definitely check out my pineapple caramel heaven cake, which is just as easy and equally wow-worthy. 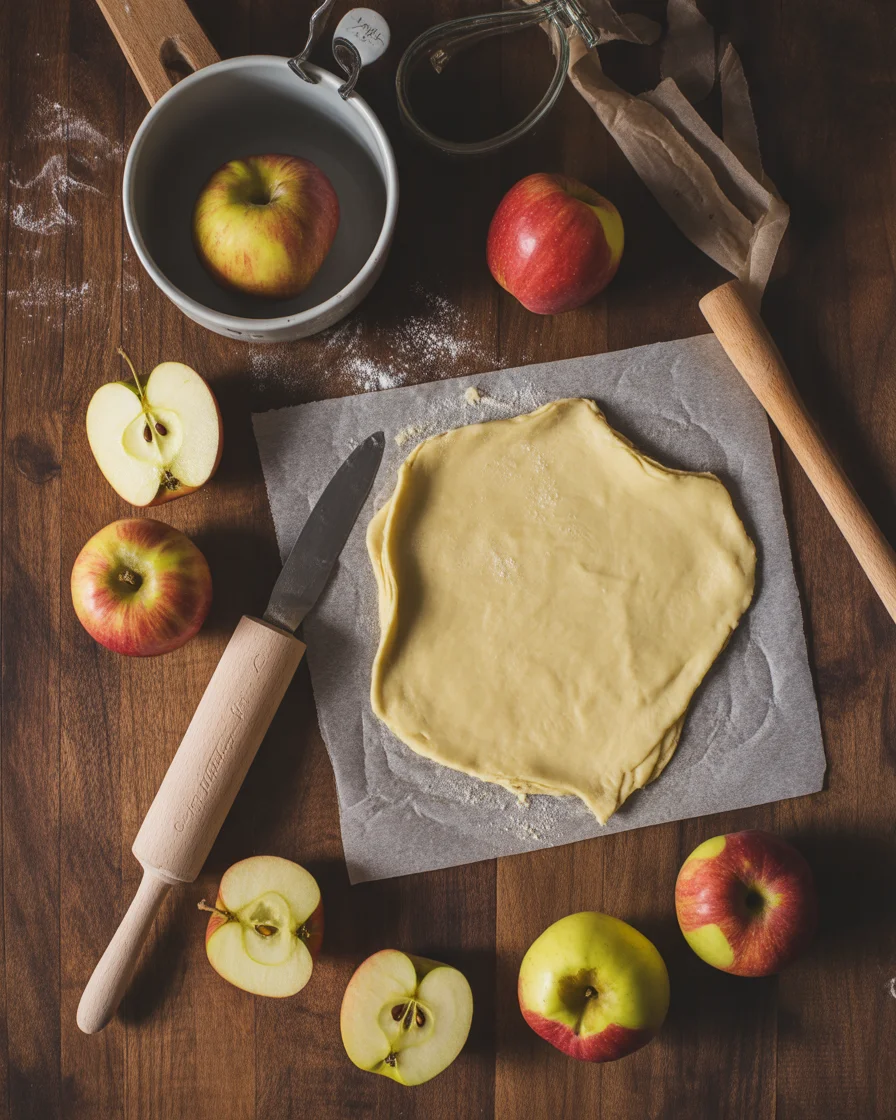
Preparing the Danish Dough
I get this question a lot: Can you make the dough yourself? Sure. But hear me out. Life’s too short to spend an hour sweating over pastry when you could be catching up on your favorite show. Store-bought puff pastry is flaky, buttery, and, well, foolproof. (Seriously, even my neighbor’s teenager pulled this off—with style.)
Here’s a tip—if it’s sticking, dust your counter with a tiny bit of flour. If you want fancy edges, use a fork to press down the edges before baking. Looks professional with close to zero effort. One more thing… those scraps? Slam them together and make a little mini-Danish for yourself to “taste test.” (You earned it, chef.)
In my experience? Just let the dough thaw in the fridge overnight if you want to avoid the dreaded mushy zone. Otherwise, if you’re like me and always in a hurry, twenty minutes on the counter works in a pinch. Just don’t forget it, or you’ll have a toddler-level pancake on your hands.
Making the Apple Filling
Here’s where it gets spicy (not literally, unless you add cinnamon). You can use any canned apple pie filling you like. If you’re feeling picky, doctor it up with a pinch of nutmeg or a splash of vanilla. Sometimes I even chunk up a fresh apple and toss it in with the filling to add a little swivel of texture. Kids appreciate that sorta thing. Not into apples? You can swap in cherry or blueberry pie filling if you’re feeling adventurous—or just sick of apples. Why not? The pineapple caramel heaven cake and 3-ingredient peach cobbler dump cake both hit the spot when you’re in that “switch it up” mood.
Anyway, spoon your filling out so there’s enough in every Danish. But don’t get wild with it, or you’ll wake up to an apple-splosion. Learned that the crusty way the first time. (Pro tip: Less is more if you want neat pastries.)
Baking and Finishing Delectable Apple Danish
After your pastries are shaped, filled, and egg-washed, they hit the oven. Don’t open the door, no peeking (I know you want to). Let ’em get golden brown—usually 15ish minutes. The smell? Oh my word. Fall just moved in to your kitchen.
Pull them out and let them rest a minute. Burnt tongues are nobody’s favorite. If you’re feeling extra, a drizzle of simple icing (just powdered sugar and milk whisked together) on top never hurt anyone.
If you’re serving guests—fancy it up with a dust of extra cinnamon, or toss on a handful of chopped nuts. Bet they’ll vanish before you blink.
- Serve with a dollop of whipped cream or plain Greek yogurt.
- Add a mug of hot tea or spiced coffee—trust me, match made in heaven.
- Goes gangbusters with a scoop of vanilla ice cream if you eat them warm.
- Store leftovers in a covered container; I like ‘em cold the next day, but that’s just me.
Want something totally different yet easy? Have a peek at my pineapple caramel heaven cake for your next dessert adventure.
Common Questions
How do I keep my apple Danish from going soggy?
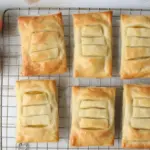
Let them cool on a wire rack so they don’t build up steam on the bottom. That crispiness is worth it.
Can I use homemade apple filling?
Absolutely. Just cook diced apples with sugar and cinnamon until soft. It’s homey and you control the sugar.
Can I make these ahead of time?
Yep, they’re fine for a day or two in an airtight container. Reheat them in the oven for max flakiness.
Can I freeze these pastries?
Sure thing. Freeze before baking if you want, then bake straight from the freezer (add a few more minutes).
Got a gluten-free option?
Use gluten-free puff pastry. The taste isn’t exactly the same, but honestly, still pretty good.
Grab the Apron and Go for It
If you’re longing for a ridiculously simple treat, it’s hard to beat the 3-Ingredient Apple Danish. You don’t need to be a five-star chef or even particularly awake to get this right. Trust me, the combo of crispy puff pastry and gooey filling is undefeated. If you want to compare apple danish styles, check out the Three Ingredient Apple Danish Recipe – The Creek Line House for another fun variation. For even more quick-bake ideas, those pineapple caramel heaven cake and 3-ingredient peach cobbler dump cake recipes always come out on top at my place. Seriously, grab that puff pastry. You’ll thank yourself later.
Three Ingredient Apple Danish
Ingredients
Method
- Preheat your oven to 400°F (204°C).
- Roll out the thawed puff pastry, but don’t press it too thin, aiming for a puffy consistency.
- Cut the pastry into squares, keeping your preferred size in mind.
- Scoop a generous spoonful of apple pie filling into the center of each square.
- Pull up the corners toward the middle and pinch gently to seal.
- Brush the top of each pastry with the beaten egg.
- Sprinkle cinnamon sugar on top if desired.
- Bake the pastries in the preheated oven for about 15 minutes until they are golden brown and puffed up.
- Remove from the oven and let them cool on a wire rack for a few minutes before serving.
- Drizzle with icing made from powdered sugar and milk if desired, and serve with a dollop of whipped cream or plain Greek yogurt.