

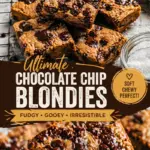
Brown Butter Chocolate Chip Cookie Bars are my go to move when I want cookies but I do not want to scoop dough forever or wash a pile of baking sheets. You know those nights when you are craving something warm and sweet, but your energy is basically at zero? This is that recipe. The whole house smells like toasted butter and melted chocolate, and it feels unfair that it is so easy. If you have ever overbaked cookies or ended up with a tray of flat, sad circles, these bars are the fix. They bake in one pan, slice clean, and disappear fast.
The Story Behind This Recipe
I’ve spent years testing recipes for Middle East Sector, and this Brown Butter Chocolate Chip Cookie Bars is a keeper: fast to prep with no weird tricks. Brown Butter Chocolate Chip Cookie Bars are my go to move when I want cookies but I do not want to scoop dough forever or wash…
What makes these the BEST chocolate chip cookie bars?
I have made a lot of cookie bars, and most are fine. These are different because brown butter changes the whole vibe. It adds a nutty, caramel like flavor that makes the chocolate taste even richer, without adding anything fancy or hard.
Here is what I think makes them truly the best:
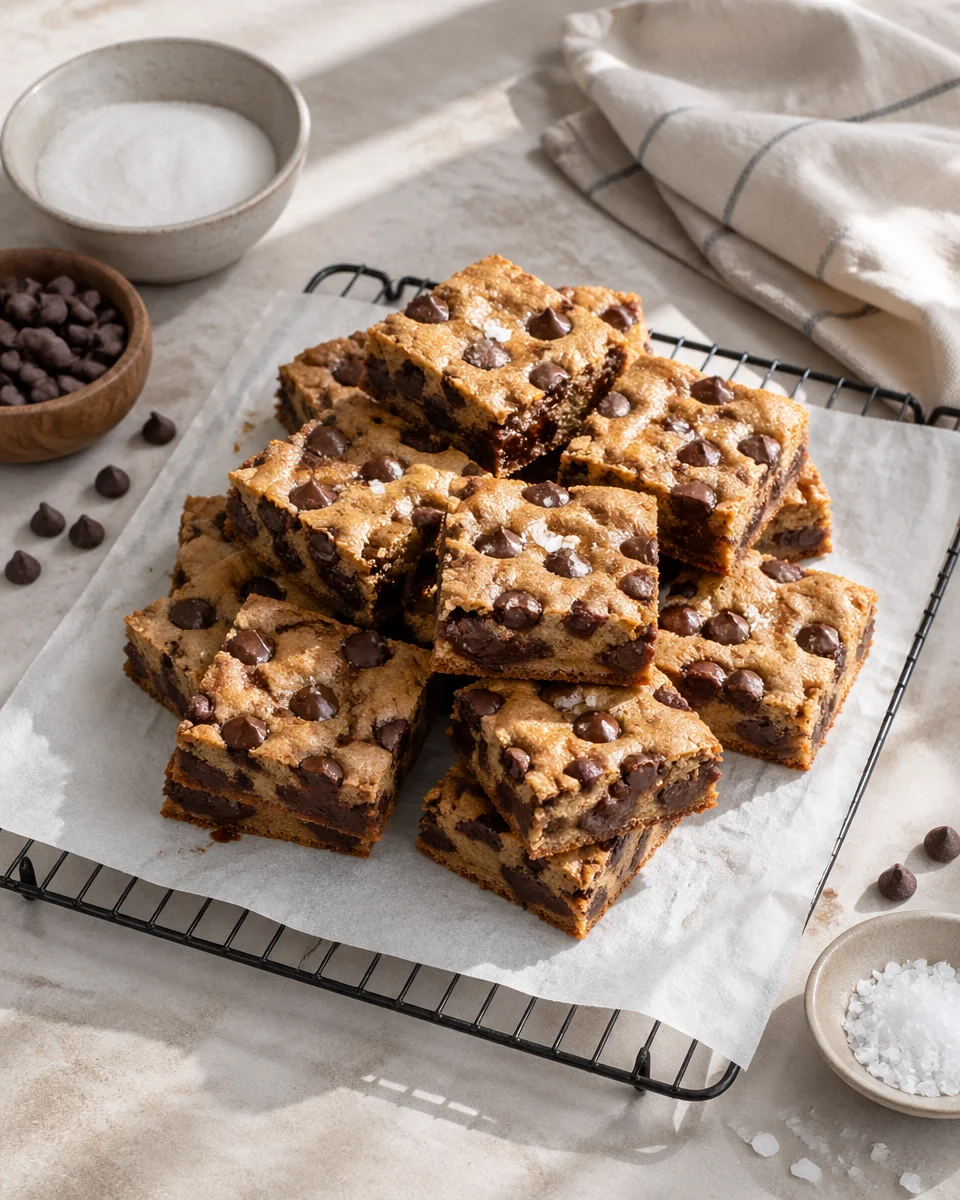
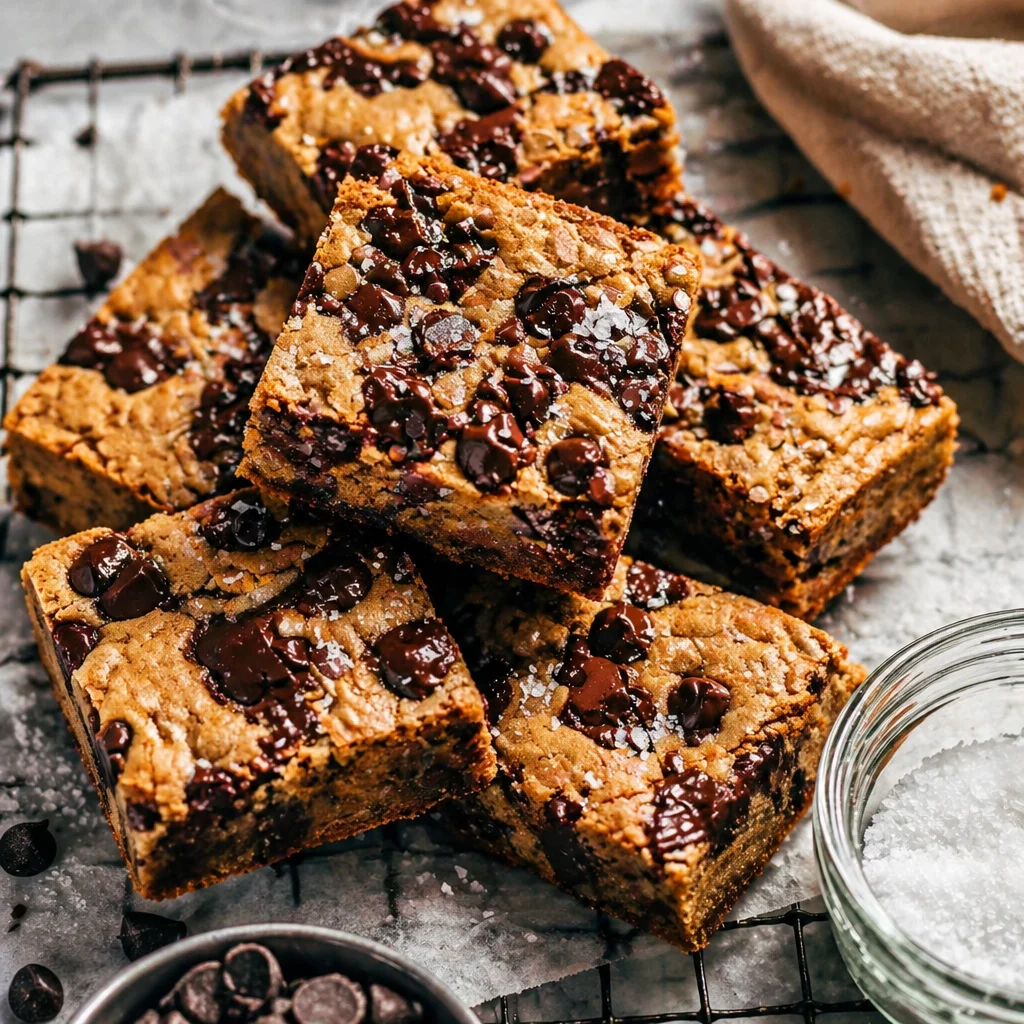
- One pan simplicity, so you get thick, chewy bars with crisp edges and a soft middle.
- Better flavor without extra effort because browning butter is quick and makes everything taste bakery level.
- Chocolate in every bite since you can mix chips into the batter and also sprinkle more on top.
- They slice beautifully after cooling, so they are perfect for sharing or packing up.
Also, if you are the type who loves cookie mashups, you should peek at these chocolate chip cookie dough brownie bites sometime. Same cozy energy, just in a bite size situation.

Tips for making perfect brown butter chocolate chip cookie bars
I have learned a few things the hard way, like that impatience can ruin a pan of cookie bars. So let me save you the struggle. These tips keep the texture chewy and the flavor on point.
My little checklist before you bake
Cool the brown butter a bit. Not all the way to solid, just so it is warm and not piping hot. If it is too hot, it can melt the sugar weirdly and make the bars oily.
Use a metal pan if you can. I love a 9×13 for thicker bars or a 9×9 for extra thick bars. Metal bakes more evenly and gives you nicer edges.
Do not overmix the flour. Once the flour goes in, stir just until you do not see dry streaks. Overmixing can make bars tough.
Underbake by a minute or two. The center should look set but still soft. The bars keep cooking as they cool, and that is how you get that chewy middle.
Let them cool before slicing. I know it is torture. But slicing too early can turn them into a gooey mess. Still delicious, just messy.
I sometimes serve these with a scoop of vanilla ice cream, and if I want a no bake option for the same crowd, I make chocolate peanut butter no bake cookies. They are basically instant gratification.
“I baked these for my kids and my husband kept sneaking pieces off the cooling rack. The brown butter flavor is unreal, and the bars stayed chewy for days.”
How to make brown butter
This part sounds fancy, but it is honestly just melted butter that you keep cooking for a few more minutes. The milk solids toast, and that is where the magic happens. The key is paying attention because it goes from perfect to burnt pretty fast.
Step by step brown butter, no stress
1) Put your butter in a light colored pan if you have one. It makes it easier to see the color change.
2) Melt it over medium heat. It will foam up and bubble, and you will hear it crackle a bit.
3) After a few minutes, the bubbling gets quieter and you will see little brown bits forming at the bottom. Swirl the pan or stir often.
4) The moment it smells nutty and looks golden brown, pull it off the heat. Pour it into a heat safe bowl right away so it stops cooking in the hot pan.
If you are new to brown butter, trust your nose. When it smells like toasted nuts and warm caramel, you are there. If it smells sharp or burnt, it went too far.
By the way, brown butter shows up in savory stuff too. I make a cozy pasta sometimes that uses the same trick, and it is so good: brown butter mushroom pasta.
How to store chocolate chip cookie bars
These bars are great the day you bake them, but they also hold up really well for snacking later. I actually think the flavor gets even better after a few hours because everything settles.
Storage tips that keep them chewy
Room temperature: Store sliced bars in an airtight container for up to 4 days. I like to put a piece of parchment between layers so they do not stick.
Fridge: You can refrigerate them for up to a week, but they will firm up. Let a bar sit on the counter for 15 minutes before eating, or warm it for a few seconds.
Freezer: Freeze individually wrapped bars for up to 2 months. This is the best for emergency dessert cravings. Thaw at room temp or microwave briefly.
One more little trick: if your bars start to dry out, toss a slice of bread in the container for a few hours. It sounds odd, but it helps keep things soft.
Variations
The base recipe is solid, but you can totally tweak it depending on what you have or what you are craving. I do this all the time, especially when I have random half bags of chips in the pantry.
Here are some easy ideas:
Salted top: Sprinkle flaky salt over the top right after baking. It makes the chocolate pop.
Chocolate swap: Use dark chocolate chunks, milk chocolate chips, or a mix. I love doing half semi sweet and half dark.
Nutty crunch: Add chopped toasted walnuts or pecans for extra texture.
Fun add ins: Stir in toffee bits, crushed pretzels, or mini marshmallows.
Double chocolate: Add a couple tablespoons of cocoa powder to the batter for a deeper chocolate base. If you like that idea, you might also love these double chocolate chip cookies.
Common Questions
1) Can I make these without a mixer?
Yes. A whisk and a sturdy spoon work fine. Just make sure the sugars and brown butter are mixed well before adding the egg and dry ingredients.
2) What pan size should I use?
A 9×13 makes classic bar thickness. A 9×9 makes them thicker and a little gooier in the center. Just watch bake time.
3) How do I know when they are done?
The edges should look set and lightly golden, and the center should not look wet. It is better to slightly underbake than overbake.
4) Can I brown the butter ahead of time?
Totally. Brown it, cool it, and store it in the fridge. When you are ready to bake, let it soften back to room temp so it mixes easily.
5) Why did my bars turn out greasy?
Usually the brown butter was too hot when mixed, or the bars were underbaked by a lot. Let the butter cool a bit and bake until the center looks set.
A sweet final note before you bake
If you are craving something easy and comforting, Brown Butter Chocolate Chip Cookie Bars are honestly hard to beat. You get that toasted butter flavor, loads of chocolate, and the best chewy bite without any fussy steps. If you want to compare methods or see another take, I have enjoyed reading Brown Butter Chocolate Chip Cookie Bars – Butternut Bakery and also Salted Brown Butter Chocolate Chip Cookie Bars. – How Sweet Eats. Bake a pan, slice them once they are cool, and tell me if you can stop at just one piece, because I never can.
Brown Butter Chocolate Chip Cookie Bars
Ingredients
Method
- Preheat your oven to 350°F (175°C).
- In a light-colored pan, melt the butter over medium heat, stirring frequently until it turns golden brown and smells nutty.
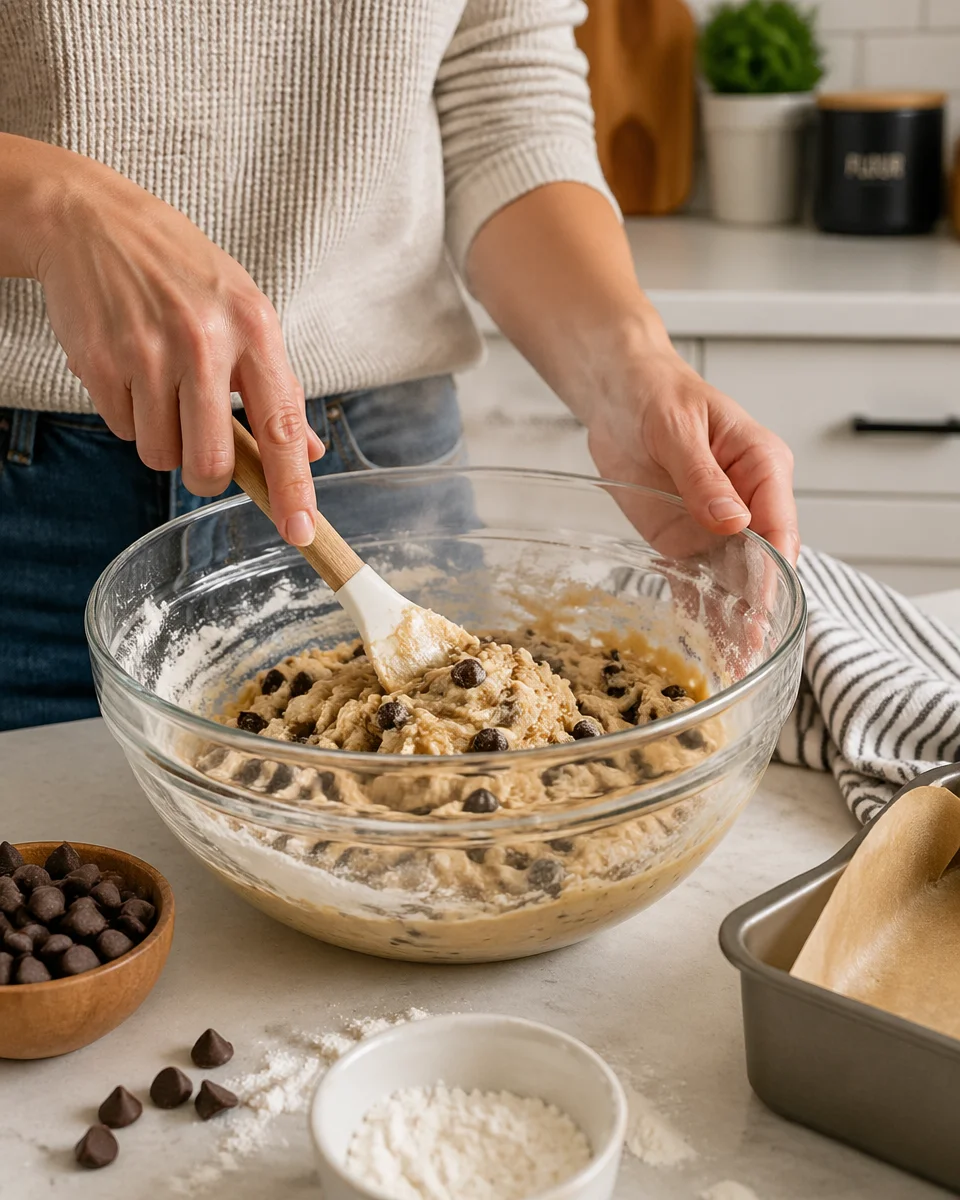
- In a large mixing bowl, combine the browned butter with the brown sugar and granulated sugar. Mix until well combined.
- Add in the eggs one at a time, followed by the vanilla extract. Mix until smooth.
- In a separate bowl, whisk together the flour, baking soda, and salt.
- Gradually add the dry ingredients to the wet mixture, stirring gently until just combined.
- Fold in the chocolate chips, reserving some for sprinkling on top.
- Pour the batter into a greased 9×13 inch metal pan and smooth the top. Sprinkle reserved chocolate chips over the batter.
- Bake in the preheated oven for 20-25 minutes or until the edges are golden and the center is set but still soft.
- Remove from the oven and let the bars cool completely in the pan before slicing.