


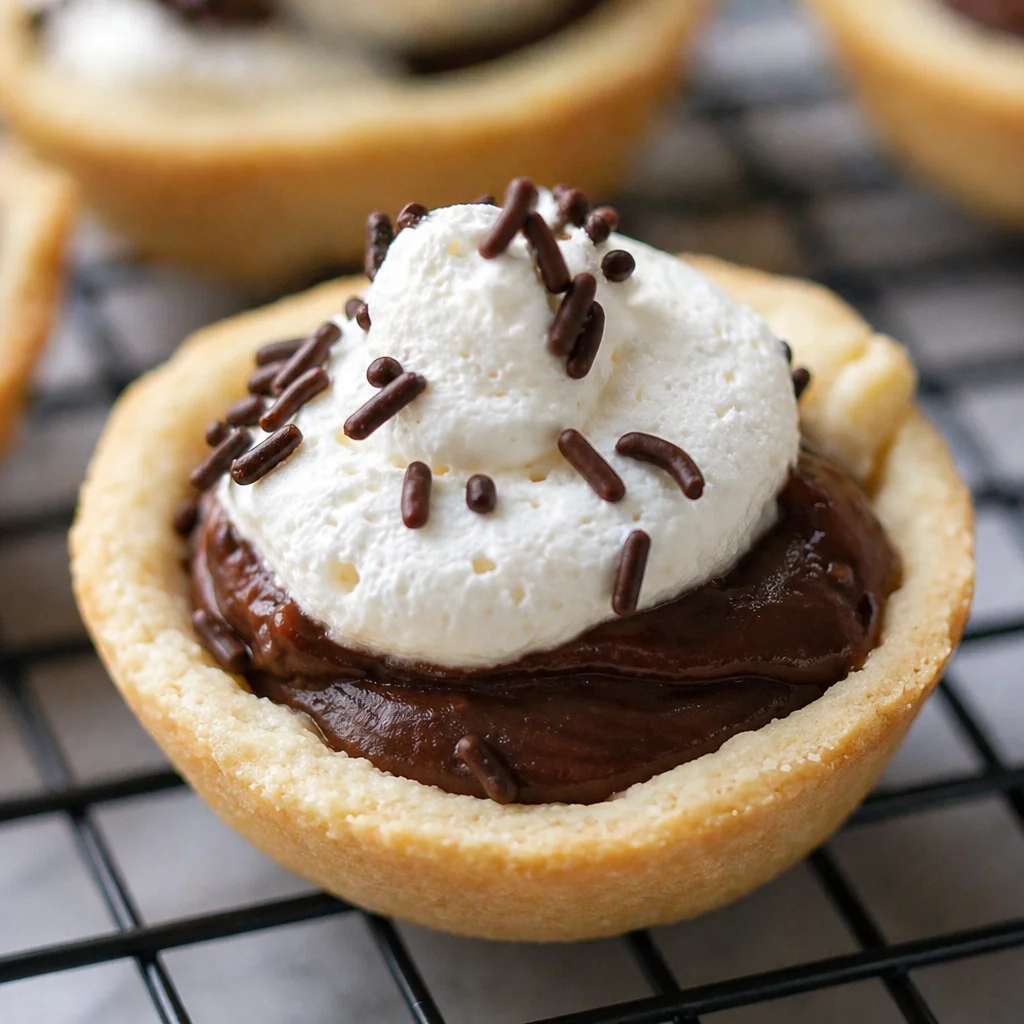
Baby Chocolate Impossible Pies are my go to trick when I want something that feels like a bakery treat, but I also do not want to babysit a fussy crust. You know those days when you promised to bring dessert, your schedule got chaotic, and suddenly it is two hours before you need to leave. Yep, this is for that moment. These little pies come out with a soft fudgy middle, a lightly set top, and a thin magically formed layer that feels like a crust without you actually making one. I also love that they are portioned, so nobody is fighting over who gets the biggest slice. 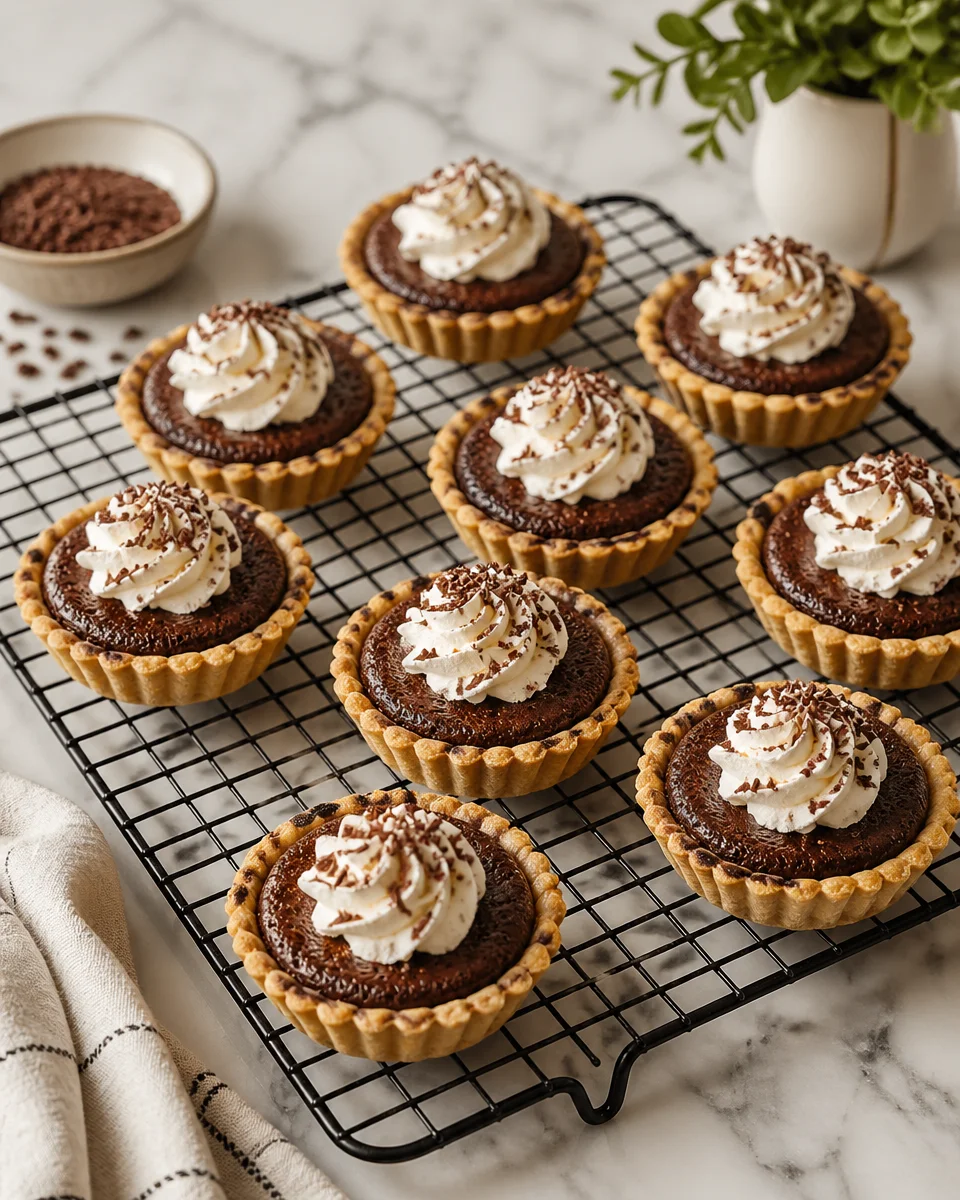
The Story Behind This Recipe
I’ve spent years testing recipes for Middle East Sector, and this Baby Chocolate Impossible Pies is a keeper: crowd-pleasing with no weird tricks. Baby Chocolate Impossible Pies are my go to trick when I want something that feels like a bakery treat, but I also do not want to…
What is an impossible pie?
An impossible pie is basically a pie that makes its own layers while it bakes. It sounds like kitchen magic, but it is really just a smart batter. You pour everything into the pan, and as it bakes, it settles into a few textures: a tender base, a custardy center, and a lightly browned top.
The classic versions often use a baking mix (like a biscuit mix) because it helps structure the batter and gives you that subtle crust like feel. In these Baby Chocolate Impossible Pies, the cocoa and chocolate take the spotlight, so you get that cozy brownie vibe with a custard twist.
If you like fun little baked treats that are easy and not too precious, you would probably also like these baby coconut impossible pies for a totally different flavor but the same low stress method. 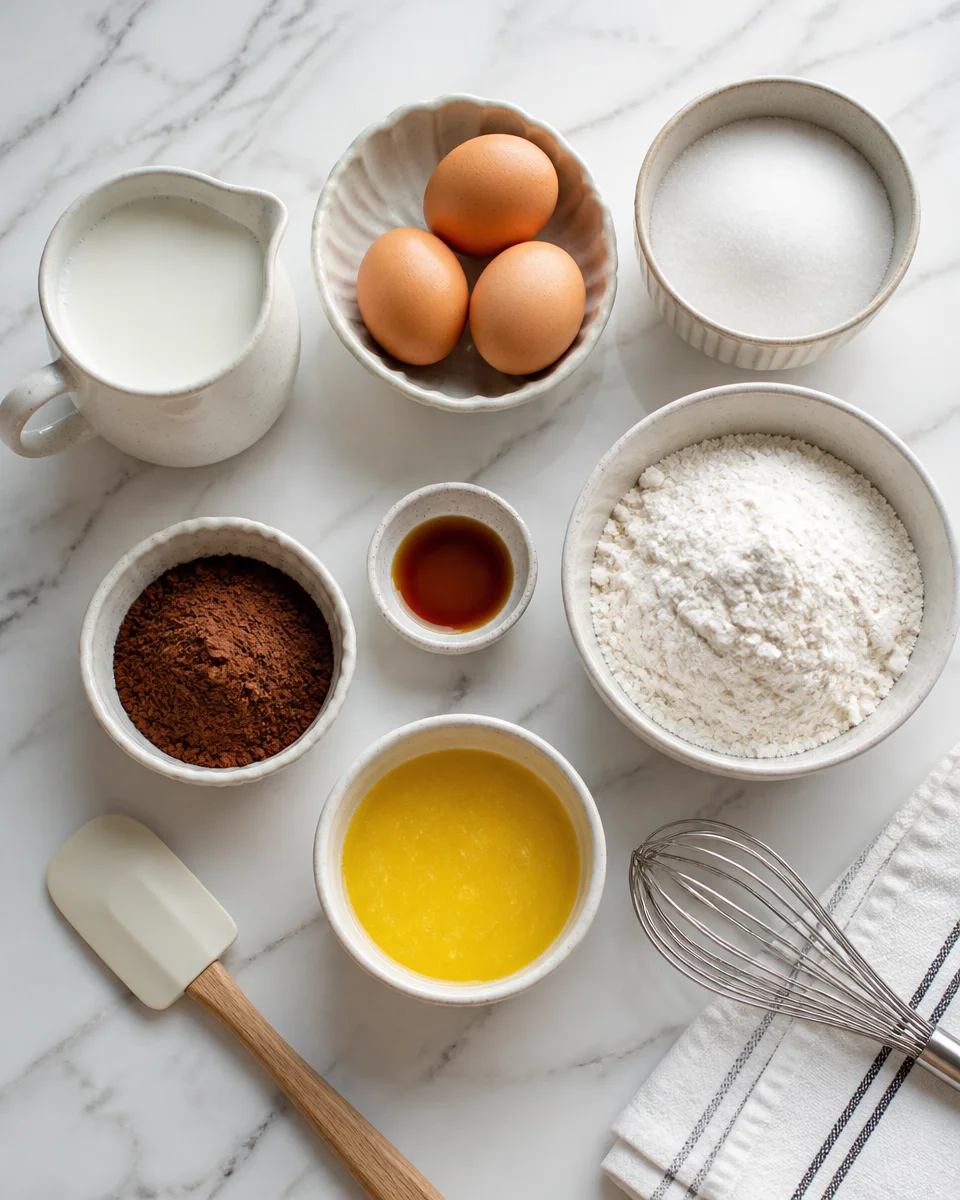
How to make Chocolate Impossible Pie
This is the part where I tell you the truth: I make these when I want maximum payoff with minimum effort. You only need one bowl, and you do not need a mixer if you do not want one. I usually whisk by hand while my oven preheats.
Ingredients you will need
- Milk, whole or 2 percent works best for a richer texture
- Eggs, they give the pie that custardy set
- Sugar, regular granulated
- Baking mix (the classic shortcut for the impossible pie effect)
- Unsweetened cocoa powder for deep chocolate flavor
- Vanilla extract, just a splash makes the chocolate taste warmer
- Butter, melted and slightly cooled
- Pinch of salt
- Optional: mini chocolate chips for extra melty pockets
I bake mine in a muffin tin because I love the individual portions. Grease the cups well. I mean really well. If your pan is older, use a little butter and a quick dusting of cocoa powder, or just use paper liners.
Simple directions (no drama)
- Preheat oven to 350 F.
- Grease a standard muffin tin (about 10 to 12 cups depending on how full you pour).
- In a bowl, whisk eggs and sugar until smooth.
- Whisk in milk, melted butter, vanilla, cocoa powder, salt, and baking mix.
- Stir in mini chocolate chips if using.
- Pour into muffin cups, about 3/4 full.
- Bake about 18 to 22 minutes, until the tops look set and a toothpick comes out with a few moist crumbs.
- Cool in the pan 10 minutes, then gently twist and lift out.
Here is my little reality check tip: do not overbake. These are better when they are just set. If you bake them until they are totally dry, you lose that soft custardy thing that makes Baby Chocolate Impossible Pies so special.
And if you are a serious chocolate person, you should bookmark these chocolate mousse brownies for another day when you want a dessert that tastes like you tried way harder than you did. 
Easy to transport to a party
This is honestly one of the biggest reasons I keep coming back to Baby Chocolate Impossible Pies. I have transported them to birthday parties, potlucks, and one slightly chaotic family dinner where someone forgot the plates. They still worked.
Here is what makes them travel friendly:
You can stack them in a container with a tight lid.
They do not need perfect slicing.
They taste good at room temperature.
They are less messy than frosted cupcakes.
I like to bring a little bag of toppings on the side so people can dress theirs up. A sprinkle of powdered sugar makes them look instantly fancy. A dollop of whipped cream is always a win. If you want to be extra, bring berries too.
This is also where I will share the one thing I learned the hard way: let them cool before you pack them. Warm pies trapped in a container get steamy, and the tops can turn sticky. Not the end of the world, but not my favorite.
I brought these to a school bake sale and they sold out first. People kept asking what bakery they came from, and I loved telling them they were homemade and ridiculously easy.
If you are building a little party spread, something snacky like baby trail mix is a nice salty crunchy partner next to all the sweet stuff.
Other Shockingly Delicious Impossible Pies
Once you get the idea of impossible pies, it is hard not to start experimenting. The method is flexible, and you can switch flavors based on what you have or what you are craving.
Here are a few directions you can go:
Citrus versions that taste bright and light
Coconut versions that feel like a beach dessert
Fruit versions that are perfect for brunch tables
Chocolate versions (my forever favorite) that feel like a warm hug
If you want a tangy twist, these baby blueberry lemon impossible pies are such a fun change from chocolate and they still have that magical set and slice vibe.
Also, if you are in a dessert mood and just want more chocolate ideas for your rotation, keep chocolate chip cookie dough brownie bites in your back pocket. Not an impossible pie, but definitely the kind of treat that disappears fast.
What if you don’t have baking mix?
Totally fine. I have been there. You are halfway through and realize the box is empty, or you are trying to avoid using it. You can still make Baby Chocolate Impossible Pies with a simple homemade swap.
In place of baking mix, use:
All purpose flour for structure
Baking powder for lift
A little salt
Optional: a tiny pinch of sugar if you like (not required)
A basic rule that works for this recipe style is: for every 1/2 cup baking mix, use about 1/2 cup flour plus 1 1/2 teaspoons baking powder plus a pinch of salt. Whisk it well so you do not get little bitter baking powder pockets.
Texture wise, the baking mix version feels slightly more like a soft crust at the bottom. The flour version is still delicious, just a touch more cakey. If you want to nudge it back toward that classic impossible pie feel, add an extra teaspoon of melted butter.
And just a friendly reminder: because different cocoa powders vary, you might need a tiny splash more milk if your batter looks unusually thick. You want it pourable, like a thin pancake batter.
Common Questions
Can I make Baby Chocolate Impossible Pies ahead of time?
Yes. I make them the night before all the time. Store them covered at room temp for a day, or in the fridge for up to 3 days.
Do they need to be refrigerated?
If your kitchen is cool, they are fine for a day. For longer storage, refrigerate, especially because of the eggs and milk.
How do I know when they are done baking?
The tops should look set and not jiggly. A toothpick should come out with a few moist crumbs, not wet batter.
Can I freeze them?
Yes. Freeze cooled pies in a sealed container. Thaw in the fridge or on the counter. They are great slightly warmed for 10 seconds in the microwave.
What toppings go best with them?
Whipped cream, powdered sugar, strawberries, or a spoon of yogurt. If you are feeling fancy, a tiny drizzle of chocolate sauce is perfect.
A sweet little pep talk before you bake
If you have been needing a dessert that feels special without turning your kitchen upside down, Baby Chocolate Impossible Pies are it. They are simple, forgiving, and they travel like champs. Once you make them once, you will start dreaming up your own variations and that is half the fun. If you want more small dessert inspiration, check out Mini Chocolate Pies (easy individual chocolate cream pie recipe) for a creamy alternative, or browse Mini Impossible Pies | Lovefoodies for more flavor ideas in the same family. Now go grab your muffin tin and make a batch, because you deserve a chocolate win this week.
Baby Chocolate Impossible Pies
Ingredients
Method
- Preheat oven to 350°F (175°C).
- Grease a standard muffin tin well (about 10 to 12 cups).
- In a bowl, whisk eggs and sugar until smooth.
- Whisk in milk, melted butter, vanilla, cocoa powder, salt, and baking mix.
- Stir in mini chocolate chips if using.
- Pour the batter into muffin cups, filling about 3/4 full.
- Bake for about 18 to 22 minutes, until the tops look set and a toothpick comes out with a few moist crumbs.
- Cool in the pan for 10 minutes, then gently twist and lift out.