

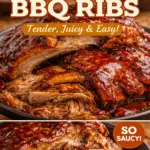
Baby Back Ribs are one of those foods that feel a little intimidating until you actually make them at home. Maybe you have had ribs at a restaurant and thought, how do they get them that tender and sticky without burning the sauce? I used to think ribs were strictly a grill or smoker thing, and I would only order them when we went out. Then one rainy weekend I tried them in the oven, and honestly, it changed everything. If you want that fall apart bite with a simple process, you are in the right place. 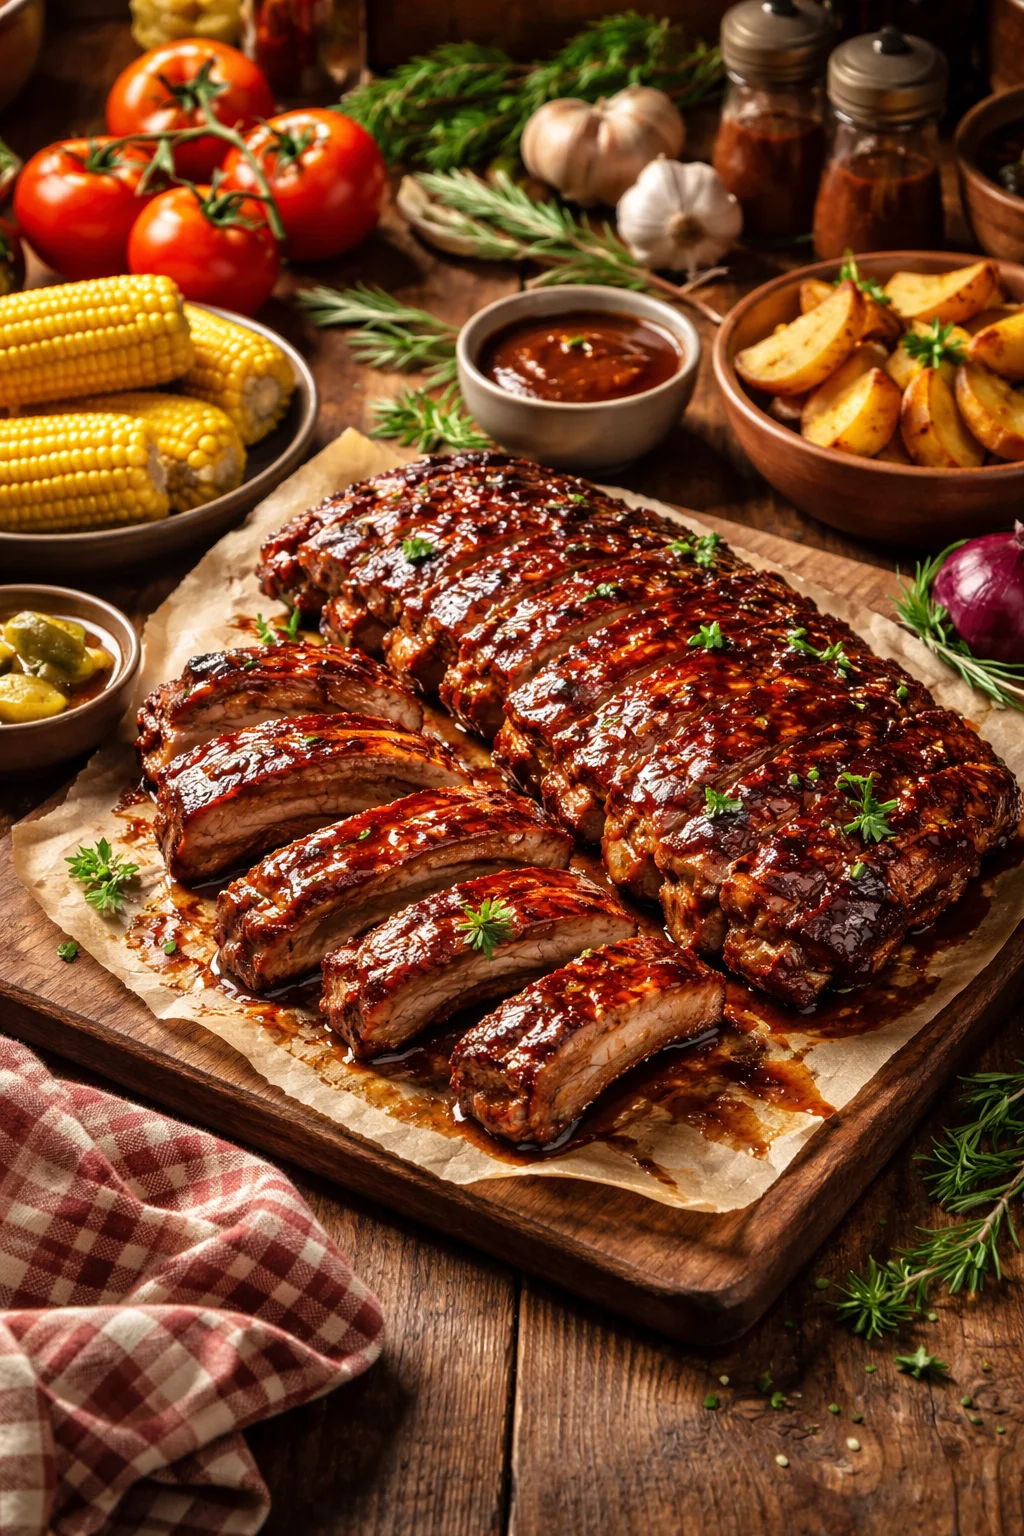
The Story Behind This Recipe
Here’s why I love this Baby Back Ribs: it bakes up beautifully and it tastes like a bakery treat. Baby Back Ribs are one of those foods that feel a little intimidating until you actually make them at home. Maybe you have had ribs at…
How to Make Oven-Baked Baby Back Ribs
My go to method is low and slow in the oven, then a quick blast at the end to get that caramelized top. You do not need fancy gear, and you do not need to babysit a fire. The oven does the steady heat part for you, which is exactly what ribs love.
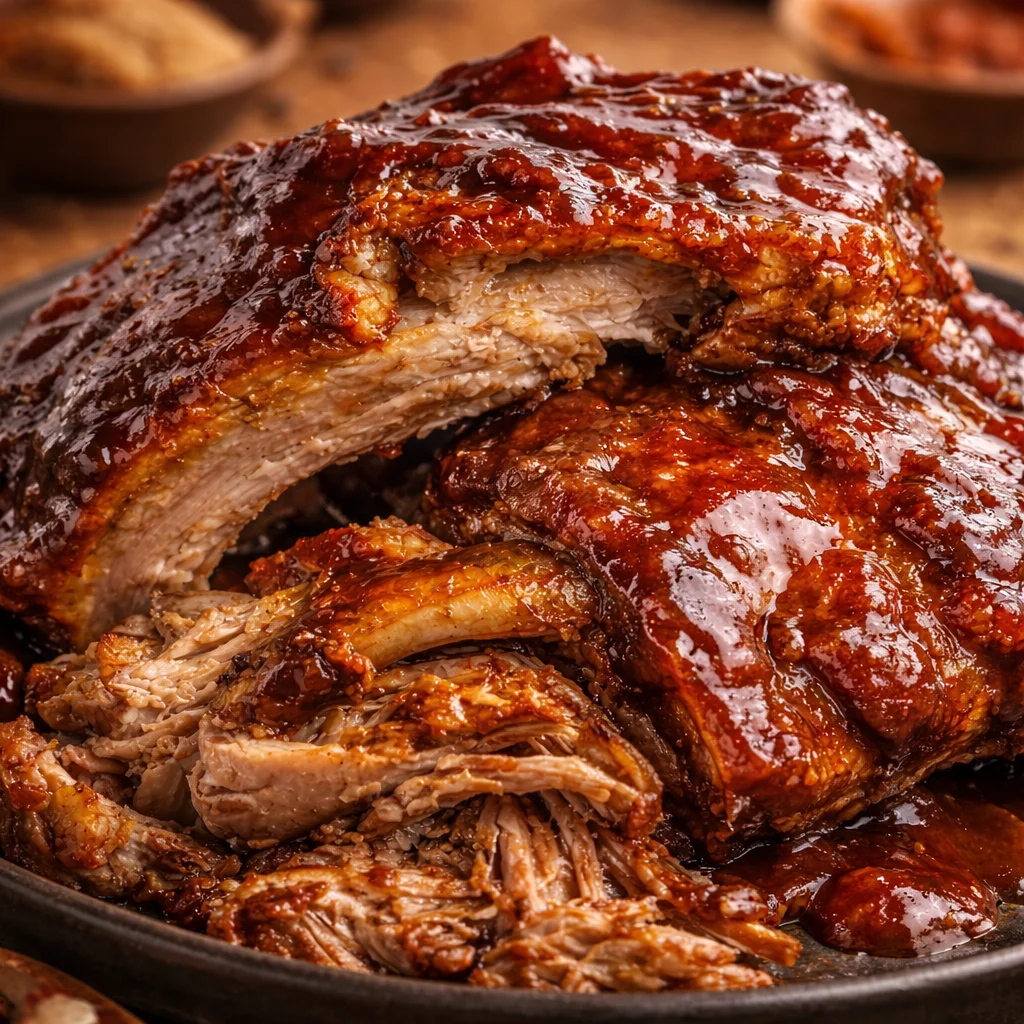
Here is the overall idea: you season the ribs well, wrap them so they stay moist, bake until tender, then sauce them and finish uncovered. When they are done, the meat should pull back a bit from the bones and feel tender when you poke it with a fork.
One more thing I always tell people: plan for a little resting time. When you pull ribs out of the oven, give them 10 minutes before slicing. It helps the juices stay where they belong, not all over your cutting board.
And yes, this is messy food. That is part of the joy.
Key Ingredients
You can keep this super simple, or you can build more flavor with layers. I do a mix of pantry basics plus a sauce I actually like. I have tried lots of sauces, including that classic sweet and smoky vibe. If you are into easy slow cooker comfort food too, you might like this recipe for Sweet Baby Ray’s crockpot chicken, because the flavors scratch a similar itch.
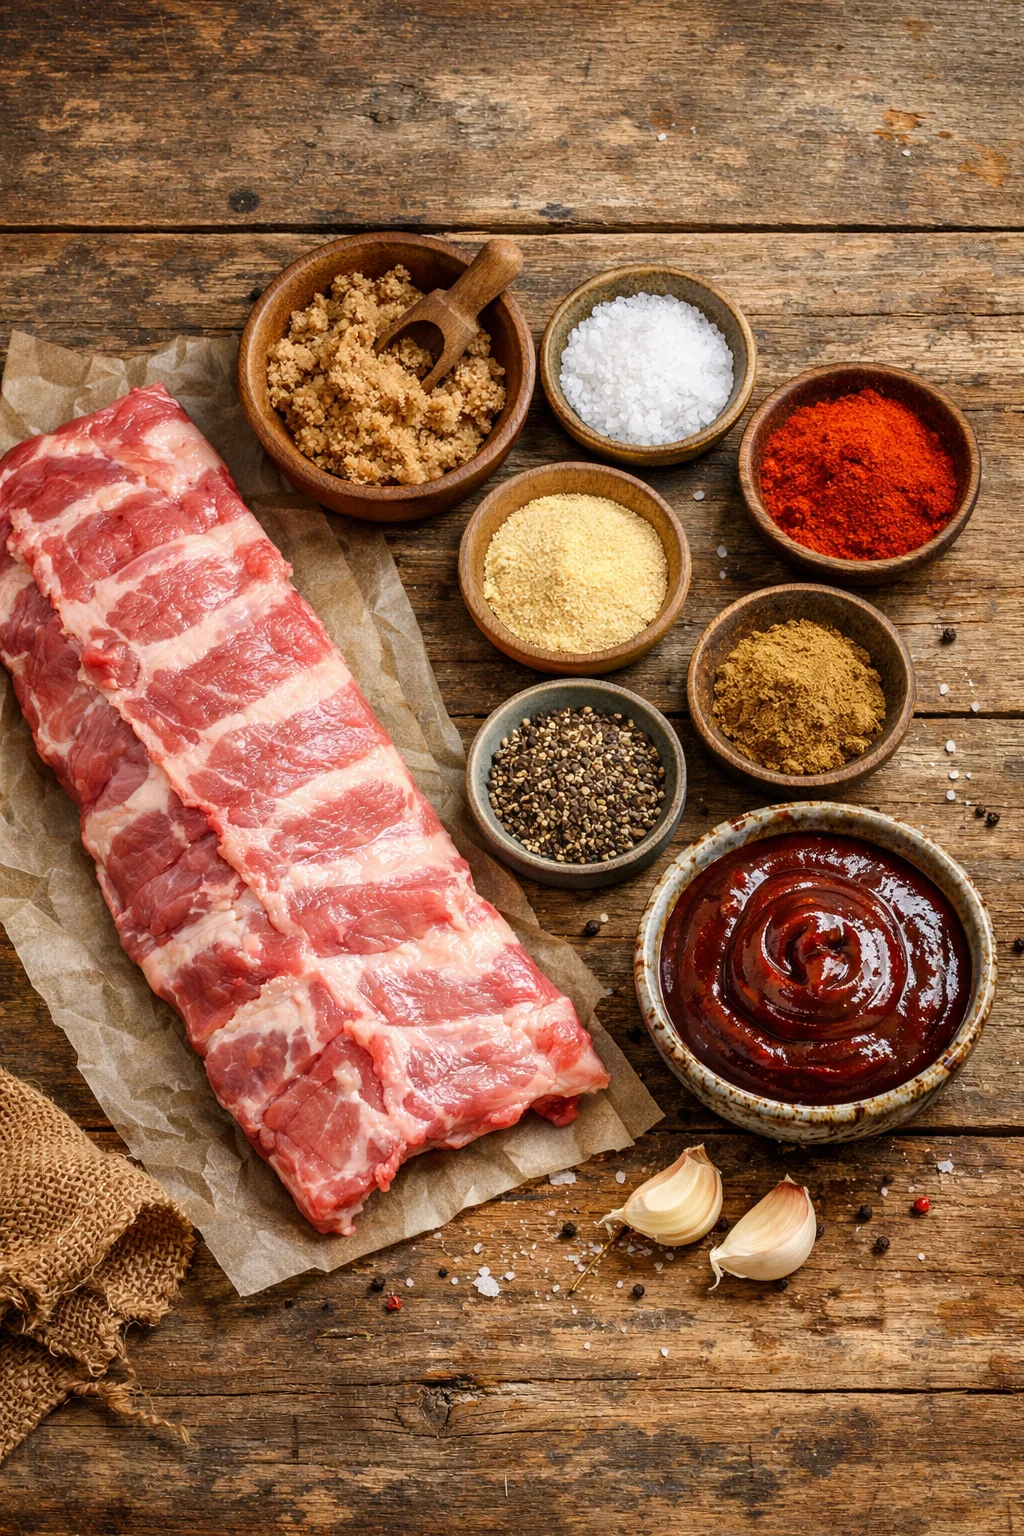
What you will need
- Baby Back Ribs, 2 racks (about 4 to 5 pounds total)
- Salt and black pepper
- Brown sugar for a little sweet balance
- Paprika (smoked paprika is great if you have it)
- Garlic powder and onion powder
- A pinch of cayenne (optional, but I like a tiny kick)
- BBQ sauce, about 1 to 1.5 cups
- Apple cider vinegar or apple juice (just a splash for moisture)
If you want to get a little extra, you can add a spoon of mustard before the rub. It does not make it taste like mustard, it just helps the seasoning stick and adds a subtle tang.
Cooking Ribs: Smoker VS Oven
I love smoked ribs, I really do. But I do not always have the time or the weather for it, and I do not want you thinking the smoker is the only path to great ribs. The oven method is reliable, consistent, and very forgiving if you are new to ribs.
Smoker perks: you get that true smoky flavor and a more classic barbecue vibe. Oven perks: you can make ribs any day of the week and still get tender, juicy results. I think oven ribs are perfect for home cooks who want an easy win.
If you are on your feet cooking for a while, I get it. Some days I feel it in my back after a long kitchen session. I have even tried a few quick stretches and tricks like this 10 minute routine for back pain and sciatica at home when I overdo it. Ribs are worth it, but your back deserves kindness too.
“I followed this oven method exactly and my family thought I picked them up from our favorite BBQ spot. The foil step made them ridiculously tender, and the final broil gave that sticky top we love.”
How To Prep Baby Back Ribs
Prepping ribs is the part people skip, and then they wonder why the texture feels a little off. Do not worry, it is not hard. It just takes five minutes of hands on effort.
Remove the membrane (do not skip)
On the back of the ribs there is a thin, shiny layer called the membrane. If you leave it on, it can get chewy and block seasoning. Slide a butter knife under it near one end, then grab it with a paper towel and peel. Sometimes it comes off in one satisfying sheet, sometimes it fights you. Either way, keep going.
After that, pat the ribs dry. Dry surface equals better seasoning cling. Then season both sides generously. With Baby Back Ribs, I always tell people to use more rub than you think, because a lot of flavor stays on the outside.
Little personal tip: I season the ribs and let them sit while the oven heats. Even 15 minutes helps. If I have time, I season them earlier and keep them covered in the fridge for a few hours.
Also, do not feel like you need to trim every bit of fat. A little fat keeps things juicy during the long bake.
Step-by-Step Cooking Instructions
This is the exact way I make Baby Back Ribs when I want that tender, pull clean bite without stress. It is low drama cooking, which is my favorite kind.
Directions
- Heat your oven to 275°F.
- Line a baking sheet with foil for easy cleanup.
- Place ribs on a large sheet of foil, meat side up. Sprinkle a splash of apple cider vinegar or apple juice over them.
- Wrap tightly. You want a sealed packet so the ribs gently steam and soften.
- Bake for 2 hours 30 minutes to 3 hours, depending on thickness. They should feel tender when you press through the foil.
- Carefully open the foil (watch the steam). Drain excess liquid if it is pooling.
- Brush with BBQ sauce on the meat side. Return to the oven uncovered at 300°F for 15 minutes.
- For that sticky finish, broil 2 to 4 minutes, watching closely so the sauce does not burn.
- Rest 10 minutes, slice between bones, and serve.
If you like your ribs more saucy, do two layers: one after the foil bake and one right before broiling. If you like them more dry rub style, use just a light glaze at the end.
One thing I learned the hard way: sugar in sauce can go from glossy to burned fast under the broiler. Do not walk away.
If you are making a big weekend spread and want another hearty rib idea for a different night, I also keep this savory braised short ribs recipe bookmarked because it is pure comfort food.
And since ribs usually mean a lot of standing at the counter slicing and serving, I sometimes roll a tennis ball under my foot after cooking. It sounds silly until you try it. This little guide on relieving back and foot pain with a tennis ball is surprisingly helpful.
Common Questions
1) How do I know when Baby Back Ribs are done?
They are done when the meat is tender and has pulled back from the bones a bit. A fork should slide in easily, and when you lift the rack, it should bend without feeling stiff.
2) Can I make them ahead of time?
Yes. Bake them wrapped until tender, then cool. When you are ready to eat, sauce and finish uncovered in the oven to reheat and caramelize.
3) Why are my ribs tough?
Usually they just need more time at low heat. Ribs get tender when the connective stuff breaks down slowly. If they are tough, wrap back up and bake another 20 to 30 minutes.
4) Should I use sauce the whole time?
I do not. Sauce can burn if it is on too long. I prefer adding it near the end so it stays glossy and tastes fresh.
5) Do I have to remove the membrane?
You do not have to, but you will like the texture better if you do. Plus, seasoning gets closer to the meat.
A cozy rib night you can totally pull off
If you have been wanting to make Baby Back Ribs at home, this oven method is the one I would tell a friend to start with. Season well, wrap tight, bake low and slow, then sauce and finish hot for that sticky top. If you want more oven rib inspiration, I have also leaned on The Best, Juiciest Oven-Baked Baby Back Ribs (Easy, Too!) and the tips in Easy Fall Off the Bone Oven Baked Ribs Recipe – Inspired Taste when I wanted to compare timings and sauce ideas. Make a batch, invite someone over if you can, and do not stress the mess. Once you nail your first rack of Baby Back Ribs, it becomes one of those recipes you crave at random and feel weirdly proud of every single time.
Oven-Baked Baby Back Ribs
Ingredients
Method
- Preheat your oven to 275°F.
- Remove the membrane from the back of the ribs. Use a butter knife to slide under it and pull off with a paper towel.
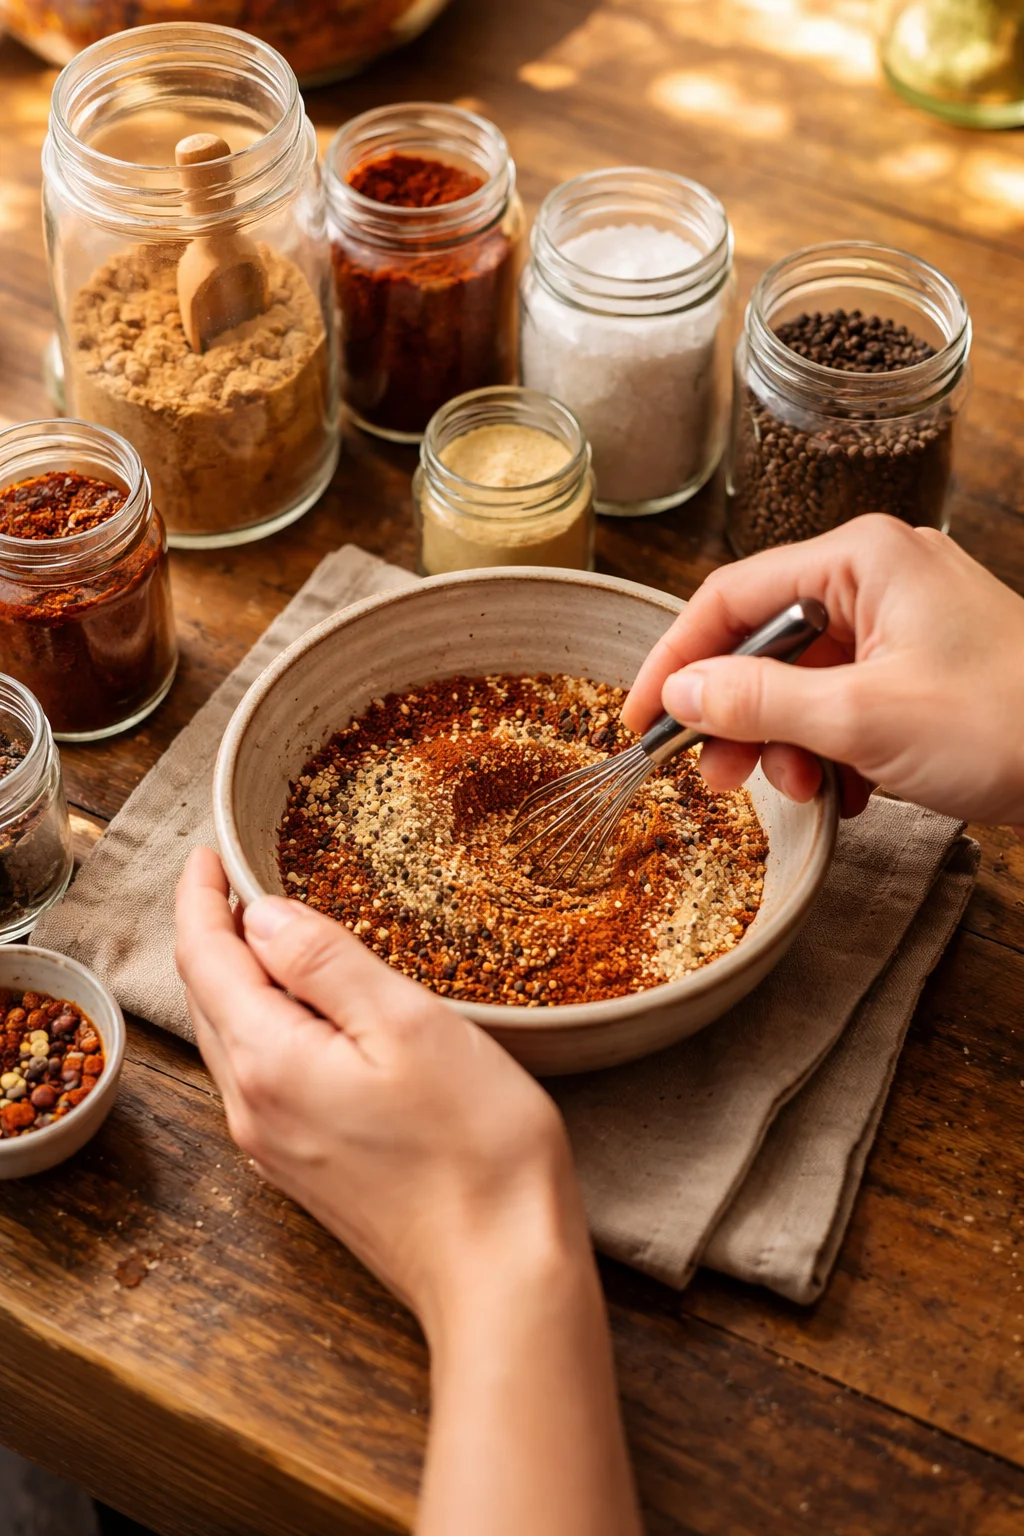
- Pat the ribs dry and season both sides generously with salt, pepper, brown sugar, paprika, garlic powder, onion powder, and cayenne.
- Let the seasoned ribs sit for 15 minutes or refrigerate for a few hours if time allows.
- Line a baking sheet with foil for easy cleanup. Place the ribs on a large sheet of foil, meat side up, and sprinkle some apple cider vinegar or apple juice over them.
- Wrap the ribs tightly in the foil to create a sealed packet.
- Bake in the preheated oven for 2 hours 30 minutes to 3 hours, until tender.
- Carefully open the foil and drain excess liquid if needed.
- Brush BBQ sauce on the meat side of the ribs and return to the oven uncovered at 300°F for 15 minutes.
- Broil for an additional 2 to 4 minutes, watching closely to prevent burning.
- Remove from the oven and let rest for 10 minutes before slicing between the bones.