


Peppermint Bark Cups are my go to treat when I need something festive fast, but I do not want to babysit the oven or decorate anything complicated. You know that moment when guests are coming, you want a cute dessert, and suddenly your cookie plans feel like a whole project? This is the recipe I pull out every single time. They look like a little candy shop treat, but they are honestly simple enough for a weeknight. Plus, you get that cool peppermint crunch with smooth chocolate in every bite. 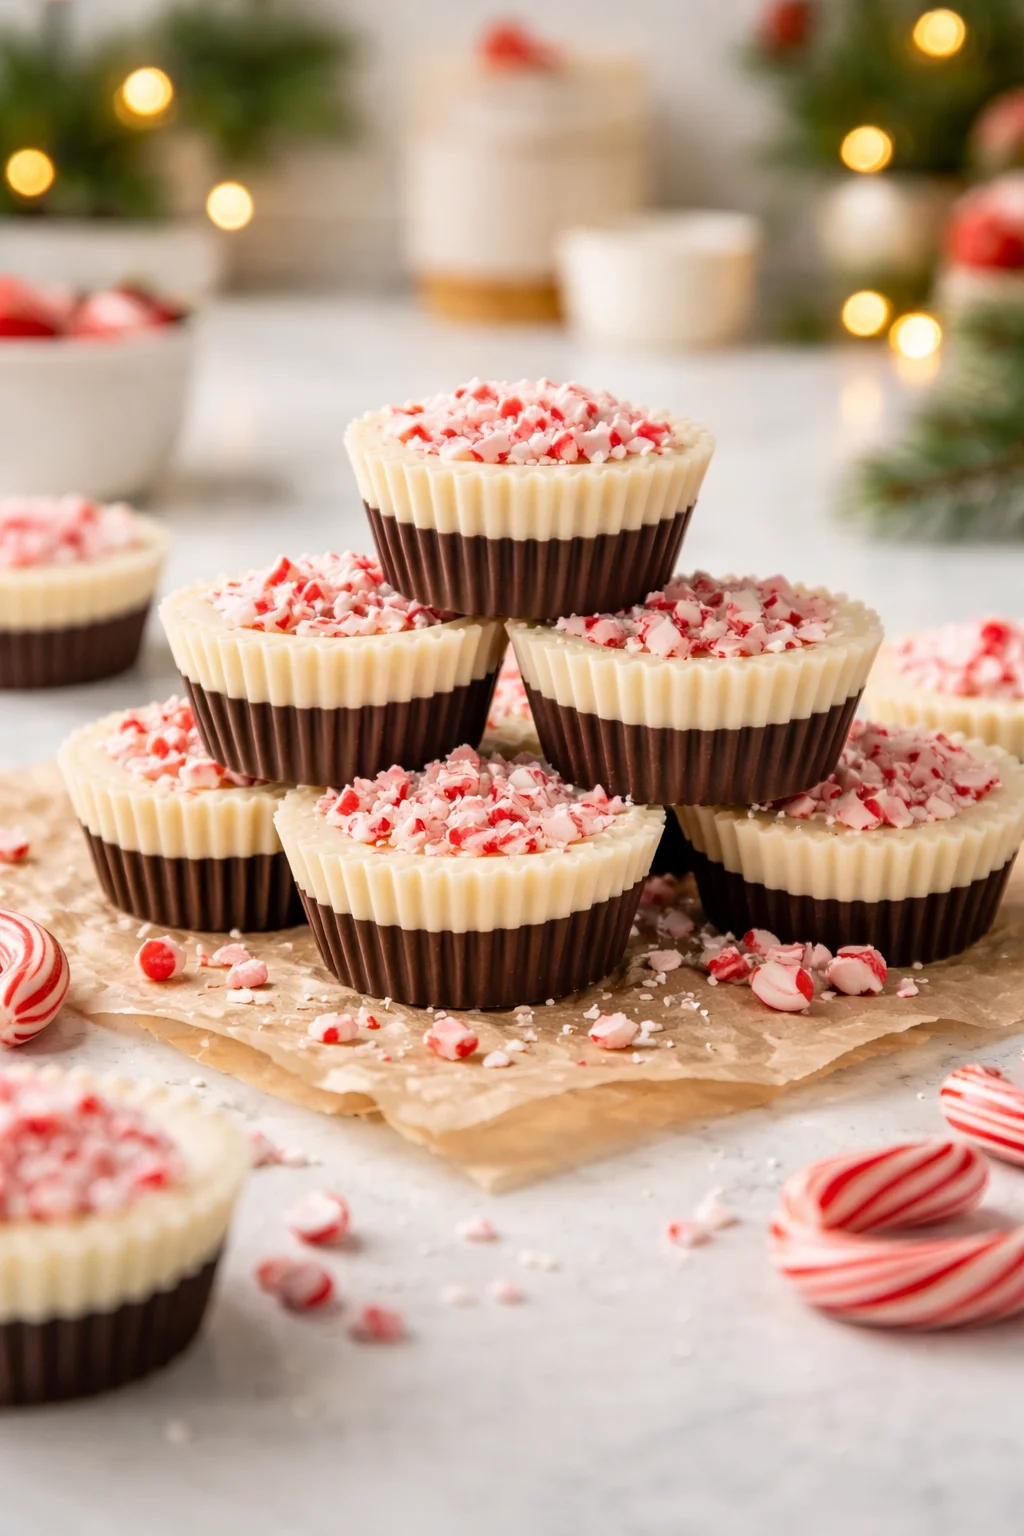
The Story Behind This Recipe
Hey, I’m Alexandraa! This Peppermint Bark Cups was built for busy nights: simple steps, reliable results, and flavor that makes people ask for seconds. Peppermint Bark Cups are my go to treat when I need something festive fast, but I do not want to babysit the oven or decorate anything…
Why I Like This Recipe
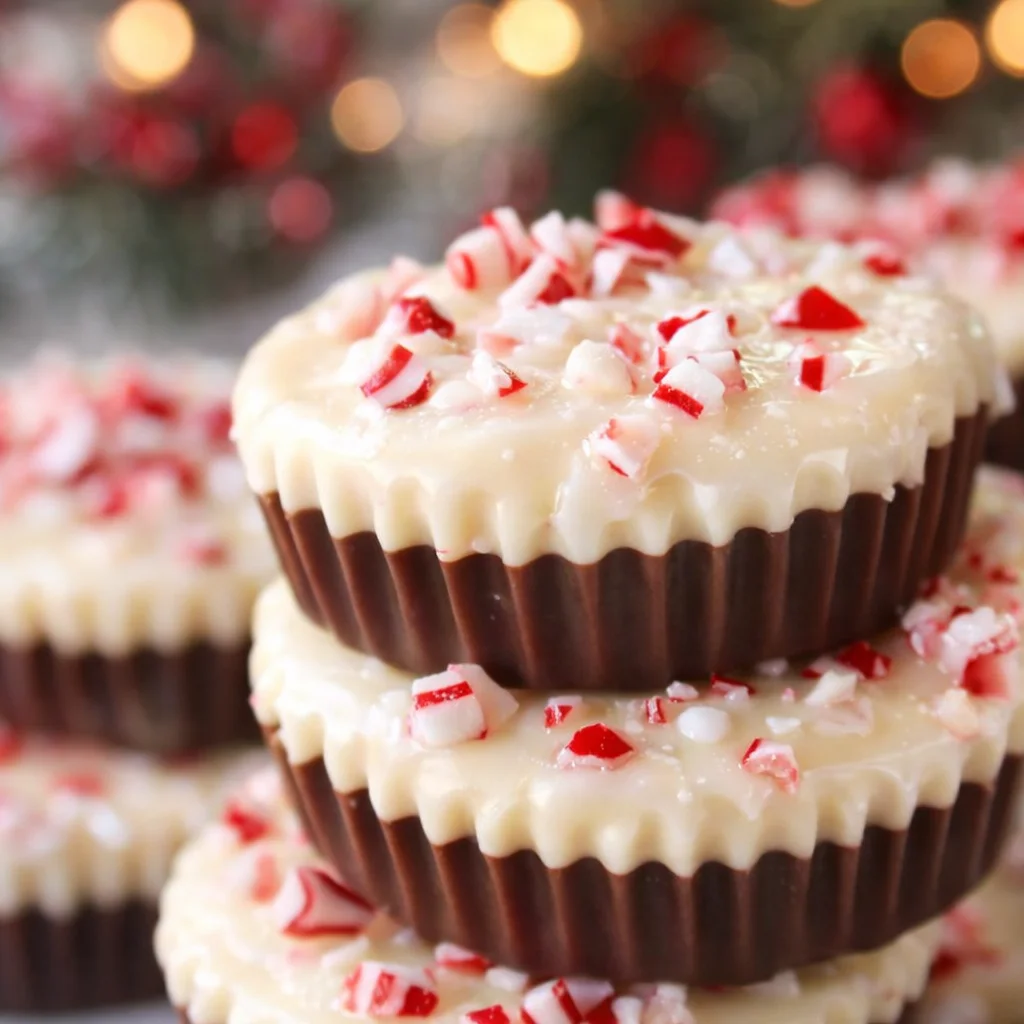
I love desserts that feel special without being fussy, and these little cups check that box. The chocolate sets up into a glossy shell, the peppermint bits make everything sparkly, and the whole thing just screams holiday vibes.
Another reason I keep making them is portion control. Not in a strict way, just in a practical way. One cup is satisfying, and you can grab one straight from the fridge without slicing or serving plates.
Also, they travel well. I have brought them to cookie swaps, work parties, and family get togethers, and they never turn into a melted mess if you keep them cool.
If you are into cute desserts in cup form, you might also like these Boston cream pie cookie cups for a totally different vibe but the same fun, handheld feel.
I made these for my kid’s class party and the tray was empty in ten minutes. Even the adults asked for the recipe. The peppermint crunch on top is the best part.
Tips and Tricks
This recipe is simple, but a few small moves make it come out cleaner and prettier.
My best little shortcuts
- Use good melting chocolate: chocolate chips work, but melting wafers or chopped baking bars melt smoother.
- Crush peppermint gently: put candy canes in a bag and tap with a rolling pin. Stop when you have small pieces plus some dust, not pure powder.
- Line the muffin pan: paper liners make removal easy and they look cute for gifting.
- Chill between layers: a quick fridge stop helps the layers stay distinct instead of blending together.
- Add peppermint extract carefully: a tiny drop goes a long way. Too much can taste like toothpaste.
If you want a fall version of the same idea, these caramel apple dessert cups are a fun seasonal swap when peppermint season is not here yet.
;
One more thing, do not panic if your chocolate looks thick while melting. Just go slow, stir a lot, and avoid getting water in the bowl. A single splash can make chocolate seize and turn grainy.
How To Make Peppermint Bark Cups
This is the part where you realize you are basically building a little peppermint bark candy, just in cup form. You can keep them as simple as two chocolate layers with peppermint on top, or you can add a creamy middle if you are feeling extra.
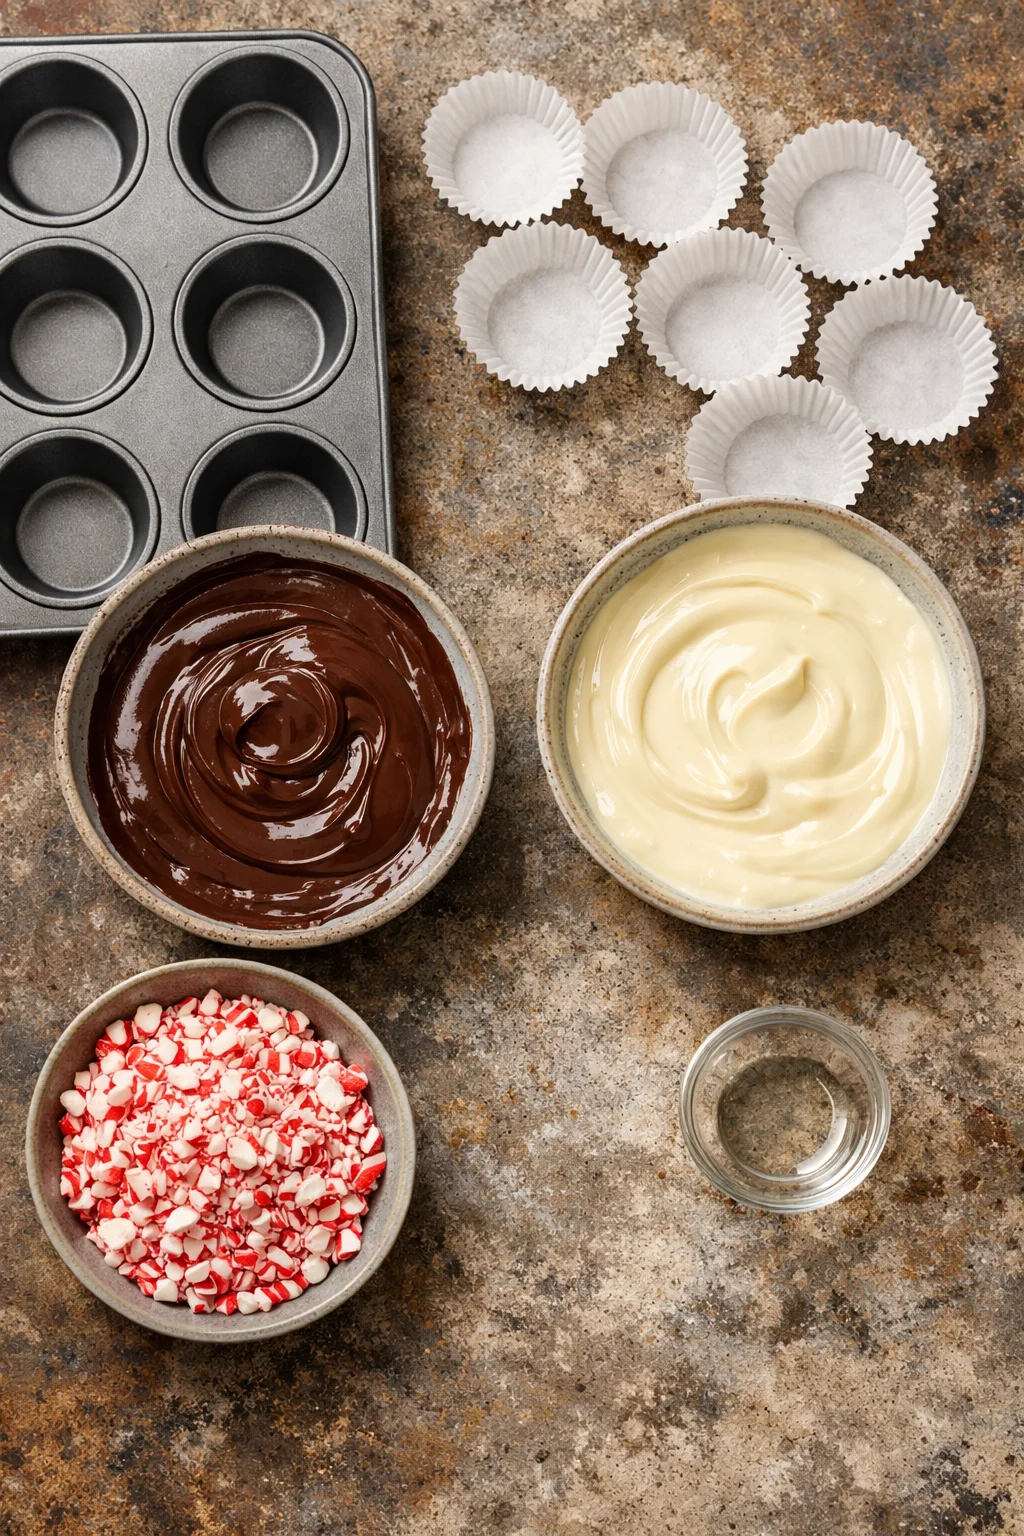
What you will need
- 2 cups semi sweet or dark chocolate, melted
- 1 and 1/2 cups white chocolate, melted
- 1/2 cup crushed candy canes or peppermint candies
- Optional: 1/4 teaspoon peppermint extract, only if you really want extra mint
- 12 muffin liners and a standard muffin pan
Step by step directions
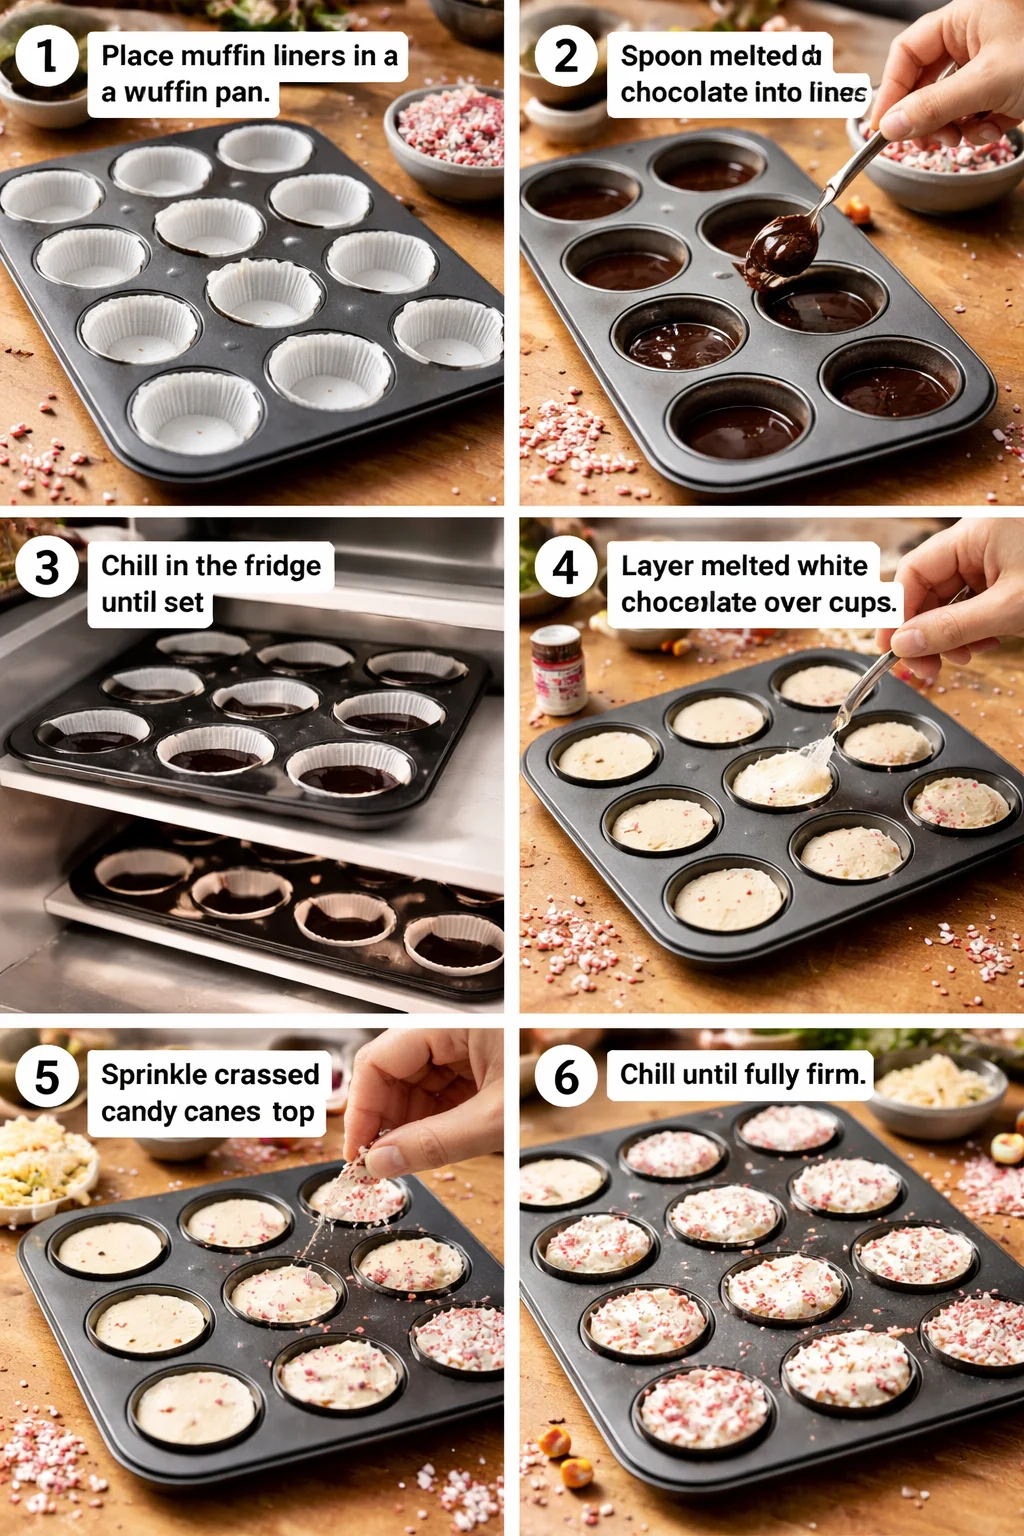
1. Prep your pan. Put liners in a muffin pan. This makes cleanup easy and helps the cups pop right out.
2. Make the first chocolate layer. Spoon about 1 to 2 tablespoons of melted dark chocolate into each liner. Tilt and swirl the pan a little so the chocolate creeps up the sides. This is what gives you that cup shape.
3. Chill it. Pop the pan in the fridge for about 10 minutes, just until the chocolate looks set.
4. Add the white chocolate. Spoon a layer of melted white chocolate on top. If you are using peppermint extract, stir it into the white chocolate first, and keep it light.
5. Add peppermint crunch. Sprinkle crushed candy canes over the top while the white chocolate is still wet so the pieces stick.
6. Final chill. Refrigerate until fully firm, usually 20 to 30 minutes. Then peel the liners and enjoy.
If you love a chocolate plus crunchy vibe, you should also peek at these chocolate peanut butter rice krispy cups. Totally different flavor, same satisfying snacky dessert feel.
Little storage tip from my kitchen: keep them in the fridge if your house runs warm. If you are gifting, I like to pack them in a container with a sheet of parchment between layers.
Looking for more recipes for candy lovers?
If you are the type who “just wants one more bite” of anything minty or chocolatey, you are my people. Peppermint Bark Cups are a great starting point, but there are so many fun directions to go once you get comfy making desserts in cups.
Here are a few ways to switch things up without changing the whole plan:
- Swap the dark chocolate for milk chocolate if you like it sweeter.
- Add a thin layer of crushed cookies under the white chocolate for crunch.
- Top with mini chocolate chips plus peppermint bits for extra texture.
- Drizzle the top with dark chocolate to make them look bakery style.
For something totally different but still sweet and cozy, these Oreo dessert cups are always a hit, especially if you want a no mint option for picky eaters.
More delicious chocolate gifts
Peppermint Bark Cups are one of my favorite homemade gifts because they look adorable in a little box and they do not need frosting skills. I usually make a double batch, keep some for the house, then pack the rest up with paper cups and a ribbon.
A few gifting tips that actually help:
- Keep them cold until you are ready to deliver, especially if you used white chocolate that softens faster.
- Choose sturdy containers so the tops do not get scraped off.
- Add a label if you are bringing them to a party, since peppermint is strong and people like to know what they are grabbing.
If you want to make a full treat box, I like pairing these cups with something chewy or crunchy so there is variety. It feels thoughtful without being stressful.
Common Questions
Can I make Peppermint Bark Cups ahead of time?
Yes. I make them 2 to 3 days ahead and keep them covered in the fridge so they stay snappy and fresh.
Do I have to use white chocolate?
Nope. You can do all dark or all milk chocolate. The white layer just gives that classic peppermint bark look.
How do I stop the chocolate from looking streaky?
Melt it slowly and stir often. Also make sure your bowl and spoon are totally dry. Water is the enemy of smooth melted chocolate.
Can I freeze them?
You can, but I prefer the fridge. Freezing can sometimes cause white chocolate to look a little dull when it thaws, even if it still tastes good.
What if I only have candy canes that are super hard to crush?
Put them in a zip bag, wrap the bag in a towel, then tap with something heavy. Or buy peppermint pieces in the baking aisle to save your patience.
A sweet little sign off
If you make Peppermint Bark Cups this week, I really think you will be surprised by how “fancy” they look for how little effort they take. Keep a batch in the fridge and you have an instant holiday treat for movie nights, visitors, or last minute gifting. If you want to compare methods, I have also bookmarked Easy no-bake chocolate peppermint bark cups – Rhubarbarians and Peppermint Bark Cups – Gluesticks Blog because it is fun to see different layer ideas. Now go crush those candy canes and make your kitchen smell like the holidays. You have got this.
Peppermint Bark Cups
Ingredients
Method
- Prep your pan by placing muffin liners in a muffin pan for easy cleanup.
- Spoon about 1 to 2 tablespoons of melted dark chocolate into each liner, tilting and swirling so the chocolate coats the sides.
- Chill in the fridge for about 10 minutes until set.
- Spoon a layer of melted white chocolate on top. If using peppermint extract, stir it into the white chocolate first.
- While the white chocolate is still wet, sprinkle crushed candy canes over the top.
- Refrigerate until fully firm, approximately 20 to 30 minutes.
- Peel the liners off and enjoy!