


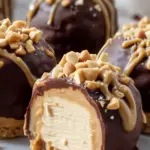
No-Bake Peanut Butter Cheesecake Balls saved me on a night when I had friends dropping by and my oven decided to be dramatic. If you’ve ever needed a quick dessert that tastes like you fussed, this is it. You mix a few simple things, roll, chill, and suddenly you’ve got a dessert plate people hover around. The texture is creamy and truffle-like, but the flavor is all peanut butter cheesecake. No baking, no water baths, no stress. Just you, a bowl, and a few minutes of calm joy.
The Story Behind This Recipe
From my kitchen to yours—No-Bake Peanut Butter Cheesecake Balls mixes a little nostalgia with bright flavor. Tested, tasted, and ready for your table. No-Bake Peanut Butter Cheesecake Balls saved me on a night when I had friends dropping by and my oven decided to be dramatic. If you’ve ever…
3-Ingredient Peanut Butter Balls Recipe
Let’s start with the basics. This is the version I make most often when I want classic flavor with minimal effort. The base is only three ingredients, and you can coat the balls with chocolate, nuts, or graham crumbs if you want a little extra crunch and flair. These are perfect for gifting, meal trains, potlucks, or just stashing in the fridge for late-night snacking.
What You Need
- 8 ounces cream cheese, softened to room temperature
- 3/4 cup creamy peanut butter I like a no-stir style for consistent texture
- 1 cup powdered sugar sifted if lumpy
- Optional for coating: melted chocolate, crushed peanuts, crushed graham crackers, mini chocolate chips, or flaky salt
Helpful Tools
- Mixing bowl and hand mixer or sturdy whisk
- Cookie scoop or tablespoon for even portions
- Baking sheet lined with parchment paper
- Fork for dipping in chocolate if you go that route
If you’re a peanut butter person like me, you might also love this cozy chocolate peanut butter cake roll on weekends when you do feel like turning on the oven. And if you crave tropical vibes, try these easy no-bake coconut cream balls for a cool party platter duo.
These No-Bake Peanut Butter Cheesecake Balls keep well in the fridge, and they travel beautifully. I’ve made them for game nights and kid parties, and they disappear fast.
Ingredient Substitutions
Short on something or cooking for a special diet? Here’s how to adapt without losing that creamy cheesecake bite.
Cream cheese: You can use light cream cheese if you want a softer, slightly lighter result. Dairy-free cream cheese works surprisingly well too, just choose one with a neutral flavor and a thicker texture. If your dairy-free cream cheese is very soft, add an extra tablespoon or two of powdered sugar to help it set.
Peanut butter: Crunchy peanut butter adds texture, and natural peanut butter works if you stir it until completely smooth. If it’s oily, reduce the peanut butter by a tablespoon and increase powdered sugar a bit to keep the mixture rollable. Need a nut-free option? Try sunflower seed butter. Almond butter or cashew butter also make great swaps.
Sweetness level: The powdered sugar also helps with structure. If you prefer a less sweet bite, reduce it to 3/4 cup and chill the mixture longer before rolling. Or balance with a sprinkle of flaky salt on top.
Flavor twist-ins: A splash of vanilla, a tiny pinch of salt, or a spoon of honey can lean sweet and cozy. For a fun kid-friendly spin, a handful of colorful cereal on top gives a cute crunch, similar to the playful vibe of this Lucky Charms no-bake cheesecake.

Step-By-Step Instructions
Here’s the part that makes these my favorite dessert to prep during a busy week. Simple, dependable steps you can do in about 15 minutes, plus chill time.
1. Soften the cream cheese. Let it sit out for 20 to 30 minutes until it’s easy to mix. This helps you avoid lumps and keeps the texture extra smooth.
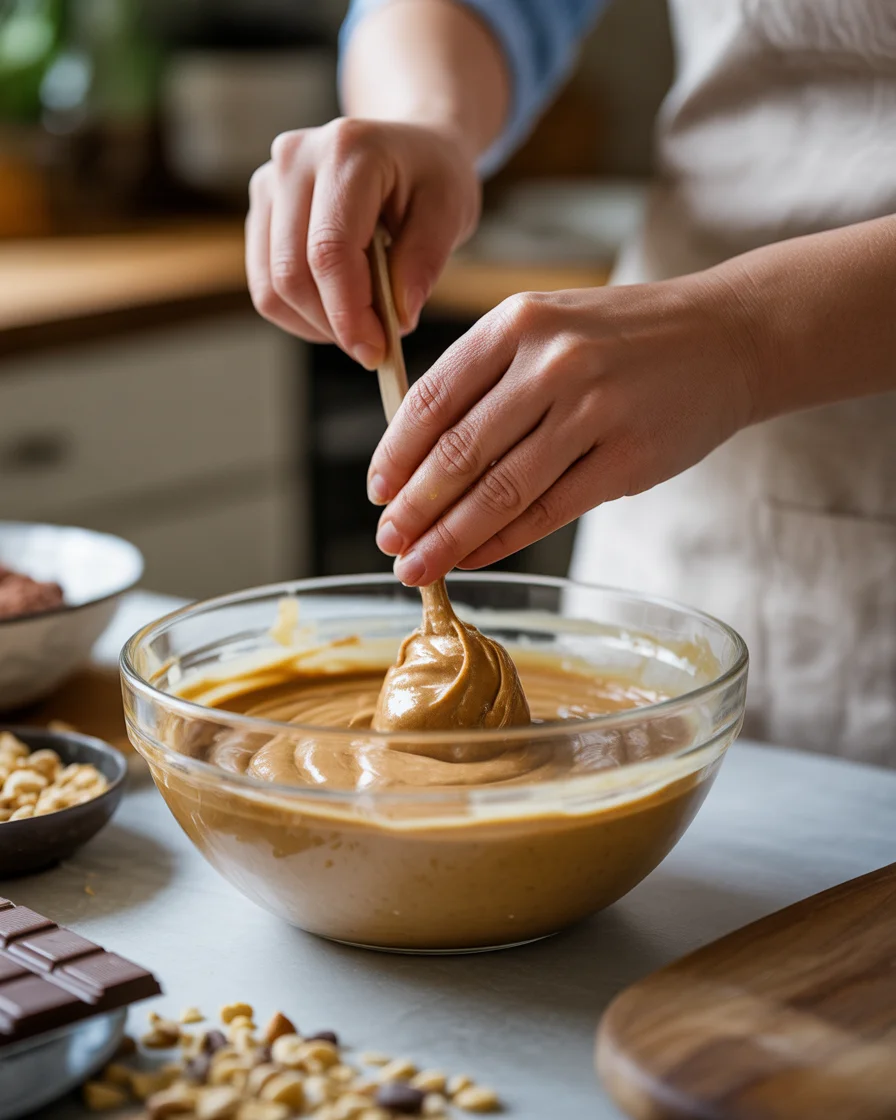
2. Mix the base. Beat the cream cheese until smooth. Add peanut butter and beat until completely blended. Sprinkle in the powdered sugar and mix on low to start. Increase to medium until you get a thick, creamy dough. It should hold a soft shape.
3. Quick chill. If your mixture feels sticky, pop the bowl into the fridge for 10 to 15 minutes. That little chill makes scooping neater and keeps the balls round.
4. Scoop and roll. Use a cookie scoop or spoon to portion tablespoon-sized rounds. Roll between your palms to smooth them out and place on a parchment-lined baking sheet.
5. Coat or dip. Roll in crushed peanuts or graham crumbs, or dip in melted chocolate. If dipping, place the coated balls back on the parchment to set. A tiny pinch of flaky salt on the chocolate is ridiculously good.
6. Chill to set. Refrigerate at least 30 minutes before serving. For a firmer set, give them an hour. This is the same kind of quick chill I love when I make layered desserts like blueberry cheesecake parfaits because it deepens the flavor and sets the texture.
“I made these for a bake sale and they sold out first. People kept asking what bakery they came from. Zero baking. Ten minutes of effort. My kind of win.”
That’s it. Minimal effort, big payoff. By the time you clean up the bowl, the tray is usually ready to serve.
Variations
You can take this base and spin a dozen different desserts from it. Here are a few favorites when I want to keep things fun without adding complexity.
Coatings and Toppings to Try
- Chocolate shell: Dip in melted dark or milk chocolate. Add a drizzle of white chocolate for contrast.
- Cookie crumb coat: Roll in crushed graham crackers, Oreos, or chocolate wafer cookies.
- Peanut crunch: Finely chopped roasted peanuts for a salty crunch that plays well with sweet.
- Festive sprinkle finish: Holidays, birthdays, team colors, you name it.
- Caramel kiss: Press a caramel bit into the top, then chill so it sticks as the chocolate sets.
Flavor boosts: Fold in mini chocolate chips, a swirl of Nutella, or a dash of cinnamon. You can also add a thin pool of warm peanut butter or chocolate on the serving plate and anchor the balls in it for a dessert-board feel.
Make it a mini truffle box: Mix and match coatings in a little gift tin, then add a hand-written label. People go wild for a sampler pack.
And if you love a theme dessert night, pair these with something dramatic like a layered cake or truffle cheesecake. It’s the kind of variety that gets everyone at the table reaching for seconds.
Expert Tips
These little treats are easy by design, but a few pro touches make them bakery-good.
Make-Ahead and Storage
Chill time: Let your tray chill at least 30 minutes before serving. For parties, I make them the day before. They taste even better once the flavors settle.
Storage: Store in an airtight container in the fridge for up to 5 days. Separate layers with parchment to protect the coatings.
Freezing: Freeze on the tray until firm, then move to a freezer bag for up to 2 months. Thaw in the fridge. The texture stays creamy and satisfying.
Chocolate Dipping Without Mess
Melt chocolate with a tiny splash of oil for a thinner, smoother dip. Work with a few balls at a time so they keep their chill. Use a fork to lift each one out of the chocolate, tap the fork gently on the bowl to release excess, and slide onto the parchment. Sprinkle immediately if you want toppings to stick.
Fixing Texture Problems
Too soft to roll: Chill the bowl 10 to 20 minutes or beat in 1 to 2 tablespoons more powdered sugar.
Too stiff or crumbly: Beat in a teaspoon or two of milk, or a small spoon of peanut butter, until smooth.
Serving and Gifting
Present on a simple white plate with a drizzle of chocolate and a few peanuts scattered around. For gifts, use mini cupcake liners in a small box. It makes homemade feel special, which is absolutely the point.
If you’re hosting, set these next to a fruit platter and coffee. They disappear quietly while people chat, which is how I know they’re a keeper.
Common Questions
How many does this make? With tablespoon scoops, you’ll get about 16 to 20 balls. If you make them smaller, you can stretch it to 24.
Can I use natural peanut butter? Yes. Stir until the oil is fully combined. If the mixture feels looser, add extra powdered sugar a tablespoon at a time and chill longer.
Do I have to coat them? Nope. They’re excellent plain. Coating adds texture and helps with presentation, but these are wonderful right out of the bowl after a quick chill.
How long can they sit out? About 2 hours at a cool room temp. For outdoor parties or warm rooms, keep a backup tray in the fridge and swap them out.
Can I double the recipe? Absolutely. Use a stand mixer if you have one, and split the batch into two bowls if you want different coatings.
Ready to Roll a Batch You’ll Crave?
With a handful of pantry ingredients and a few minutes of mixing, No-Bake Peanut Butter Cheesecake Balls bring all the flavor of cheesecake without touching the oven. They’re flexible, giftable, and dependable, which is exactly what I want from weeknight desserts. If you want more ideas or variations, check out these helpful resources for inspiration: No-Bake Peanut Butter Cheesecake Balls and these easy Peanut Butter Cheesecake Bites. I hope you try a batch soon and put your own spin on them. Snap a pic, share it with friends, and enjoy every creamy bite.
No-Bake Peanut Butter Cheesecake Balls
Ingredients
Method
- Soften the cream cheese. Let it sit out for 20 to 30 minutes until it’s easy to mix.
- Mix the base. Beat the cream cheese until smooth. Add peanut butter and beat until completely blended. Sprinkle in the powdered sugar and mix on low, then increase to medium until you get a thick, creamy dough.
- If the mixture feels sticky, pop the bowl into the fridge for 10 to 15 minutes.
- Use a cookie scoop or spoon to portion tablespoon-sized rounds and roll them between your palms.
- Roll the balls in crushed peanuts or graham crumbs, or dip in melted chocolate. If dipping, place the balls back on the parchment to set.
- Refrigerate the balls for at least 30 minutes before serving. For a firmer set, chill for an hour.