

Hershey Pie (No-Bake) is my go to dessert for those days when I want something chocolatey but I do not want to turn on the oven, wash five mixing bowls, and babysit a timer. You know that feeling when dinner is done, everyone is still kind of hungry, and you suddenly remember you promised dessert? This pie saves me every time. It is creamy, fluffy, and has that classic chocolate cookie crust vibe that feels like a treat from a diner. Plus it is super forgiving, so even if you are not a confident baker, you will still look like you totally have it together. 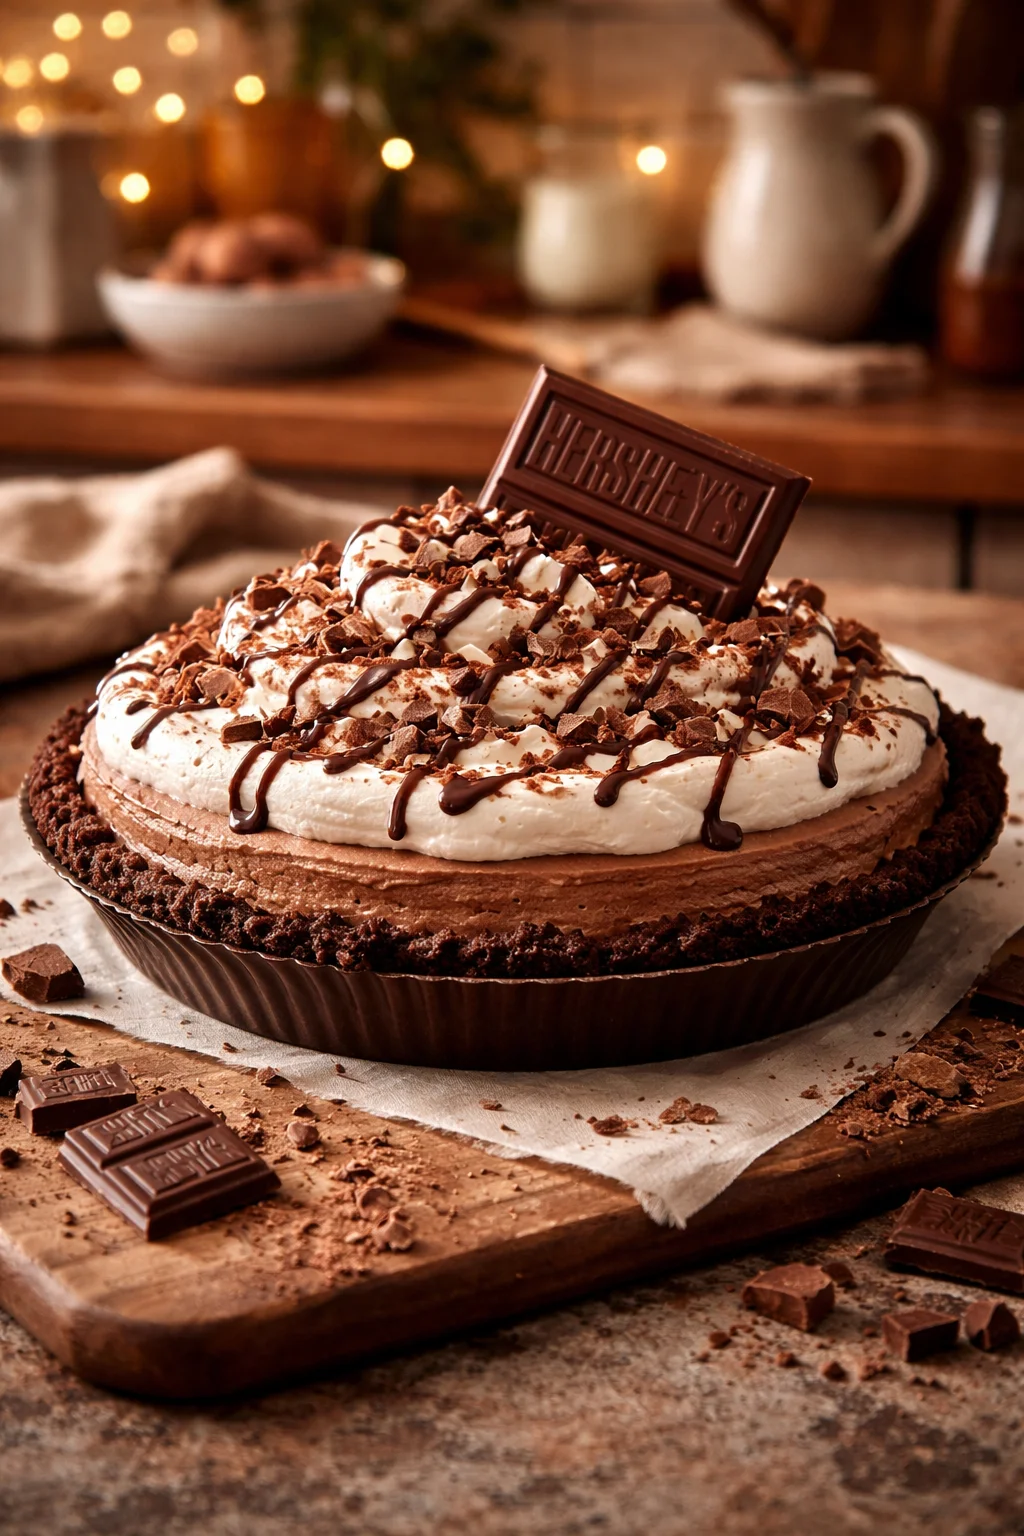
The Story Behind This Recipe
Here’s why I love this Hershey Pie (No-Bake): it bakes up beautifully and it tastes like home. Hershey Pie (No-Bake) is my go to dessert for those days when I want something chocolatey but I do not want to turn on the oven,…
Ingredients and Tools Needed
I like to keep this simple and familiar. The whole point is easy comfort dessert with big chocolate payoff. I have made this recipe for birthdays, random Fridays, and even once for a neighbor who needed cheering up. It always disappears fast.
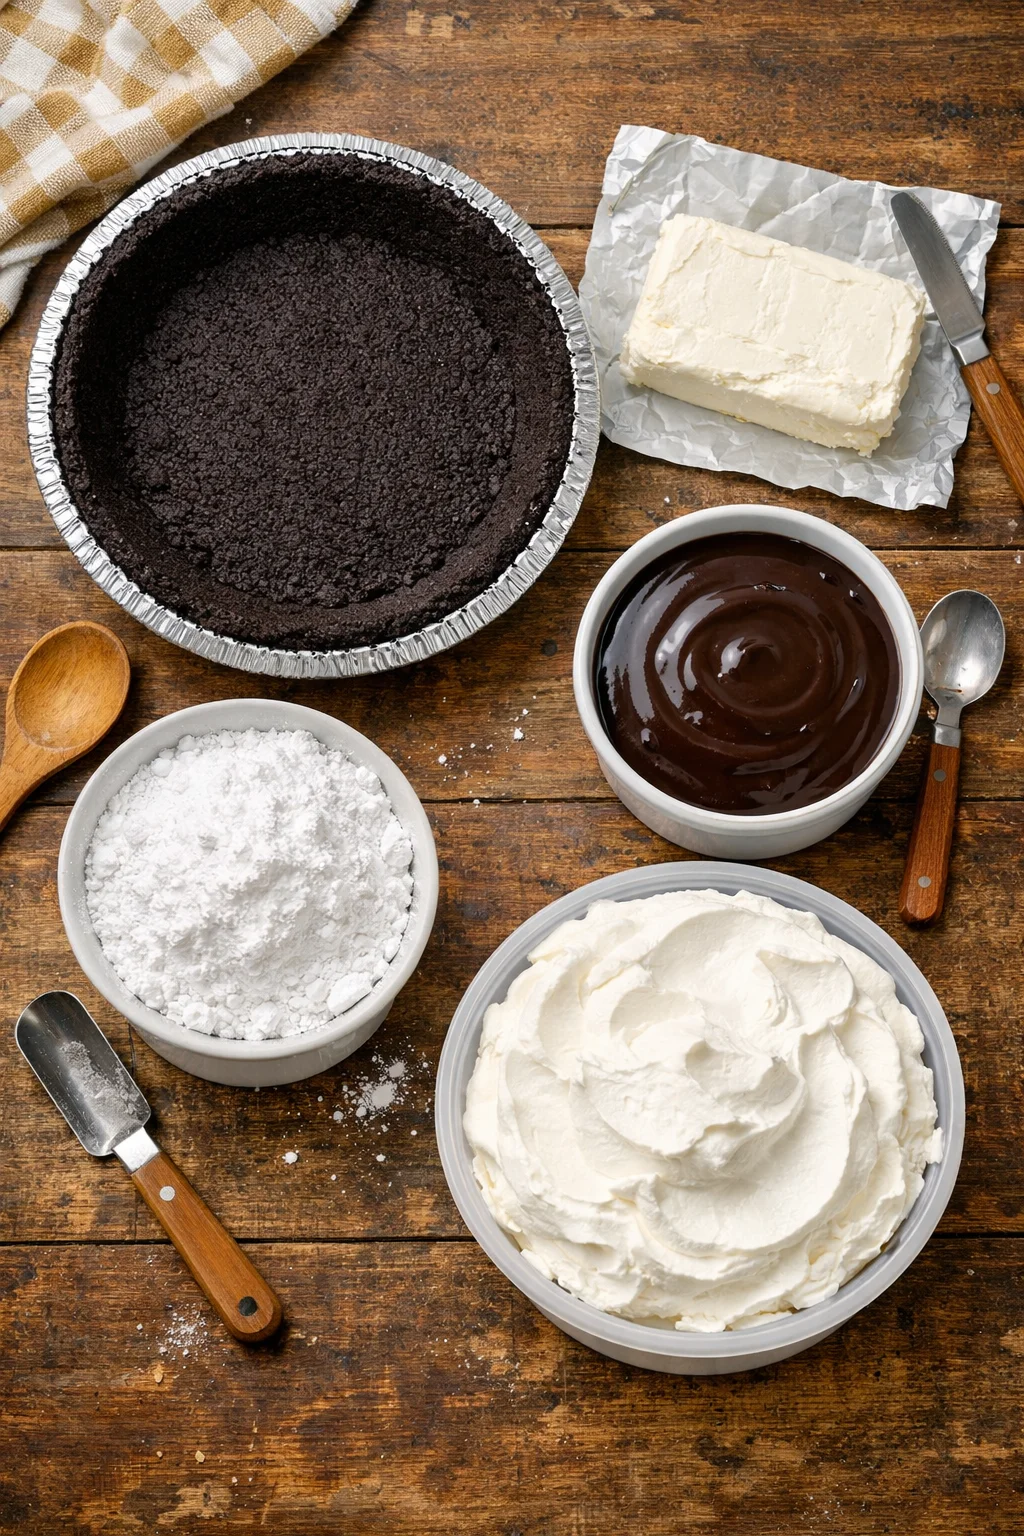
Here is what you will need (nothing fancy):
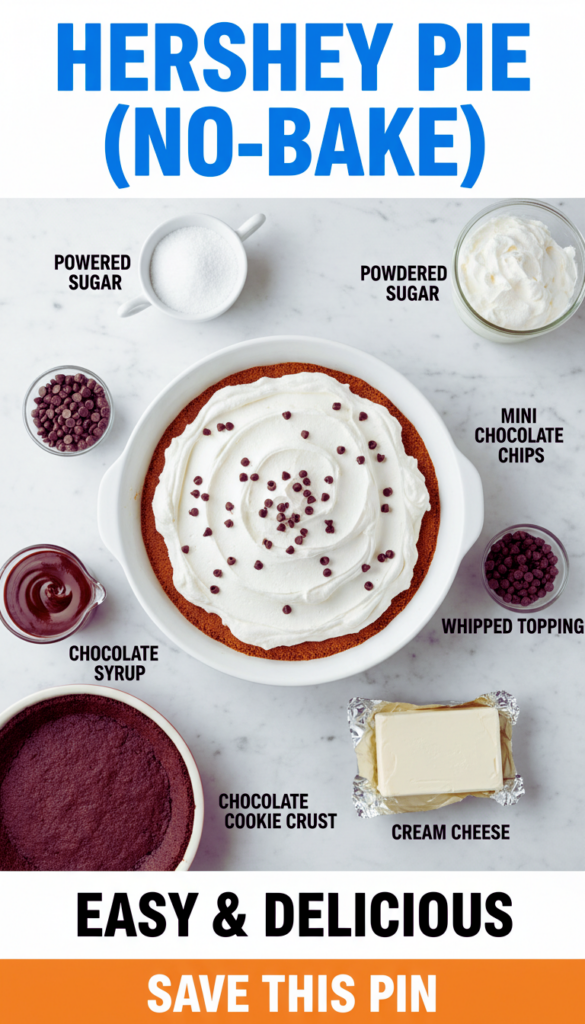
- 1 chocolate cookie crust (store bought or homemade)
- 1 package cream cheese, softened
- 1 cup powdered sugar
- 1 tub whipped topping, thawed (or homemade whipped cream if you prefer)
- 1 cup chocolate syrup or a chocolate pudding style base (depending on your preferred texture)
- Optional: mini chocolate chips or chocolate curls for the top
Tools that make life easier:
- Hand mixer or stand mixer
- Large mixing bowl
- Rubber spatula
- Measuring cups and spoons
- Plastic wrap or a pie lid for chilling
If you are a chocolate pie person in general, you might also want to peek at this chocolate pudding pie another time. It is a different vibe, but it hits that same cozy dessert note.
Step-by-Step Instructions for Making Hershey Pie
This is the part where I usually put on a playlist and just enjoy how easy it is. The biggest “skill” here is letting it chill long enough, which is honestly the hardest part because you will want to slice it early.
1) Get your crust ready
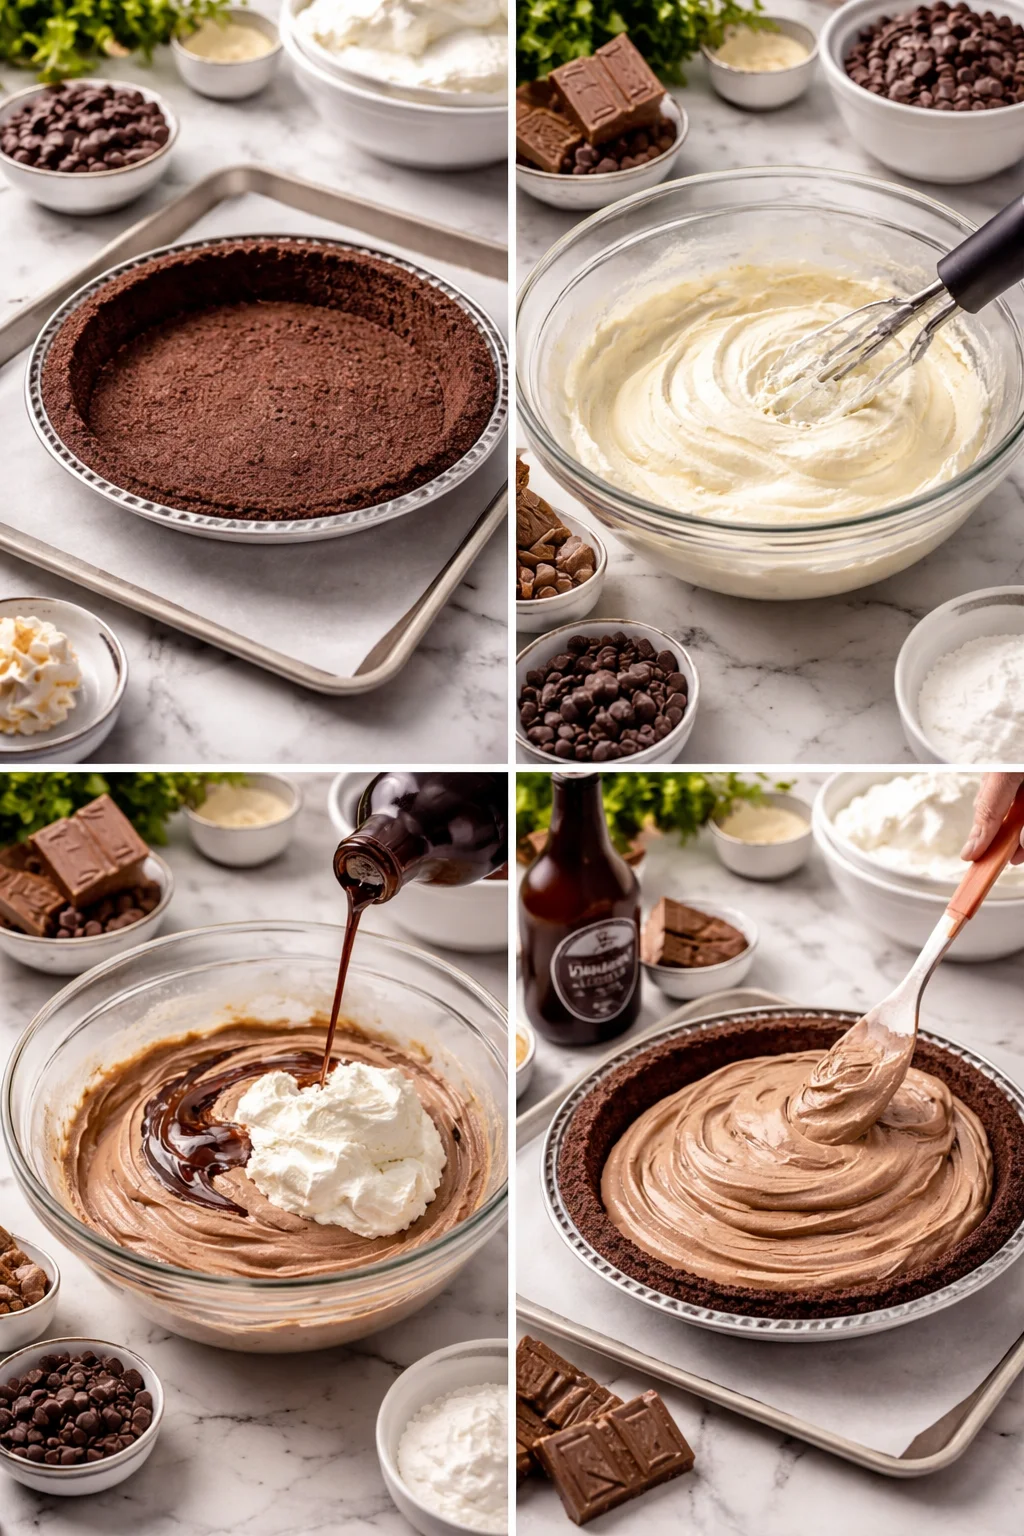
Set your chocolate cookie crust on a baking sheet or a flat plate so you can move it easily. If you are making your own crust, press it firmly into the pie plate so it holds together when you slice. Then pop it in the fridge while you mix the filling. Cold crust, happier pie.
2) Mix the creamy base
In a large bowl, beat the softened cream cheese until it is smooth. Add the powdered sugar and mix again. You want it creamy with no lumps. If your cream cheese is still cold, it will fight you a little, so letting it sit out for 20 to 30 minutes really helps.
3) Add the chocolate and fold in the fluff
Pour in the chocolate syrup (or your chocolate base) and mix until the color is even. Then gently fold in the whipped topping with a spatula. Do not overmix here. Folding keeps it light and airy, which is what makes Hershey Pie (No-Bake) feel so dreamy.
4) Fill, chill, and try not to hover near the fridge
Spoon the filling into the crust and smooth the top. Cover it and chill for at least 4 hours, but overnight is even better. When it is ready, add your toppings right before serving so they look fresh.
Little side note: if you love pie projects, I once did a chocolate dessert weekend where I made this pie and then something peanut buttery the next day. If that sounds like your kind of fun, this creamy peanut butter pie is a good follow up plan.
“I brought this to a family get together and it was the first dessert gone. My aunt asked for the recipe before she even finished her slice.”
Substitutions and Variations
This is where you can make the pie fit your house, your cravings, or whatever you have in the fridge. I have swapped things in and out plenty of times and it still turns out delicious.
Easy swaps:
Cream cheese: You can use reduced fat cream cheese if you want. The texture is slightly less rich, but still good.
Whipped topping: Homemade whipped cream works, just whip it to soft peaks and fold gently. It tastes extra fresh.
Chocolate: If you want a deeper chocolate flavor, use a thicker chocolate sauce or add a tablespoon or two of cocoa powder with the powdered sugar.
Fun variations:
Crunchy topping: Sprinkle crushed cookies, mini chips, or chopped candy on top.
Mocha vibe: Stir in a teaspoon of instant espresso powder with the chocolate. It makes the chocolate taste even more chocolatey without screaming coffee.
Mint chocolate: Add a tiny splash of peppermint extract. Go slow, it gets strong fast.
If you like playing with chocolate desserts that have a richer, almost brownie like vibe, you would probably enjoy this gooey brownie pie recipe too. Different texture, same “I need chocolate” energy.
Serving Suggestions for Hershey Pie
This pie is already pretty perfect straight from the fridge, but if you want to make it feel extra special, here are a few ways I like to serve it. These are also helpful if you are taking it to a party and want it to look like you worked harder than you did.
- Classic: A slice with a swirl of whipped cream and a drizzle of chocolate syrup.
- Cold and clean: Serve it straight from the fridge with no toppings. The filling is the star.
- Ice cream shop style: Add a scoop of vanilla ice cream on the side.
- Holiday look: Top with chocolate curls or crushed peppermint candies.
- Kid friendly: Add colorful sprinkles or mini marshmallows.
One more idea if you are serving a crowd: set up a little topping bar and let people decorate their slice. It is low effort for you, but everyone loves it.
Also, if you are the type who likes trying quirky pie inspired treats, these boston cream pie cookie cups are fun for parties, especially when you want something handheld along with the pie.
Tips and Tricks for Perfecting the Recipe
I have made Hershey Pie (No-Bake) enough times that I have a few little lessons learned. None of these are complicated, but they make the difference between a good pie and the kind of pie people keep sneaking back to the fridge for.
Soften the cream cheese: This is the big one. If it is too cold, you will get lumps and you will be tempted to overmix to fix it. Let it sit out a bit and it will blend like a dream.
Fold, do not whip: Once the whipped topping goes in, use a gentle hand. Overmixing knocks the air out and the filling gets heavier.
Chill longer than you think: You can technically eat it after a couple hours, but it slices cleaner and tastes better after a solid chill. Overnight is best if you are planning ahead.
Slice like a pro: Run a knife under hot water, wipe it dry, then slice. Repeat between cuts. It makes the edges look neat.
Make it ahead: This pie is happiest made the day before. If you are hosting, it is a relief to have dessert already handled.
And just to make sure we are on the same page, Hershey Pie (No-Bake) is supposed to be easy. If it is not perfect, nobody will care once they taste it. It is chocolate, creamy, and cold. That is basically a guaranteed win.
Common Questions
Can I freeze Hershey Pie (No-Bake)?
Yes. Freeze it covered, then let it sit at room temperature for about 10 to 15 minutes before slicing. It eats almost like an ice cream pie.
How long does it last in the fridge?
About 3 to 4 days covered well. After that, the crust can start to soften, but it is still edible.
Do I have to use a store bought crust?
Nope. You can make one with crushed chocolate cookies and melted butter. Store bought is just faster.
My filling is runny. What happened?
Usually it needs more chill time, or the whipped topping was too warm when you folded it in. Pop it back in the fridge and let it firm up.
Can I make it less sweet?
Yes. Use a little less powdered sugar, and choose a darker chocolate option if you can. A pinch of salt also helps balance sweetness.
A sweet little wrap up
If you need a reliable dessert that feels like a treat but does not ask much from you, Hershey Pie (No-Bake) is the answer. It is quick to mix, easy to chill, and it slices into that creamy chocolate goodness that everyone loves. If you want to compare versions, I have seen great ideas in 3 Ingredient No-Bake Hershey’s Pie – The Lazy Dish and this classic take in Hershey Pie – girl. Inspired.. Make it once, keep it in your back pocket, and you will never panic about dessert again.
Hershey Pie
Ingredients
Method
- Get your crust ready. Set your chocolate cookie crust on a baking sheet or a flat plate so you can move it easily. If you are making your own crust, press it firmly into the pie plate and refrigerate while you prepare the filling.
- In a large bowl, beat the softened cream cheese until smooth. Add powdered sugar and mix until creamy with no lumps.
- Pour in the chocolate syrup (or your chocolate base) and mix until evenly colored. Gently fold in the whipped topping with a spatula without overmixing.
- Spoon the filling into the crust and smooth the top. Cover it and chill for at least 4 hours, preferably overnight.
- Add any toppings right before serving.