


Chocolate Peanut Butter Rice Krispy Cups are my go-to answer when I want something sweet, quick, and guaranteed to make everyone happy. These little treats are crisp, creamy, and chocolatey in every bite, and they take almost no effort. I started making them on weeknights to fix late-night cravings, and now they show up at potlucks and game days too. If you’ve got a peanut butter jar and a box of cereal on hand, you’re halfway there. Let’s make a batch you’ll want to hide in the back of the fridge, just for you.
The Story Behind This Recipe
Hey, I’m Alexandraa! This Chocolate Peanut Butter Rice Krispy Cups was built for family tables: simple steps, reliable results, and flavor that makes people ask for seconds. Chocolate Peanut Butter Rice Krispy Cups are my go-to answer when I want something sweet, quick, and guaranteed to make everyone happy. These little treats are…
Ingredients for Chocolate Peanut Butter Rice Krispy Cups
Here’s exactly what I keep on the counter when I make these. Simple pantry stuff, nothing fancy, and all reliable.
- 3 cups crisped rice cereal
- 1 cup creamy peanut butter, well stirred
- 1/2 cup honey or light corn syrup
- 1/4 cup granulated sugar (optional for extra sweetness)
- 1 teaspoon vanilla extract
- 1/4 teaspoon fine sea salt
- 1 and 1/4 cups semisweet or dark chocolate chips
- 1 tablespoon coconut oil or butter (helps the chocolate set silky)
- Flaky sea salt for garnish, optional
- Paper liners for a 12-cup muffin pan
For a little crunch-on-crunch experience, I sometimes stir in 1/4 cup chopped roasted peanuts. It’s optional, but so satisfying.
PS: If you’re equally obsessed with the peanut butter and chocolate duo, you’ll love these fun bites too: chocolate peanut butter peanut clusters. They’re dangerously easy and perfect for gift bags.
I brought a tray of these to my neighbor’s birthday, and not a single cup survived the first hour. People kept asking for the recipe. That’s when I knew these were my forever party treat.
Yield: 12 standard-size cups. You can also go mini for 24 tiny bites.
Step-by-Step Instructions for Making Peanut Butter Rice Krispy Treats
These come together in a few easy moves. You’ll melt, stir, press, and top. The rest is just chill time while you pretend to be patient.
Melt the peanut butter base
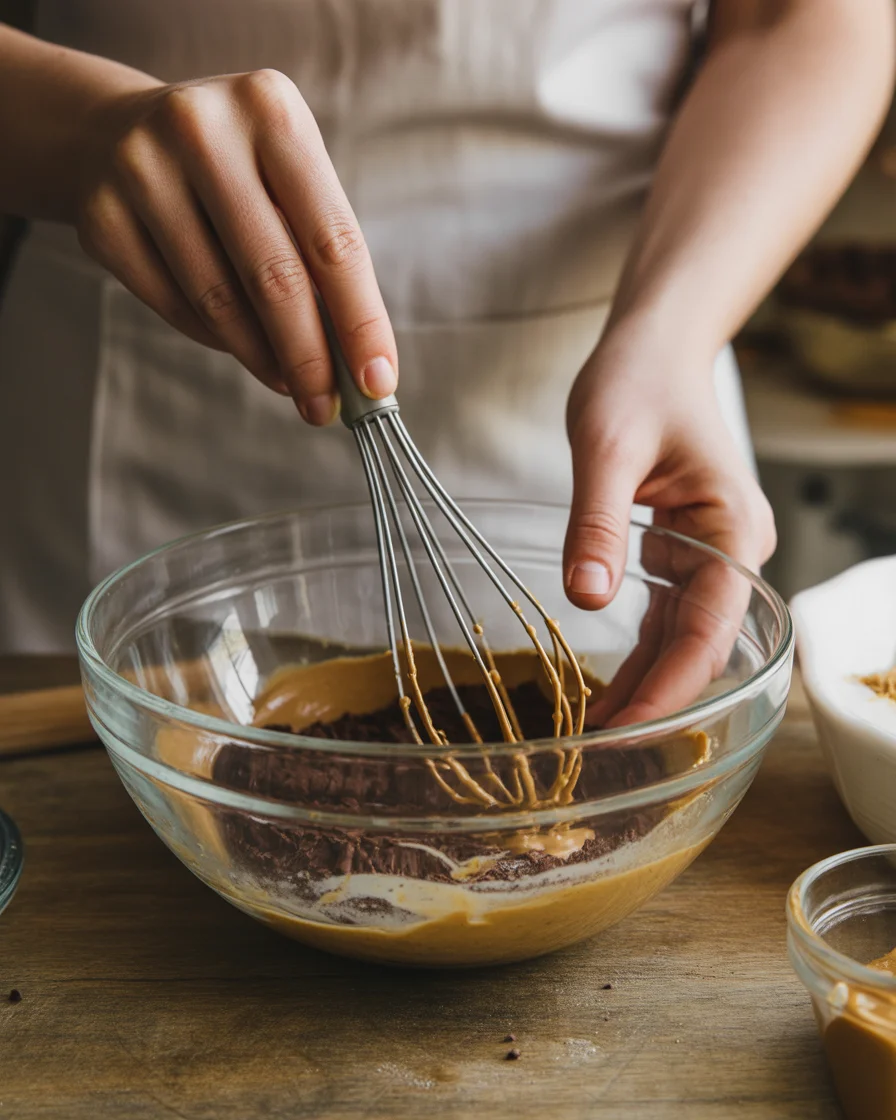
In a medium saucepan on low heat, warm the peanut butter, honey, and sugar until smooth and glossy. Stir often so it doesn’t scorch. Take it off the heat and add the vanilla and salt. If you want to skip the stove, microwave in 20-second bursts, stirring in between, until everything blends smoothly.
Stir in the cereal
Pour the cereal into a large bowl. Scrape the warm peanut butter mixture over it and stir gently with a silicone spatula until every puff is coated. It should look sticky but not soupy. If it feels dry, drizzle in another tablespoon of honey to help it cling.
Shape the cups
Line your muffin pan with paper liners. Divide the mixture into 12 portions and press it down firmly with the back of a spoon. Try to make a shallow well in the center if you want more chocolate to sit on top. Firm pressure is key so the base holds together after chilling.
Melt and top with chocolate
Microwave the chocolate chips with the coconut oil in 20-second bursts, stirring until silky. Spoon the melted chocolate over each cup, spreading to the edges. Sprinkle a pinch of flaky salt if you love that sweet-salty pop. Chill in the fridge for 30 to 45 minutes, or until set. That first bite? Pure joy.
Want something similar with a slightly different vibe? Check out these crunchy chocolate quinoa crunch bars for a fun twist with a nutty texture.
Once chilled, peel away the liners and enjoy. Store in an airtight container in the fridge for the best snap and texture.
Recipe Variations and Adaptations
The beauty of this recipe is how flexible it is. You can make it dairy-free, gluten-free, or just switch up the flavors depending on your mood. Here are some of my favorites:
- Almond or cashew butter: Swap peanut butter for almond or cashew butter. Add a pinch of cinnamon for warmth.
- Dark chocolate lovers: Go for 70 percent chocolate and finish with flaky salt for a bold, grown-up bite.
- Extra crunch: Stir in chopped peanuts or mini pretzels. The salty crunch is addictive.
- Gluten-free: Make sure your cereal is certified gluten-free and you’re good to go.
- Dairy-free: Use dairy-free chocolate and coconut oil. These set beautifully in the fridge.
- Mini dessert board: Use a mini muffin pan to create bite-size cups for parties. They disappear fast.
If you love no-bake treats that come together in minutes, these no-bake peanut butter cheesecake balls are a keeper. Creamy centers, chocolate shell, zero oven time.
I also like to double the chocolate drizzle for a layered look. Do a thin chocolate layer, chill for 5 minutes, then add a second thin layer. It’s pretty and gives a satisfying snap when you bite in.
FAQs About Chocolate Peanut Butter Dessert Cups
How long do these keep? In the fridge, they’re great for up to a week. If your kitchen is cool, you can leave them at room temperature for a day, but I prefer the fridge for the best texture.
Can I freeze them? Yes. Freeze in a single layer, then move to a bag. Thaw in the fridge for 30 minutes before serving so the chocolate softens just a bit.
What if my mixture is crumbly? Add a touch more honey or warm peanut butter and mix again. The goal is sticky, not dry.
Can I cut back on sugar? Definitely. Skip the granulated sugar and stick to honey. The chocolate adds sweetness too, so you won’t miss it.
Can I use crunchy peanut butter? Absolutely. Crunchy gives nice texture. If it’s very stiff, warm it slightly so it blends easily with the cereal.
Additional Dessert Recipes to Try
If you’re building a little dessert tray, pair these cups with something creamy or something fudgy for contrast. I love combining smooth and crunchy textures on one plate. For the peanut butter fans, this silky creamy peanut butter pie is always a hit. If you want a bite-size option, these chocolate covered cherries add a bright pop of fruit to the lineup. Feeling indulgent? Try a pan of Butterfinger caramel crunch fudge for serious candy bar energy. And when you want one more peanut butter treat that’s almost too easy, I recommend these chocolatey peanut butter cake roll slices.
Common Questions
What’s the best way to melt chocolate without burning it? Use short microwave bursts and stir between each round, or melt it slowly on the stove over low heat. Adding a spoonful of coconut oil helps it stay smooth.
How do I make neat, even cups? Pack the cereal base firmly into liners and smooth the tops with a damp spoon. For perfect edges, tap the pan gently on the counter before chilling.
Do I have to use muffin liners? They make life easier, but you can lightly grease the pan. Run a butter knife around the edges to loosen if needed.
How do I prevent the chocolate layer from cracking? Let the cups sit at room temp for a few minutes before biting in. Also avoid a super thick top layer if you store them very cold.
Can I make these nut-free? Try sunflower seed butter. It gives a rich flavor and sets nicely, though you might want an extra drizzle of honey to balance the taste.
Ready to Make a Batch Tonight?
There’s a reason I keep coming back to these Chocolate Peanut Butter Rice Krispy Cups. They’re simple to stir together, easy to share, and they feel special without tons of work. If you want to peek at other takes on the idea, I like how The Cookin Chicks keeps it classic in this version of Chocolate Peanut Butter Rice Krispy Cups, and The Roasted Root has a fun small-batch approach with these 6-Ingredient Rice Crispy Peanut Butter Cups. Grab a bowl, line that muffin pan, and let’s make something sweet you’ll be proud to share.

Chocolate Peanut Butter Rice Krispy Cups
Ingredients
Method
- In a medium saucepan on low heat, warm the peanut butter, honey, and sugar until smooth and glossy. Stir often to avoid scorching. Remove from heat and stir in vanilla and salt.
- In a large bowl, pour the cereal. Scrape the warm peanut butter mixture over the cereal and gently stir until well coated.
- Line muffin pan with paper liners. Divide mixture into 12 portions, pressing down firmly with a spoon to create a shallow well in the center.
- In a microwave-safe bowl, melt the chocolate chips with coconut oil in 20-second bursts, stirring until smooth.
- Spoon the melted chocolate over each cup, spreading to the edges. Sprinkle with flaky salt if desired.
- Chill in the fridge for 30 to 45 minutes, or until set. Once set, peel away the liners and enjoy.