
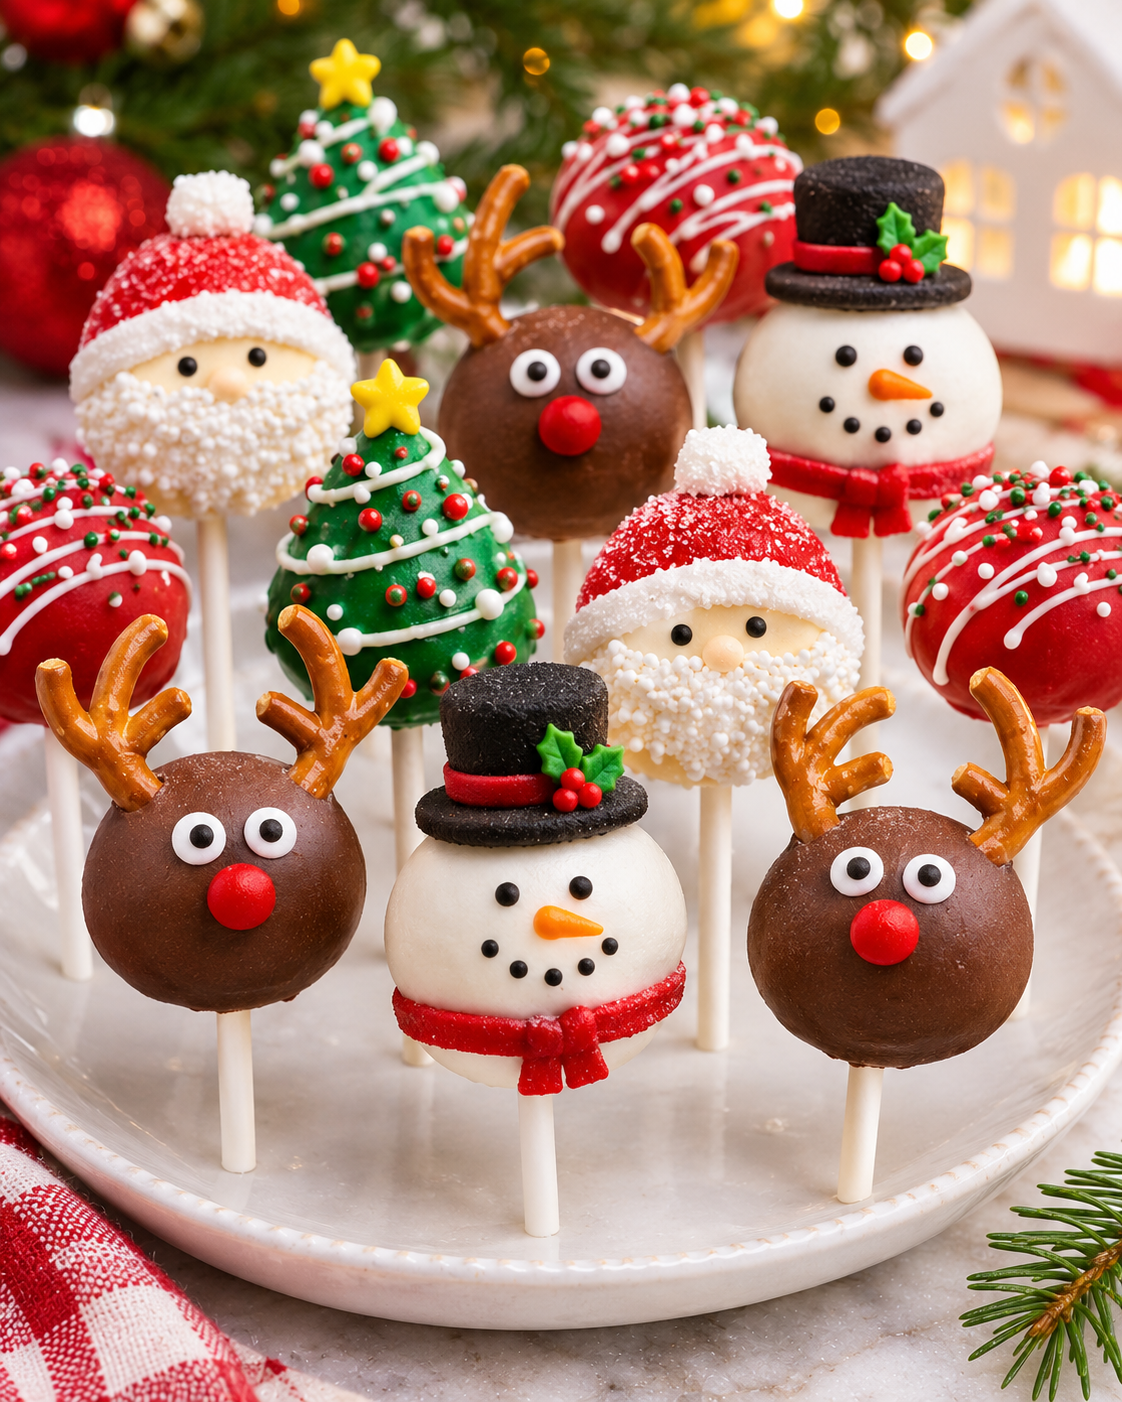

christmas cake pops are my favorite little holiday fix when I want something cute, sweet, and party friendly without baking an entire layer cake. They have that cozy cake taste on the inside, plus a crisp chocolate shell on the outside, so you get a fun bite every time. If you are hosting, bringing a treat to a school event, or just want something to nibble while wrapping gifts, these are such an easy win. They also look way fancier than they really are, which is kind of my holiday personality in dessert form. I am keeping things simple and practical here since the recipe card already has the full how to.
Why these Christmas cake pops work for holiday parties
The main reason I keep coming back to Easy Christmas Cake Pops for the Holidays is that they solve a real party problem: people want dessert, but they do not always want a full slice on a plate. Cake pops are already portioned, easy to grab, and honestly they make any dessert table look more festive instantly.
They also travel well. If you have ever tried to carry a frosted cake in the car while braking at every red light, you know the stress. Cake pops are much calmer. Set them upright in a box, and you are good.
And if you are doing a bigger holiday spread, you can pair them with other Christmas classics. When I want something that feels super traditional, I usually do a log cake too, like this Christmas Yule Log Cake Recipe for the wow factor, and then the pops handle the grab and go crowd.
What makes cake pops hold together without crumbling
Let us talk about the part that makes people nervous. Getting the texture right so the centers do not fall apart. Cake pops hold together because you are basically turning cake crumbs into a dough like mixture using a binder, usually frosting. Not too much, not too little.
If the mix is too dry, it crumbles when you roll it, and it can split when you dip. If it is too wet, it turns into a mushy center that feels heavy and can slide off the stick. The goal is a texture that rolls smoothly and holds a firm ball shape.
A few practical things that help:
- Fine crumbs matter. Big chunks make weak spots.
- Mix slowly and stop as soon as it holds together when pressed.
- Chill before dipping so the shape stays solid.
- Do a test ball before rolling the whole batch to see if it cracks or sags.
If you want another holiday cake idea that is low stress and feeds a crowd, I also love this Festive Christmas Poke Cake. Totally different vibe, but it is a good backup if you are doing a dessert table.
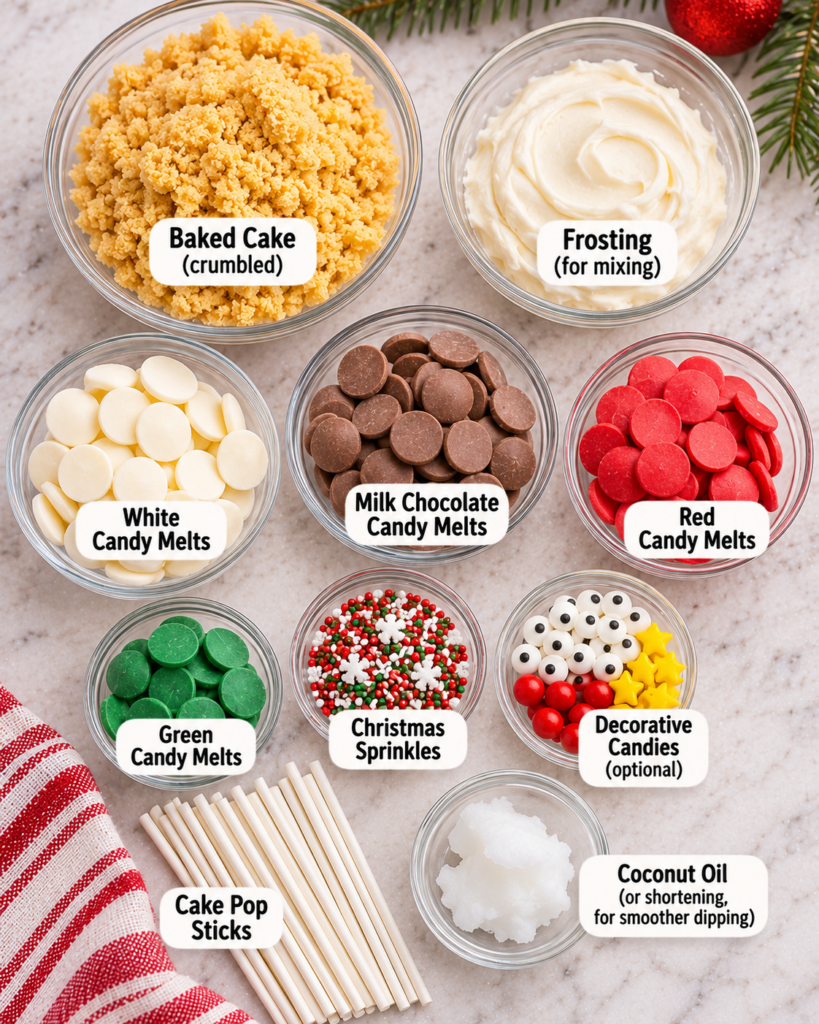
Choosing festive coatings and decorations
The coating is where Easy Christmas Cake Pops for the Holidays really turns into a holiday craft project, in the best way. You can keep it classic with chocolate, go bright with candy melts, or do a mix. I like using coatings that set firm and look shiny, because they hold up better on a platter under warm indoor lights.
One thing I learned the hard way: super thick coating leads to a bulky shell, and it can hide the cute shape. A thinner dip gives you a cleaner finish and a nicer bite.
Christmas colors and simple decorating themes
If you are not trying to be a professional cake decorator, you can still make these look adorable with simple themes. Pick one color combo and repeat it. It makes the whole batch look intentional, even if your sprinkles go a little wild.
Easy ideas that look great fast:
- Red and white drizzle with crushed peppermint
- Green and gold sprinkles for a more classy look
- Snowy white coating with coconut flakes
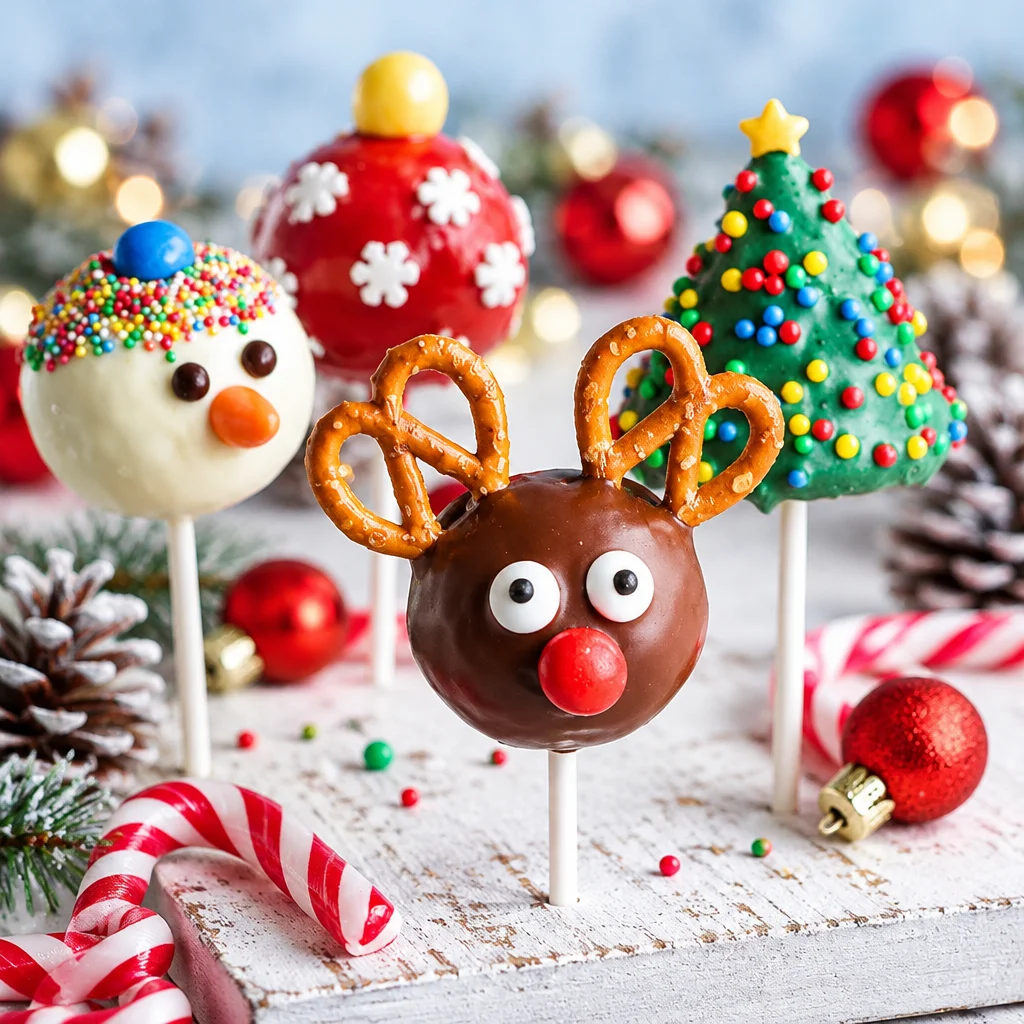
- Reindeer with mini pretzels and candy eyes, if you have time
If you are already in a holiday baking mood, you might also like a classic French style log cake. This one is a nice guide: Easy Christmas Yule Log Cake Buche de Noel.
How to prevent coating cracks and uneven finishes
Cracks usually happen when the cake center is too cold and the coating is too warm, or the other way around. Big temperature differences cause the shell to split as it sets. I try to avoid freezing rock solid cake balls right before dipping. Chilled is good. Frozen solid can be tricky.
For uneven finishes, the biggest fix is simple: tap off extra coating gently and spin the pop a bit so it settles smoothly. Also, make sure your coating is melted and fluid enough to flow. If it is too thick, you will fight it the whole time.
Make-ahead timing and party planning
Holiday weeks get busy fast, so I always plan these in little steps. The nice thing is you do not have to do everything in one night. You can make the centers one day, dip the next day, and decorate right after dipping while the coating is still tacky.
Here is a realistic way to schedule it:
- Day 1: bake the cake and crumble and mix the base, then roll and chill
- Day 2: insert sticks, dip, and let them set fully
- Day 3: package for gifting or arrange on a stand for your party
If you need a super simple dessert that also works ahead of time, I keep this one in my back pocket: 3 Ingredient Peach Cobbler Dump Cake. It is not Christmas themed by default, but warm spices and a scoop of ice cream make it feel festive.
Storage and gifting tips
Once your christmas cake pops are fully set, storage is mostly about keeping them dry and protected from smells in the fridge. Chocolate and candy coatings can pick up odors, so do not store them next to last night’s garlic leftovers.
For gifting, I like clear treat bags tied with ribbon, or small bakery boxes with tissue paper. If you are doing a cookie tray exchange, cake pops add height and color, which makes the whole tray look more fun.
“I brought these to our office holiday potluck and they disappeared first. People kept asking where I bought them, which made my whole week.”
If you want another dessert that feels special but is still pretty simple, this 2 Ingredient Japanese Cheesecake is a good one to bookmark for later. Light, soft, and great with fruit.
Common problems: falling off sticks, lumpy coating, overly soft centers
If your pops are falling off the sticks, it is usually one of two things: the center is too warm or too heavy, or the stick was not “glued” in. The easiest fix is dipping the stick tip in a little melted coating before inserting it into the ball, then chilling briefly so it sets. That little step gives the stick some grip.
Lumpy coating is often about thickness or overheating. If your coating is clumpy, it may have gotten too hot or had a bit of moisture sneak in. Melt gently and keep tools dry. Also, tapping off excess coating helps smooth out the surface.
Overly soft centers usually mean too much binder. If the mixture feels like sticky cookie dough that cannot hold a neat shape, it needs more cake crumb and more chill time. The center should be firm enough to stay round when you hold it on the stick.
Frequently Asked Questions
Can cake pops be made ahead?
Yes. Easy Christmas Cake Pops for the Holidays are great for making ahead. You can prep the rolled centers a day or two early, then dip and decorate closer to your event.

Do they need refrigeration?
It depends on your ingredients and your room temperature. If your home is warm or your filling includes ingredients that should be chilled, store them in the fridge. If they are fully coated and your room is cool, they can sit out for a party for several hours.
How long do they last?
Typically they keep for several days when stored properly in an airtight container. For the best taste and texture, I like serving them within the first few days.
Why did my coating crack?
Usually it is temperature shock. Let chilled pops sit a few minutes before dipping, and avoid coating that is piping hot.
How do I display them at a party?
Stick them into a foam block hidden inside a festive box, or use a stand. You can also fill a jar with sugar or rice and use it as a quick holder.
Final thoughts: Reinforce the key value and invite readers to use the recipe card
If you want one holiday treat that looks adorable, travels well, and makes people genuinely excited to grab dessert, Easy Christmas Cake Pops for the Holidays is the move. Focus on a firm center, a smooth dip, and simple decorations that fit your vibe. Once you do one batch, you will see how forgiving the process really is. Use the recipe card for the exact details, then have fun making your christmas cake pops your own.
Christmas Cake Pops
Ingredients
Method
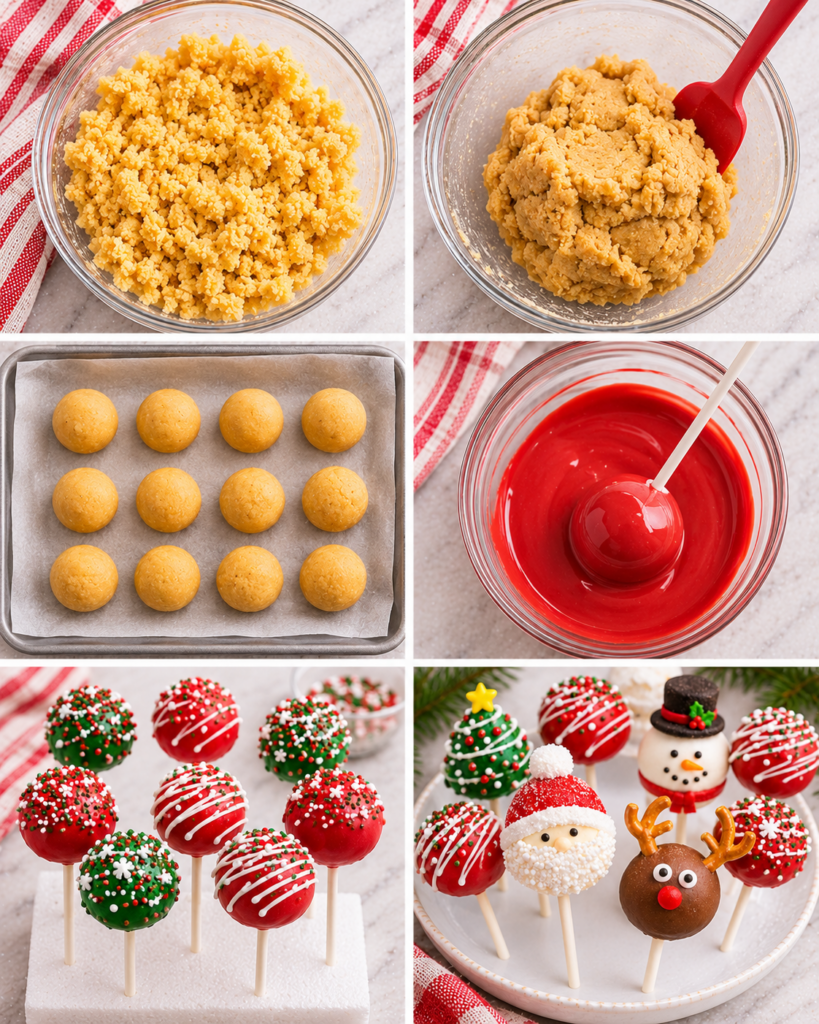
- Bake the cake according to your recipe, then allow it to cool completely.
- Crumble the cooled cake into fine crumbs in a large bowl.
- Mix in frosting a little at a time until the mixture holds together without being too wet or too dry.
- Roll the mixture into balls, about 1 inch in diameter.
- Chill the balls in the refrigerator for at least 1 hour to firm up.
- Melt the chocolate or candy melts according to package instructions.
- Dip the tip of each popsicle stick into the melted chocolate before inserting it into a cake ball for better adhesion.
- Dip each cake pop into the melted coating, allowing excess to drip off, then roll in sprinkles or crushed peppermint.
- Place the decorated cake pops upright in a foam block or jar to set.