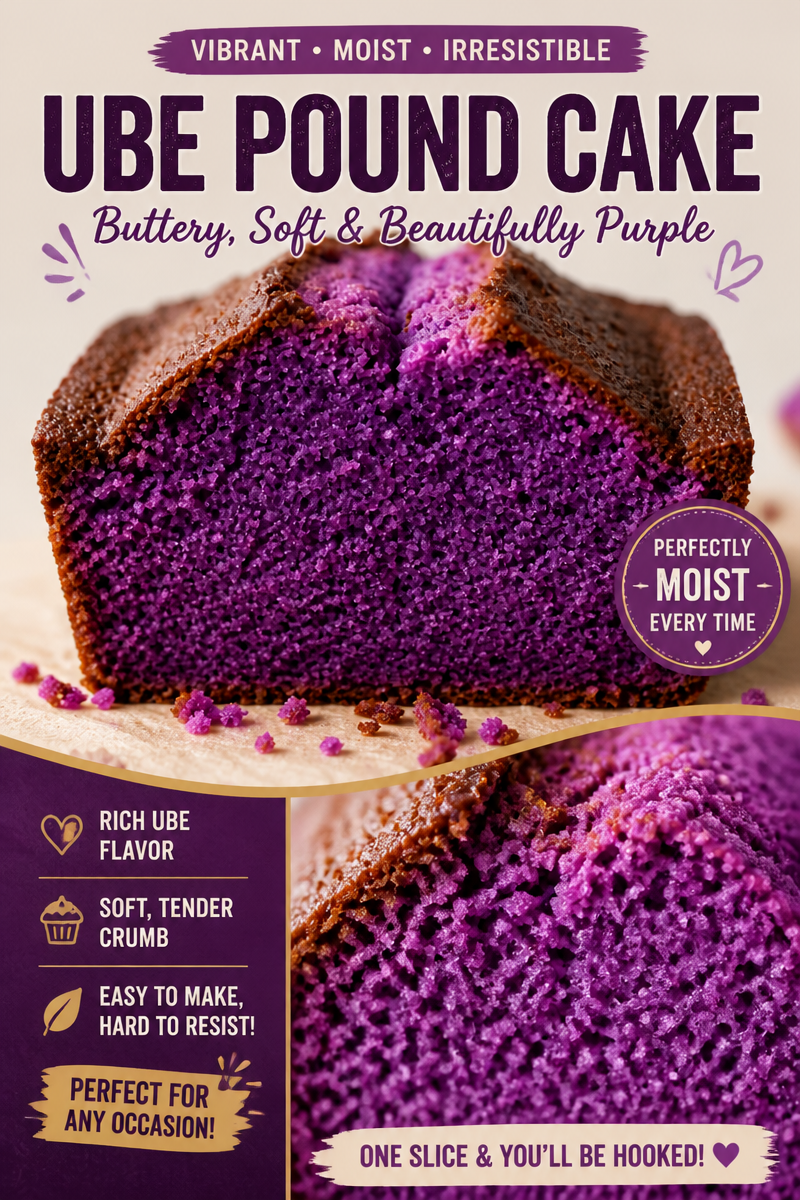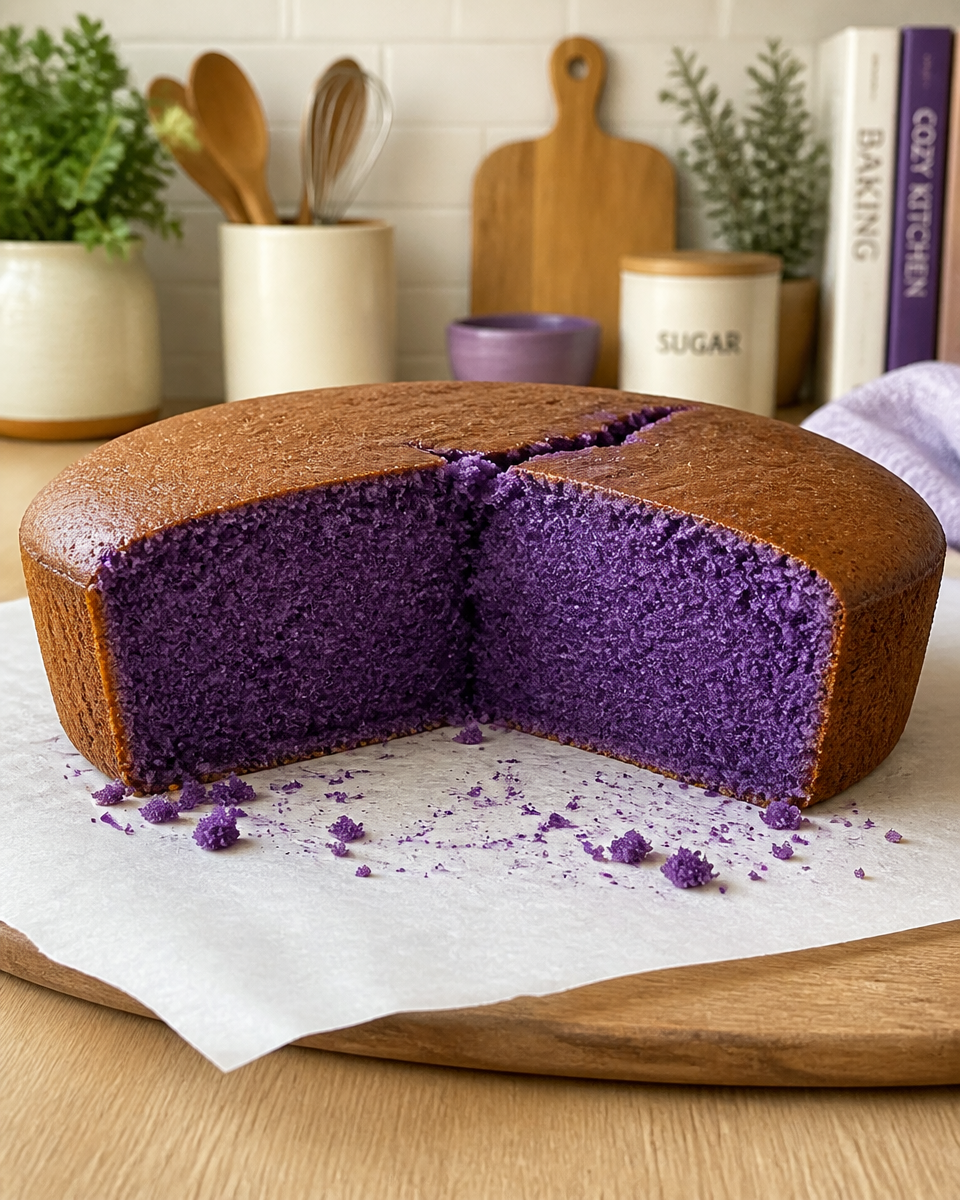
ube cake is the kind of dessert I bake when I want something cheerful on the table without overthinking it. Maybe you have a random get together coming up, or you just want a cake that feels a little special but still doable on a weeknight. This one hits that sweet spot for me because it’s soft, fragrant, and that purple color is always a mood lifter. If you’ve ever tasted ube before, you already know it’s cozy and slightly nutty, like vanilla with personality. If you haven’t, don’t worry, I’ll walk you through it.
Why you’ll love this recipe
I’ve made a lot of cakes over the years, and this is one I keep coming back to because it’s reliable. It’s also the kind of cake that makes people ask questions, in a good way. The color alone pulls everyone into the kitchen.
Here’s why I think you’ll be into it:
- That real ube flavor, not just purple vanilla vibes
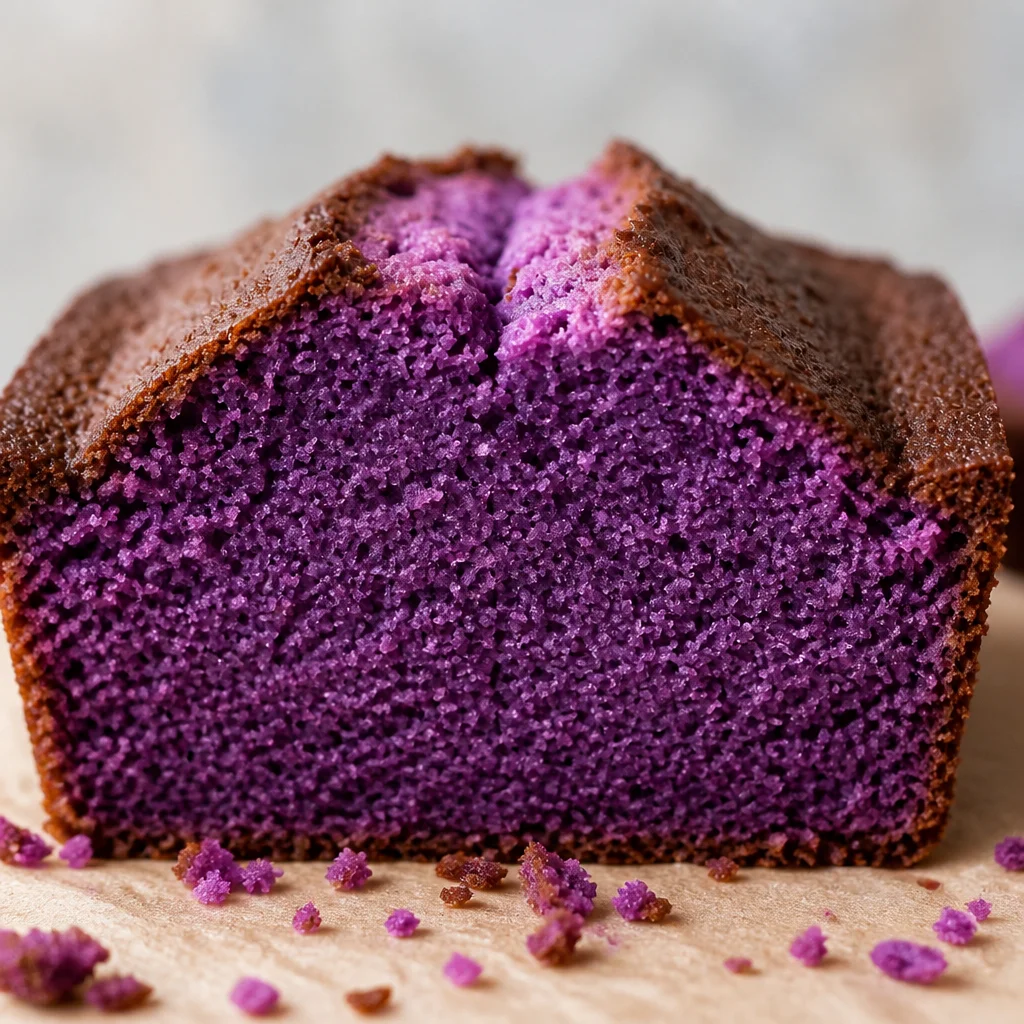
- Soft, fluffy crumb that stays tender even the next day
- Beginner friendly steps with simple ingredients
- Flexible frosting choices, from cream cheese to whipped topping
- It looks impressive without needing fancy decorating skills
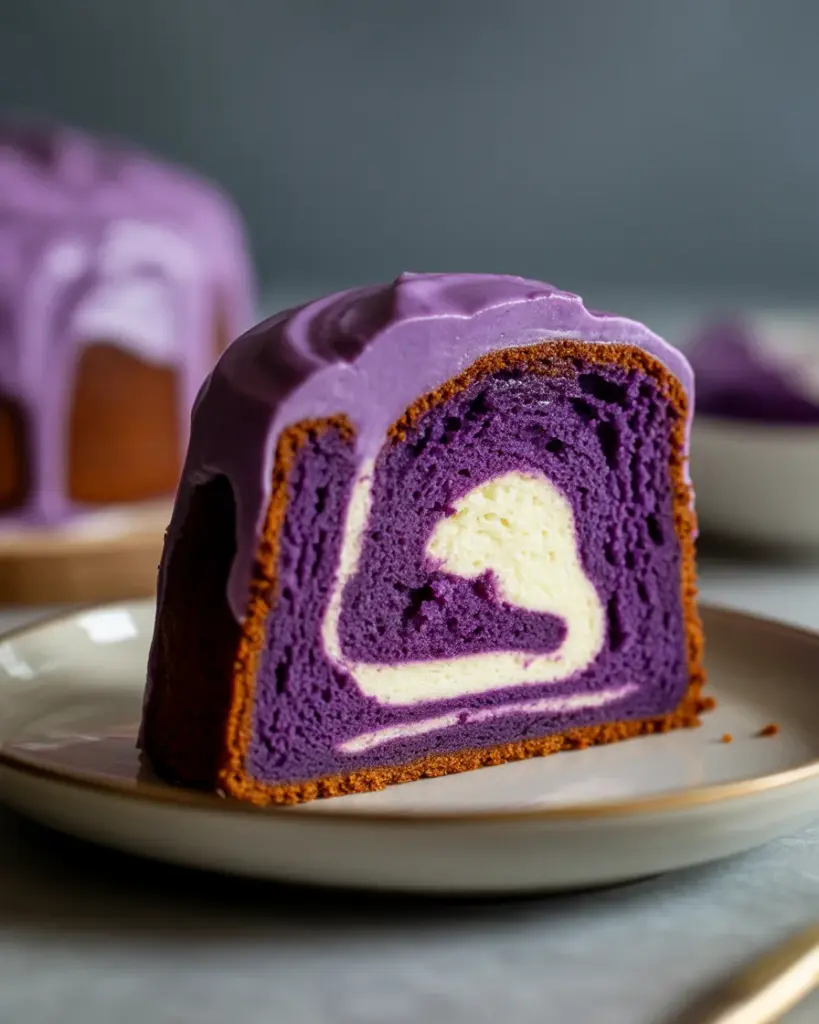
Also, if you love exploring fun, colorful bakes, you might also like this ube pound cake. It’s a little richer and denser, but still very much in the ube family.
“I brought this to a potluck and people thought it came from a bakery. The flavor was so comforting and not too sweet. Definitely making it again.”
Making the cake from scratch vs boxed cakemix
Let’s talk real life. Sometimes you want to bake from scratch because it tastes better and you like the process. Sometimes you want the shortcut because you’re tired or busy, and you still want cake. Both are valid.
My go to from scratch approach
When I make ube cake from scratch, I focus on two things: good ube flavor and a tender texture. I usually use a mix of ube halaya (ube jam) and ube extract. The jam gives depth and that comforting cooked yam flavor. The extract boosts the aroma and color.
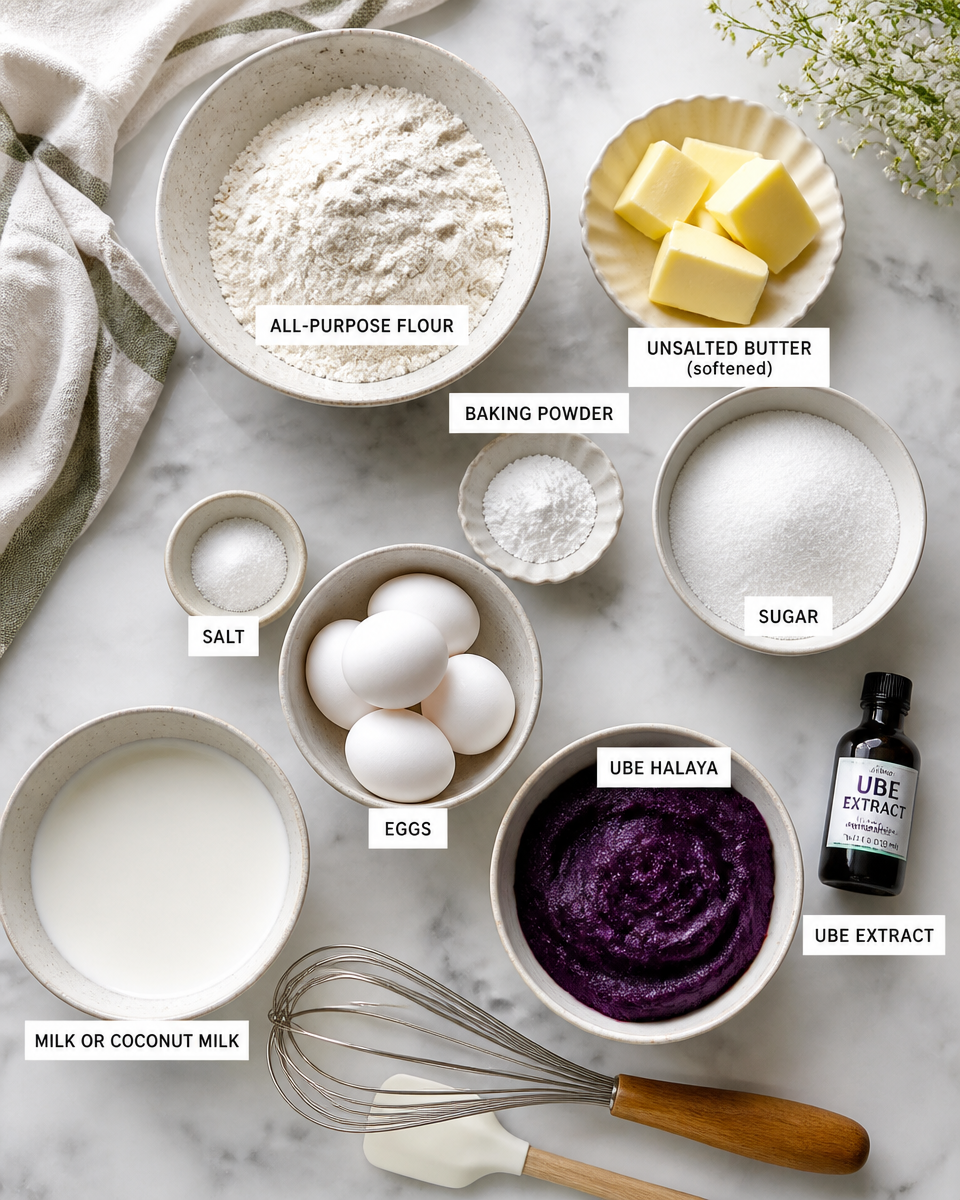
Here’s the simple ingredient lineup I use most often:
- All purpose flour
- Baking powder
- Salt
- Unsalted butter (softened)
- Sugar
- Eggs
- Milk or coconut milk (both work)
- Ube halaya
- Ube extract
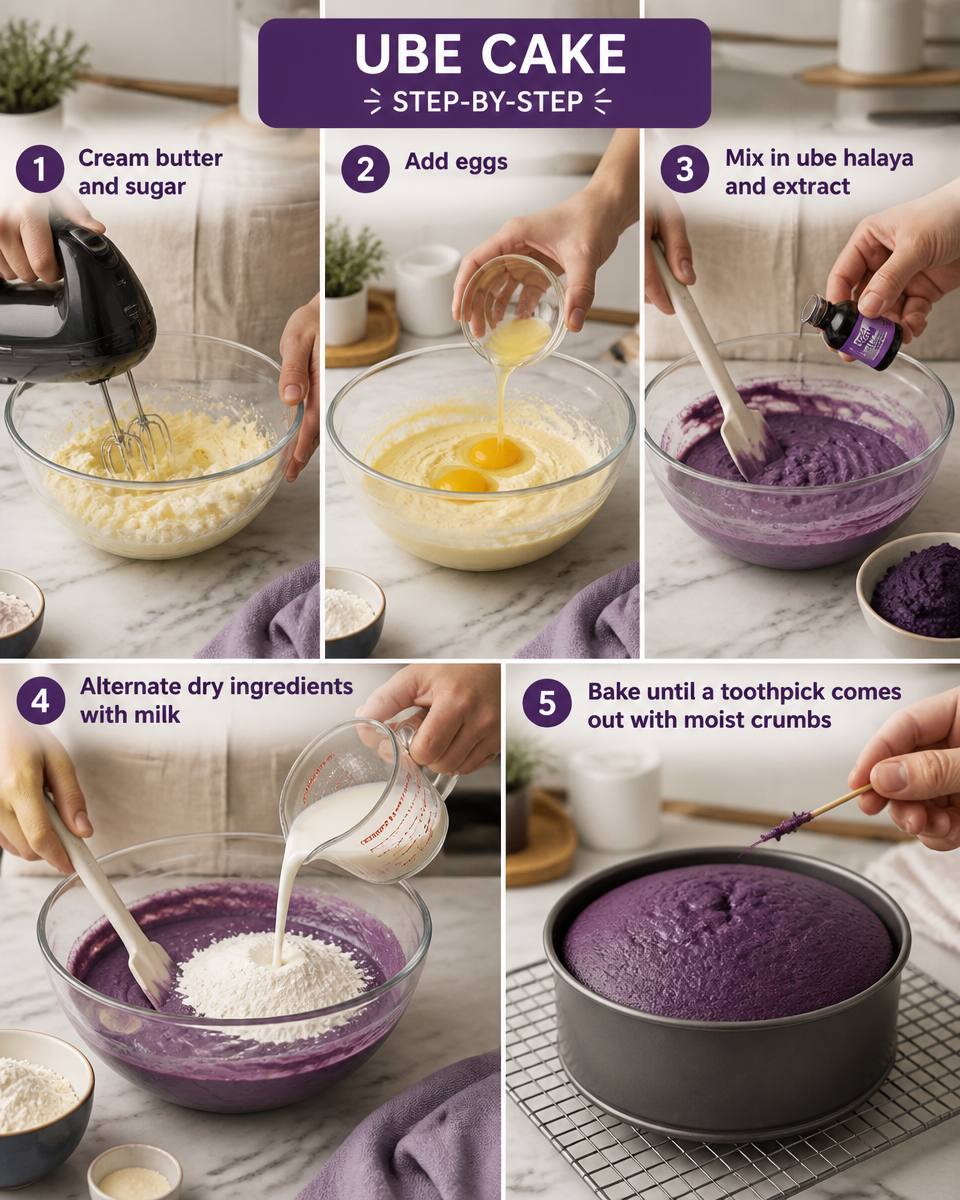
Basic method: cream butter and sugar, add eggs, mix in ube halaya and extract, then alternate dry ingredients with milk. Bake until a toothpick comes out with a few moist crumbs.
If you want the boxed mix shortcut
Boxed cake mix can still give you a delicious result, especially if you doctor it a bit. I’ve done this when I needed something fast for a last minute invite.
My quick upgrade tips:
- Swap water for milk or coconut milk
- Add a spoonful of ube halaya for real flavor
- Add 1 extra egg for a slightly richer bite
- Use a little ube extract so it smells like ube the moment you open the oven
If you’re in a “minimal ingredients” season, you might enjoy browsing simple desserts like this 3 ingredient peach cobbler dump cake for those days when you want sweet with almost zero effort.
Baking tips
Okay, here’s the stuff I wish someone told me the first time I made ube cake. These are small things, but they make a big difference.
1. Don’t overmix the batter. Once the flour goes in, mix just until you don’t see dry streaks. Overmixing is the fastest way to lose that soft texture.
2. Use room temp ingredients. Especially butter, eggs, and milk. It helps everything blend smoothly so the cake bakes evenly.
3. Watch the oven, not the clock. Ovens vary a lot. Start checking a few minutes early. When a toothpick comes out mostly clean, pull it.
4. Let it cool fully before frosting. I know it’s hard to wait. But warm cake plus frosting equals sliding, melting mess. Still tasty, just messy.
5. Pick your frosting based on your mood. Cream cheese frosting gives a tangy balance. Whipped cream is lighter. Buttercream is classic and sweet.
By the way, if you’re into airy, light desserts, this 2 ingredient Japanese cheesecake is a fun one to try on a weekend. Totally different vibe, but still that soft, cloud like bite.
Ube Cake variations
This is where you can make the recipe feel like yours. I’ve played around a lot, especially when I’m baking for different people or different occasions. And honestly, ube is friendly. It pairs well with so many flavors.
Here are a few variations I actually make:
Macapuno version: Fold in sweet macapuno strings (coconut sport) into the frosting or between layers. It adds chew and a subtle coconut sweetness.
Coconut milk swap: Replace regular milk with coconut milk for a warmer, tropical feel. I do this when I want the cake to taste extra cozy.
Layer cake vs sheet cake: If you want something party ready, bake two layers. If you want easy slicing and less decorating stress, do a 9×13 sheet.
Mini cupcakes: Great for sharing. Bake them until the tops spring back when lightly touched. Frost with a simple swirl.
Cheesecake style topping: A thin cream cheese layer or tangy frosting makes the ube pop more. If you love sweet and creamy snacks, you might like these air fryer cherry cheesecake egg rolls too, especially for parties.

Serving and storage
This cake is one of those desserts that works in a lot of situations. Coffee in the morning, treat after dinner, or something pretty for birthdays. I usually keep the sweetness moderate so it doesn’t feel heavy.
How I like to serve it
- With hot coffee or strong tea
- With fresh berries for a tart contrast
- With toasted coconut sprinkled on top
- With a scoop of vanilla ice cream if you want it extra cozy
If you’re serving a dessert table and want something simple on the side, these 4 ingredient cake mix peanut butter soft cookies are super easy and always disappear fast.
Storage tips that actually help
Room temperature: If it’s unfrosted, you can keep it tightly covered for about 2 days. I like using a cake dome or wrapping it well so it doesn’t dry out.
Refrigerator: If it’s frosted with cream cheese or whipped frosting, store it in the fridge. It’ll keep about 4 to 5 days. Let slices sit out for 15 minutes before eating so the texture softens again.
Freezer: You can freeze slices. Wrap each slice in plastic wrap, then put them in a freezer bag. Thaw in the fridge overnight. It’s such a nice little future treat.
One more thing: ube flavor tends to deepen after a day, so leftover ube cake is honestly a win. Sometimes I like it even more on day two.
Common Questions
1. What does ube taste like?
It’s mildly sweet and earthy, kind of like vanilla with a nutty, mellow vibe. It’s not overpowering, just really comforting.
2. Can I make this without ube halaya?
Yes, but it’ll taste lighter. Use ube extract for flavor, and consider adding a little coconut milk to round it out.
3. Why is my cake not very purple?
Ube halaya varies in color. Some are more brownish purple. A few drops of ube extract usually fixes the color fast.
4. Can I bake it in a bundt pan?
You can. Just grease it really well and bake longer. Start checking around 45 minutes, but it may take closer to an hour depending on your pan.
5. What frosting is best?
Cream cheese frosting is my favorite because it balances sweetness. If you want it lighter, whipped cream frosting is great too.
A sweet final note before you bake
If you’ve been craving something fun and different, ube cake is such a rewarding bake. Keep it simple, lean on the ube halaya and extract, and don’t stress if it’s not picture perfect because it’ll still taste amazing. If you want to compare other home baker takes, I’ve learned a lot from this recipe for Ube Cake (Filipino Purple Yam Cake) – The Unlikely Baker, and this one is also super helpful when you want extra tips on texture and add ins: Ube Cake (Filipino Purple Yam Cake w/ Macapuno) – Hungry Huy. Bake it once, and I really think it’ll become one of those recipes you keep in your back pocket for celebrations and random cravings.
Ube Cake
Ingredients
Method
- Preheat your oven to 350°F (175°C).
- In a large bowl, cream together the softened butter and sugar until light and fluffy.
- Add eggs one at a time, mixing well after each addition.
- Mix in the ube halaya and ube extract.
- In a separate bowl, whisk together the flour, baking powder, and salt.
- Gradually add the dry ingredients to the wet mixture, alternating with milk, starting and ending with the flour.
- Pour the batter into a prepared cake pan.
- Bake for about 30 minutes, or until a toothpick inserted in the center comes out clean.
- Let the cake cool completely before frosting.
- Frost with your choice of frosting, such as cream cheese, whipped cream, or buttercream.
Notes