


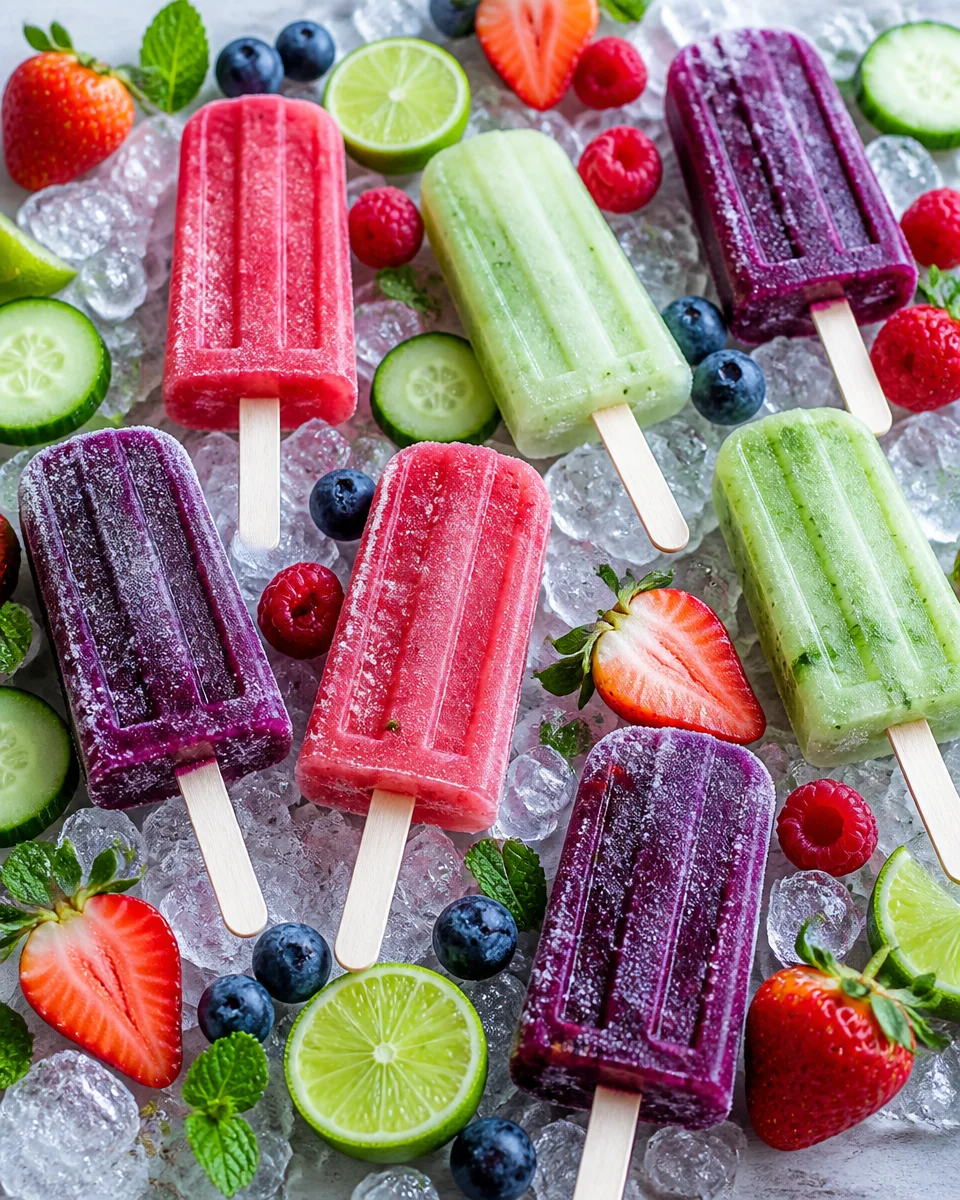
Homemade Fruit Popsicles are my go to fix for those afternoons when it is hot, everyone is snacky, and I do not want to turn it into a whole kitchen project. I used to buy the store ones, but half the time they tasted like straight sugar and mystery flavor. Once I started making them at home, I realized how easy it is to keep them fruity, bright, and actually refreshing. Plus, you can use up fruit that is a little too ripe for a pretty fruit bowl. If you have kids, this is also a sneaky way to get more fruit in without a single complaint.
The Story Behind This Recipe
Here’s why I love this Homemade Fruit Popsicles: it bakes up beautifully and it tastes like a bakery treat. Homemade Fruit Popsicles are my go to fix for those afternoons when it is hot, everyone is snacky, and I do not want to turn it…
Why Youll Love These Homemade Fruit Popsicles
There are a lot of reasons I keep a batch of Homemade Fruit Popsicles in my freezer all summer long. They feel like a treat, but they are basically a smoothie on a stick. And because you control what goes in, you can make them as light or as creamy as you want.
Here is what makes them a repeat recipe for me:
- They are customizable, so you can work with whatever fruit you have.
- No weird ingredients, just fruit, yogurt or juice, and a little sweetener if needed.
- Budget friendly, especially when you use seasonal fruit.
- Great for snack time, dessert, and even a quick breakfast on a rushed morning.
I also love how these fit into a bigger spread when friends come over. If you are doing a little dessert board situation, I sometimes add something chocolatey too, like these 3-ingredient homemade Mounds bars. Cold fruity pops plus coconut chocolate is honestly a perfect combo.
Homemade Fruit Popsicles: Ingredients for different Varieties
Think of this section like a build your own guide. You can make Homemade Fruit Popsicles with a simple base, then mix and match flavors depending on what you are craving. I will share my favorite options, but do not stress about exact amounts. Popsicles are forgiving.
The basic formula I use
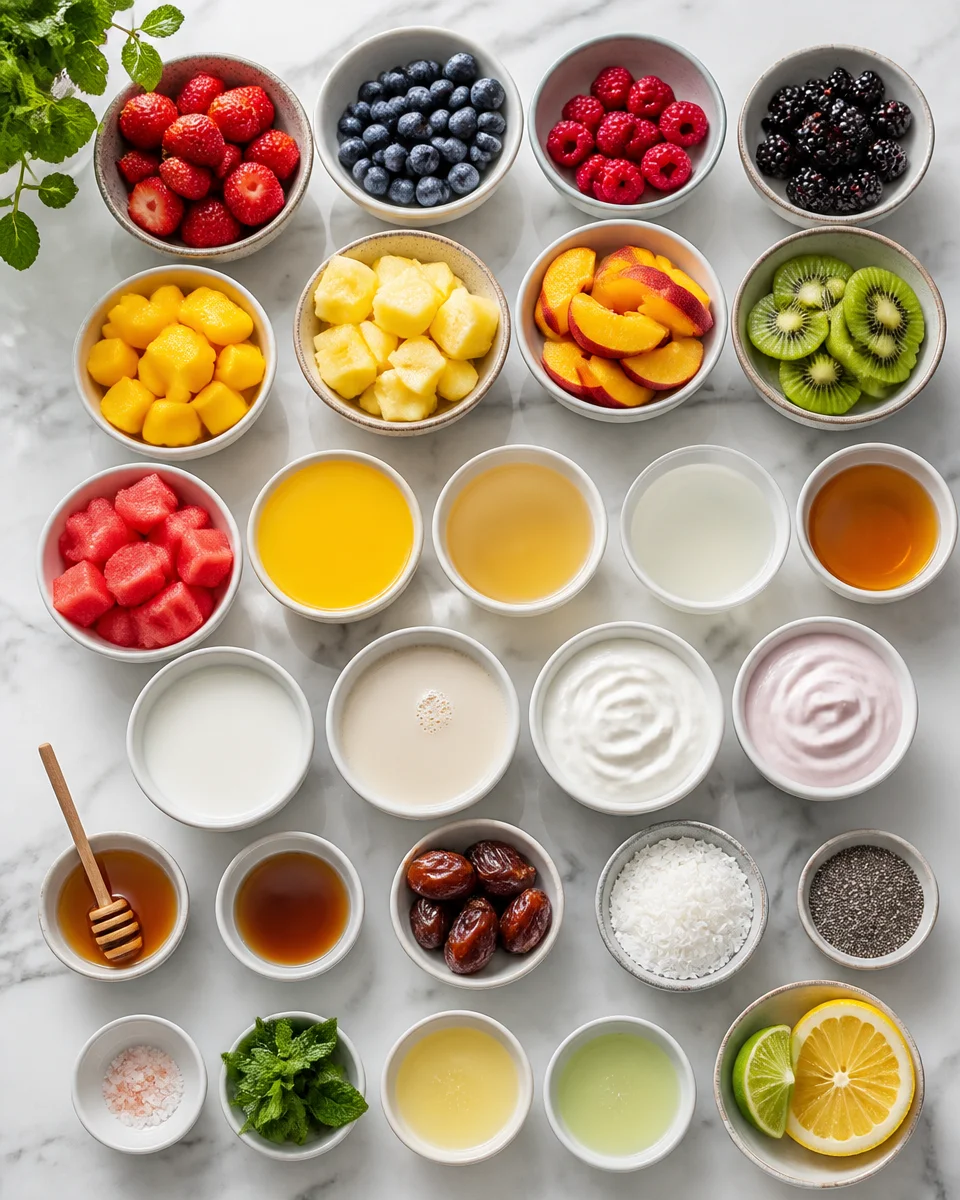
Pick one from each category and you are basically set.
- Fruit: fresh or frozen berries, mango, pineapple, peaches, kiwi, watermelon, banana
- Liquid: orange juice, apple juice, coconut water, milk, or oat milk
- Creamy option: plain yogurt, vanilla yogurt, or canned coconut milk
- Sweetener (optional): honey, maple syrup, or a couple of dates
- Extras: lemon or lime juice, chia seeds, shredded coconut, a pinch of salt, fresh mint
Fruit tip from my kitchen: if your fruit is super ripe, you will probably not need extra sweetener. Taste the blend first, then decide. Also, a tiny squeeze of lemon can make berry flavors pop without making things sour.
If you are using stone fruit like peaches or apricots, this is the time of year I am also baking simple cakes. I make this apricot fruit cake when I want something cozy to go with a cold treat later.
Quick freezer reality check: these freeze harder than store pops because there are fewer additives. That is normal. Let them sit on the counter for a minute or two before unmolding, and they will be perfect.
“I made these with strawberry and yogurt, and my kids thought they were from an ice cream shop. I love that I know exactly what is in them. Definitely making again.”
How to Make Homemade Popsicles
This is the part that surprises people. Homemade Fruit Popsicles look cute and fancy, but the process is basically blend, pour, freeze. Here is how I do it in my own kitchen, with the little steps that make it smoother.
Simple step by step directions
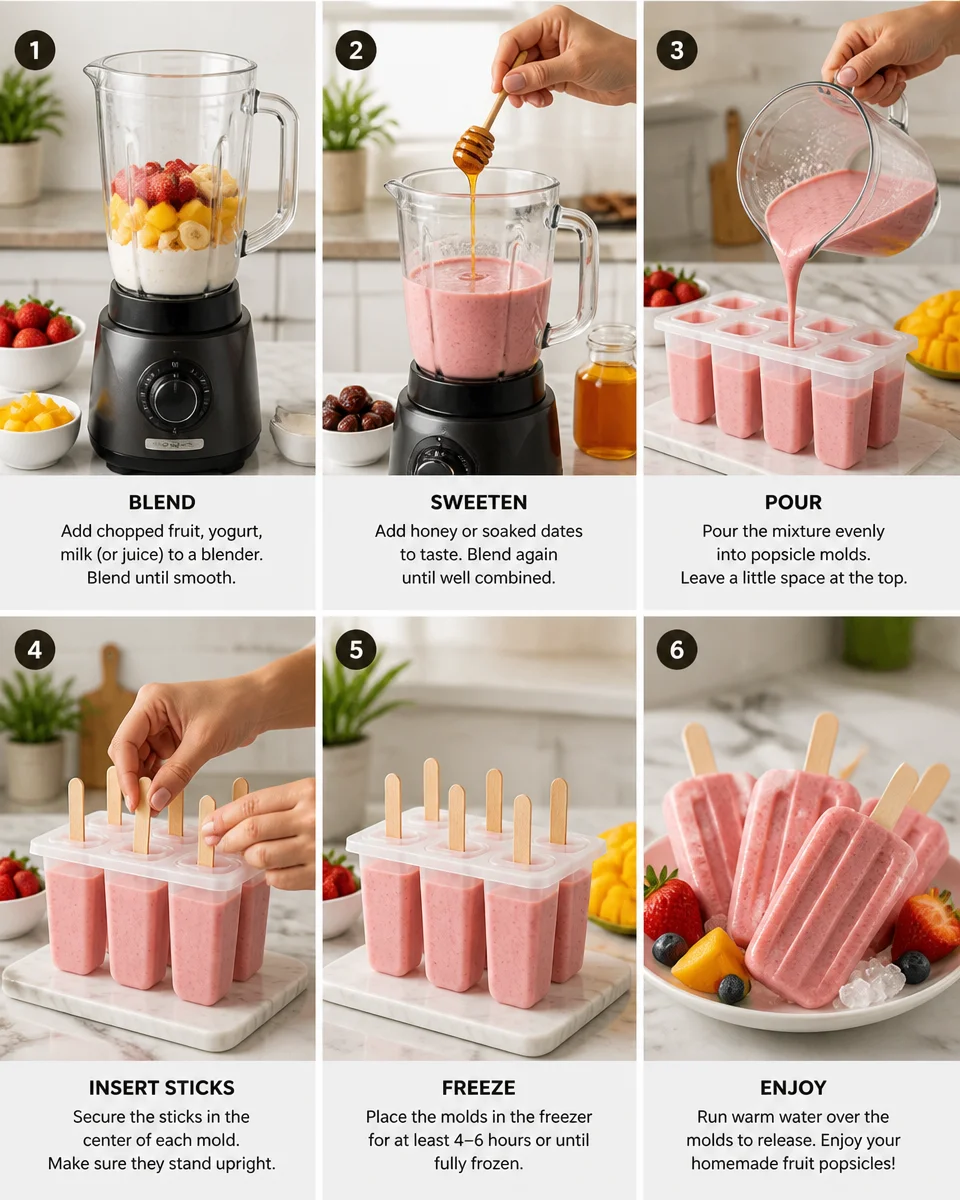
- Blend your mix: Add fruit plus your liquid and any yogurt to a blender. Blend until smooth, or leave it a little chunky if you like texture.
- Taste it: This is your one chance to adjust sweetness. Add honey or a date if the fruit is not sweet enough.
- Pour into molds: Leave a tiny bit of space at the top because the mixture expands as it freezes.
- Add sticks: If your mold has built in sticks, great. If not, cover with foil and poke sticks through so they stay upright.
- Freeze: Aim for at least 6 hours, but overnight is easiest.
Unmolding tip that saves my patience: run the outside of the mold under warm water for 10 to 20 seconds, then gently wiggle. Do not yank. If one is stubborn, give it a little more warm water and try again.
Sometimes I serve these after dinner with a bowl of something creamy and fun on the table too, like this easy cheesecake fruit salad. It is a nice option for people who want a spoon dessert while everyone else grabs a popsicle.
Four different flavors
If you are not sure where to start, these four are the ones I make the most. They are easy, they freeze well, and they taste like actual fruit instead of perfume.
1) Strawberry Banana Cream
Blend strawberries, a banana, and plain or vanilla yogurt. Add a tiny splash of milk if it is too thick. This one is super kid friendly and feels like a milkshake pop.
2) Mango Lime Cooler
Blend mango with orange juice and a squeeze of lime. Add a pinch of salt if you want that tropical, popsicle stand vibe. This one is bright and refreshing.
3) Mixed Berry Lemon
Blend frozen mixed berries with apple juice and a squeeze of lemon. If you like texture, stir in a few whole berries after blending so you get little fruity bites.
4) Pineapple Coconut
Blend pineapple with canned coconut milk and a little honey if needed. This tastes like vacation. If you want to get fancy, sprinkle a bit of shredded coconut into the molds before pouring.
And if you want a tiny chocolate accent on the side, I keep a stash of these homemade Andes mints in the fridge. A cold mint after a fruity popsicle is surprisingly good.
Molds
You do not need special equipment, but the right mold does make life easier. I have tried a bunch over the years, mostly because I kept losing sticks or breaking cheap plastic ones.
Here is what I have learned:
Silicone molds are the easiest to unmold. They cost a little more, but they last and you do not have to wrestle with them.
Classic plastic molds work fine, especially the kind with a drip guard. If you use them, just do the warm water trick and be patient.
Paper cups are the budget hero. Pour the mixture into small paper cups, cover with foil, poke sticks through, and freeze. Then peel the cup away to serve.
Ice cube trays are great if you want mini pops. Use toothpicks for tiny versions, or just freeze cubes and blend them later into slushies.
One more practical note: if you are adding chunks of fruit, cut them small. Big pieces make the pops harder to bite and they can block the stick from sitting straight.
Common Questions
How long do Homemade Fruit Popsicles take to freeze?
Usually 6 to 8 hours, but overnight is the safest bet if you want them fully firm.
Can I make them without yogurt?
Yes. Use juice, coconut water, or a mix of juice and fruit. They will be more icy, but still tasty.
Why are my popsicles too hard?
That is common with homemade ones. A little yogurt, banana, or coconut milk makes them softer. Also let them sit at room temp for 1 to 2 minutes before eating.
How do I store them so they do not get freezer taste?
Once frozen, pop them out and store in a freezer bag or airtight container. I like to wrap them individually in parchment paper.
Can I use frozen fruit?
Absolutely. Frozen fruit is actually easier because it is already sweet and ripe. You may just need a splash more liquid to help it blend.
A sweet little freezer habit worth keeping
If you make one batch of Homemade Fruit Popsicles, you will probably end up making another, because they disappear fast. Keep it simple, taste the blend before freezing, and do not overthink the molds. If you want another helpful guide with more ideas, I have also enjoyed this resource: Homemade Fruit Popsicles – JoyFoodSunshine. Give your freezer a tiny glow up this week and try one fun flavor, then come back and tell me what combo you loved most.
Homemade Fruit Popsicles
Ingredients
Method
- Blend your mix: Add fruit, liquid, and yogurt to a blender. Blend until smooth, or leave a little chunky for texture.
- Taste it: Adjust sweetness by adding honey or a date if needed.
- Pour into molds: Leave a bit of space at the top for expansion during freezing.
- Add sticks: If your mold has built-in sticks, great. If not, cover with foil and poke sticks through to hold them upright.
- Freeze: Aim for at least 6 hours, but overnight is best for firmness.
- Run the outside of the mold under warm water for 10-20 seconds, then gently wiggle to remove the popsicle.