

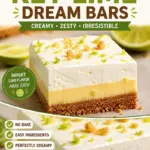
Key Lime Pie Bars with Buttery Graham Crust are my go to move when I want a dessert that feels sunny, creamy, and a little fancy, but I do not want to babysit a pie crust. You know those days when you need something reliable for a potluck, a birthday, or just a random Tuesday night sweet tooth? This is that recipe. The filling is smooth and tangy, the crust is crunchy and buttery, and the whole thing slices like a dream once it is chilled. If you have ever had key lime pie and thought, I love you but you are kind of a project, these bars are your answer. Also, they are the kind of treat that makes people ask for the recipe before they even finish chewing.
The Story Behind This Recipe
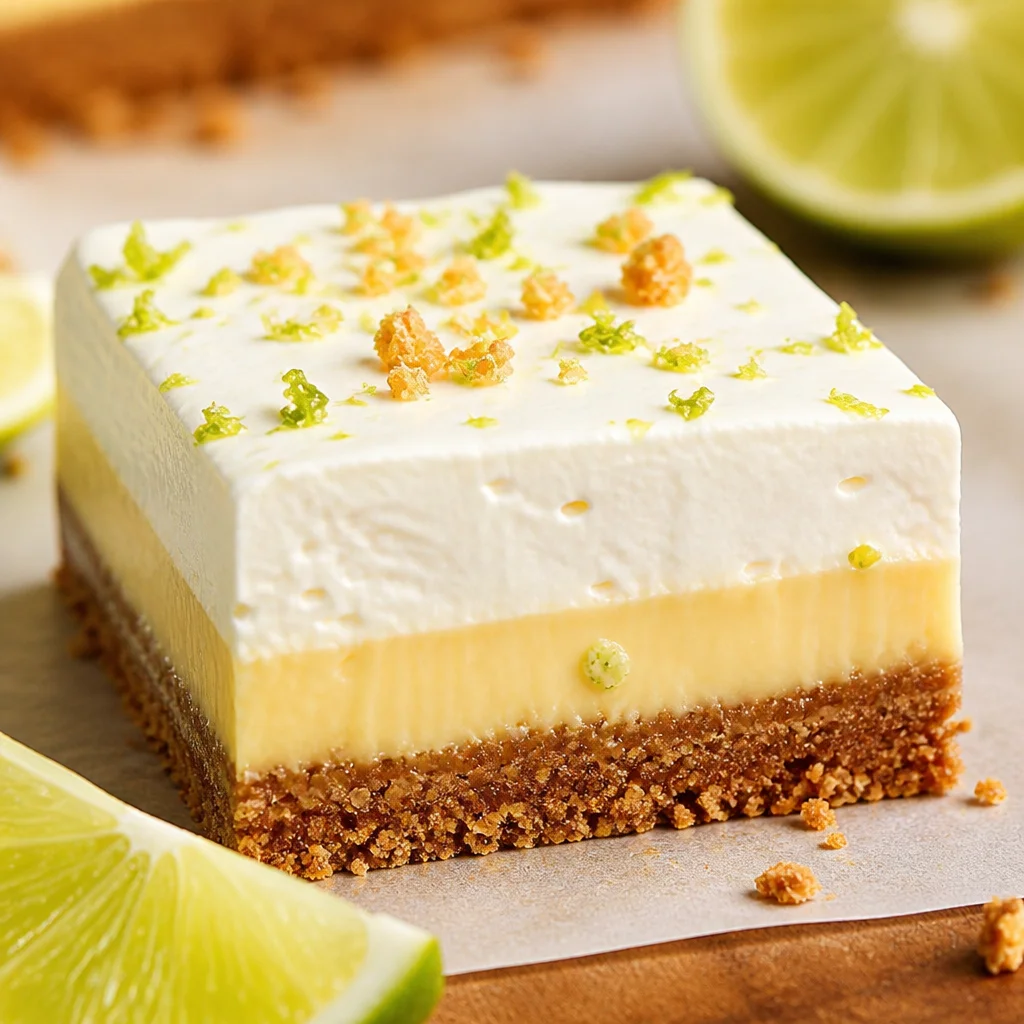
From my kitchen to yours—Key Lime Pie Bars with Buttery Graham Crust mixes everyday ingredients with bright flavor. Tested, tasted, and ready for your table. Key Lime Pie Bars with Buttery Graham Crust are my go to move when I want a dessert that feels sunny, creamy, and a little fancy,…
Why Youll Love These Key Lime Pie Squares
I started making these because I wanted that bright lime flavor without the stress of serving pie slices that fall apart. Bars are just easier. They travel well, they stack in the fridge, and they are super shareable.
Here is what makes them a repeat recipe in my kitchen:
- Big lime flavor without being sour or sharp
- Buttery graham crust that stays crisp if you bake it first
- Quick mixing since the filling is basically stir and pour
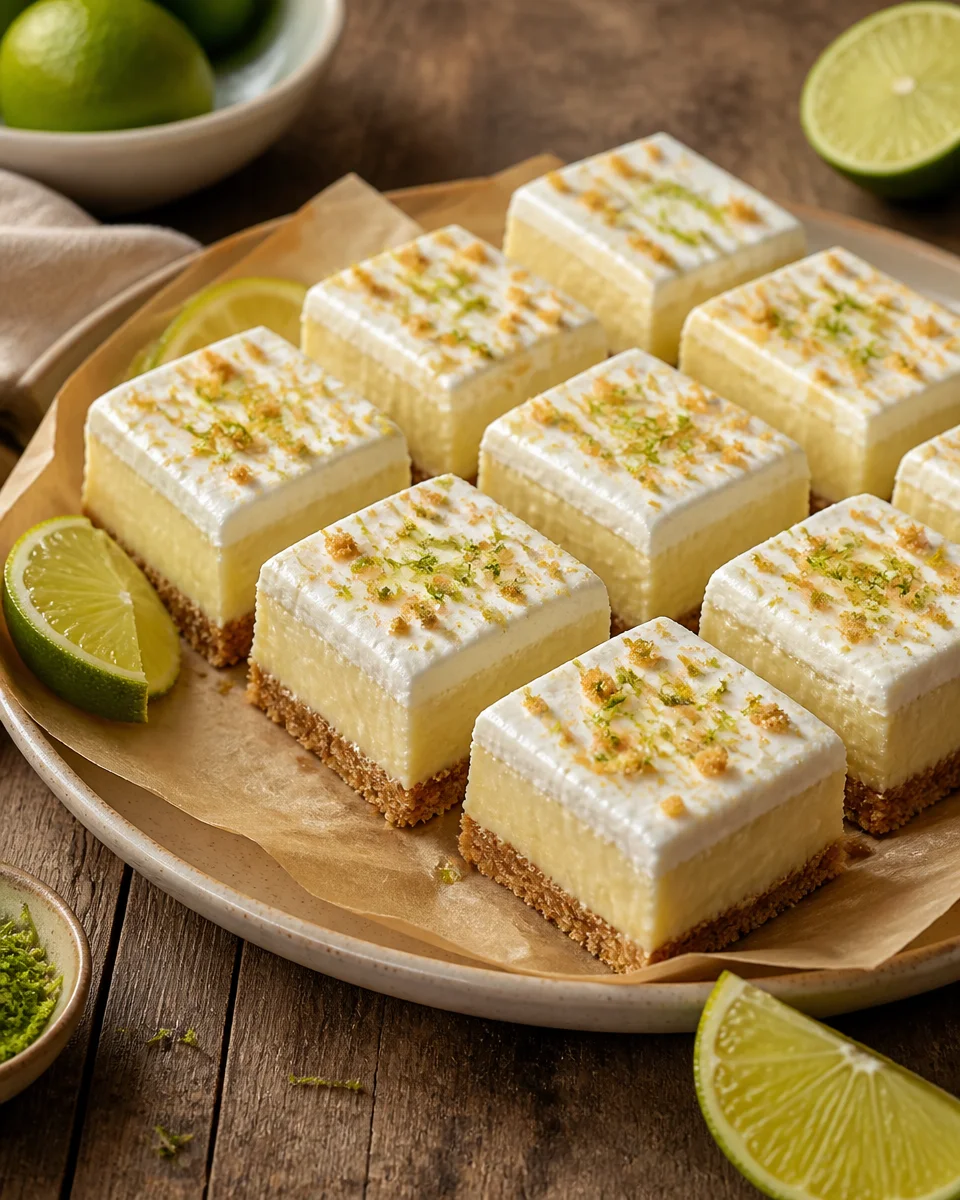
- Clean slices after chilling, so they look bakery pretty
- Perfect for crowds because you get a whole pan of treats
If you are into bar desserts in general, you might also like something chocolatey like buckeye bars for that peanut butter and chocolate combo. Different vibe, same satisfying grab and go energy.
How to make Key Lime Pie Bars
I am going to walk you through exactly how I do it at home, including the little pauses that make it turn out better. I promise it is simple. The biggest thing is giving the bars enough chill time, because that is when the magic texture happens.
Step by step directions
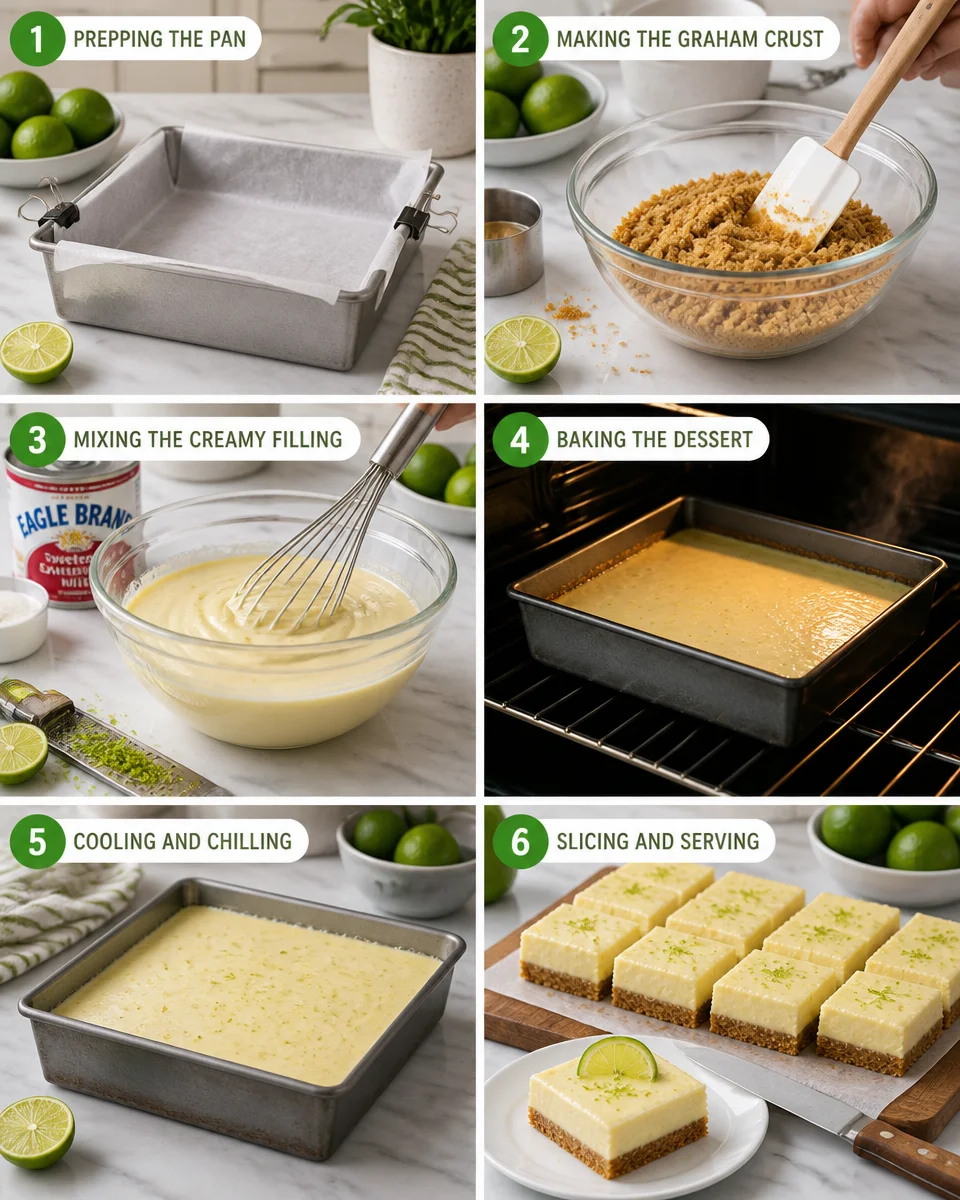
1) Prep your pan. Heat your oven to 350 F. Line an 8 by 8 inch pan with parchment paper so it hangs over the sides. This makes lifting the bars out so easy later.
2) Make the buttery graham crust. Stir together graham cracker crumbs, a little sugar, and melted butter. Press it firmly into the pan. I use the bottom of a measuring cup and really pack it in. Bake the crust for about 10 minutes. This helps it stay crisp under the filling.
3) Mix the filling. In a bowl, whisk sweetened condensed milk, plain Greek yogurt or sour cream, egg yolks, lime zest, and key lime juice. The mixture will thicken as you whisk, which is a good sign.
4) Bake. Pour the filling over the warm crust and bake around 15 to 18 minutes. You want the center to look set but still have a tiny wiggle if you gently shake the pan.
5) Cool, then chill. Let it cool on the counter, then refrigerate at least 3 hours, but overnight is even better if you can.
6) Slice and serve. Lift out using the parchment, cut with a sharp knife, and wipe the knife between cuts for clean edges. If you like, top with whipped cream and a little extra zest.
If you love citrus bars, I have a soft spot for this one too: lazy day lemon cream pie bars. It is the kind of recipe you make when you want something bright but super low effort.
Pro Tips for Producing Perfect Key Lime Pie Bars
I have made these enough times to learn what matters and what does not. Here are the tips that actually help, especially if you want that smooth filling and neat slices.
Use real key lime juice if you can. Bottled key lime juice works and is convenient, but if you can find fresh key limes, they taste a little more floral and punchy. Regular Persian limes also work great, so do not stress.
Do not skip baking the crust. It is tempting, but that quick bake keeps it from getting soggy. The buttery graham crust is part of the whole point.
Chill longer than you think. If you cut too early, the center can be a bit soft. Still delicious, but less tidy. Overnight chill makes your Key Lime Pie Bars slice like little perfect squares.
Zest before you juice. It is way easier to zest a whole lime than a squeezed one. I learned that the annoying way.
Watch the bake time. If you overbake, the filling can get a little dry. You are looking for set edges and a slightly jiggly center.
“I brought these to a family BBQ and everyone kept sneaking back for another piece. The crust stayed crisp and the filling was so creamy. I am officially banned from showing up without them now.”
Random but true: lime has so many uses outside baking too. When my throat feels scratchy, I have even tried a simple key lime sea salt gargle sore throat relief routine. Not dessert related, but it made me appreciate how useful limes are in the house.
Make Ahead and Storage Instructions
These bars are basically made for making ahead, which is one reason I love them for parties. The flavor gets even better after they sit and chill, and the texture firms up nicely.
Make ahead: You can bake the whole pan the day before. Cover it tightly and refrigerate overnight. Slice the next day for the cleanest edges.
Storage: Keep leftover Key Lime Pie Bars in an airtight container in the fridge. They stay great for about 4 to 5 days. The crust softens a tiny bit over time, but the flavor stays on point.
Freezing: Yes, you can freeze them. Slice first, then wrap each bar in plastic wrap and store in a freezer bag. Thaw in the fridge. They are actually pretty amazing eaten slightly chilly, almost like a creamy lime icebox treat.
If you are building a little dessert spread, something tropical like lime frosted coconut bars fits right in next to these. Lime and coconut together just makes sense.
Ingredients and Special Equipment
This is the part where I tell you what you need, and also what you can swap without ruining anything. I am not here to make your grocery list complicated.
What you will need
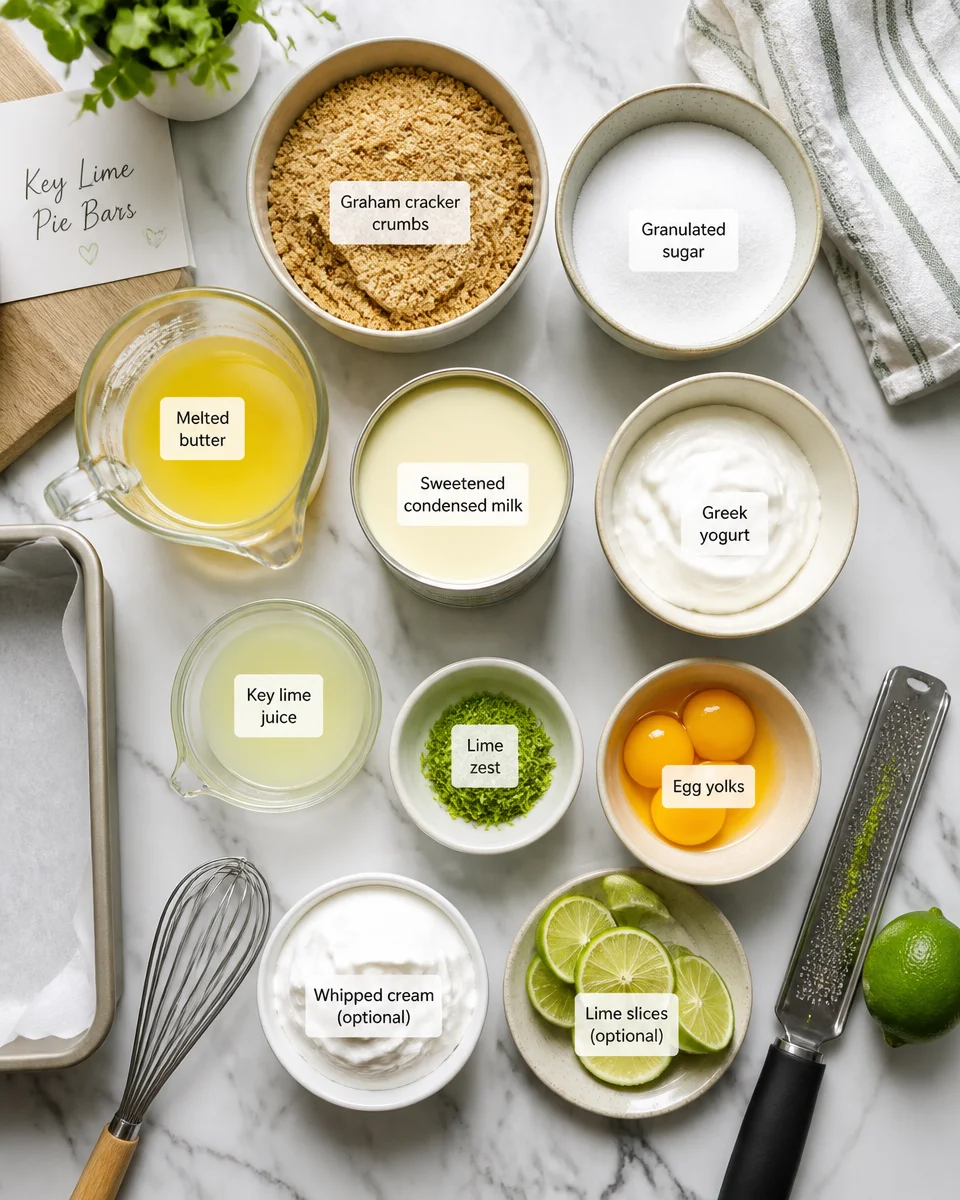
- Graham cracker crumbs for the crust
- Granulated sugar just a little for the crust
- Butter melted, this is where the buttery graham crust magic happens
- Sweetened condensed milk for creamy sweetness
- Greek yogurt or sour cream for a gentle tang and smooth texture
- Egg yolks to help the filling set
- Key lime juice or regular lime juice
- Lime zest for fresh flavor that pops
- Optional: whipped cream, extra zest, or thin lime slices for topping
Special equipment: An 8 by 8 inch baking pan, parchment paper, a microplane or fine grater for zest, and a citrus juicer if you have one. Nothing fancy.
And if you are the kind of person who loves trying new bar flavors, you should peek at lemon lime cherry pistachio cheesecake bars. It is a fun one when you want something different than classic citrus.
Common Questions
Can I use regular limes instead of key limes?
Yes. Regular limes work totally fine. The taste will be slightly less floral than key limes, but still bright and delicious.
How do I know when the filling is done baking?
The edges should look set, and the center should still have a small jiggle. It will firm up a lot as it cools and chills.
Why did my crust get soggy?
Usually it is from skipping the pre bake, not pressing the crumbs firmly enough, or storing the bars uncovered in the fridge. Bake the crust first and store airtight.
Can I double this recipe for a bigger crowd?
Yes, double it and use a 9 by 13 inch pan. The bake time may increase slightly, so just watch for that set edge and gentle jiggle in the center.
Do I have to use parchment paper?
You do not have to, but it makes lifting and slicing so much easier. If you skip it, grease the pan well and expect to serve straight from the dish.
A sweet little send off
If you make these Key Lime Pie Bars with Buttery Graham Crust, give them the chill time they deserve and you will be rewarded with creamy, tangy squares that disappear fast. I love how they feel classic but still fun, and how the buttery graham crust adds that cozy crunch. If you want to compare methods or see other reliable takes, I have bookmarked Easy Key Lime Pie Bars – Easy Recipe – Sally’s Baking Addiction and Easy Key Lime Pie Bars – Tastes Better From Scratch for extra tips. Now go grab some limes and make your fridge a happier place this week.
Key Lime Pie Bars
Ingredients
Method
- Preheat your oven to 350 F. Line an 8 by 8 inch pan with parchment paper so it hangs over the sides.
- In a bowl, stir together graham cracker crumbs, sugar, and melted butter. Press firmly into the pan and bake the crust for about 10 minutes.
- In a bowl, whisk sweetened condensed milk, Greek yogurt or sour cream, egg yolks, lime zest, and lime juice until the mixture thickens.
- Pour the filling over the warm crust and bake for 15 to 18 minutes until the center looks set but still has a tiny wiggle.
- Let cool on the counter, then refrigerate for at least 3 hours, or overnight for best results.
- Lift out using the parchment, cut with a sharp knife, and wipe the knife between cuts for clean edges. Serve with optional whipped cream and lime zest.