


BUTTERFINGER POKE CAKE is my go to plan when I need a dessert that feels fun, nostalgic, and basically impossible to mess up. You know those days when you promised to bring something sweet, but you do not want to fuss with layers and fancy frosting? This is that cake. It is soft, chilled, and full of little crunchy candy bits that make people go back for a second slice. I first made it for a family get together and it disappeared so fast I had to hide one piece in the fridge for myself. If you want a crowd pleaser that tastes like you tried way harder than you did, let me walk you through it. 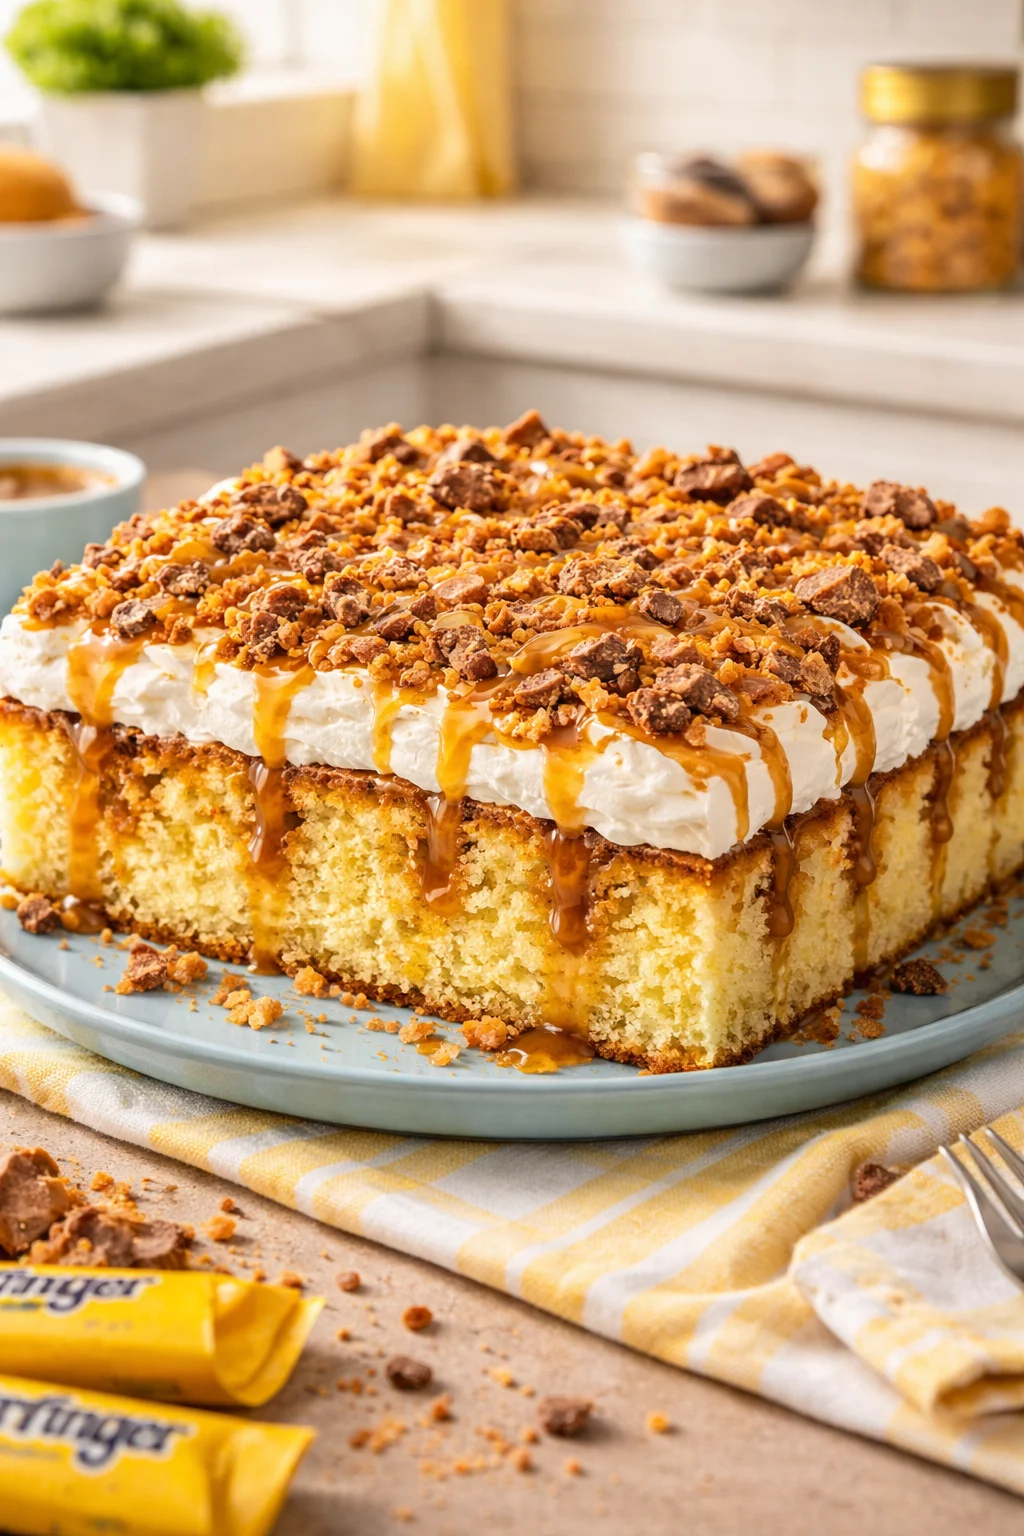
The Story Behind This Recipe
I’m Alexandraa, the cook behind this Butterfinger Poke Cake. On a rainy weekend, I dialed in the flavors so it’s easy and full of cozy vibes. BUTTERFINGER POKE CAKE is my go to plan when I need a dessert that feels fun, nostalgic, and basically impossible to mess up. You know those…
What is a Poke Cake?
A poke cake is exactly what it sounds like. You bake a cake in a pan, then poke holes all over the top while it is still warm. After that, you pour something creamy or syrupy over it so it sinks into the holes and flavors the whole cake from the inside out.
It is one of my favorite dessert tricks because it gives you that super moist texture without any complicated steps. The cake ends up tasting like it has a filling, even though you did not slice it or layer it. Plus, poke cakes are perfect for making ahead since they actually get better after a chill in the fridge.
If you are already in a poke cake mood, you might also like this fun twist I tried last spring, strawberry cheesecake poke cake. Totally different vibe, but the same easy method.
Why You’ll Love This Butterfinger Poke Cake Recipe
This is the kind of dessert that makes people ask for the recipe while they are still chewing. It hits that sweet spot between creamy and crunchy, and it is super forgiving if you are not a confident baker.
Here is why I keep coming back to this one:
- It is ridiculously easy, especially if you start with a cake mix.
- The texture is unreal since the sweet milk mixture soaks down into the cake.
- Butterfinger candy adds crunch so every bite has a little surprise.
- It feeds a crowd and travels well to potlucks and parties.
- It can be made the day before, which saves your sanity.
I also love that you can adjust it based on what you like. More candy on top, extra drizzle, thicker whipped topping, you name it. If you like candy bar desserts in general, you should peek at this mouthwatering german chocolate poke cake too. It has that rich, party style vibe.
“I made this for my kid’s birthday and adults were sneaking seconds. The cake stayed moist for days and the Butterfinger topping was the best part. This one is going in my permanent recipe stash.”
Butterfinger Cake Ingredients
Let us keep this simple and practical. I am giving you the classic, reliable lineup. You can always tweak later once you have made it once.
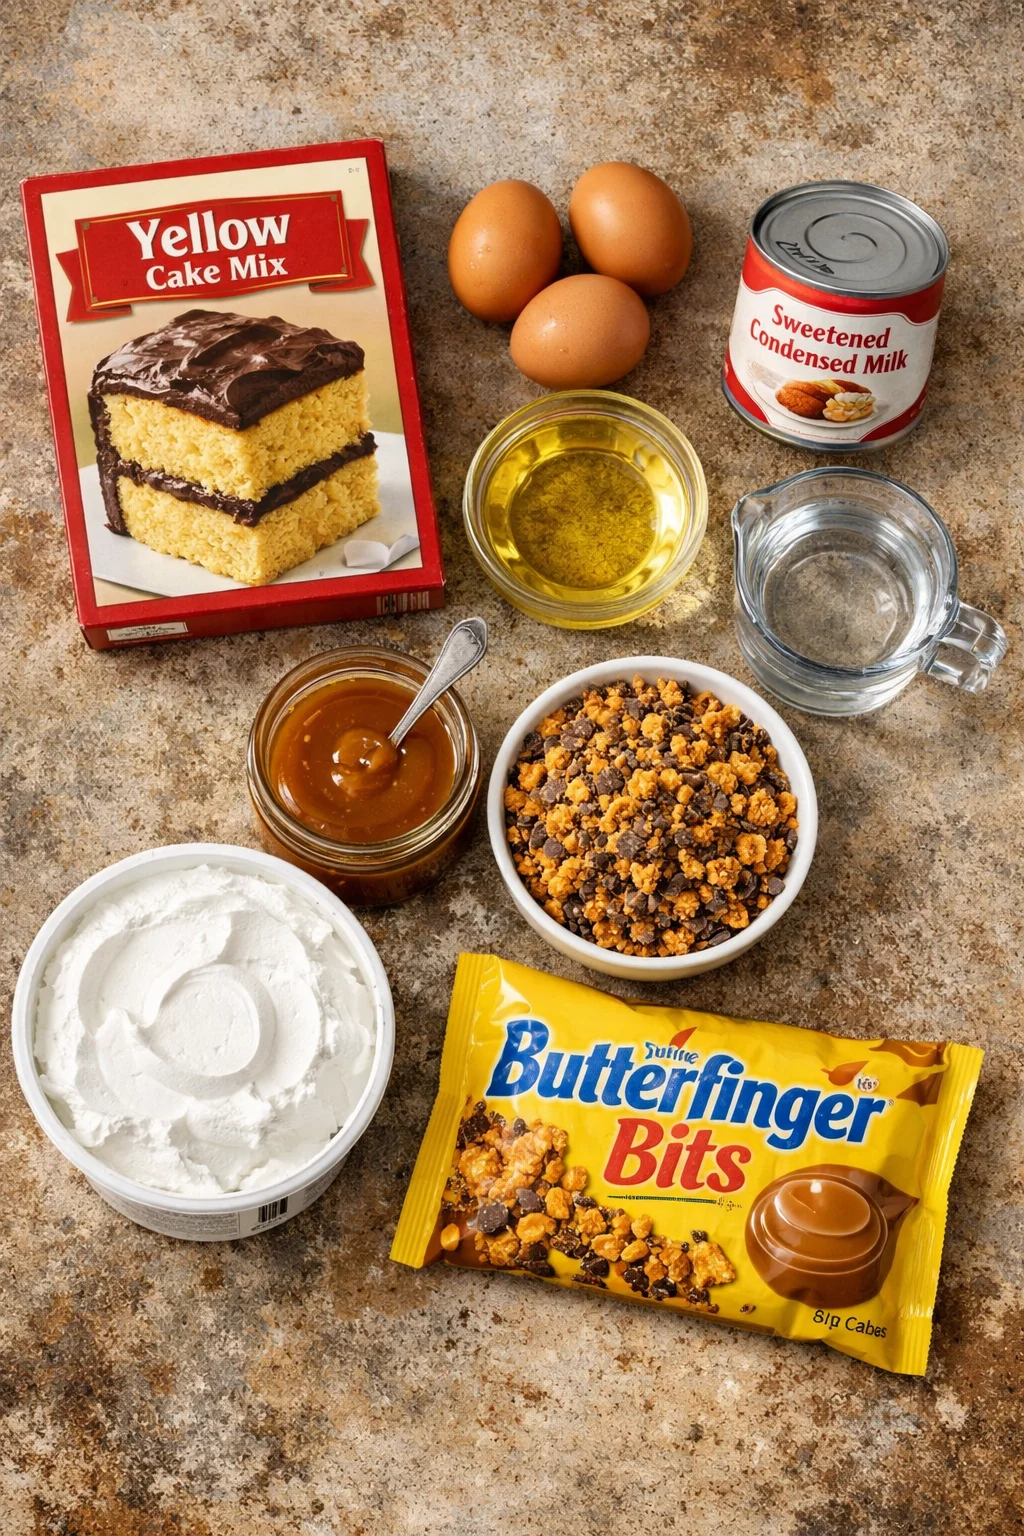
What you will need
- 1 box yellow cake mix (plus the eggs, oil, and water listed on the box)
- 1 can sweetened condensed milk
- 1 jar caramel sauce (ice cream topping style)
- 1 tub whipped topping, thawed
- 4 to 6 Butterfinger bars, crushed (or a bag of Butterfinger bits)
- Optional: a pinch of salt to balance the sweetness
A quick ingredient tip from my kitchen: when you crush the Butterfingers, do not turn them into dust. You want a mix of small bits and slightly bigger chunks so you get that crunchy bite. I usually put the bars in a zip top bag and tap them with a rolling pin.
And if you are the kind of person who loves cake shortcuts, you might also like this cozy little recipe for 3 ingredient peach cobbler dump cake. It is a totally different dessert, but it gives the same easy win feeling.
How to Make a Butterfinger Cake
This is where it gets fun. You bake, you poke, you pour, and then you chill. That is pretty much the whole story.
Step by step directions
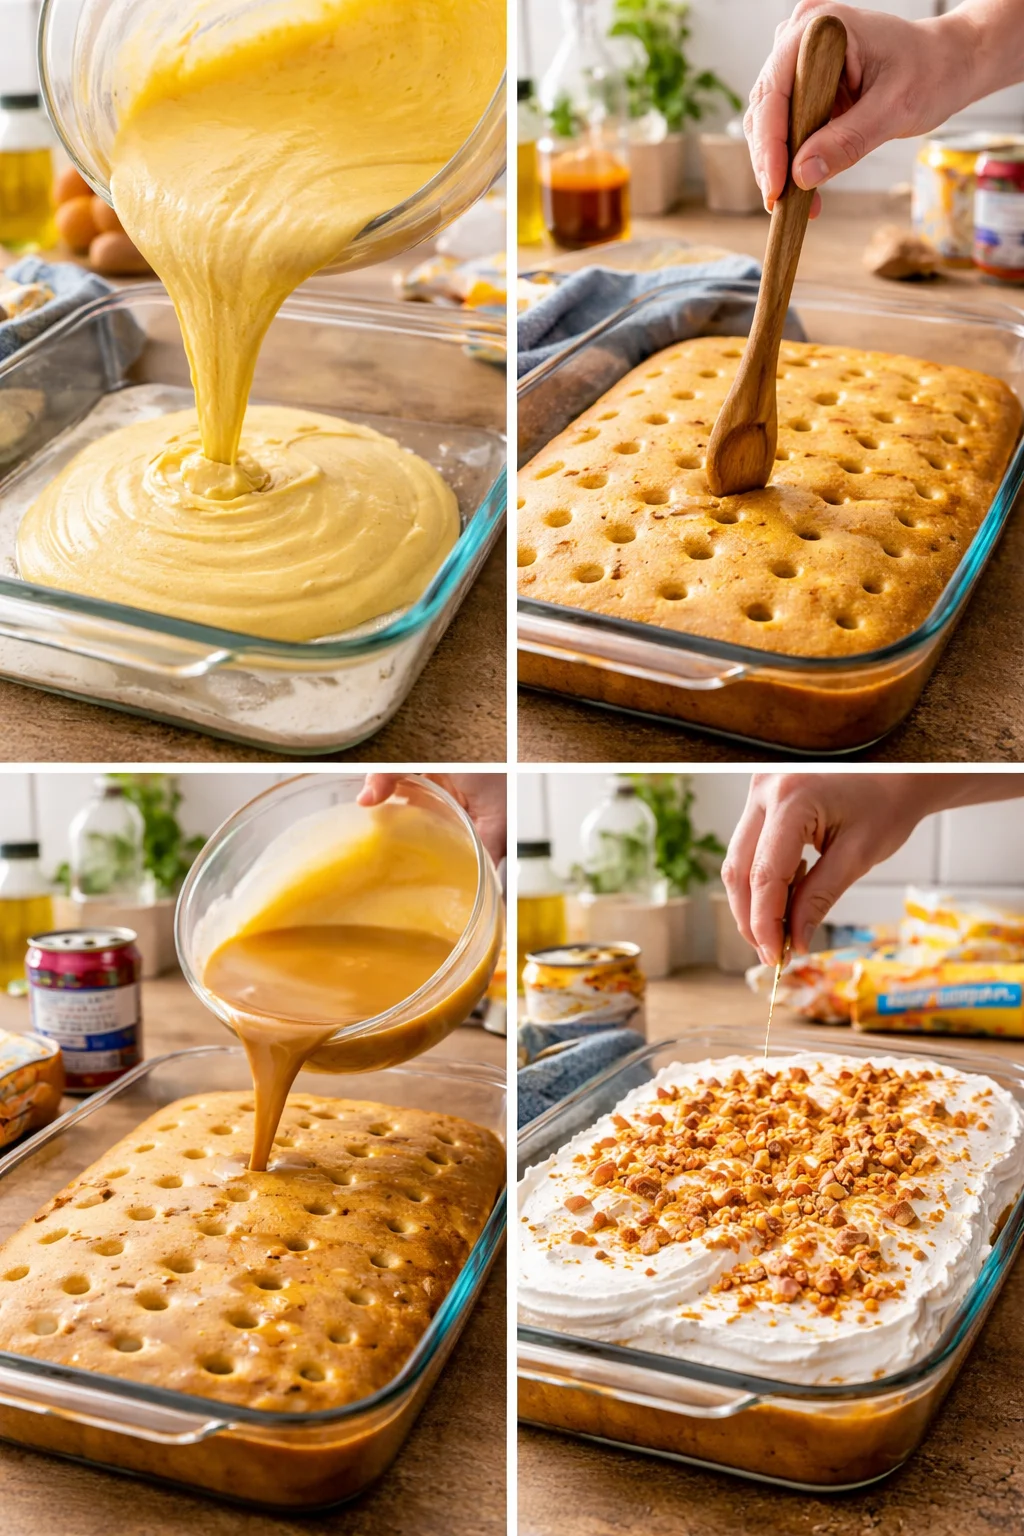
1. Bake the cake. Prepare the yellow cake mix according to the box directions. Pour into a greased 9×13 pan and bake until a toothpick comes out clean. Let it sit for about 10 minutes so it is warm but not crazy hot.
2. Poke holes all over. Use the handle of a wooden spoon or a thick straw. Poke evenly across the entire cake, going almost to the bottom. Do not be shy, those holes are where the good stuff goes.
3. Mix and pour the filling. Stir together the sweetened condensed milk and about half of the caramel sauce. Slowly pour it over the warm cake, aiming for the holes so it sinks in. Take your time so it does not pool only in one spot.
4. Chill it. Cover the pan and refrigerate at least 3 hours. Overnight is even better, and this is one reason BUTTERFINGER POKE CAKE is so great for parties.
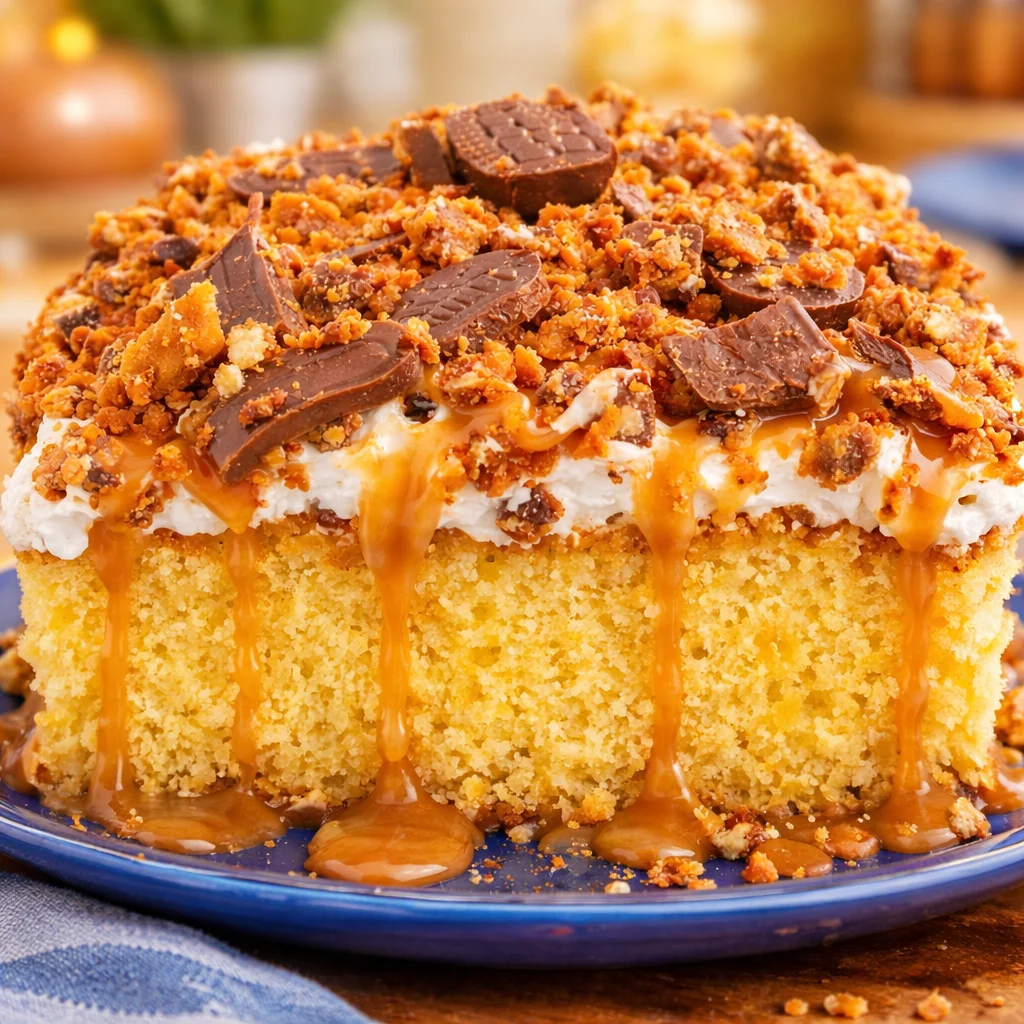
5. Add topping and candy. Spread whipped topping over the chilled cake. Drizzle more caramel sauce on top, then sprinkle the crushed Butterfinger all over. If you want extra crunch, add a little more candy right before serving.
Small but important tips I learned the hard way:
Do not rush the chill time. If you cut into it too early, the filling has not settled and your slices look messy. It will still taste good, but patience makes it prettier.
Save some candy for later. Butterfinger bits can soften in the fridge after a day. It is not a deal breaker, but adding a fresh sprinkle right before serving makes it pop.
Use a sharp knife and wipe between cuts. It helps you get clean slices through the whipped topping layer.
If you want another candy and cream style dessert, I have also made this chocolate mint poke cake when I needed something cool and minty for summer. Different flavor, same make ahead magic.
How to Store This Recipe for Butterfinger Cake
This cake is a fridge dessert, plain and simple. Because of the milk mixture and whipped topping, it needs to stay cold.
Storage and make ahead tips
In the fridge: Cover the pan tightly and refrigerate. It stays tasty for about 4 days. The cake stays moist, and the flavors actually blend even more by day two.
To keep the topping nice: If you know you will have leftovers for a few days, consider storing extra crushed Butterfinger separately and sprinkling it on each slice when serving.
In the freezer: You can freeze it, but I recommend freezing individual slices. Wrap each slice well, then place in a freezer bag. Thaw in the fridge overnight. The texture stays good, but the candy topping will be softer, so again, a fresh sprinkle helps.
For parties: I often make BUTTERFINGER POKE CAKE the night before, then add a final caramel drizzle and a little extra crushed candy right before it hits the table. People think you just made it.
Common Questions
Can I use chocolate cake mix instead of yellow?
Yes, and it is delicious. Yellow cake gives that classic caramel candy bar flavor, but chocolate turns it into more of a candy shop style dessert.
Do I have to use sweetened condensed milk?
For the classic texture, yes. It is thick and sweet and it soaks in perfectly. If you swap it, the cake will not have the same rich, gooey middle.
What is the best way to crush Butterfingers?
A zip top bag plus a rolling pin is easiest. Aim for chunks, not powder, so you get crunch.
Can I make it less sweet?
You can use a little less caramel sauce in the filling mixture and add a pinch of salt. Also, do not overdo the caramel drizzle on top.
How far ahead can I make it?
One day ahead is perfect. Two days is still great. After that, it is still good but the candy topping softens more.
A sweet little final note before you bake
If you are craving something easy, crunchy, and totally comforting, BUTTERFINGER POKE CAKE is the dessert I would bet on every time. It is simple enough for a weeknight, but it still feels special on a party table. If you want to compare versions or pick up extra tips, I have leaned on Butterfinger Poke Cake – Southern Plate and also enjoyed the details in Butterfinger Poke Cake – Fresh April Flours. Now grab a spoon, poke those holes, and let the fridge do the hard work. You are going to love that first cold, creamy, crunchy bite.
Butterfinger Poke Cake
Ingredients
Method
- Preheat the oven and prepare the yellow cake mix according to the box directions. Pour into a greased 9×13 pan and bake until a toothpick comes out clean.
- Let the cake sit for about 10 minutes until warm but not hot.
- Use the handle of a wooden spoon or a thick straw to poke holes all over the cake evenly.
- Stir together the sweetened condensed milk and about half of the caramel sauce. Slowly pour it over the warm cake, aiming for the holes.
- Cover the pan and refrigerate for at least 3 hours, preferably overnight.
- Spread whipped topping over the chilled cake. Drizzle more caramel sauce on top, then sprinkle crushed Butterfinger all over the cake.
- For extra crunch, consider adding more candy right before serving.