


Boston Cream Pie Cookie Cups are my answer to those nights when you want something fun and bakery cute, but you do not want to make a whole layer cake and wash a mountain of dishes. I started making these after one too many times slicing a Boston cream pie and watching the filling squish out the sides. Cookie cups fix that because the “slice” is already portioned and the custard stays put. Plus, everyone gets their own little cup with shiny chocolate on top, which feels kind of fancy even if you are in sweatpants. If you have a muffin pan and about an hour, you can totally pull these off. 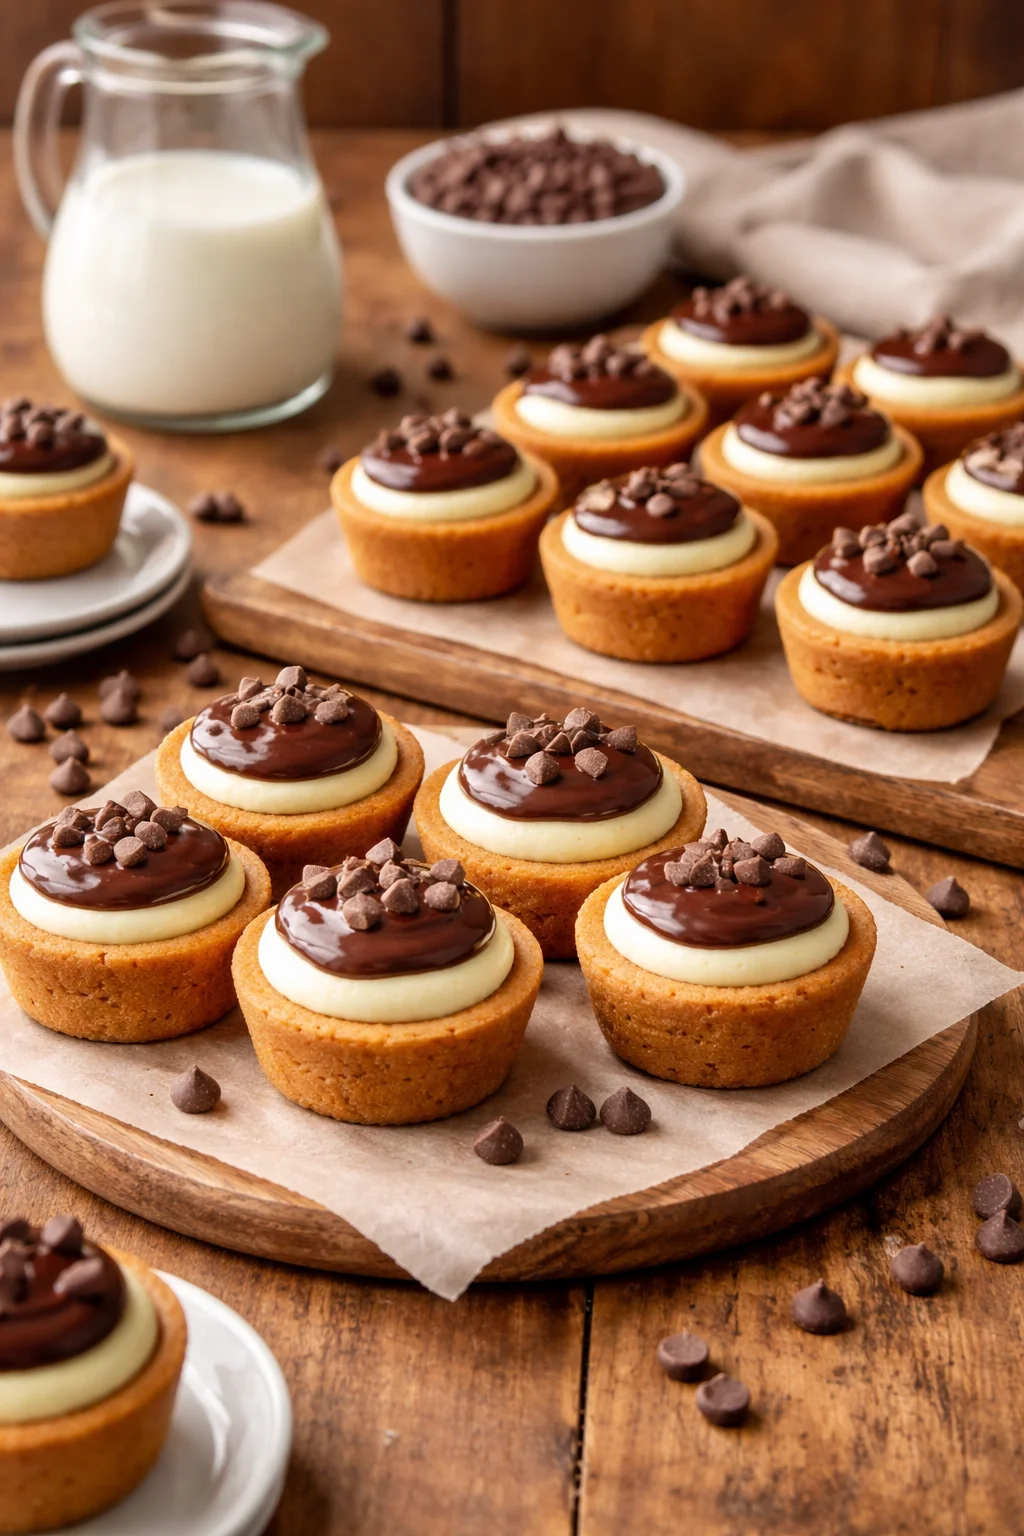
The Story Behind This Recipe
From my kitchen to yours—Boston Cream Pie Cookie Cups mixes classic comfort with bright flavor. Tested, tasted, and ready for your table. Boston Cream Pie Cookie Cups are my answer to those nights when you want something fun and bakery cute, but you do not want to make…
How to Make Boston Cream Pie Cookies
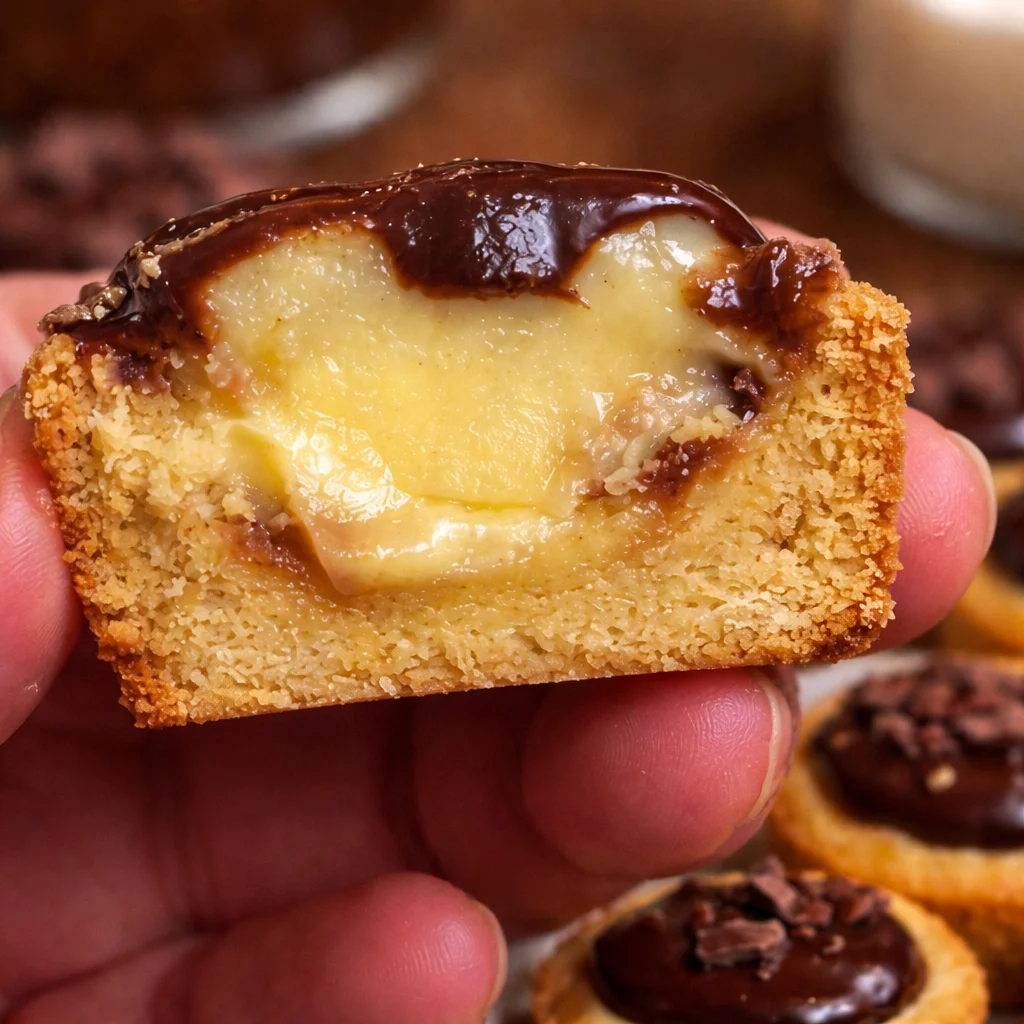
Let me walk you through how I make these in my own kitchen, with the little tricks I wish someone told me the first time. The goal is simple: a soft cookie cup, a thick vanilla cream center, and a chocolate topping that sets like a soft glaze.
What you will need
- Muffin pan or cupcake pan
- Cooking spray or liners (spray works best for shaping)
- Small spoon and a teaspoon measure for pressing centers
- Mixing bowls
- Whisk for pudding
Quick steps (my no stress method)
- Bake the cookie cups until the edges look set and lightly golden.
- Press the centers while they are hot to make a “cup” shape.
- Cool completely before adding the vanilla cream.
- Spoon in the filling, then top with chocolate.
- Chill briefly so the tops look neat and the filling firms up.
Here is the biggest tip: press the centers right after they come out of the oven. I use the back of a rounded teaspoon. If you wait even 5 minutes, the cookies firm up and will crack instead of shaping smoothly. If one cracks anyway, do not panic. Once you fill it, nobody will notice. The custard is basically cookie cup spackle.
Also, do not overbake. You want soft cups, not crunchy ones. The centers will look a little underdone when you pull them out, and that is perfect. They keep cooking from the pan heat.
If you are into cookie cup desserts in general, you might also like these bright and tangy mouthwatering lemon bar cookie cups. Totally different vibe, but the same cute handheld idea.
Boston Cream Pie Cake Mix Cookie Dough
I love making the cookie base with cake mix because it is fast, consistent, and honestly pretty foolproof. This is the part that makes Boston Cream Pie Cookie Cups feel doable on a random weeknight.
Here is my go to cookie cup dough setup. It gives you that soft, cakey cookie texture that feels like the “cake” part of a Boston cream pie.
- 1 box yellow cake mix
- 2 large eggs
- 1/3 cup oil (vegetable or canola)
- 1 teaspoon vanilla extract (optional but so good)
Mix it until you have a thick dough. It will be sturdier than typical cookie dough and that is what you want. Scoop it into a greased muffin pan. I usually do about 1 and a half tablespoons per cup, but you can eyeball it. The key is leaving enough room for the center to be pressed down without the dough spilling over the edges.
Bake at 350°F until the edges look set. In my oven it is usually around 10 to 12 minutes, but your muffin pan and oven may vary. You are looking for set edges and a soft center.
Once they are out, press the centers gently to create that cup. Let them cool in the pan for about 10 minutes, then carefully lift them out and finish cooling on a rack or plate.
One more real life note: if you only have a mini muffin pan, you can still do it. Just shorten the bake time and use less dough. Mini Boston Cream Pie Cookie Cups are dangerously snackable, so consider yourself warned.
And if you are in a cake mix mood lately, I have had my eye on these 4 ingredient cake mix peanut butter soft cookies for the next time I want something even easier.
Vanilla Cream made with Instant Vanilla Pudding
This filling is the reason people take a bite and immediately go back for another. It tastes like that classic Boston cream center, but we are doing it the easy way with instant pudding. No stovetop custard, no tempering eggs, no stress.
My basic filling looks like this:
- 1 small box instant vanilla pudding mix
- Milk (use the amount on the box, but I reduce it slightly for a thicker filling)
- Optional: a small scoop of whipped topping or a splash of heavy cream to make it extra fluffy
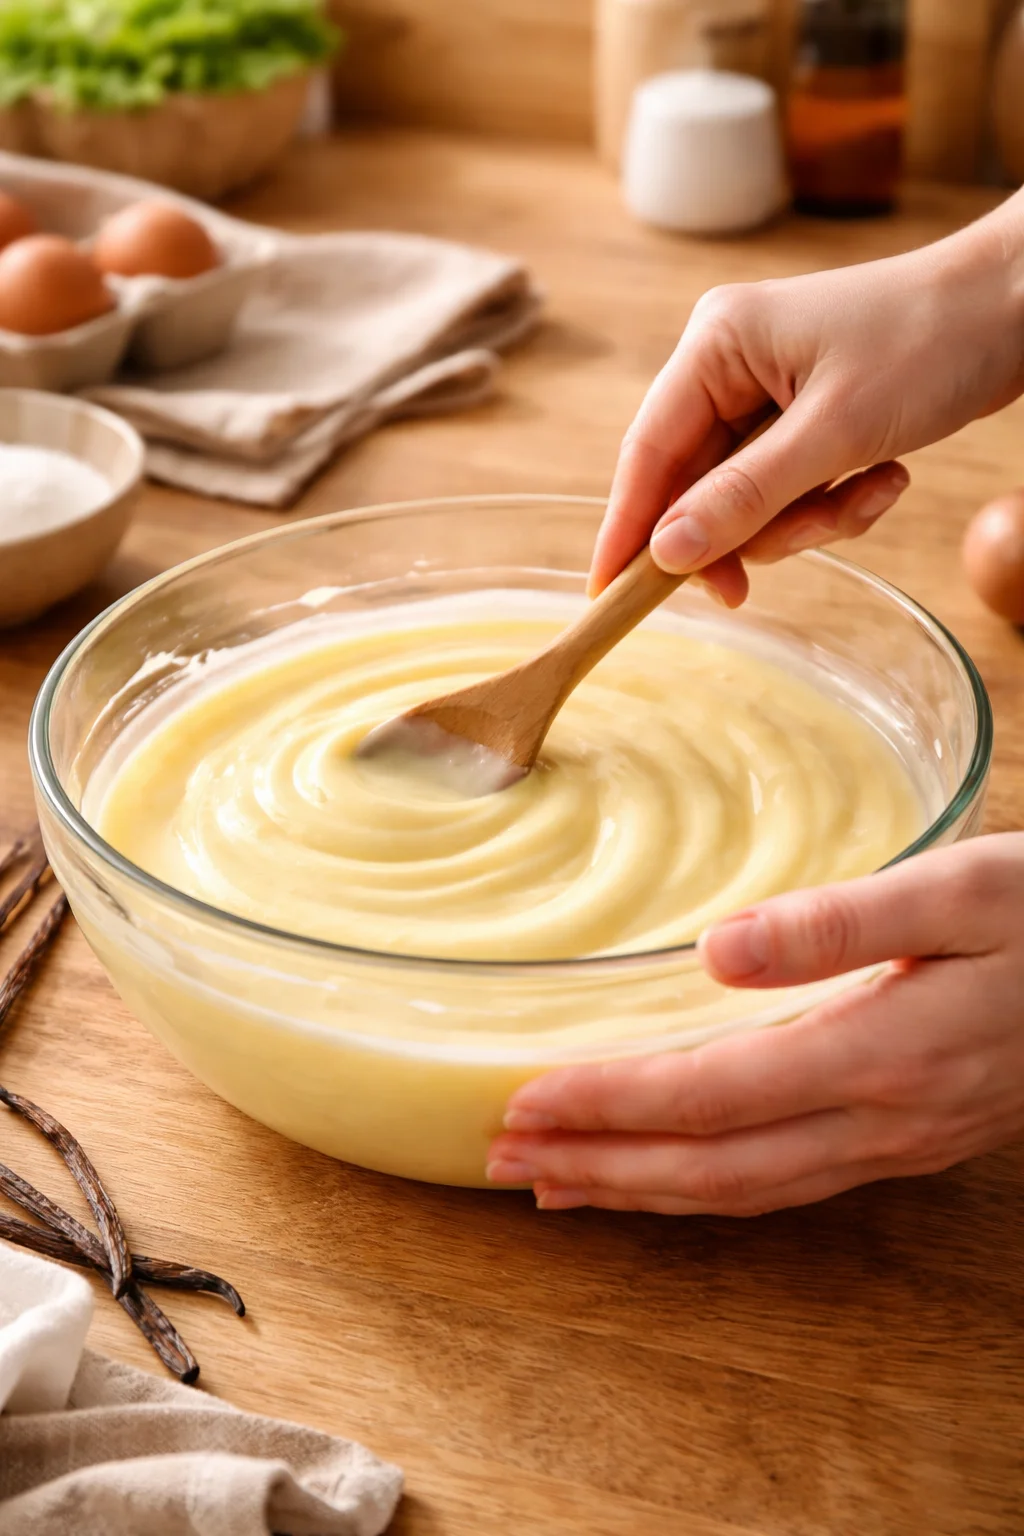
I whisk the pudding with cold milk until it thickens, then I let it sit for 5 minutes. If I want it thicker, I use a little less milk than the box says. You want something that will sit nicely in the cookie cups and not ooze out when you bite.
Once the pudding is thick, spoon it into the cooled cups. You can also pipe it in with a zip top bag if you want them to look super neat, but a spoon works fine. This is a casual kitchen over here.
Now the chocolate topping. I usually do a simple microwave ganache style topping. Chocolate chips plus a little cream, heated in short bursts and stirred until glossy. If you do not have cream, a little milk works, but cream gives a smoother finish. Spoon a small layer on top of the vanilla filling and let it set.
“I brought these to a family dinner and my aunt who never eats dessert asked for the recipe. The cookie stayed soft, the cream was perfect, and that chocolate top made it feel like a bakery treat.”
If you love creamy desserts like this, you would probably also enjoy a slice of creamy peanut butter pie sometime. Different flavor, same creamy comfort.
Easy Boston Cream Pie in a Jar Recipe
Sometimes you want the same flavors but you do not want to fuss with shaping cookie cups. Or maybe you are making dessert for a picnic and you need something travel friendly. That is where a jar version comes in.
Here is how I build it:
Layer 1: Crumbled cookie cup pieces or chunks of soft vanilla cake. You can use leftover cookie cups that cracked, or even store bought pound cake in a pinch.
Layer 2: A big spoonful of the instant vanilla pudding filling.
Layer 3: Another layer of cake or cookie crumbs.
Layer 4: More vanilla cream.
Top: A drizzle of chocolate ganache or melted chocolate.
Pop the lid on and chill. The layers settle a bit and turn into this creamy, spoonable dessert that tastes like Boston cream pie without needing plates or forks that match.
This is also a good make ahead option. I like to assemble the jars a few hours before serving so the flavors can hang out together, but I would not do it more than a day ahead or the cookie layers can get too soft.
If you want another dessert that is already portioned and party friendly, these banana pudding cups are also a winner. They are easy, nostalgic, and always disappear fast.
More Cookie Cup Recipes
If you just discovered cookie cups, welcome to the club. Once you realize you can bake dessert in a muffin pan and make it look cute with almost no effort, it is hard to go back.
Here are a few ways I like to change up Boston Cream Pie Cookie Cups without changing the whole plan:
- Swap the pudding flavor: chocolate pudding for a double chocolate vibe, or banana cream for something fun.
- Add a little crunch: sprinkle chopped toasted nuts on top of the chocolate before it sets.
- Make them holiday ready: add a tiny swirl of whipped cream and a sprinkle on top right before serving.
- Use different dough: sugar cookie dough works if you want a more classic cookie texture.
I also like keeping a few cookie cup ideas bookmarked for different seasons. If you are baking for a special day, these valentines day cookie cups are adorable and super shareable.
Common Questions
Can I make Boston Cream Pie Cookie Cups ahead of time?
Yes. Bake the cups a day ahead and store them airtight. Fill and top them the day you serve for the best texture, but they still hold up well assembled for several hours in the fridge.
Do I have to use cake mix for the dough?
Nope. Cake mix is just easy and consistent. If you have a favorite sugar cookie or vanilla cookie recipe, you can use that instead. Just aim for a soft baked texture.
Why did my cookie cups sink too much?
Usually it happens if you press too hard or if the cookies are very hot and delicate. Press gently and stop once you have a shallow cup shape. They do not need to be super deep.
How do I keep the chocolate topping shiny?
Use a little cream with your chocolate and do not overheat it. Heat in short bursts and stir. Also, spread it gently and let it set in the fridge for a clean finish.
How should I store leftovers?
Store finished Boston Cream Pie Cookie Cups in the fridge in a covered container. They are best within 2 to 3 days. The cookie base will soften over time, but they still taste great.
A sweet little sign off
If you make these Boston Cream Pie Cookie Cups, do yourself a favor and chill them for a bit before serving so the filling sets and the chocolate top looks pretty. They are the kind of dessert that feels like more work than it really is, and I love that about them. If you want to compare versions, I found helpful ideas from Boston Cream Pie Cookie Cups Recipe | Life Love and Sugar and also this fun twist from Easy Boston Cream Pie Cookie Bites Recipe – Practically Homemade. Now go grab that muffin pan and make a batch, because you deserve a dessert that looks impressive and still fits into real life.

Boston Cream Pie Cookie Cups
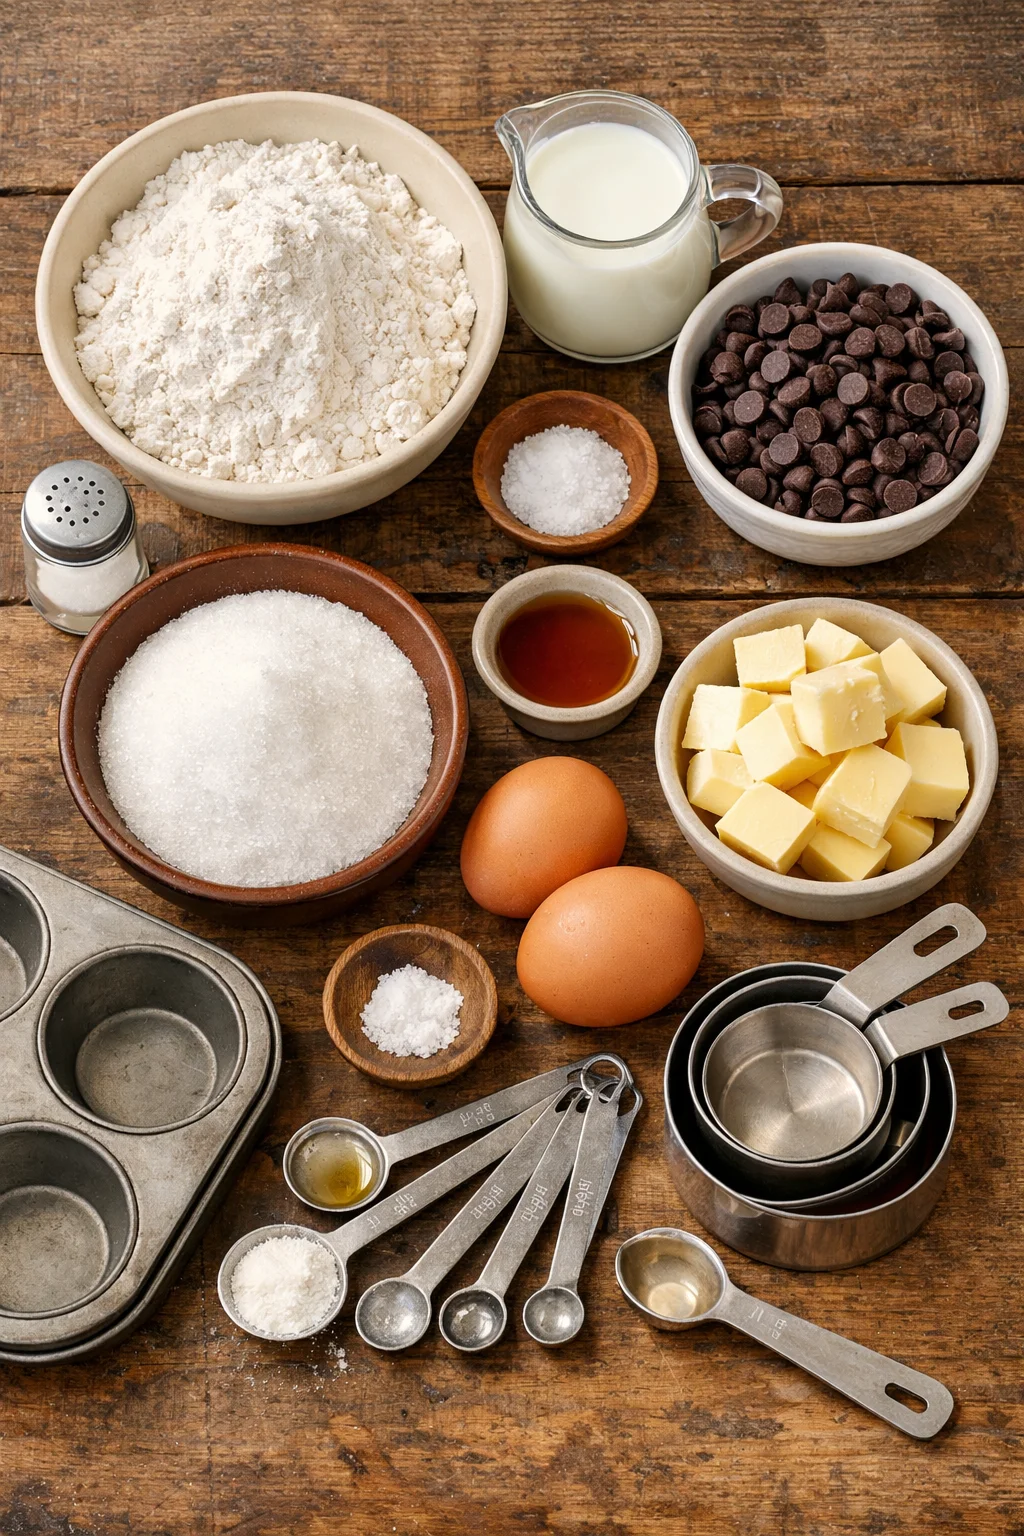
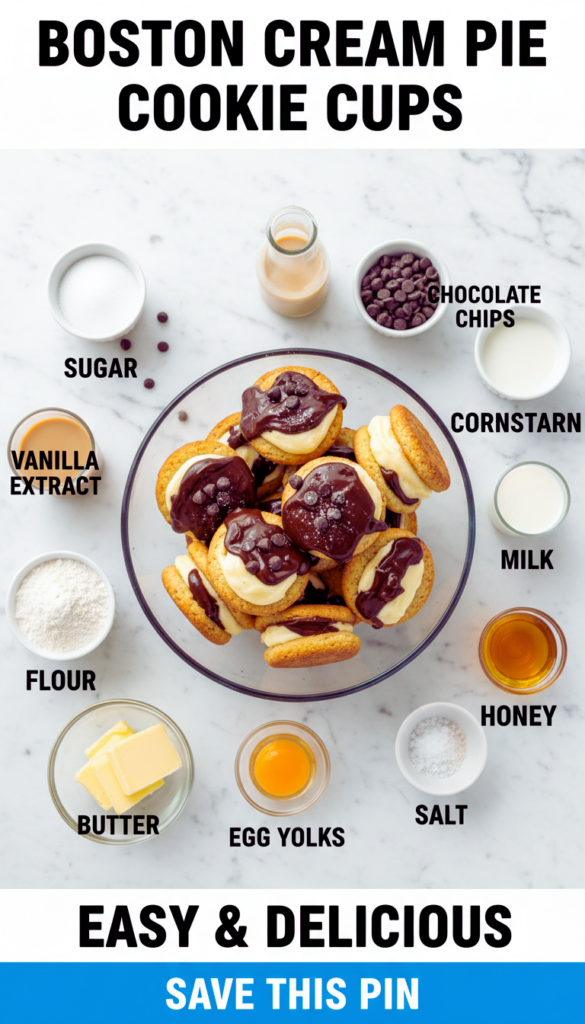
Ingredients
Method
- Preheat the oven to 350°F (175°C).
- In a mixing bowl, combine yellow cake mix, eggs, oil, and vanilla extract until a thick dough forms.
- Grease a muffin pan and scoop about 1.5 tablespoons of dough into each cup.
- Bake for 10-12 minutes until edges look set and golden.
- Press the centers of the cookies gently with the back of a rounded teaspoon while they are still hot.
- Let the cookie cups cool in the pan for about 10 minutes before transferring them to a wire rack to cool completely.
- Whisk the instant vanilla pudding mix with cold milk until it thickens, adjusting the milk amount for desired thickness.
- Let the pudding sit for 5 minutes before filling the cookie cups.
- Spoon the vanilla cream into the cooled cookie cups.
- In a microwave-safe bowl, combine chocolate chips and cream.
- Microwave in short bursts, stirring until the mixture is glossy.
- Spoon a small layer of chocolate on top of the filled cookie cups and let it set.
- Chill the assembled cookie cups briefly before serving.