
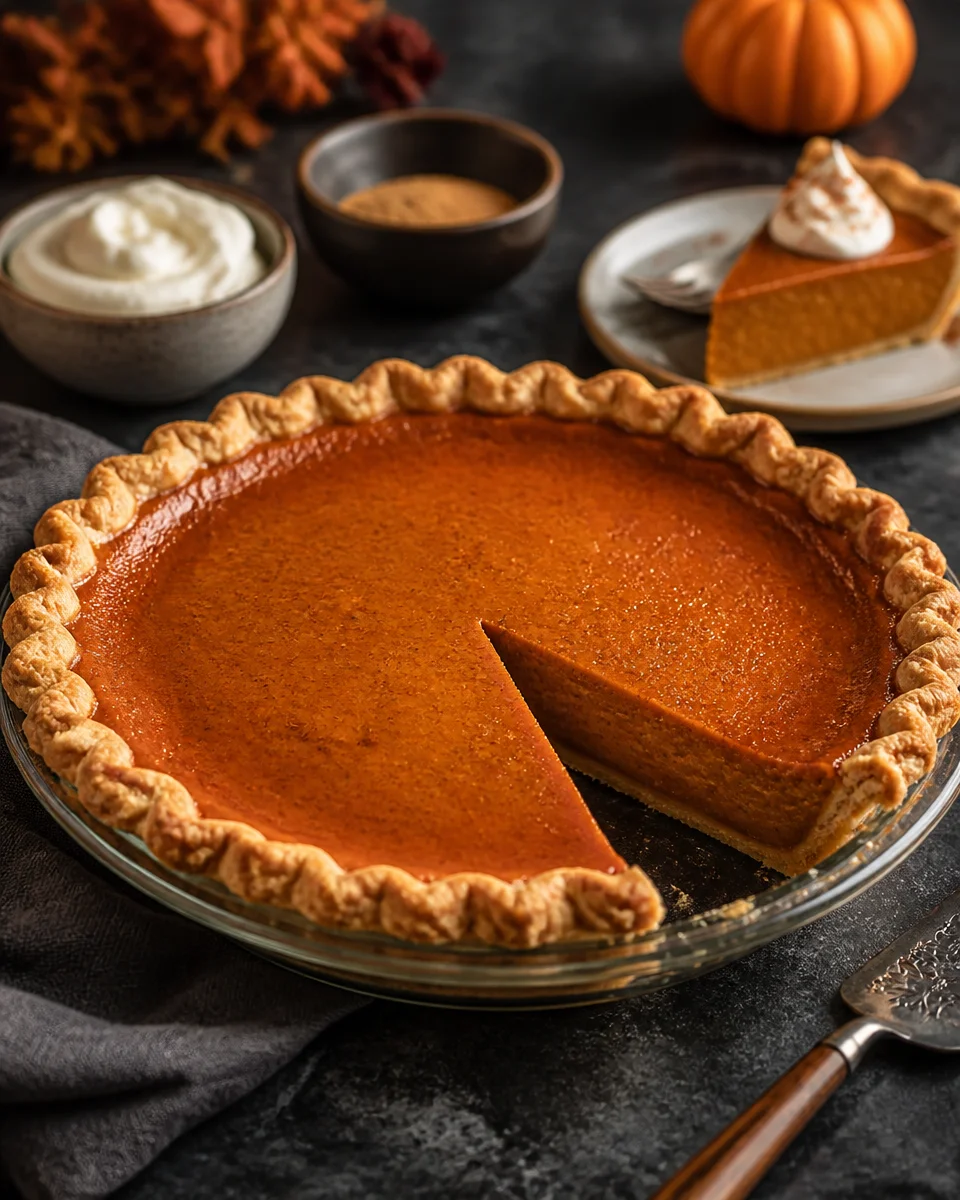
Pumpkin Pie from Scratch (No Canned) is the recipe I make when I want my kitchen to smell like fall and I do not want that metallic, overly sweet canned taste. Maybe you have a sugar pumpkin sitting on your counter right now and you are wondering if it is worth the extra step. I get it, it feels like a project. But once you do it once, it becomes the kind of cozy routine you actually look forward to. This version tastes brighter, warmer, and more real, like you can actually taste the pumpkin.
Common pumpkin pie questions
I get these questions all the time, especially around the holidays, so here are my quick, real life answers.
Q: What kind of pumpkin should I use?
Use a small sugar pumpkin (sometimes called pie pumpkin). The big carving ones can be watery and bland. If you only remember one thing, remember this: small pumpkin equals better flavor.
Q: Do I have to roast the pumpkin, or can I boil it?
Roasting gives the best flavor and helps dry it out so your filling is not runny. Boiling works in a pinch, but you will need to drain it really well and your pie can taste a bit less rich.
Q: Why does my pie crack on top?
Usually it is a little overbaked or cooled too fast. Pull it when the edges are set and the center still has a gentle jiggle. It finishes setting as it cools.
Q: How do I know if my pumpkin puree is too wet?
If it looks like baby food with a puddle around it, it is too wet. Let it sit in a fine strainer or cheesecloth for 20 to 30 minutes. This one step fixes a lot of “why is my pie watery” situations.
Q: Can I make it ahead?
Yes. Pumpkin pie is honestly better after it chills. I usually bake it the day before, then slice it the next day when it is fully set.
Also, if you are in full dessert mode, my other from scratch obsession is this pecan pie from scratch no corn syrup. It is sweet, nutty, and not that sticky syrup bomb.
How to make pumpkin pie without canned milk
This is where people get nervous, but it is actually simple. You are basically making fresh pumpkin puree, mixing a creamy custard filling, and baking until set.
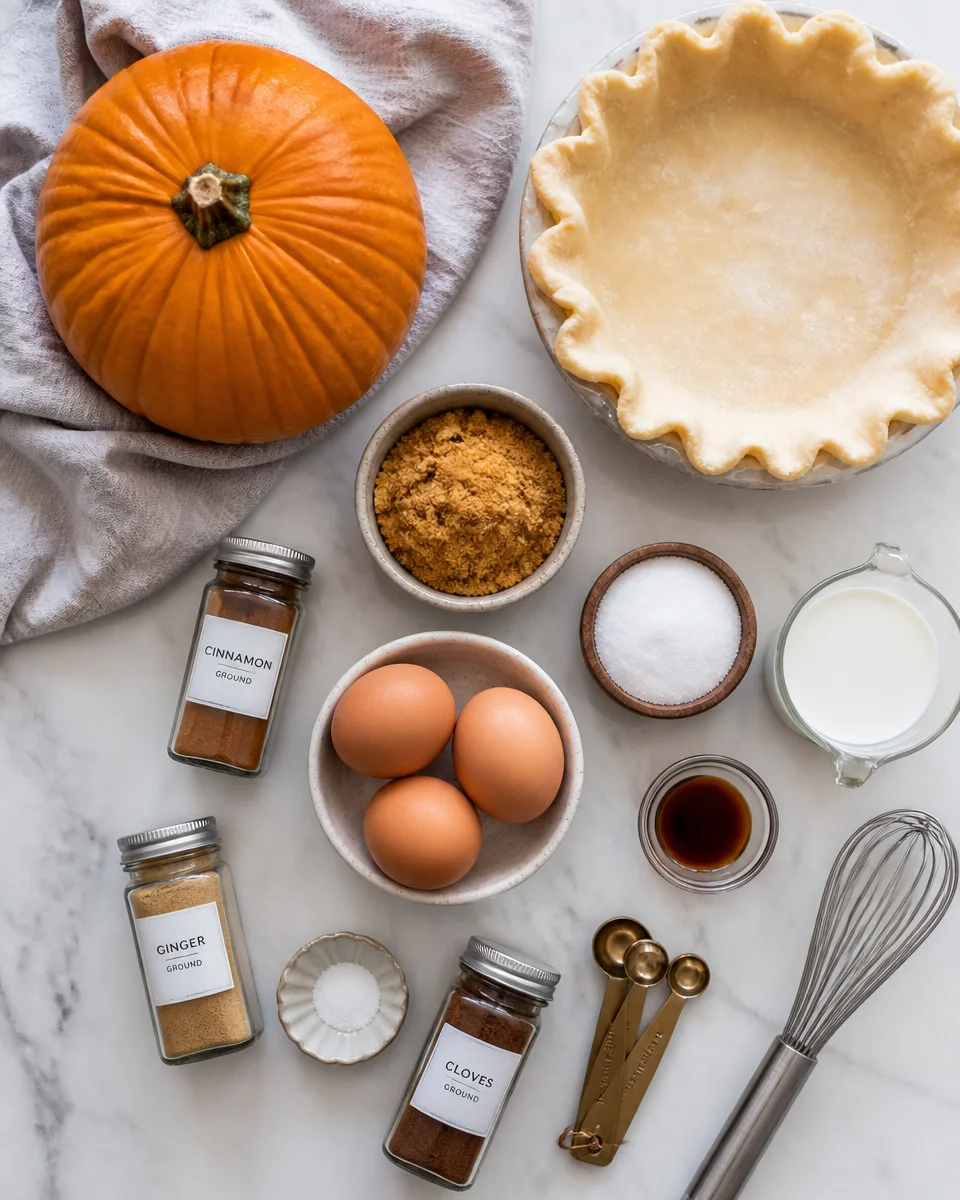
What you will need and how I do it
I am going to keep this super practical. Here is what I use most of the time.
- 1 small sugar pumpkin (about 2.5 to 3.5 pounds)
- 1 unbaked pie crust (homemade or store bought, no judgment)
- 3 large eggs
- Any milk you like (whole milk is classic, but you have options)
- Brown sugar (plus a little white sugar if you want it brighter)
- Cinnamon, ginger, and a pinch of cloves or nutmeg
- Vanilla and salt
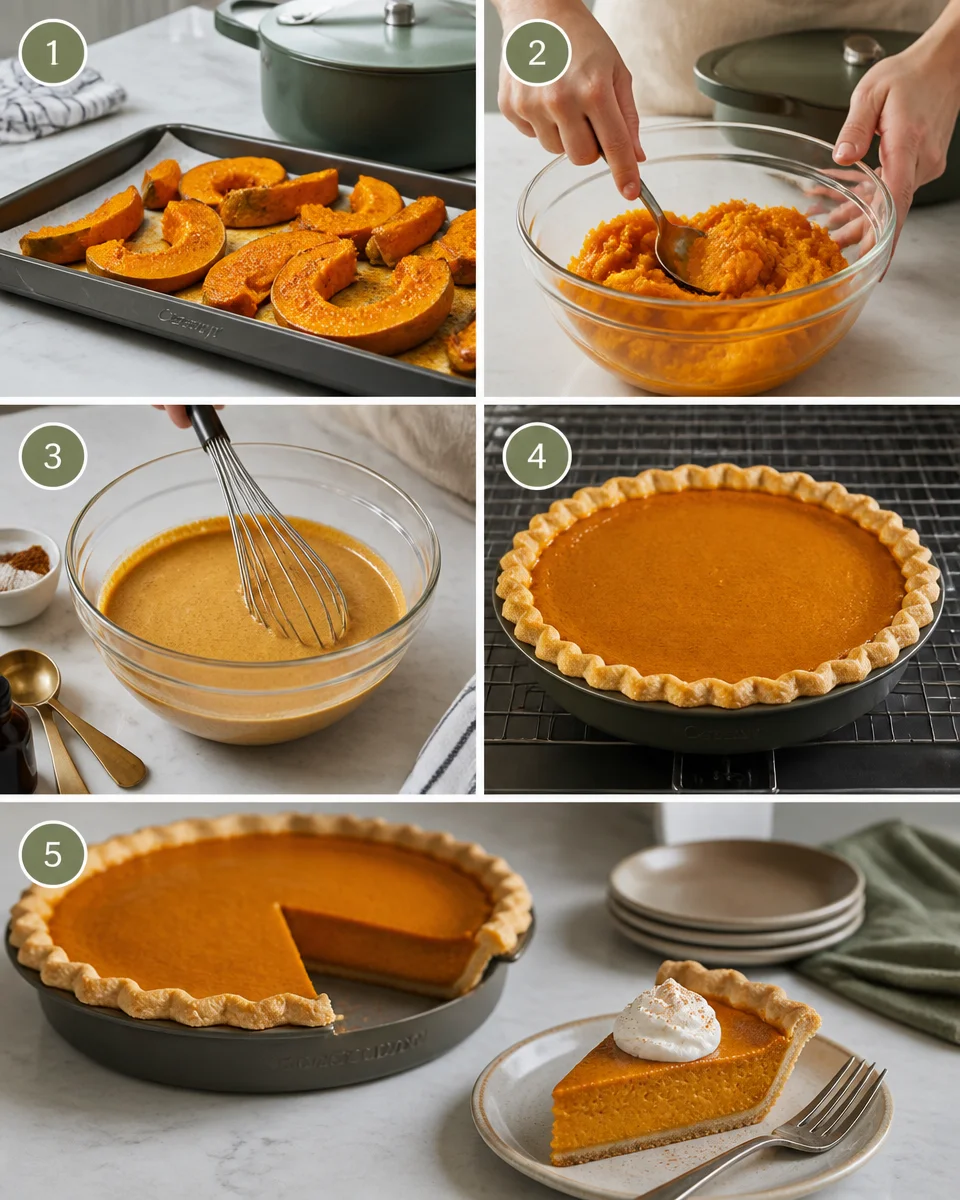
Step 1: Roast the pumpkin.
Heat your oven to 400 F. Cut the pumpkin in half, scoop out the seeds, and place it cut side down on a baking sheet. Add a little water to the pan, like a shallow puddle, so it does not dry out too fast. Roast for 40 to 55 minutes until a fork slides in easily. Let it cool until you can handle it.
Step 2: Make the puree.
Scoop out the soft pumpkin flesh and blend it until smooth. If it looks watery, strain it. I usually do, because different pumpkins act different. You want a thick puree that holds its shape on a spoon.
Step 3: Mix the filling (no canned milk needed).
In a bowl, whisk eggs, brown sugar, spices, vanilla, and salt. Then whisk in your milk. Finally, whisk in the pumpkin puree. The filling should look smooth and pourable, not thin like soup.
Step 4: Bake.
Pour filling into the crust. Bake at 425 F for 15 minutes, then lower to 350 F and bake about 35 to 50 minutes more. Start checking at 35 minutes. The edges should look set and the center should still wobble slightly, like gelatin.
Step 5: Cool and chill.
Cool on the counter for about 2 hours, then refrigerate at least 4 hours, preferably overnight. The texture gets that clean slice when it is properly chilled.
;
One little side note: when I am planning a whole holiday spread, I like to pair this pie with something fun and easy the next morning, like air fryer cinnamon rolls from scratch. Dessert for breakfast energy is real.

Substitutions and Variations
This is the part where you can make it fit your life. I have made this pie in a bunch of different ways depending on what I had in the fridge.
Milk options that actually work
If you are skipping canned milk, you have a lot of good choices. Here is what I have tested and liked:
Whole milk: Classic, light, and clean tasting.
Half and half: Richer and silkier, closer to that traditional custard vibe.
Evaporated milk you made yourself: Simmer milk gently until reduced a bit. This is more effort but it works.
Oat milk: Mild and slightly sweet, great with pumpkin spices.
Almond milk: Works, but use an unsweetened one and add a touch more richness if you can.
If you want it richer without canned anything, I sometimes replace a little milk with heavy cream. Not too much though, or it can feel heavy.
Flavor twists that do not ruin the pie
Here are a few changes that still keep it tasting like real pumpkin pie:
Maple: Swap a couple tablespoons of sugar for maple syrup.
Extra spice: Add a tiny pinch of black pepper. Sounds weird, tastes warm.
Orange zest: Just a little, it wakes up the flavor.
Gluten free: Use a gluten free crust. The filling is naturally gluten free.
And if you are the type who likes a sweet side dish with your holiday meal, you would probably love these candied yams from scratch southern style. They are sticky, buttery, and basically dessert pretending to be a side.
“I made this with a little sugar pumpkin from my neighbor’s garden and used oat milk. It set perfectly and tasted so fresh. My family asked if I bought it from a bakery.”
How to Store Leftover Pumpkin Pie
Leftovers are honestly a gift, but you have to store them right so the crust does not get sad.
Here is what I do:
Refrigerate: Cover the pie loosely with foil or plastic wrap and keep it in the fridge. It is best within 3 to 4 days.
For clean slices: Use a sharp knife and wipe it between cuts. Cold pie slices way neater.
Freezing: You can freeze pumpkin pie, but the texture can get a little softer. Wrap slices tightly, then put them in a freezer bag. Thaw overnight in the fridge.
If your crust starts to soften, you can cheat a little by putting a slice in the oven for a few minutes to crisp it up. Do not microwave if you care about crust texture, it makes it limp.
Random but true: when I am prepping a big dinner, I usually make something fresh and bright to balance all the rich stuff. This authentic pico de gallo from scratch is my go to. It has nothing to do with pie, but it keeps the whole meal feeling lively.
Tips for Success
If you want your Pumpkin Pie from Scratch (No Canned) to come out smooth, set, and not watery, here are the tips that matter most.
1) Dry out the pumpkin puree if needed.
This is the big one. Fresh pumpkin varies a lot. Straining for even 20 minutes can save your filling.
2) Do not overmix like crazy.
Whisk until smooth, then stop. Too much mixing can add extra air, and that can lead to puffing and cracks.
3) Protect the crust edge if it browns too fast.
If the rim is getting dark, cover it with foil for the rest of the bake.
4) Bake until the center jiggles, not until it is rock solid.
A little wobble is good. It will set as it cools.
5) Chill before serving.
I know it is tempting to cut in early. But chilling makes it slice clean and taste more balanced.
Pumpkin Pie from Scratch (No Canned) is one of those recipes that feels extra special because you made the puree yourself, and the flavor payoff is real. If you want more milk ideas and a slightly different approach, this guide for Best Pumpkin Pie Recipe Made with Any Milk is genuinely helpful. And if you like comparing methods, I also think Homemade Fresh Pumpkin Pie Recipe – Allrecipes is a good reference for bake times and the classic feel. Make it once, take a bite when it is fully chilled, and you will get why I keep coming back to this Pumpkin Pie from Scratch (No Canned) every single fall.

Pumpkin Pie from Scratch (No Canned)
Ingredients
Method
- Preheat your oven to 400°F.
- Cut the pumpkin in half, scoop out the seeds, and place it cut side down on a baking sheet. Add a shallow puddle of water to the pan to keep it moist.
- Roast the pumpkin for 40 to 55 minutes until a fork slides in easily. Let it cool until handleable.
- Scoop out the soft pumpkin flesh and blend it until smooth.
- If it looks watery, strain it for thicker consistency.
- In a bowl, whisk together the eggs, brown sugar, spices, vanilla, and salt.
- Whisk in your milk, then incorporate the pumpkin puree until smooth and pourable.
- Pour the filling into the crust and bake at 425°F for 15 minutes.
- Lower the temperature to 350°F and bake for an additional 35 to 50 minutes, checking at 35 minutes. The edges should look set and the center should still wobble slightly.
- Cool the pie on the counter for about 2 hours.
- Refrigerate for at least 4 hours, preferably overnight, for the best texture.
