
Chocolate Mousse Brownies are my fix for those days when a plain brownie just feels a little too basic, but a whole fancy cake sounds like a project. You know the mood, you want something rich, chocolatey, and impressive, without washing every bowl you own. These are fudgy brownies on the bottom with a soft mousse layer on top, so every bite feels like a treat from a good bakery. I started making them for get togethers, and now people straight up ask if I am bringing “the mousse brownies” again. If you love deep chocolate flavor and that cool creamy top, you are in the right place. 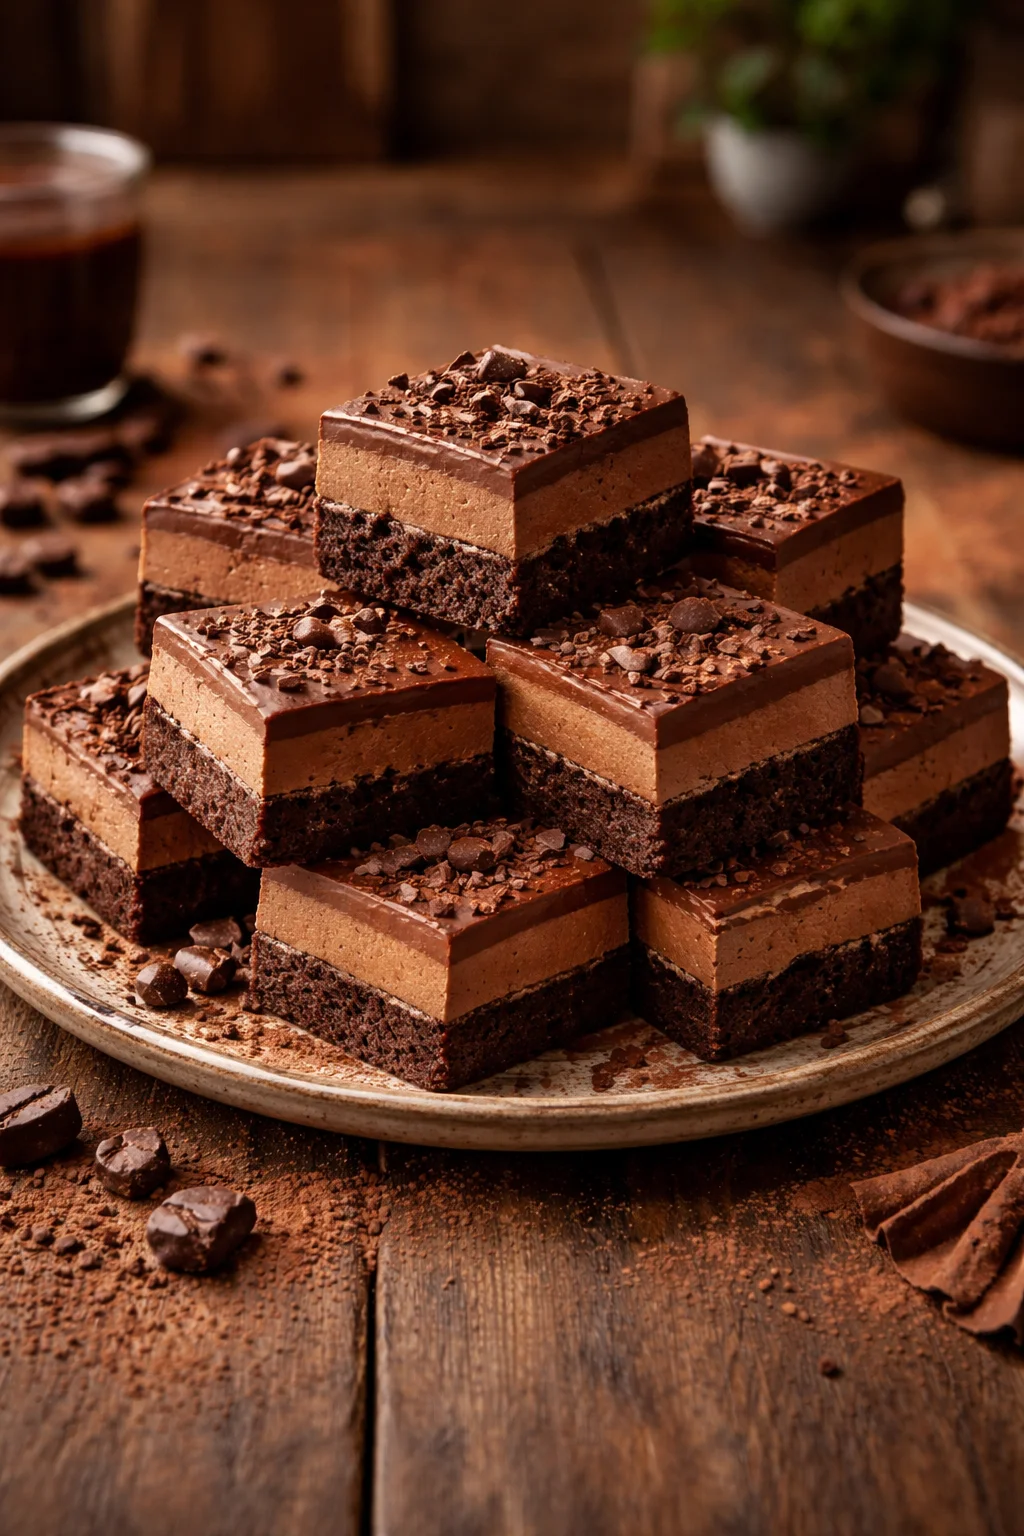
The Story Behind This Recipe
I’ve spent years testing recipes for Midd Leeast Sector, and this Chocolate Mousse Brownies is a keeper: crowd-pleasing with no weird tricks. Chocolate Mousse Brownies are my fix for those days when a plain brownie just feels a little too basic, but a whole fancy cake sounds like…
What are Chocolate Mousse Brownies?
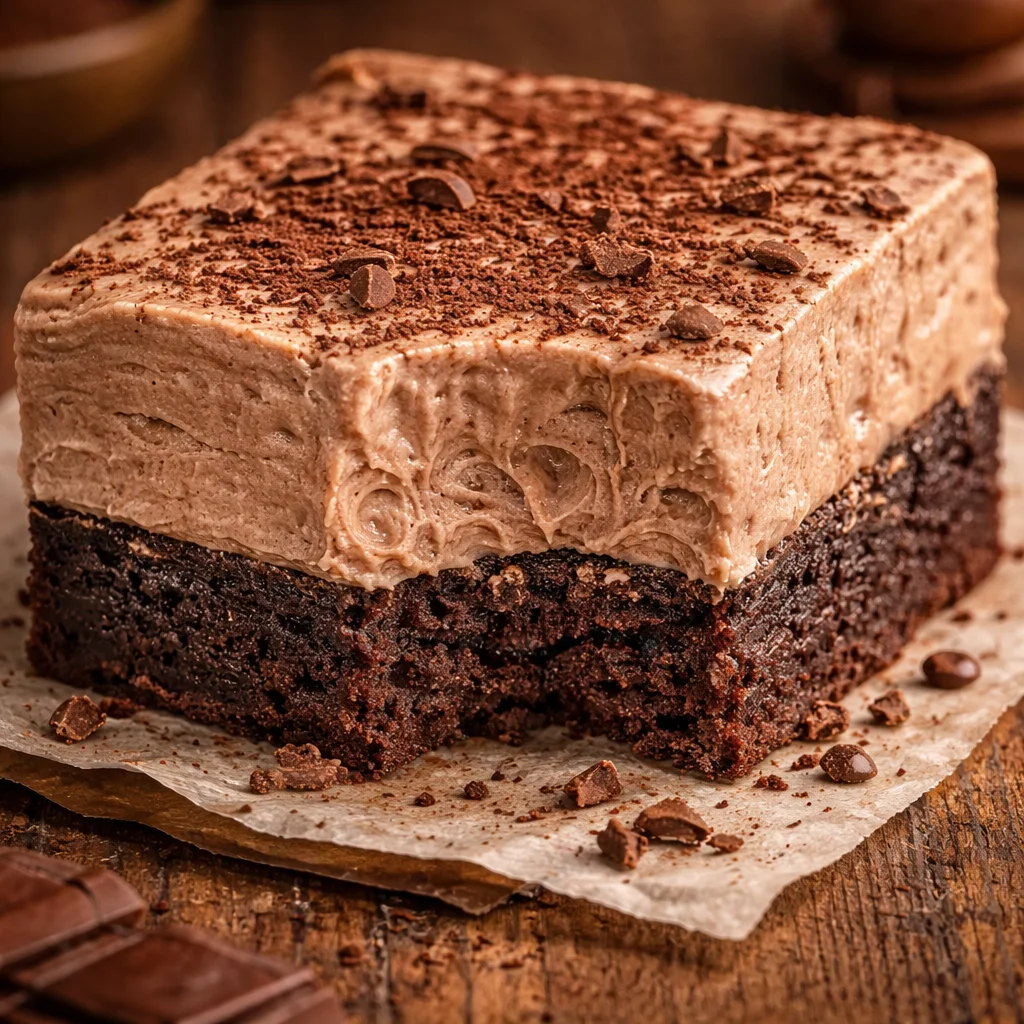
Think of these as a two layer dessert that acts like one perfect bite. The bottom is a dense, chewy brownie that is not too cakey. The top is a fluffy chocolate mousse that sets in the fridge, so it slices clean but still melts when you eat it.
What I love most is the contrast. The brownie gives you that fudgy, slightly chewy base, and then the mousse hits with this smooth, airy texture that feels light but still totally chocolate packed. It is the kind of dessert that makes people pause mid bite and go, “Wait, what is in this?”
If you are already a brownie person, this is like upgrading your usual pan without changing your whole life. And if you like fun brownie mashups, you might also want to peek at these cherry cheesecake brownies when you are in a fruity, creamy mood.
Key Ingredients for Chocolate Mousse Brownies
I am going to keep this simple and real. You do not need anything wild, but a few choices really matter here. Good cocoa and good chocolate will make the flavor pop, so use what you actually like eating.
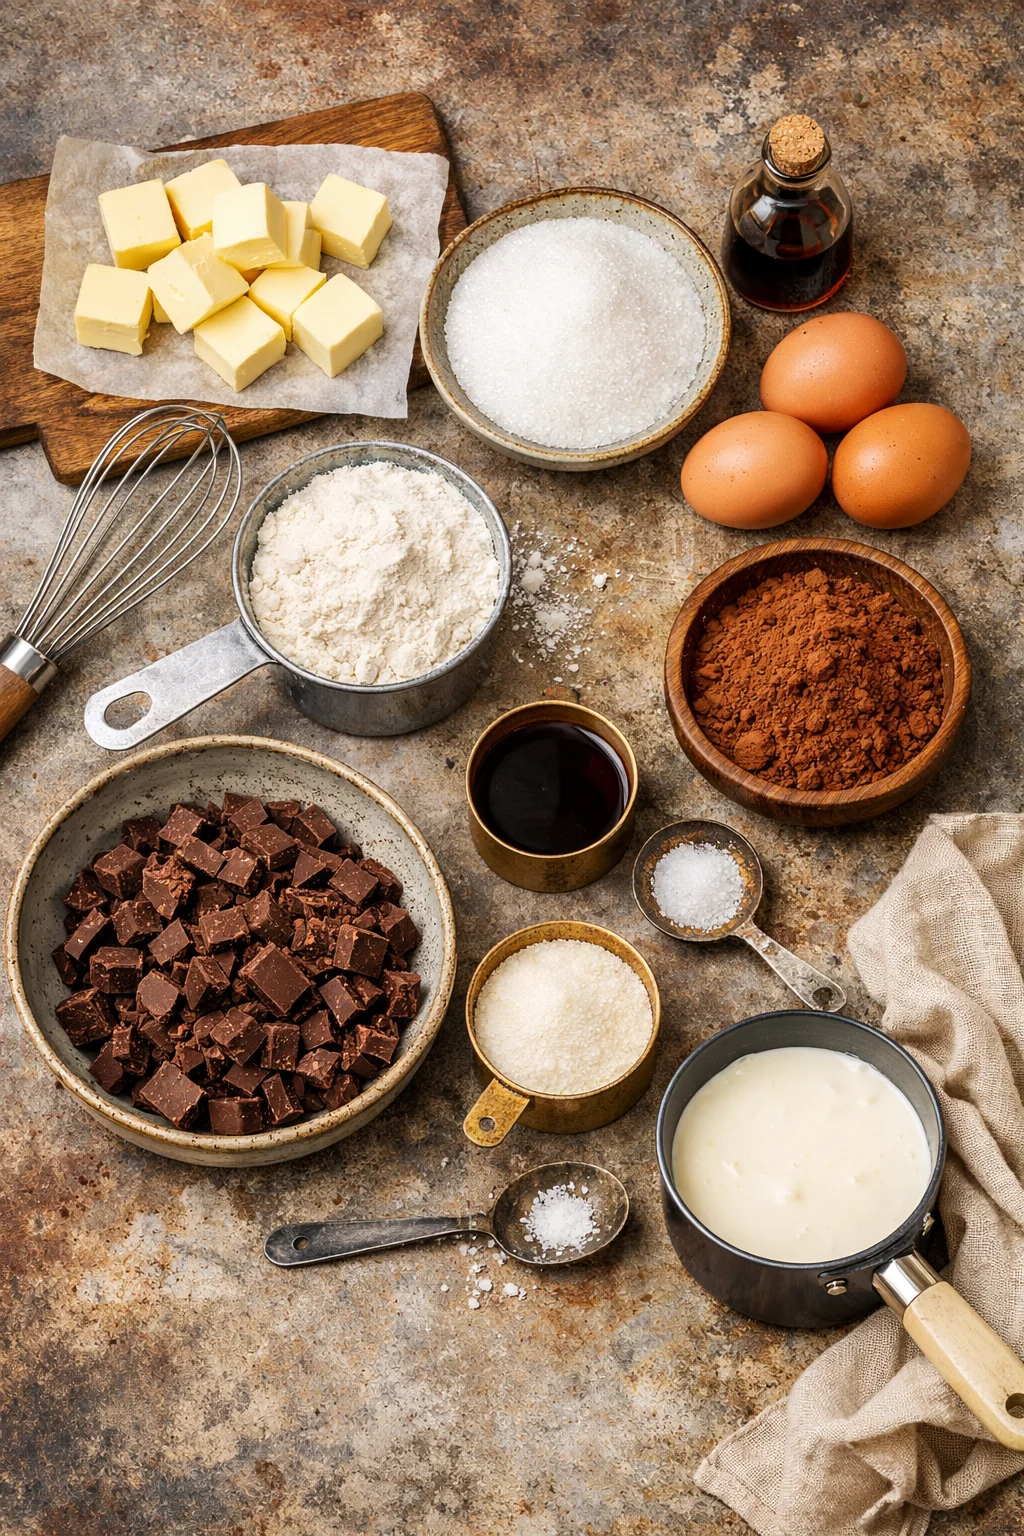
What you will need
- Butter for that rich brownie base
- Granulated sugar for sweetness and that classic shiny brownie top
- Eggs to bind and give structure
- Vanilla extract to round out the chocolate flavor
- Unsweetened cocoa powder for deep chocolate taste
- All purpose flour just enough to hold it together
- Salt yes, it matters
- Chocolate (semi sweet or dark) for the mousse, melted and cooled slightly
- Heavy cream to whip into that fluffy mousse
- Optional: espresso powder, chocolate chips, or a little extra cocoa for dusting
Quick note on cream: heavy cream whips best when it is cold. I sometimes chill the bowl too if my kitchen is warm. Also, for the mousse layer, melted chocolate should not be hot. Warm is fine. Hot will mess with the whipped cream and you will lose that airy texture.
Sometimes I riff on these depending on cravings. If you are in a peanut butter phase, bookmark chocolate peanut butter lasagna for another layered dessert moment.
Step-by-Step Guide to Making Chocolate Mousse Brownies
This is the part that makes people think it is complicated, but it is really just: bake brownies, cool brownies, top with mousse, chill, slice, and enjoy being the person who brought the best dessert.
1) Bake the brownie base
Preheat your oven to 350°F (175°C). Line an 8×8 pan with parchment paper if you want easy lifting later. I always do, because I like neat squares and minimal stress.
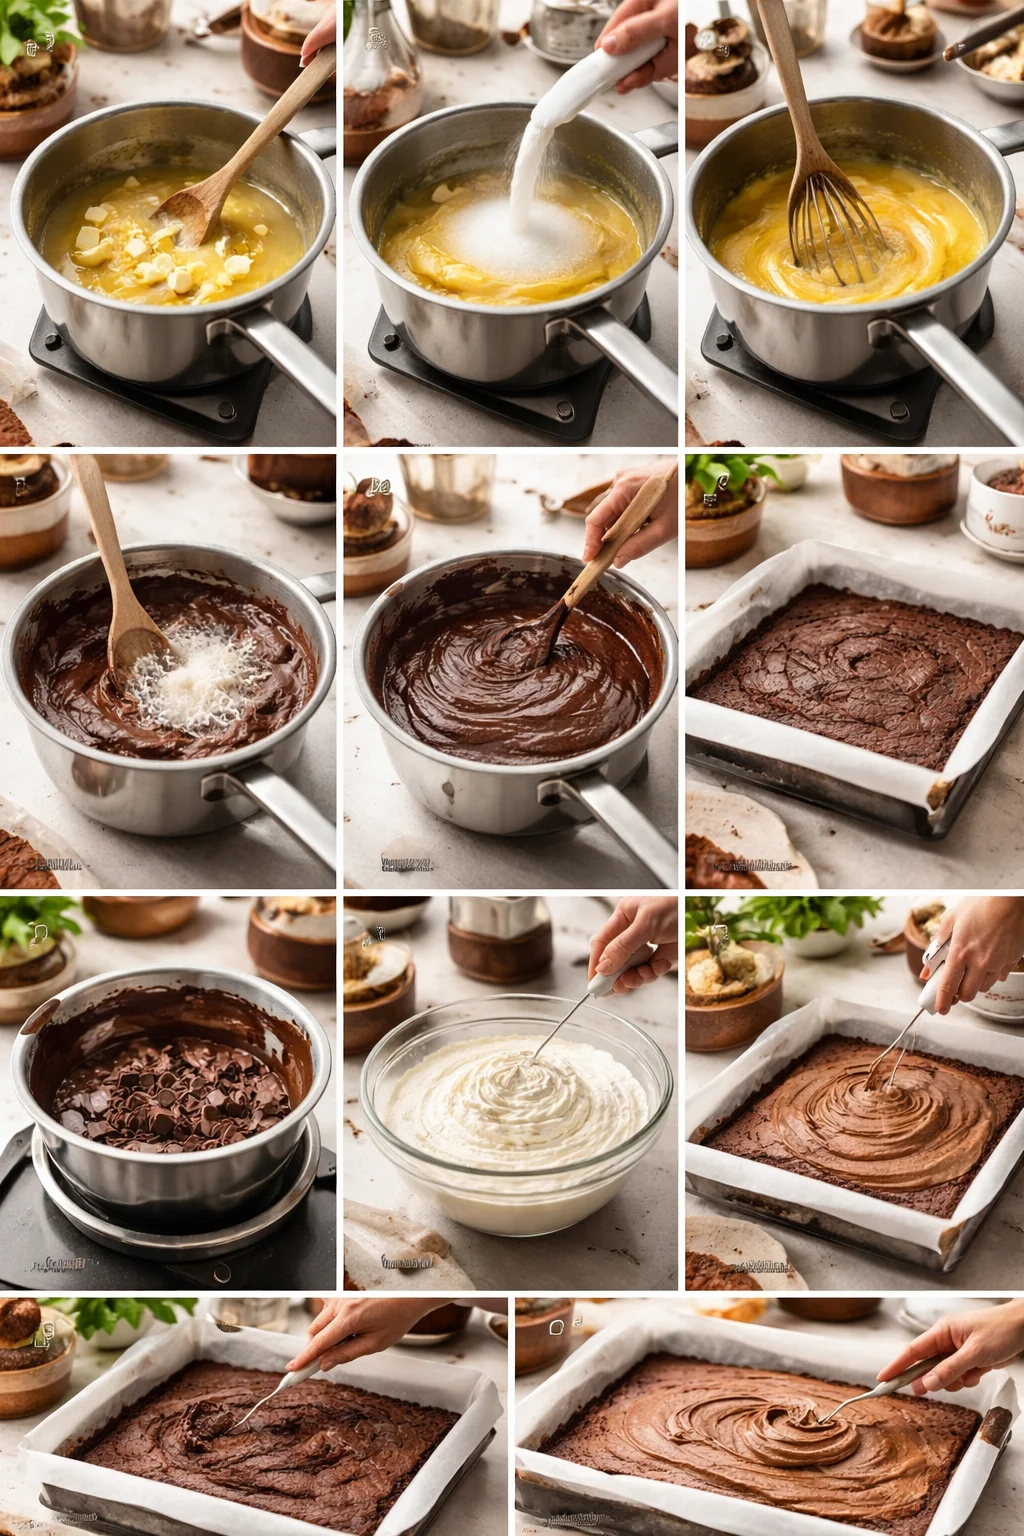
Melt butter, stir in sugar, then whisk in eggs and vanilla. Add cocoa powder, flour, salt, and stir until just combined. Do not overmix. Spread it in the pan and bake until the edges look set and the middle no longer looks raw. A toothpick should come out with moist crumbs, not wet batter.
Let the brownies cool completely. This is not optional. If the base is warm, your mousse will soften and slide around.
2) Make the chocolate mousse topping
Melt your chocolate and let it cool until it is warm but not hot. Whip cold heavy cream until it holds soft peaks. Then gently fold the melted chocolate into the whipped cream. Go slow and gentle. If you stir aggressively, you will knock out the air and the mousse will turn heavy.
Spread the mousse over the cooled brownie layer. Smooth the top. Then refrigerate for at least 3 to 4 hours, or overnight if you want the cleanest slices.
3) Slice and serve
Use a sharp knife. Wipe it between cuts. If you want really tidy edges, chill the brownies well and run the knife under warm water, dry it, then slice. It feels extra, but it works.
“I made these for my sister’s birthday and everyone thought I bought them from a bakery. The mousse layer is so light and the brownie is insanely fudgy.”
If you are the type who likes brownies with a little fruit sparkle, these raspberry chocolate brownies are also a fun bake for the weekend.
Tips for Perfecting Your Brownies
These are the small things that keep your Chocolate Mousse Brownies from being “pretty good” and push them into “why did I not make a double batch.”
Cool the brownie base completely. I know I already said it, but it is the biggest deal. Warm brownies equal sad mousse.
Do not overbake. If you bake until the toothpick is clean, the brownie base can turn dry once it cools. Aim for moist crumbs.
Use cold cream. Cold cream whips faster and holds better. If your cream is not whipping, it is usually because it is too warm.
Fold, do not stir. When combining chocolate and whipped cream, folding keeps the mousse fluffy. Stirring makes it dense.
Chill long enough. For clean squares, give it time. I like overnight in the fridge when I am serving guests.
Also, if you are trying to upgrade a store mix, I have made a lot of pans in my lifetime and I still think these tips help: better boxed brownies. Sometimes shortcuts are totally valid.
Variations and Serving Suggestions
Once you make Chocolate Mousse Brownies the classic way, it gets really tempting to play around. Here are a few easy spins that do not require special skills.
Flavor variations
- Add a pinch of espresso powder to the brownie batter to deepen the chocolate flavor.
- Mix mini chocolate chips into the brownie base for extra texture.
- Top the mousse with a light dusting of cocoa powder or chocolate curls.
- Add a thin layer of jam (raspberry is great) between brownie and mousse if you like a little tang.
Serving ideas
These are great straight from the fridge. I like them cold because the mousse is extra dreamy and the slices stay neat. If you want to plate them up, add a strawberry on the side or a little whipped cream dollop.
If you are building a dessert table, these pair nicely with something fruity and glossy like a mousse cake. This blueberry mirror glaze mousse cake is a showstopper option when you want variety.
Common Questions
Can I make Chocolate Mousse Brownies ahead of time?
Yes, and they are actually better that way. Make them the day before, chill overnight, then slice right before serving.
How do I store them?
Keep them covered in the fridge. They stay great for about 3 to 4 days, though the brownie base is best in the first couple days.
Can I freeze them?
You can. Freeze the sliced squares on a tray first, then wrap and store. Thaw in the fridge. The mousse texture can change slightly, but it is still very tasty.
My mousse looks runny. What happened?
Usually the chocolate was too warm, or the cream was not whipped enough. Next time, let the melted chocolate cool a bit more and whip the cream to soft peaks before folding.
Do I need raw eggs in the mousse?
Nope. This version uses whipped cream and melted chocolate, so it is simple and feels comfortable to serve to everyone.
A sweet ending and a little encouragement
If you have been wanting a dessert that feels special without being fussy, Chocolate Mousse Brownies are it. You get that fudgy base, that creamy cloud topping, and a pan that disappears fast at parties. If you want to compare approaches, I like browsing recipes like Chocolate Mousse Brownies | The Domestic Rebel and Chocolate Mousse Brownies | Love and Olive Oil for extra inspiration and little technique nuggets. Make a batch, chill it properly, and do not be surprised if someone asks you to “bring those again” next time.
Chocolate Mousse Brownies
Ingredients
Method
- Preheat your oven to 350°F (175°C). Line an 8×8 pan with parchment paper for easy lifting.
- Melt butter, stir in sugar, then whisk in eggs and vanilla until well combined.
- Add cocoa powder, flour, and salt; stir until just combined. Do not overmix.
- Spread in the prepared pan and bake until edges are set and a toothpick comes out with moist crumbs.
- Let the brownies cool completely.
- Melt chocolate and let it cool until warm but not hot.
- Whip cold heavy cream until it holds soft peaks.
- Gently fold the melted chocolate into the whipped cream.
- Spread the mousse over the cooled brownie layer, smoothing the top.
- Refrigerate for at least 3 to 4 hours, or overnight for clean slices.
- Use a sharp knife and wipe it between cuts for neat slices.
- For tidy edges, chill brownies and run the knife under warm water before slicing.