
Canadian Thanksgiving Stuffing Recipe is one of those things I think about the second the weather turns crisp. You know the feeling, you have the turkey plan, the potatoes are a given, but then you realize the stuffing is what everyone actually talks about at the table. I have made a lot of versions over the years, including a few that were either too soggy or weirdly dry. This is the one I keep coming back to because it tastes like the holidays, it’s straightforward, and it forgives you if you are juggling five side dishes at once. If you want that cozy, savory, herby pan of goodness, you’re in the right place.
Key Ingredients in Stuffing
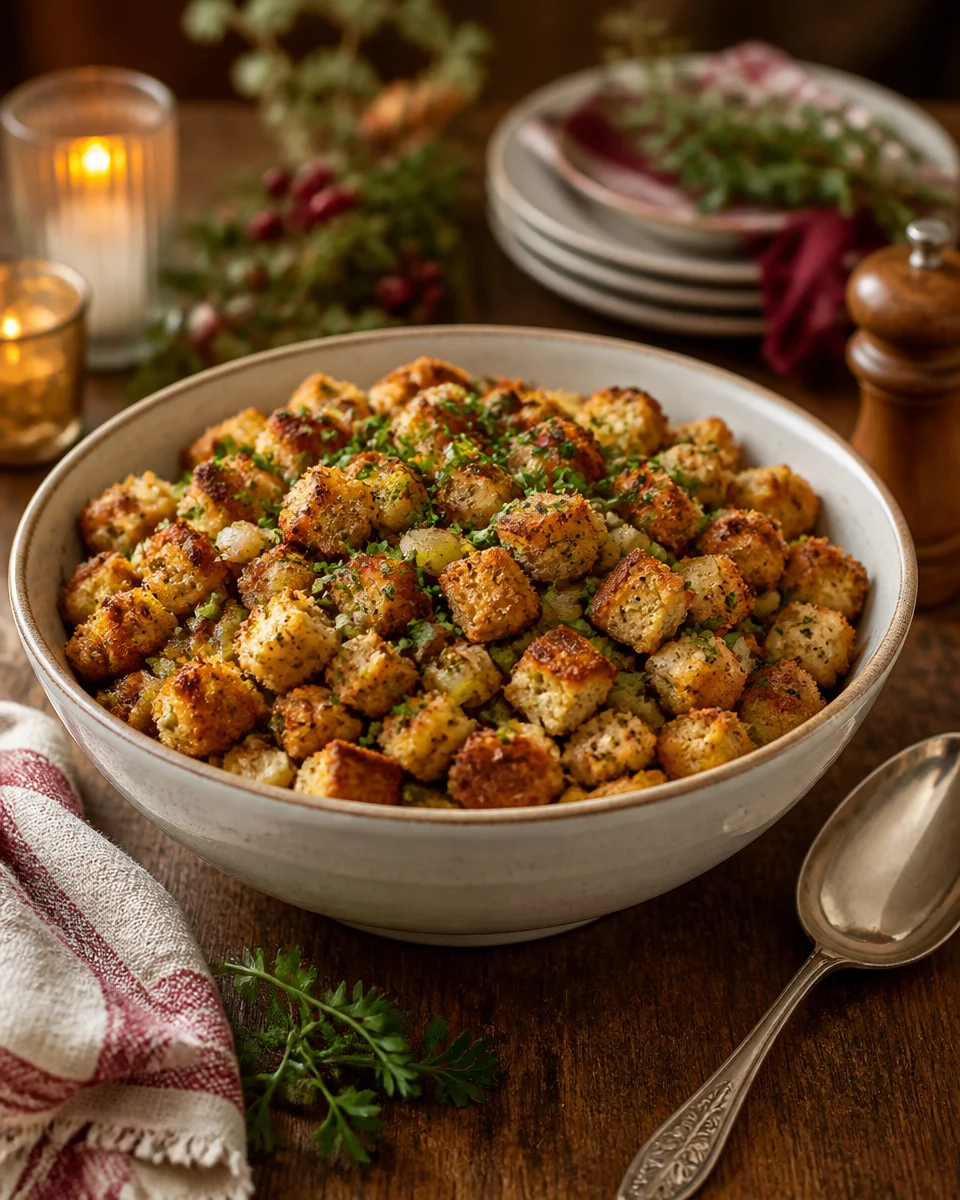
For me, the best stuffing hits three notes: **toasty bread**, **buttery veggies**, and **herbs that smell like Thanksgiving the second they hit the heat**. I lean classic for Canadian Thanksgiving because it pairs with turkey and gravy like it was born to do it.
Here’s what I use most years, plus a couple easy swaps. (Also, if you’re building your holiday menu and want something fun and fresh on the side, I randomly got obsessed with this bright seafood dish and it’s surprisingly great as a starter: authentic ceviche recipe.)
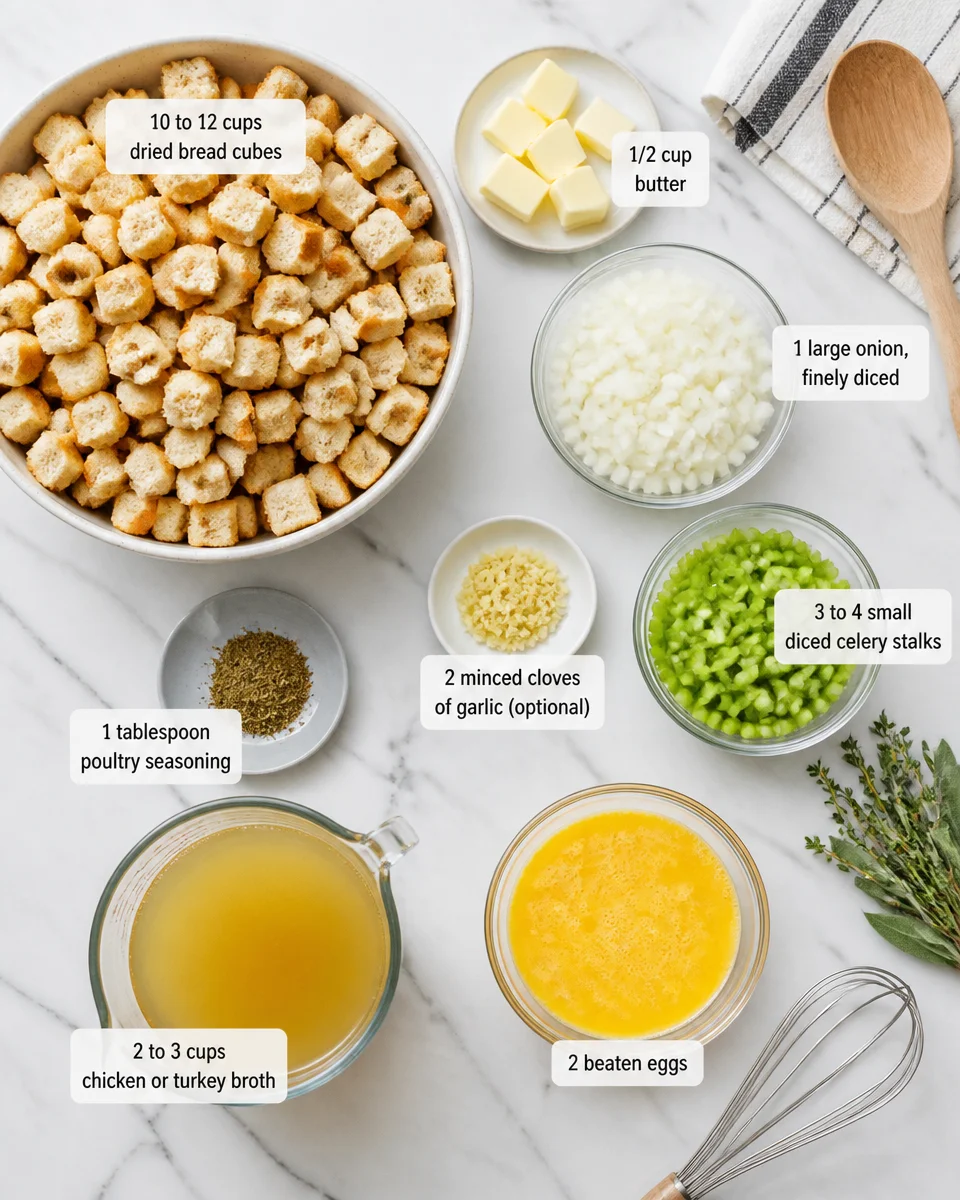
- Bread: 10 to 12 cups of dried bread cubes. White, sourdough, or a mix works. Slightly stale is perfect.
- Butter: 1/2 cup. Stuffing needs real butter, in my opinion.
- Onion and celery: 1 large onion and 3 to 4 celery stalks, diced small.
- Garlic: 2 cloves, minced, optional but I always do it.
- Herbs: 1 tablespoon poultry seasoning, plus a little extra sage or thyme if you like it herby.
- Broth: 2 to 3 cups chicken or turkey broth. Start with less, add more as needed.
- Eggs: 2 eggs, lightly beaten. They help it set up nicely.
- Salt and pepper: Season in layers. Taste the wet mix before baking.
- Optional add ins: cooked sausage, chopped apples, dried cranberries, or toasted pecans.
A quick bread tip: if your bread is fresh, cube it and spread it on trays at 300°F for about 15 to 25 minutes, stirring once, until it’s dry but not browned to death. Dry bread drinks up flavor without turning into mush.
How to Make Stuffing
This is the part where I tell you not to stress. The method is simple. The only real trick is adding broth slowly so you don’t drown the bread.
Step by step directions
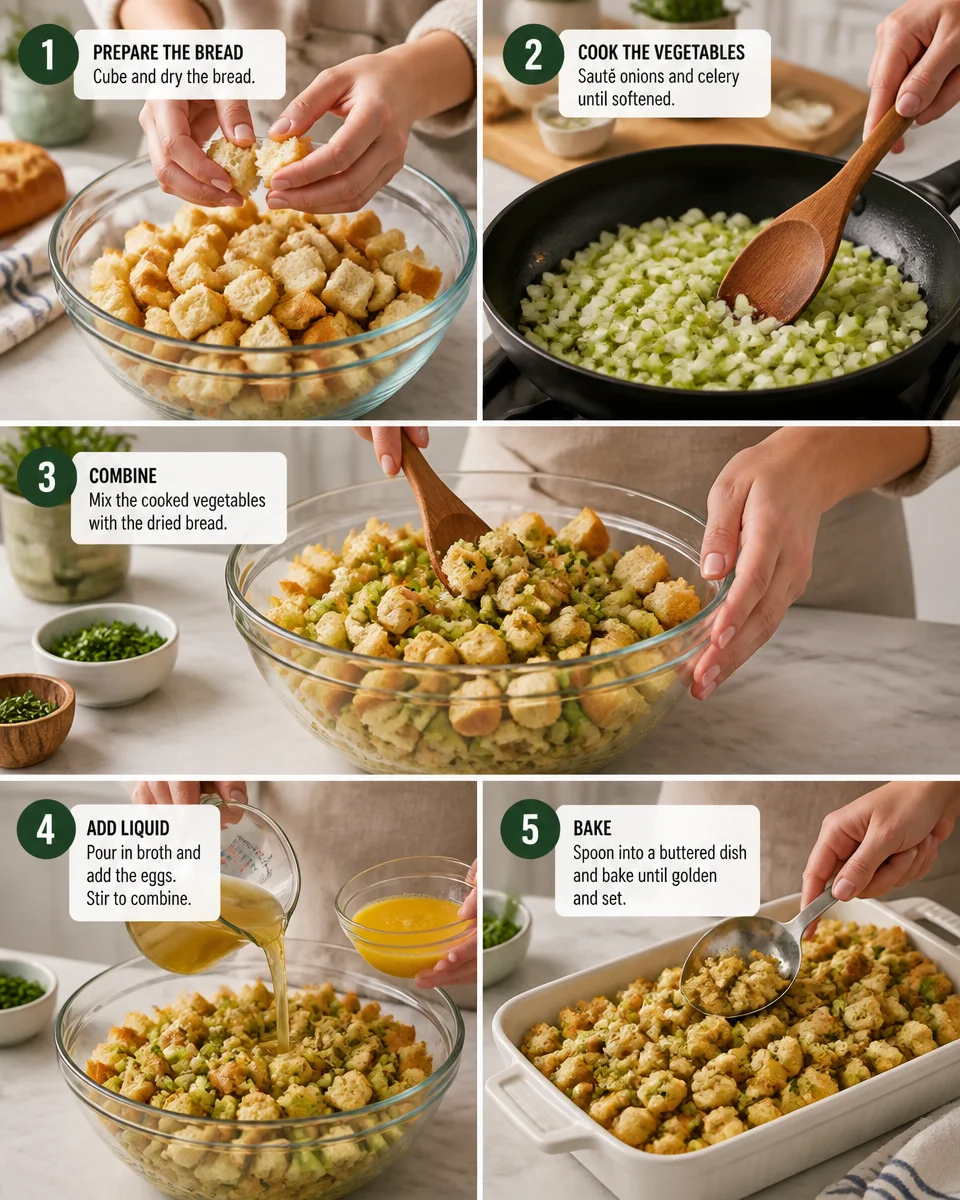
1) Prep the bread. Put your dried bread cubes into the biggest bowl you own. Bigger than you think. Stuffing mixing is not the time for a tiny bowl.
2) Cook the veggies. In a large skillet, melt the butter over medium heat. Add onion and celery, then cook 8 to 10 minutes until soft. Add garlic for the last 30 seconds. Sprinkle in poultry seasoning, a little salt, and pepper. Stir and let it get fragrant.
3) Combine. Scrape that buttery veggie mix over the bread cubes. Toss gently.
4) Add the wet ingredients. Pour in 2 cups broth to start, then add the beaten eggs. Mix. If it still looks dry and your bread is not softening, add more broth a splash at a time. You want it moist, not soupy. The bread should look like it’s had a good drink.
5) Bake. Spoon into a buttered 9×13 inch dish. Cover with foil and bake at 350°F for 30 minutes, then uncover and bake 15 to 20 minutes more until the top is golden and a little crisp.
If you like a crispier top, uncover earlier. If you like it softer, keep it covered a bit longer. It’s your pan, your rules.
Little side note because I always get asked what I serve for vegetarian friends at Thanksgiving: I sometimes do a creamy pasta bake as an extra comfort dish. This one is easy to riff on: cabbage alfredo recipe.
What’s the Difference Between Stuffing and Dressing?
This comes up every single year, usually while someone is hovering near the oven asking when dinner will be ready.
Stuffing traditionally means the bread mixture is cooked inside the turkey. Dressing means it’s baked in a separate dish. In a lot of Canadian homes (mine included), people say stuffing no matter how it’s cooked, but technically the names do matter.
Here’s why I usually bake it in a dish instead of inside the bird:
Food safety and texture. When stuffing is inside the turkey, it can take longer to reach a safe temperature. Meanwhile the turkey meat can dry out from extra cooking time. Baking it separately gives you a more reliable, evenly cooked result and that golden top layer is honestly the best part.
“I made this for our family Thanksgiving last year and my uncle, who never comments on food, went back for seconds and asked if there was extra to take home. That’s how I knew it was a keeper.”
Of course, if your family tradition is to cook it in the turkey, you can still use this same mix. Just be extra careful that the center of the stuffing gets hot enough, and don’t pack it in too tightly.
Storage and Make-Ahead Tips
This is the section that saves my sanity on Thanksgiving day. I love anything that can be done ahead because the oven gets busy fast.
Make ahead options that actually work:
Option 1: Prep the dry and cooked parts separately. Cube and dry the bread up to 2 days ahead. Cook the onion and celery mix the day before, cool it, and store it in the fridge. Then on Thanksgiving day you just combine, add broth and eggs, and bake.

Option 2: Assemble the whole dish. You can mix everything, spoon into the baking dish, cover, and refrigerate overnight. The next day, let it sit on the counter for about 20 to 30 minutes while the oven heats, then bake as usual. You may need an extra 5 to 10 minutes since it’s starting cold.
Leftovers: Store in an airtight container in the fridge for up to 4 days. Reheat in the oven covered at 325°F until hot, or microwave small portions. I like to sprinkle a tiny bit of broth on top before reheating so it stays moist.
Freezing: Yes, you can freeze stuffing. Let it cool, pack it tightly, and freeze up to 2 months. Thaw overnight in the fridge and reheat covered in the oven. The texture stays pretty good, especially if you baked it in a dish rather than inside the turkey.
If you’re planning ahead for the whole weekend, it’s also smart to get your sweet stuff sorted. I do a cozy spread for breakfast the next day and this is ridiculously good on toast: easy apple butter recipe slow cooker 3 ingredients.
What to Serve With Stuffing
I could honestly eat stuffing with just gravy and call it dinner, but Canadian Thanksgiving is usually a full plate situation. This Canadian Thanksgiving Stuffing Recipe plays nicely with classic sides and a couple fun extras.
Here are my go to pairings:
- Turkey and gravy: the obvious dream team
- Mashed potatoes: because you need a soft spot for the gravy to land
- Cranberry sauce: I love the sweet tart bite next to savory stuffing
- Roasted carrots or Brussels sprouts: something with crisp edges
- Green beans: simple butter and salt, or a casserole if your family loves it
- Buns or biscuits: for the leftover sandwich later
And for dessert, I’m very loyal to pumpkin baking once October hits. If you want something that feels festive but still easy to slice and serve, this one is a winner: the best pumpkin loaf recipe better than starbucks.
One more little serving idea: if you’ve got leftover stuffing, press it into a waffle iron the next day. Crisp outside, soft inside. Top with a fried egg. It sounds random, but it’s the kind of leftover magic that makes you look forward to day two.
Common Questions
Can I use fresh bread instead of stale bread?
Yes, just dry it out in the oven first. Fresh bread holds too much moisture and can turn the stuffing gummy.
How do I keep stuffing from being dry?
Add broth slowly until the bread is evenly moist, then cover the dish for the first part of baking. Dry stuffing usually means not enough broth or too much uncovered oven time.
Can I make this Canadian Thanksgiving Stuffing Recipe without eggs?
You can. The eggs help it hold together, but it will still taste great. Add a bit less broth and pack it gently into the dish so it bakes up nicely.
Should I bake it covered or uncovered?
Both. Covered first so it heats through, uncovered at the end so the top gets golden and a little crisp.
What is the best way to add sausage or apples?
Cook sausage fully before mixing it in. For apples, chop them small and sauté for a few minutes with the onion and celery, or stir them in raw if you like a firmer bite.
A cozy final note before you start cooking
If you take anything from this post, let it be this: Canadian Thanksgiving Stuffing Recipe is all about balance, enough butter for flavor, enough broth for moisture, and enough time in the oven for those crispy edges. Once you make it once, you will start tweaking it to match your family, and that’s part of the fun. If you want to compare styles, I like reading dishes like Traditional Canadian Prairie Turkey Dressing and this dependable guide for timing and texture, Classic Bread Stuffing with Oven-Baked Option. Now go make your pan, steal a crunchy corner piece when nobody’s looking, and have the happiest, coziest Thanksgiving.
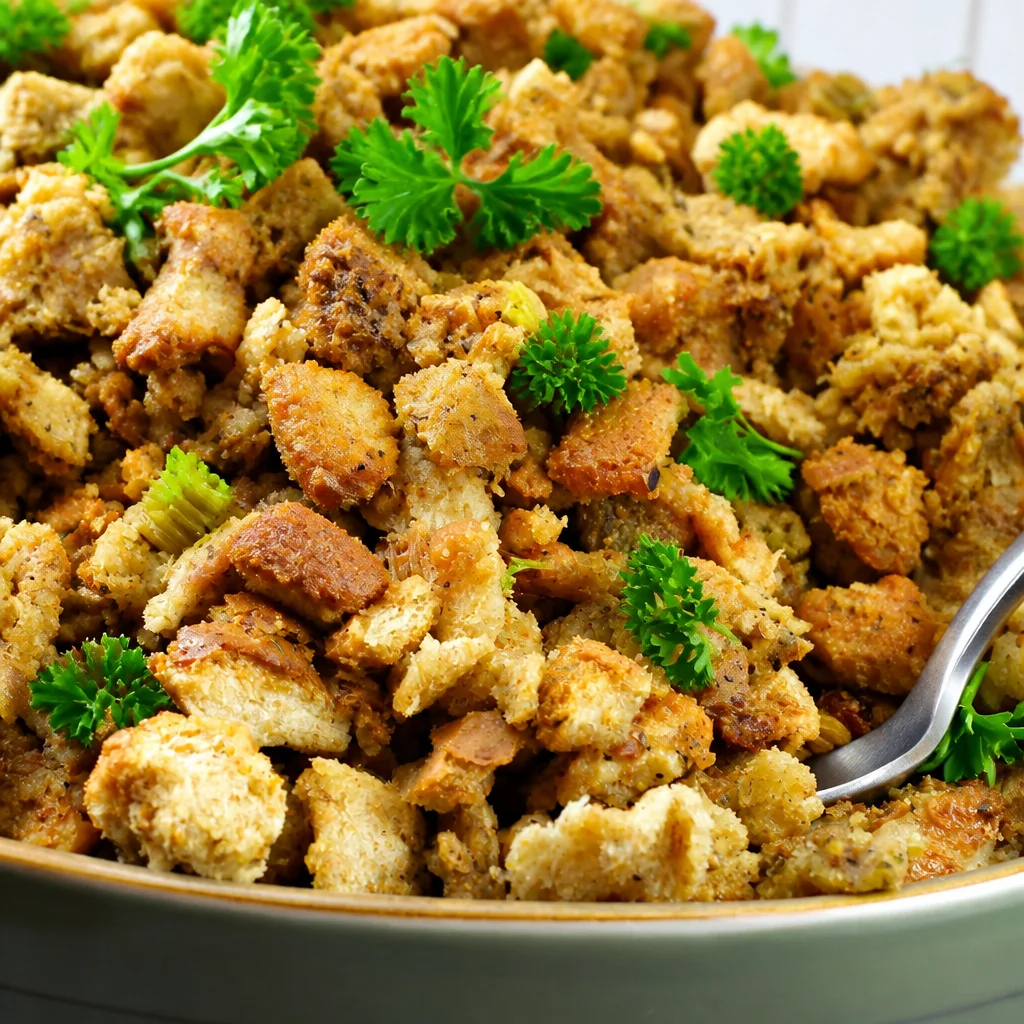
Stuffing
Ingredients
Method
- Put your dried bread cubes into the biggest bowl you have.
- In a large skillet, melt the butter over medium heat.
- Add onion and celery, then cook for 8 to 10 minutes until soft.
- Add garlic for the last 30 seconds, then sprinkle in poultry seasoning, salt, and pepper.
- Stir and let it get fragrant.
- Scrape the buttery veggie mix over the bread cubes and toss gently.
- Pour in 2 cups broth to start, then add the beaten eggs and mix.
- If it looks dry, add more broth a splash at a time until bread is moist, but not soupy.
- Spoon into a buttered 9×13 inch dish.
- Cover with foil and bake at 350°F for 30 minutes.
- Uncover and bake for an additional 15 to 20 minutes until the top is golden and crisp.
