


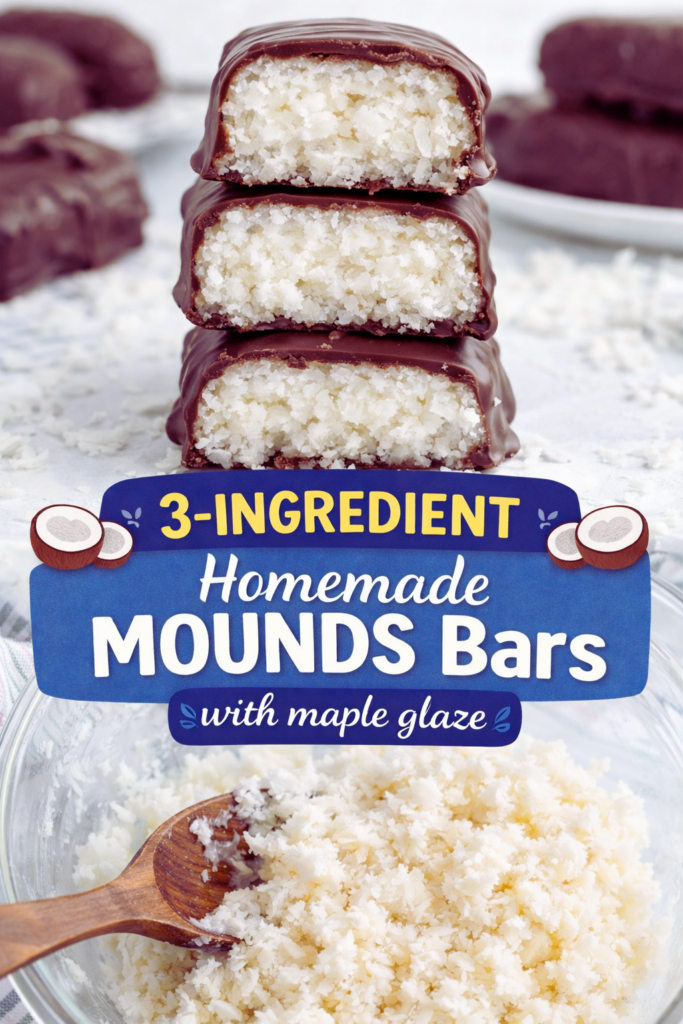
3-INGREDIENT Homemade MOUNDS Bars are my little lifesaver when I want something sweet but I do not want a long ingredient list or a sink full of dishes. You know those nights when you keep opening the pantry like something new is going to appear? Yep, this is what I make then. They taste like that classic coconut and chocolate combo, but fresher and way more homemade. Plus, you can stash them in the fridge and sneak one whenever the craving hits. Let me show you exactly how I make them at home, no stress and no fancy steps. 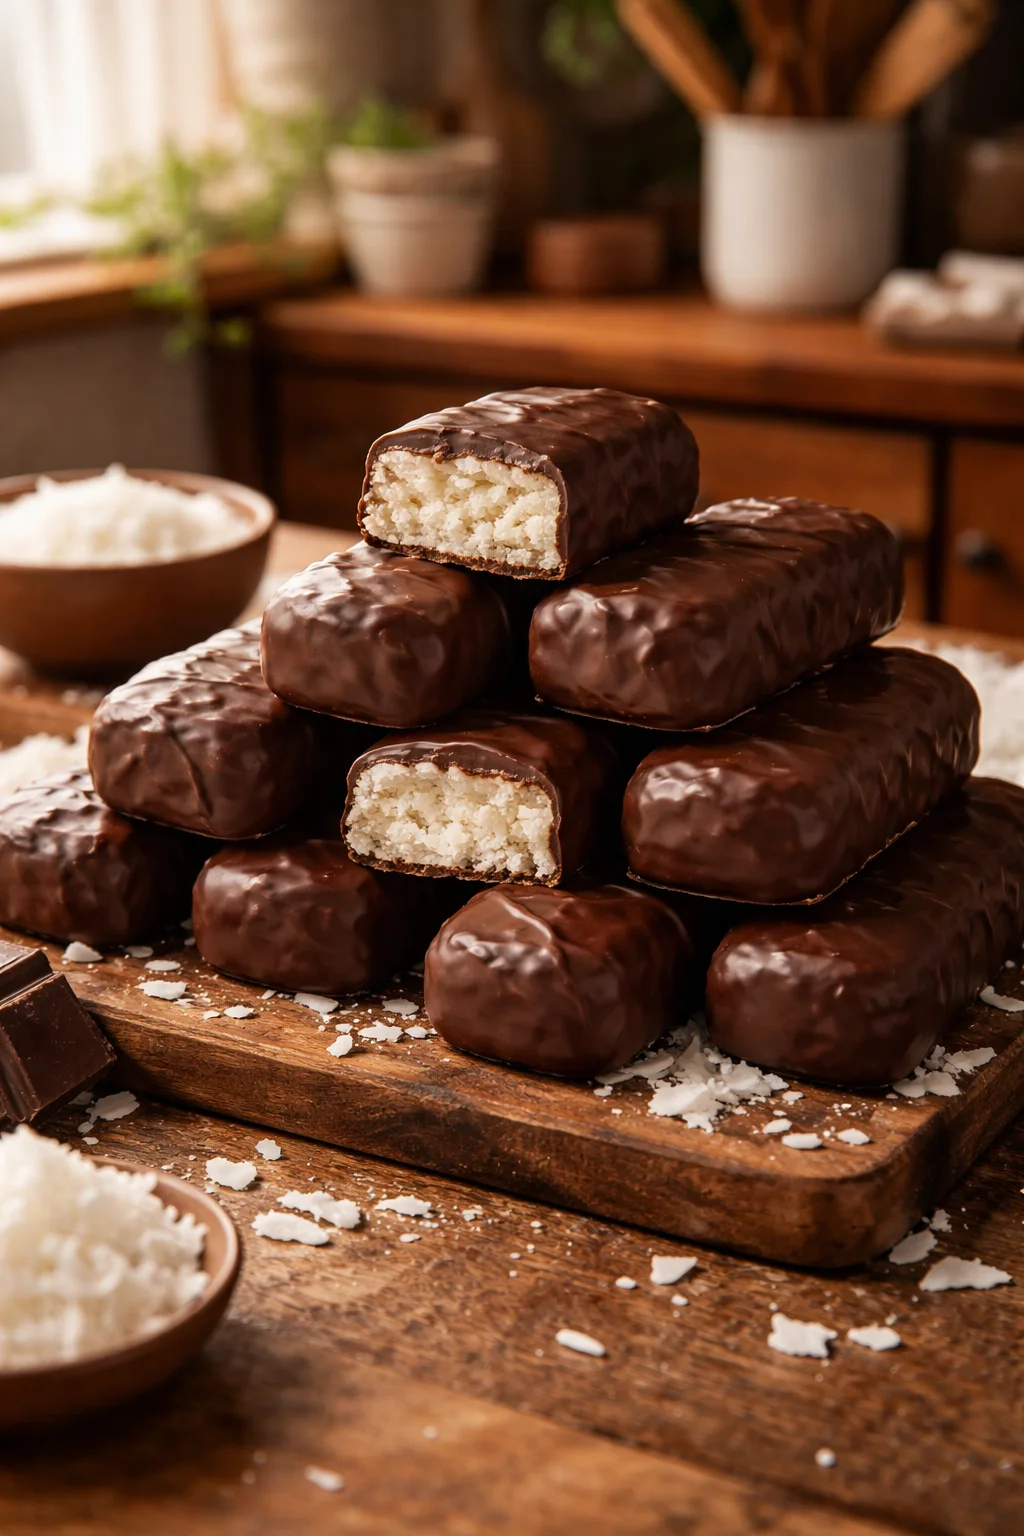
The Story Behind This Recipe
Here’s why I love this 3-Ingredient Homemade Mounds Bars: it’s budget-friendly and it tastes like a bakery treat. 3-INGREDIENT Homemade MOUNDS Bars are my little lifesaver when I want something sweet but I do not want a long ingredient list or a sink full…
The Ingredients
You only need three things, and I love that none of them are weird or hard to find. This is one of those recipes where the quality of what you buy actually matters since there are so few ingredients. So if you can, grab coconut you really like and chocolate that tastes good on its own.
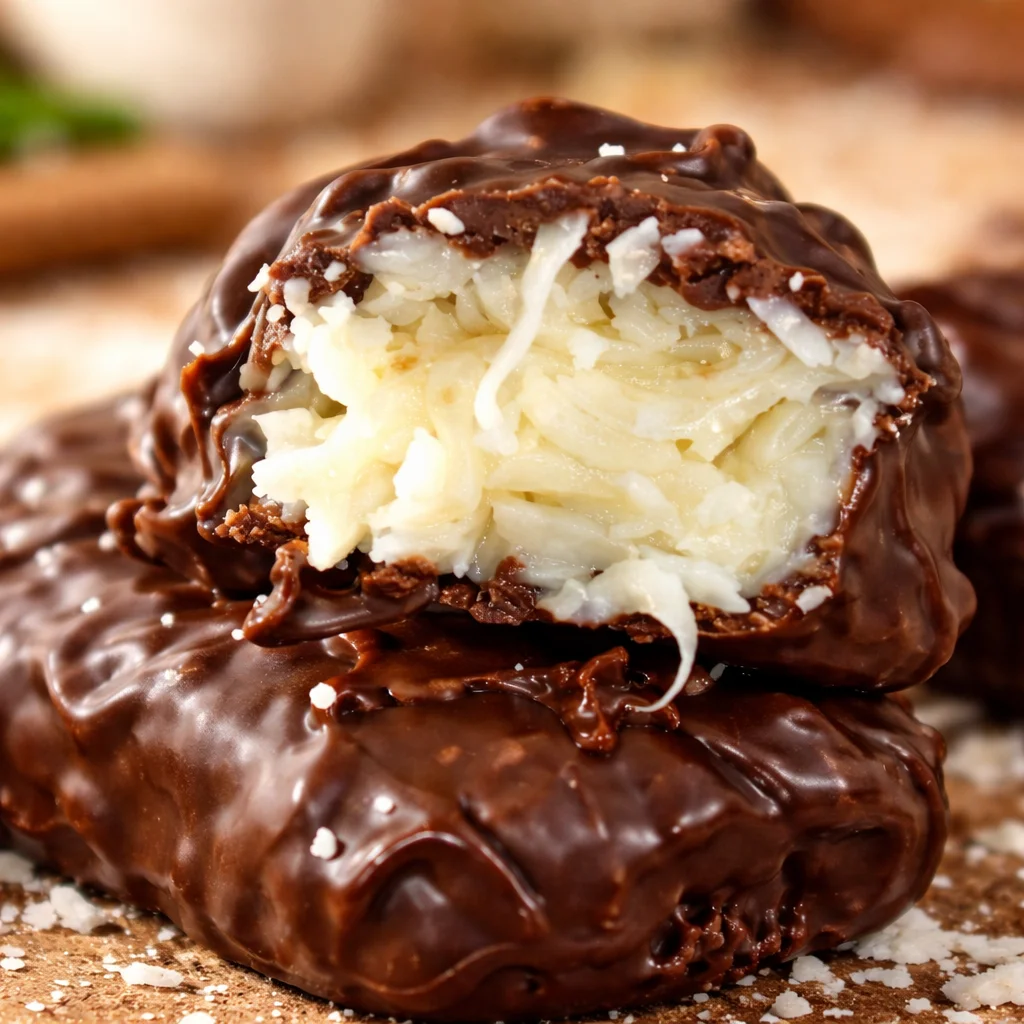
- Sweetened shredded coconut: This gives you that classic chewy, snowy center.
- Sweetened condensed milk: The glue that holds everything together and makes the coconut filling rich.
- Chocolate: Semi sweet or dark works best. Use chips, chunks, or a chopped bar.
A couple quick notes from my kitchen:
- If your coconut is super dry, the filling can feel a bit crumbly. Sweetened shredded coconut is usually perfect.
- For the chocolate, I usually melt chocolate chips with a tiny spoon of coconut oil, but that is optional and not required for the recipe to work.
If you are into candy bar style treats, you might also like these gooey smores chocolate bars for another easy, snackable dessert idea. 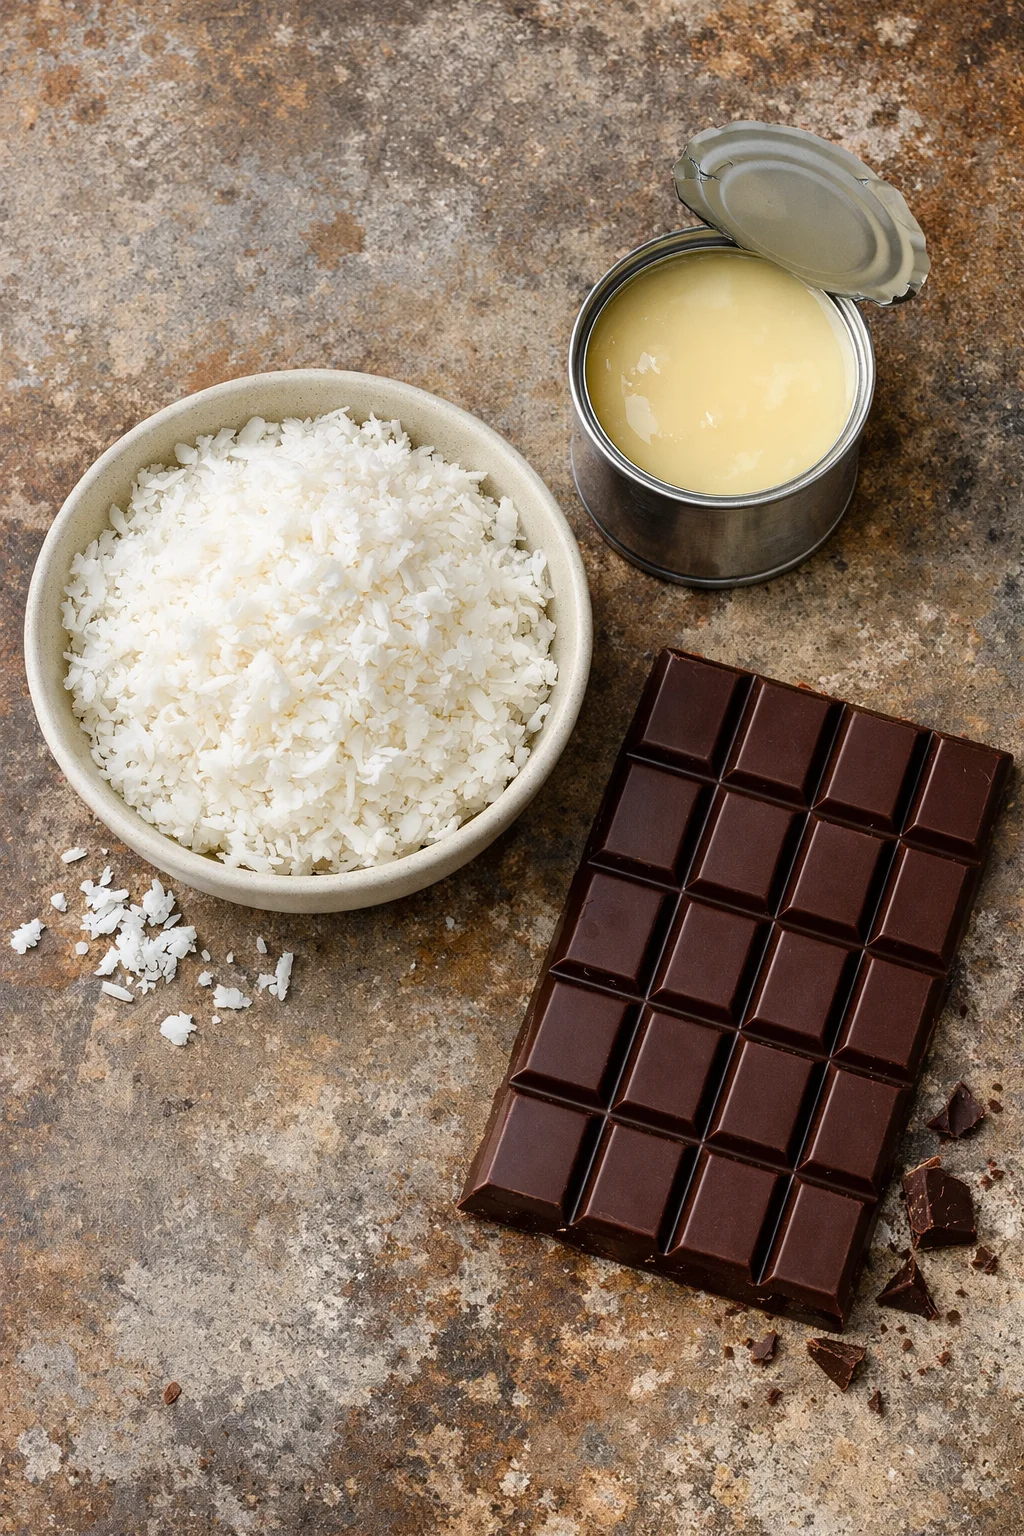
How to Make Homemade Mounds Bars
This is the part where you realize you are basically making your own candy bars with hardly any effort. The process is simple: mix, shape, chill, dip, chill again. That is it.
Step by step, the way I actually do it
1) Mix the filling
In a medium bowl, stir together the shredded coconut and sweetened condensed milk. I use a spoon at first, then I just use clean hands because it mixes faster and feels more even. You want it sticky and thick, kind of like a coconut dough.
Shape the bars
Line a plate or small tray with parchment paper if you have it. Scoop a couple tablespoons of the mixture and press it into a small bar shape. You can do short thick bars or longer skinny ones. Try to keep them similar in size so they set the same.Chill
Pop the tray into the fridge for about 30 to 45 minutes. You want the coconut centers to feel firm so they do not fall apart when you dip them.Melt the chocolate
Melt your chocolate in the microwave in short bursts, stirring every 20 to 30 seconds. Or use a small pot on low heat if you prefer. Keep it gentle so the chocolate does not scorch.Dip and coat
Drop each coconut bar into the chocolate and use a fork to flip and coat it. Let excess chocolate drip off, then place it back on the parchment.Chill again
Back in the fridge they go for at least 20 minutes, or until the chocolate is set.
This is also a great moment to say: if you love homemade candy experiments, these homemade cherry mash bars are such a fun throwback treat too.
I made these on a rainy Sunday and my whole family thought I bought them from a fancy candy shop. The coconut center was perfectly chewy and the chocolate snap was just right.
One more little nerdy but helpful detail: if your kitchen is warm, your chocolate may take longer to set, so do not rush it. Homemade candy is very forgiving, but chilling is your best friend here. 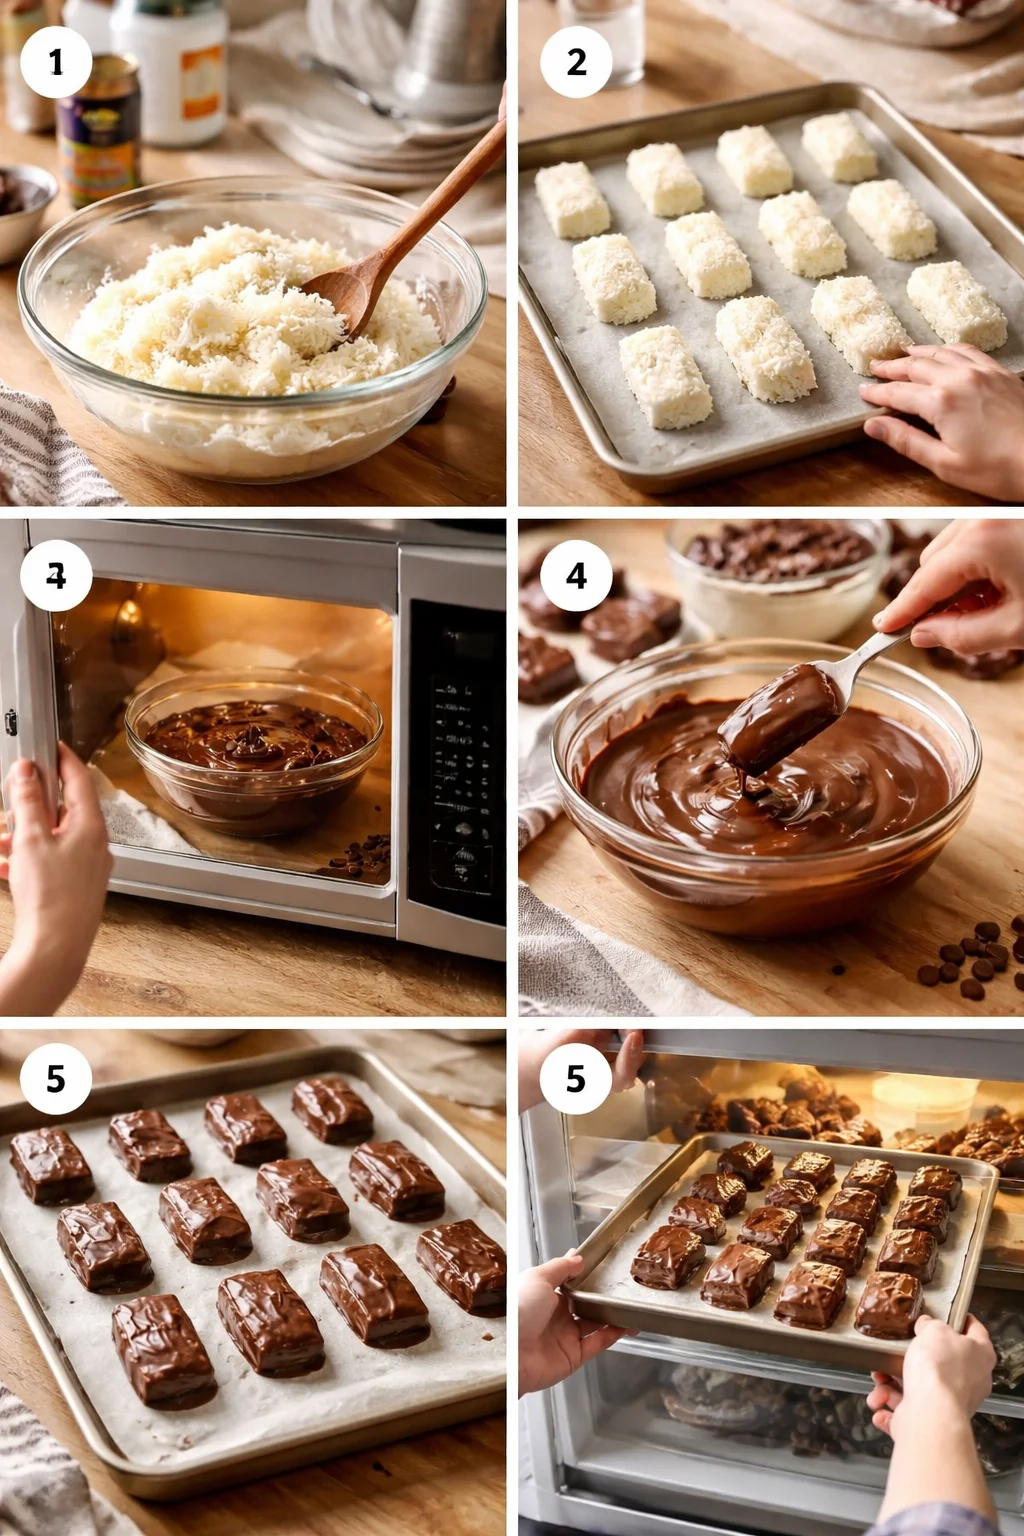
Variations of Mounds Bars
Once you get the base recipe down, it is honestly hard not to start playing with it. The original is perfect, but sometimes you want to switch it up depending on what you have.
Here are a few easy ways to change your 3-INGREDIENT Homemade MOUNDS Bars without making life complicated:
- Dark chocolate version: Use dark chocolate for a less sweet bite and a richer flavor.
- Toasted coconut center: Lightly toast the coconut first. Let it cool completely before mixing with condensed milk.
- Almond add in: Press one almond on top of each coconut bar before dipping, or tuck it inside. It gives that Almond Joy vibe.
- Extra thick chocolate shell: Dip once, chill, then dip again for a thicker coating.
If you are in a coconut mood, you might also want to check out these lime frosted coconut bars. They are bright, sweet, and super snacky.
Also, if you ever want a completely different kind of bar with a crunch, these chocolate quinoa crunch bars are surprisingly addictive.
Tips for Perfecting Your Mounds Bars
I have made these enough times to learn what helps and what causes the little annoyances, like cracked chocolate or sticky fingers. Here are the tips that make the biggest difference.

Little fixes that make a big difference
1) Chill the coconut centers before dipping
This is the number one thing. If they are soft, they can break apart in the chocolate.
2) Make the bars compact
When you shape them, really press the mixture together. Loose bars crumble. Packed bars hold.
3) Use a fork for dipping
A fork lets extra chocolate drip off and keeps the coating cleaner. A spoon works too, but it gets messier.
4) If the chocolate seems thick
Stir it well after melting. If it is still thick, a tiny bit of coconut oil can help thin it so it coats smoothly. Totally optional, but handy.
5) Storage
Store the finished bars in an airtight container in the fridge. They stay firm and the chocolate keeps that nice snap. They also freeze really well, which is dangerous because then you always have dessert available.
And just a quick reality check, because this is homemade: your bars might not look factory perfect, and that is part of the charm. They still taste amazing.
If you are building a little homemade dessert rotation, it is fun to pair these with something fruity and easy like this 3 ingredient peach cobbler dump cake for a totally different vibe on the table.
Nutritional Information
Let us keep this simple and honest. 3-INGREDIENT Homemade MOUNDS Bars are a sweet treat, not a health snack, but it is still helpful to know what you are eating.
What affects nutrition the most:
- Type of chocolate you use
- How big you shape the bars
- Whether you add extras like almonds or extra chocolate layers
In general, expect:
- Calories: moderate to high depending on size
- Sugar: noticeable because of condensed milk and sweetened coconut
- Fat: mostly from chocolate and coconut
My personal approach is to make smaller bars and actually enjoy one slowly. They are rich, so you do not need a giant piece to feel satisfied. If you want a little lighter feel, using dark chocolate helps balance the sweetness.
Common Questions
Can I use unsweetened coconut?
Yes, but the filling will be less sweet and sometimes a little drier. If you go that route, mix really well and consider adding a bit more condensed milk to get the right sticky texture.
Do I have to use condensed milk?
For this exact 3 ingredient setup, yes. It is what binds the coconut and gives the classic candy bar texture.
Why is my chocolate cracking after chilling?
This can happen if the bars get very cold very fast. Let them sit at room temp for a few minutes before biting, or store them in the fridge door area where it is slightly less icy cold.
How long do Homemade Mounds Bars last?
In the fridge, they are great for about a week in an airtight container. In the freezer, they can last a couple of months, just thaw a few minutes before eating.
Can I make these into bites instead of bars?
Absolutely. Roll the coconut mixture into little balls, chill, then dip. It is a fun party version and they are easier to portion.
A sweet little wrap up before you go
If you have been wanting a simple candy style dessert, 3-INGREDIENT Homemade MOUNDS Bars are such a satisfying one to try because they are quick, cozy, and honestly hard to mess up. Once you make them once, you will start thinking of all the ways you can tweak the chocolate or shape them for gifts and snack boxes. If you want another helpful guide for a similar treat, this link is a great reference: Easy Homemade Bounty Bars aka Mounds (step-by-step recipe). Make a batch, keep them chilled, and promise me you will save a couple for later because they disappear fast.

Homemade Mounds Bars
Ingredients
Method
- In a medium bowl, combine the shredded coconut and sweetened condensed milk, mixing thoroughly using a spoon and then your hands until sticky and thick.
- Line a plate or tray with parchment paper, scoop tablespoons of the mixture, and shape them into bars.
- Place the shaped bars in the fridge for 30 to 45 minutes until firm.
- Melt the chocolate in the microwave or on the stove in short bursts, stirring often.
- Dip each coconut bar into the melted chocolate using a fork, letting excess chocolate drip off before placing back on the parchment.
- Chill the dipped bars in the fridge for at least 20 minutes or until the chocolate is set.