


halloween dirt cake recipe is my go to move when I need something cute, spooky, and basically impossible to mess up. You know that feeling when Halloween sneaks up and suddenly you are responsible for bringing a dessert to school, work, or a party? This is the fix. It looks festive, it tastes like cookies and cream heaven, and kids lose their minds over the “dirt” and worms. Plus, it is one of those desserts you can make ahead and forget about until it is time to serve. 
Why We Love This Recipe
I love this cake because it hits that sweet spot between fun and low effort. You get a dessert that looks like you spent time styling it, but honestly, the cookies are doing most of the work. The creamy layers are cool and fluffy, the cookie crumbs add that chocolate crunch, and the whole thing just screams Halloween.
Also, it is super flexible. You can make it in a big dish, in a trifle bowl, or in little cups for individual servings. If you are hosting and want to keep things simple, individual cups are a lifesaver because there is no messy scooping later.
If you are in the mood to lean even harder into the theme, you might also like this version with worms and extra spooky vibes: Halloween dirt cake with gummy worms. I have made both, and they disappear at the same speed.
One more reason I keep coming back to this halloween dirt cake recipe is that it is a great “starter dessert” if you do not bake much. No oven stress. No fancy tools. Just mixing, layering, and chilling.
Ingredients Needed
Here is what I typically grab. I am keeping it simple and practical, because that is the whole point of this dessert.
- Chocolate sandwich cookies (classic style, for the dirt crumbs)
- Cream cheese (softened so it mixes smoothly)
- Instant vanilla pudding mix
- Cold milk (whatever your pudding box calls for)
- Whipped topping (thawed, or you can use homemade whipped cream if you want)
- Powdered sugar (just a bit, to sweeten the cream cheese)
- Gummy worms, candy pumpkins, or Halloween sprinkles (totally optional but very fun)
If you want to switch things up, you can use chocolate pudding instead of vanilla for a deeper chocolate vibe. I have done both. Vanilla keeps it more “cookies and cream,” while chocolate makes it taste extra rich.
And if you are cookie obsessed, you should check out these dirt cake cookies sometime. Same energy, just handheld, and honestly dangerous to keep around.
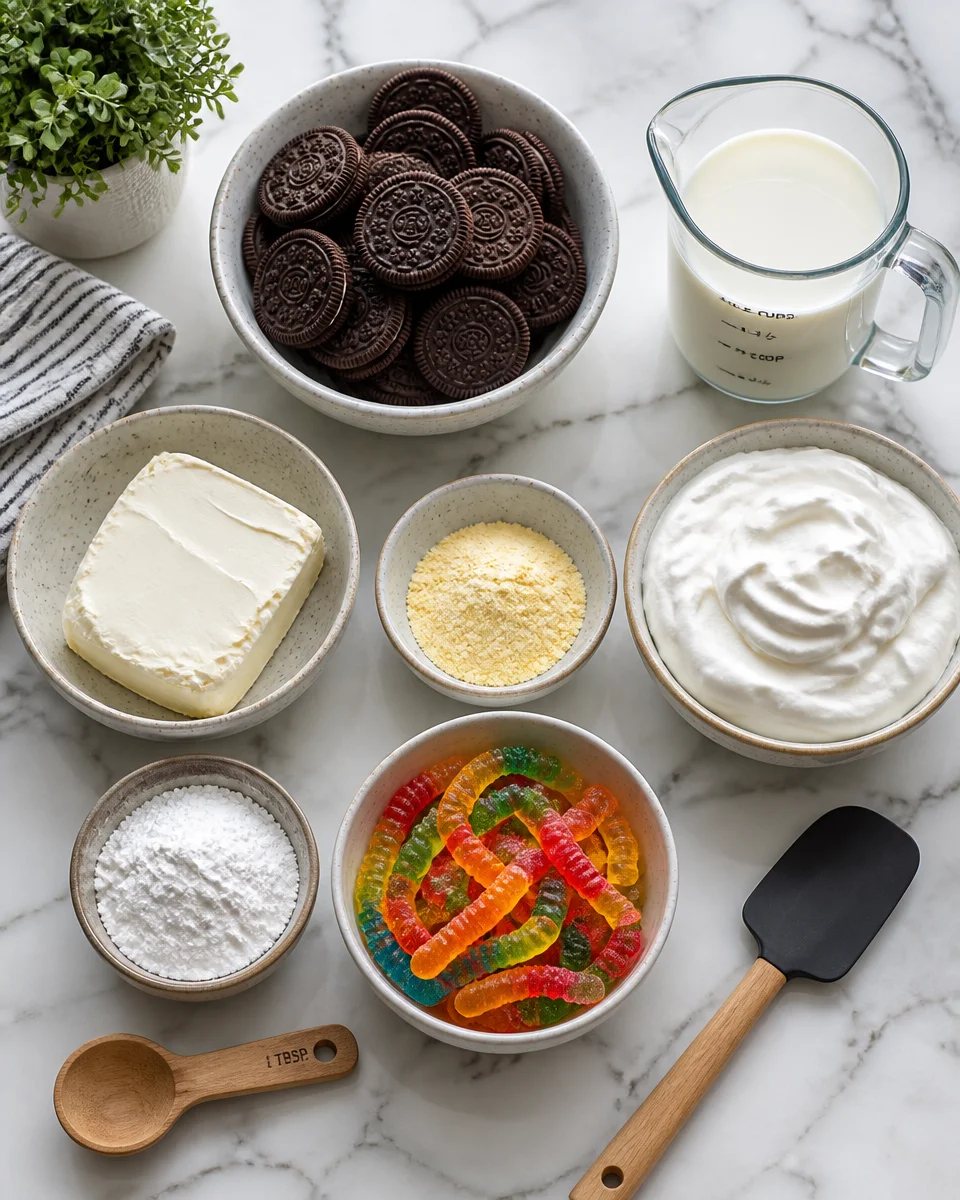
Quick note from my kitchen: soften the cream cheese first. If you skip that, you will be fighting little lumps, and nobody wants to wrestle dessert.
Step By Step Instructions
This is the part where you realize how easy it really is. I will walk you through it exactly how I do it at home.
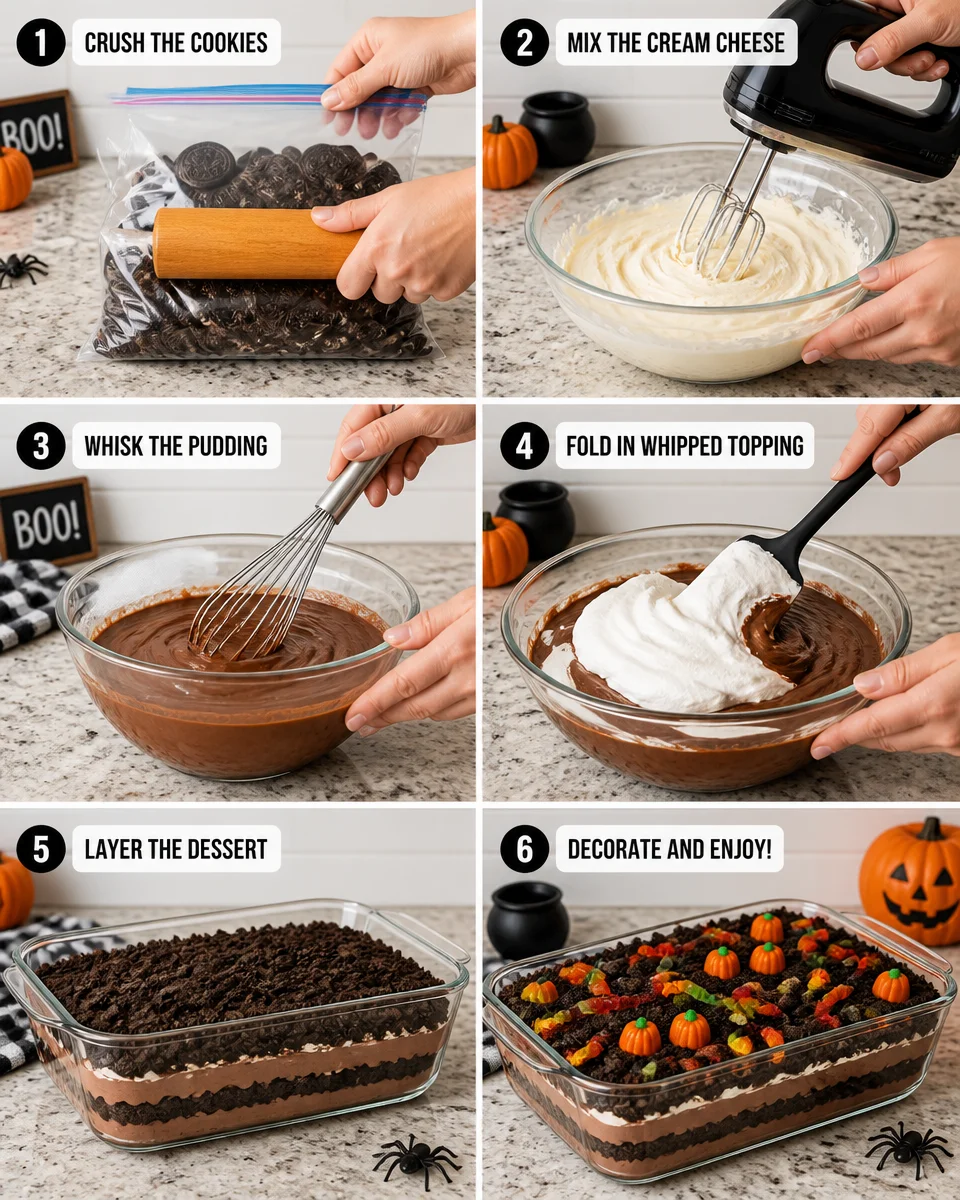
1) Make the dirt crumbs
Put the chocolate sandwich cookies into a zip top bag and crush them with a rolling pin, or pulse them in a food processor. I like some fine crumbs with a few bigger bits mixed in. It looks more like real “dirt” that way.
2) Mix the creamy layer
In a bowl, beat the softened cream cheese with powdered sugar until it looks smooth and creamy. In a separate bowl, whisk the instant pudding mix with cold milk until it thickens. Then gently fold the pudding into the cream cheese mixture.
3) Fold in the whipped topping
Add the whipped topping and fold it in until everything looks light and fluffy. Do not overmix. Just keep folding until the streaks are gone.
4) Layer it up
Grab your serving dish. Start with a layer of cookie crumbs, then a layer of the cream mixture, and repeat. I usually do two or three layers depending on the dish. Finish with a thick cookie crumb layer on top, because that is the part everyone sees first.
5) Decorate and chill
Pop gummy worms on top, stick in candy eyes, or add sprinkles. Then cover and chill it for at least 2 hours. Overnight is even better, because the flavors settle in and it scoops like a dream.
If you are planning a dessert table for a party, I like pairing this with something warm and cinnamon sweet, like churro funnel cake. The contrast is so good.
“I made this for my daughter’s class party and the kids were literally lining up for seconds. A couple parents asked me for the recipe before the bell even rang.”
Tips and Tricks
Here are the little things that make this halloween dirt cake recipe come out perfect every time, without stress.
Chill time matters. If you serve it right away, it will still taste good, but it will be softer and a bit loose. Two hours is the minimum I recommend.
Make it ahead. This dessert is even better the next day. I love having it done early so Halloween day feels less hectic.
Keep the top layer crunchy. If you want the top to stay extra crumbly, add the final cookie “dirt” layer closer to serving time. Not required, just a preference if you like crunch.
Use clear cups for a cute look. If you do individual servings, you can see the layers, and it feels fancy even though it is super simple.
Want it less sweet? Use a little less powdered sugar in the cream cheese. I have done that for adults who prefer a lighter sweetness.
Also, if you are building out a holiday dessert lineup and want something that feels more classic later in the year, this Christmas Yule log cake recipe is a fun one to bookmark. Different vibe, same crowd pleasing effect.

Other Ways to Serve This Dessert
Once you know the basic method, you can serve it in a bunch of ways depending on your crowd.
Graveyard style: Add cookie “tombstones” (cut rectangle cookies in half) and write RIP with icing gel. Sprinkle a few candy bones if you can find them.
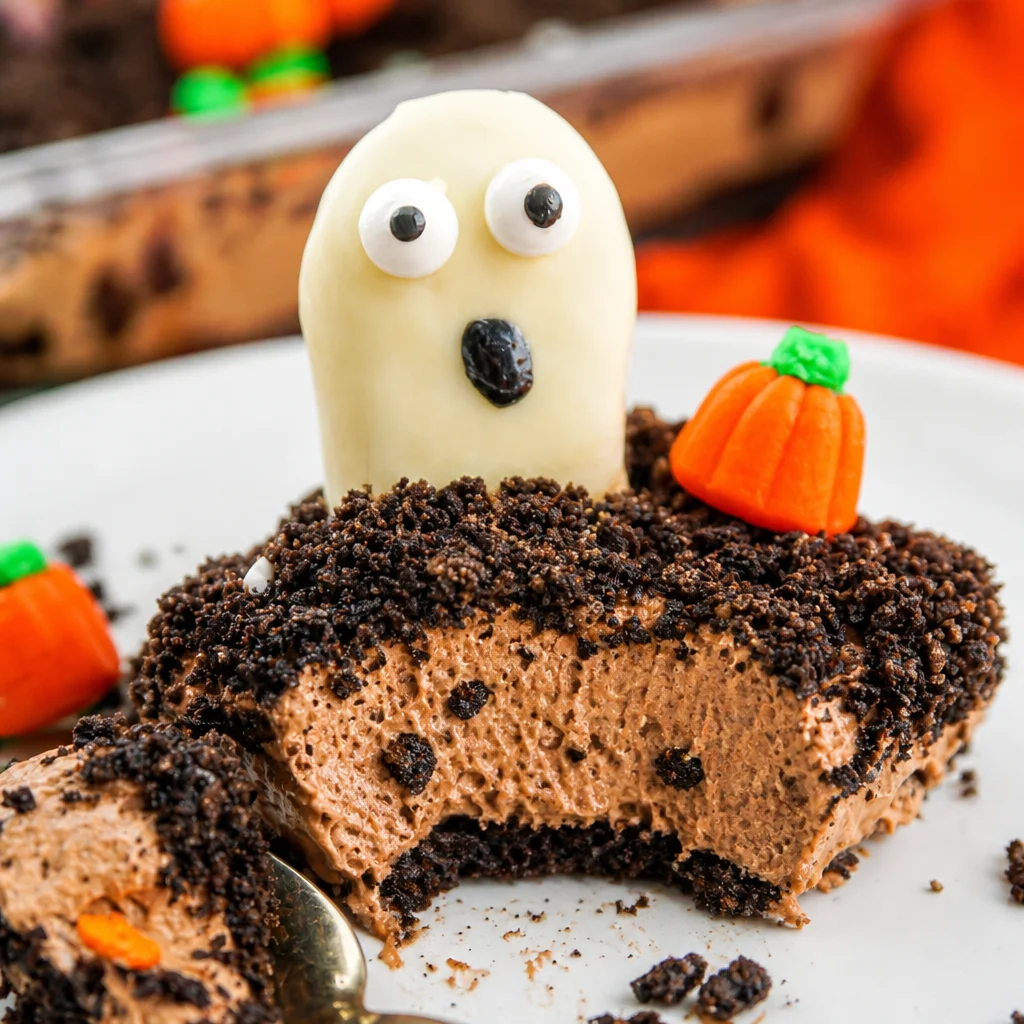
Pumpkin patch style: Add candy pumpkins on top and a few green sprinkles. It is adorable for little kids, and it looks bright and happy.
Individual “worms in dirt” cups: Perfect for classrooms, bake sales, and potlucks. Add one or two gummy worms hanging over the edge of the cup for that gross in a fun way effect.
Trifle bowl centerpiece: If you want it to look dramatic on the table, use a big glass bowl and really show off the layers. People always ask about it.
And if you need another easy, shareable dessert for parties, I have a soft spot for cream puff cake. It is different from dirt cake, but it has that same “feeds a crowd” magic.
Common Questions
Can I make this halloween dirt cake recipe the night before?
Yes, and I actually prefer it that way. The texture sets up nicely and it is easier to scoop.
Do I have to use whipped topping?
Nope. You can use homemade whipped cream. Just whip it to soft peaks and fold it in gently so the mixture stays fluffy.
What is the best dish to use?
A 9 by 13 dish is the easiest. For parties, a clear trifle bowl looks great. For kids, small cups are simple and mess free.
How do I store leftovers?
Cover it tightly and keep it in the fridge. It is best within 3 days. After that, it still tastes fine, but the crumbs get softer.
Can I make it without cream cheese?
You can, but it will taste a little less rich. If you skip it, add extra pudding and fold in whipped topping for a lighter mousse style filling.
A sweet little send off for your Halloween table
If you want a dessert that looks festive but feels easy, this halloween dirt cake recipe really delivers. You get creamy layers, crunchy cookie crumbs, and the cutest spooky toppings with almost zero effort. If you want to compare versions or grab more decoration ideas, these two recipes are worth a look: Halloween Dirt Cake Recipe – Desserts On A Dime and Halloween Dirt Cake – Tornadough Alli. Now promise me you will toss a few gummy worms on top and have fun with it. Halloween desserts should make you smile before you even take a bite. 
Halloween Dirt Cake
Ingredients
Method
- Put the chocolate sandwich cookies into a zip top bag and crush them with a rolling pin, or pulse them in a food processor until you have fine crumbs with a few bigger bits mixed in.
- In a bowl, beat the softened cream cheese with powdered sugar until it is smooth and creamy.
- In a separate bowl, whisk the instant pudding mix with cold milk until it thickens.
- Gently fold the pudding into the cream cheese mixture until combined.
- Add the whipped topping and fold until light and fluffy, being careful not to overmix.
- Start with a layer of cookie crumbs at the bottom of your serving dish.
- Add a layer of the cream mixture, then repeat layers until you reach the top.
- Finish with a thick layer of cookie crumbs on top.
- Add gummy worms, stick in candy eyes, or sprinkle with Halloween sprinkles.
- Cover and chill in the refrigerator for at least 2 hours, or overnight for best results.
