Ingredients
Method
Preparation
- Put the chocolate sandwich cookies into a zip top bag and crush them with a rolling pin, or pulse them in a food processor until you have fine crumbs with a few bigger bits mixed in.
- In a bowl, beat the softened cream cheese with powdered sugar until it is smooth and creamy.
- In a separate bowl, whisk the instant pudding mix with cold milk until it thickens.
- Gently fold the pudding into the cream cheese mixture until combined.
- Add the whipped topping and fold until light and fluffy, being careful not to overmix.
Assembly
- Start with a layer of cookie crumbs at the bottom of your serving dish.
- Add a layer of the cream mixture, then repeat layers until you reach the top.
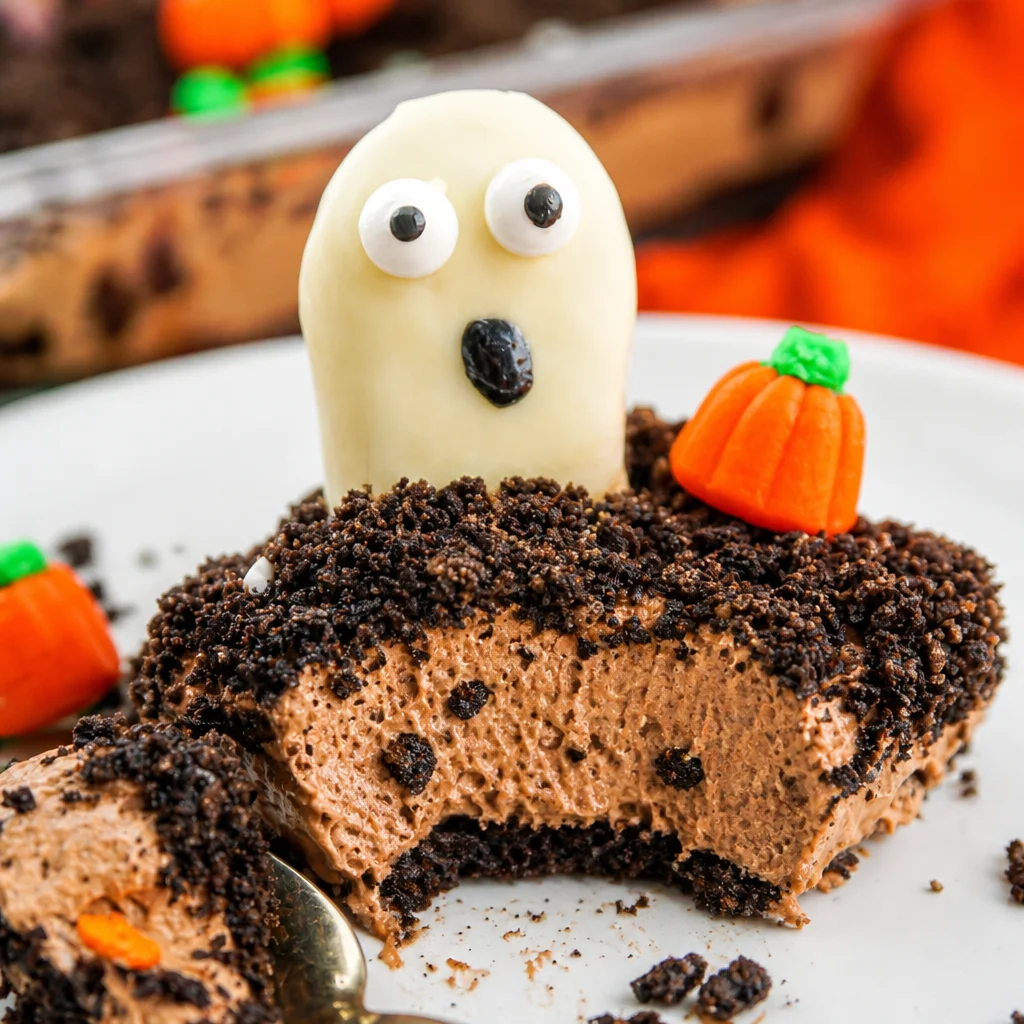
- Finish with a thick layer of cookie crumbs on top.
Decoration and Chilling
- Add gummy worms, stick in candy eyes, or sprinkle with Halloween sprinkles.
- Cover and chill in the refrigerator for at least 2 hours, or overnight for best results.
Notes
The dessert is even better the next day, and if you want to keep the top crunchy, add the final cookie layer closer to serving time. If serving in individual cups, use clear cups to showcase the layers.