
Sourdough Starter for Beginners (Step by Step) is one of those kitchen projects that sounds fancy until you realize it is basically flour, water, and a tiny bit of patience. If you have ever stared at photos of bubbly starter and thought, mine would never do that, you are exactly who I wrote this for. I used to feel the same way, and I definitely made it harder than it needed to be. This guide is the simple, no stress version I wish I had on day one. You do not need special tools, and you do not need to be a bread expert to get a happy starter going. 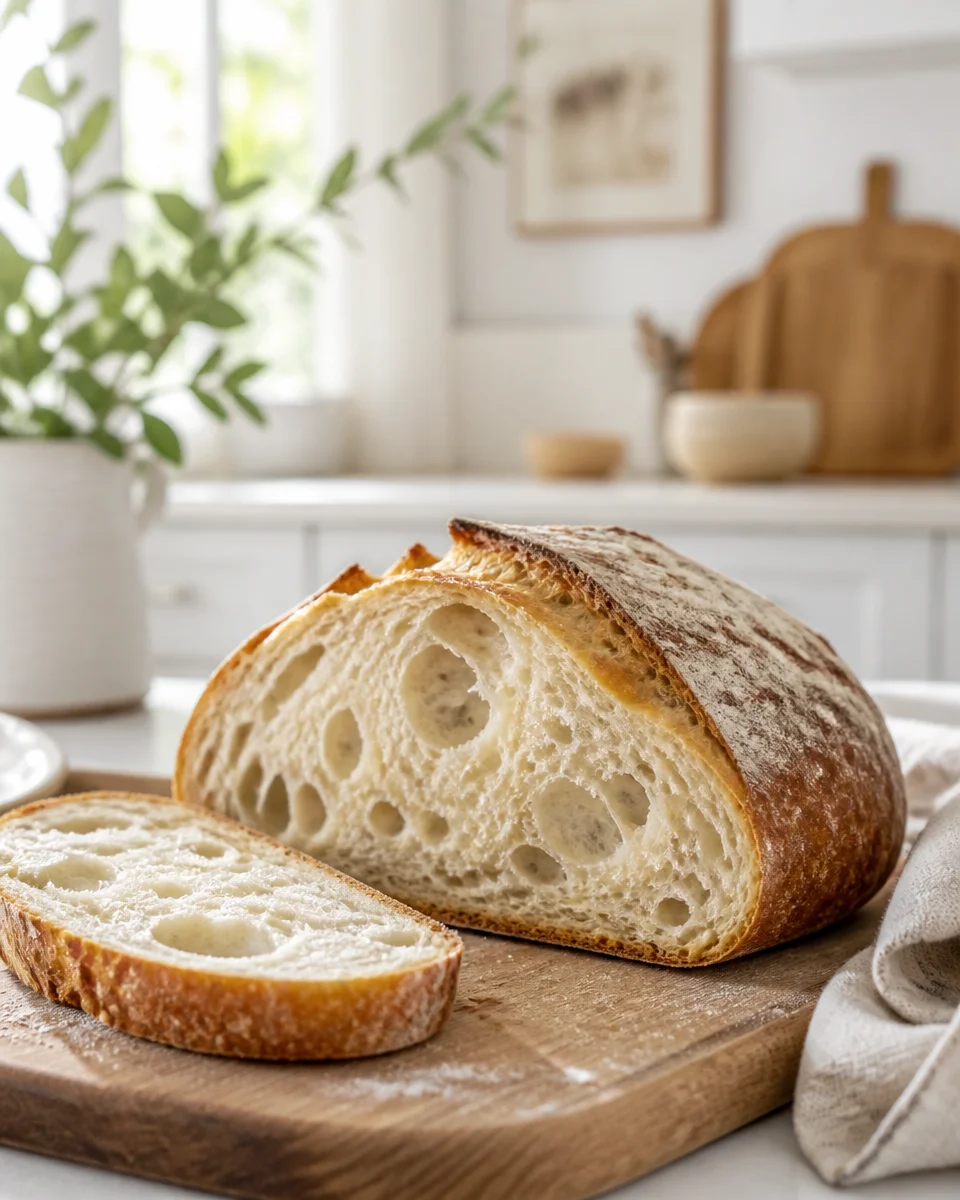
What is a Sourdough Starter?
A sourdough starter is a small jar of flour and water that you feed over a few days until it becomes alive with natural yeast and good bacteria. That sounds science-y, but in real life it looks like bubbles, a slightly tangy smell, and a batter-like texture.
Instead of using store bought yeast, a starter becomes your natural leavening. It helps dough rise and it gives sourdough that classic flavor. The best part is once it is established, you can keep it going for a long time with regular feedings.
Think of it like a tiny kitchen pet. Low maintenance once you know the routine, but it does better when you pay attention.
And hey, if you are in a cozy cooking mood while you wait for your starter to wake up, this little bowl of comfort is right on theme: pastina comfort soup. Warm, simple, and very starter week friendly. 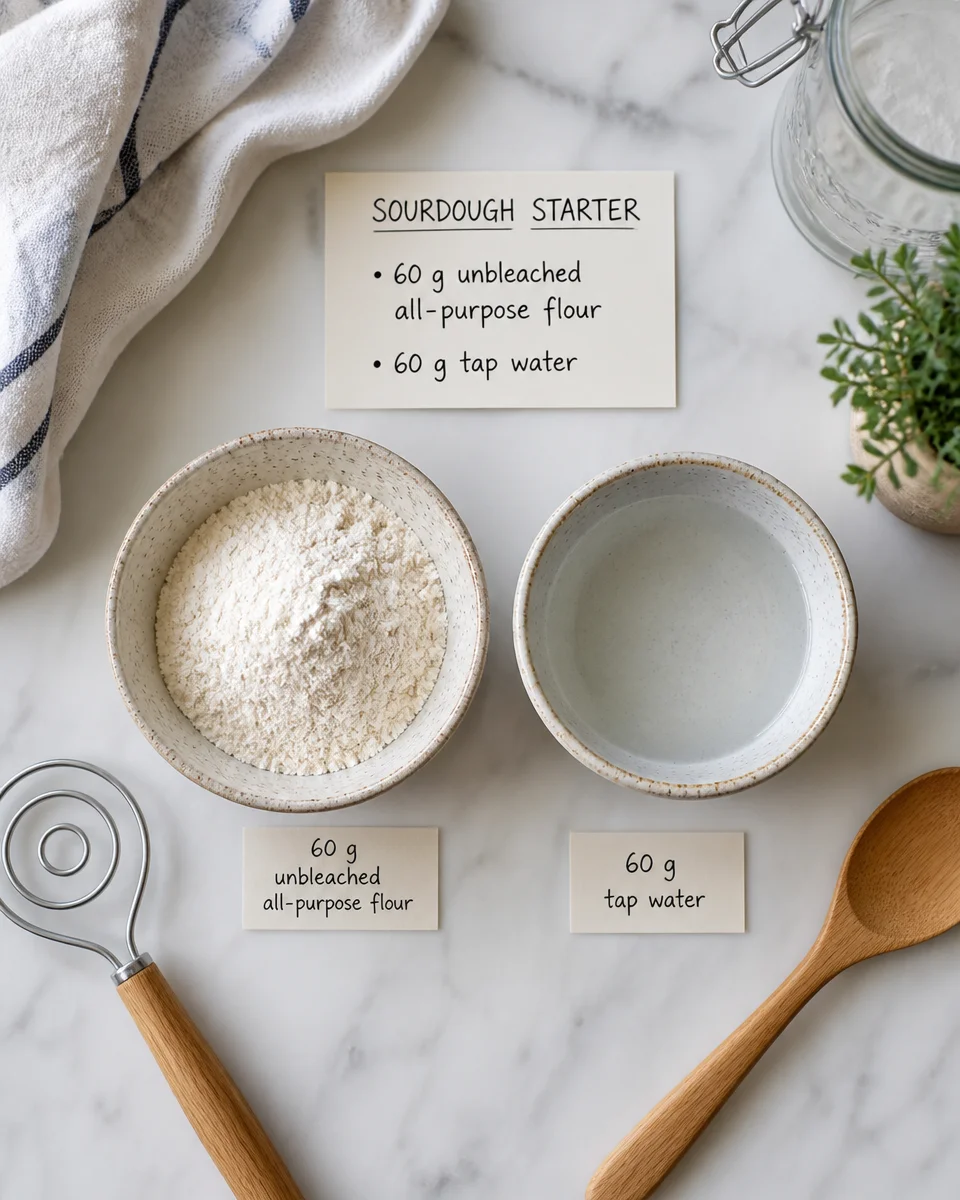
How to Make and Maintain a Sourdough Starter
Here is the part you came for. This is the step by step that actually works in a normal home kitchen. I am going to keep it practical and clear, and I will tell you what things should look and smell like along the way.
What you will need
- A jar or container (at least 16 oz, so it has room to rise)
- Flour (unbleached all purpose is fine, whole wheat can help at the start)
- Water (tap is usually fine, but avoid heavily chlorinated water if possible)
- A spoon or small spatula
- A kitchen scale (optional, but super helpful)
Day by day directions (simple version)
Day 1: Mix 60 g flour with 60 g water in your jar. Stir until no dry spots remain. Scrape down the sides. Cover loosely (lid set on top, or a breathable cover). Leave it at room temperature.
Day 2: You might see nothing. That is normal. Stir it once, just to check on it. If you see a few bubbles, great.
Day 3: Now we start feeding. Discard about half (yes, it feels wasteful, but it keeps things balanced). Add 60 g flour and 60 g water. Stir well. Cover loosely again.
Day 4: Repeat the same feeding: discard half, then add 60 g flour and 60 g water. You should start noticing a slightly tangy smell. If it smells a bit funky, do not panic yet. A brand new starter can be dramatic.
Day 5: Repeat the feeding. Look for more bubbles and a little rise. If your kitchen is warm, it may start doubling after feedings. If it is cool, it may still be slow, and that is okay.
Day 6 and Day 7: Keep feeding daily. Once it reliably doubles within about 4 to 8 hours after feeding and looks bubbly, it is usually ready to bake with.
When your starter is established, you have two main options:
- Keep it on the counter and feed it daily if you bake often.
- Store it in the fridge and feed it about once a week if you bake occasionally.
One tiny real life tip: write the day number on a piece of tape and stick it to the jar. Starter week can blur together fast.
“I followed this exact routine and thought nothing was happening until day five, then it suddenly got bubbly and doubled overnight. Now I bake every weekend and my starter feels like part of my kitchen.”
If you are doing this while juggling regular life, I get it. Some days you will remember to feed it right on time, and other days you will be like, oh no, I forgot. You can still succeed. Also, if you are trying to keep your counters a little calmer during this project, I loved these habits for a clean home without deep cleaning. Starter jars somehow invite mess. 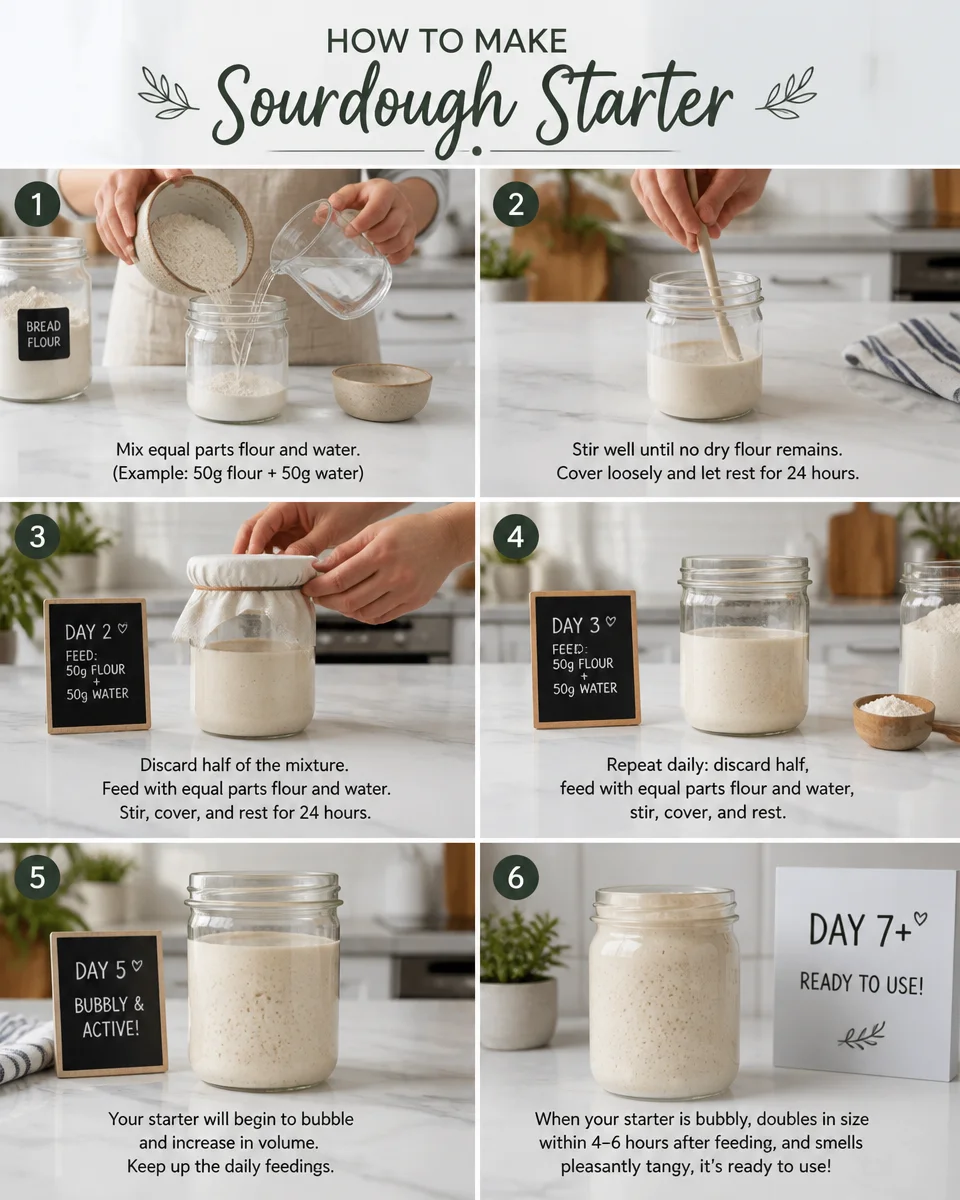
Best Tips for Sourdough Starter Success
Once you have made one or two starters, you realize success is mostly about small habits. Here are the things that make the biggest difference, especially for first timers.
Feed it at about the same time daily. It does not have to be exact, but a steady rhythm helps.
Use a clear jar. It is much easier to spot bubbles and see if it is rising.
Keep it warm. Starters like cozy temperatures. If your kitchen is chilly, try placing it near (not on) a warm appliance, or in the oven with the light on.
Stir it well. You want to incorporate air and fully hydrate the flour. No dry flour pockets.
Trust your senses. A healthy starter smells pleasantly tangy, a little like yogurt or mild vinegar. It should not smell like rotten food.
And since feeding time is basically a tiny daily ritual, I like to pair it with something that keeps me feeling good. If you spend time at a counter stirring and measuring, your shoulders might start complaining. These easy stretches for tight shoulders are a legit little reset.
Common Mistakes and Troubleshooting
This is where most people quit, so let us make sure you do not. A sourdough starter is forgiving, but it does have a few common hiccups.
Mistake: It is not bubbling after a few days.
If your home is cool, it may take longer. Keep feeding daily and move it somewhere warmer. You can also use a mix of whole wheat and all purpose flour for a couple days to boost activity.

Mistake: It smells super bad.
Early starters can smell weird, but there is a difference between sharp and rotten. If it smells like spoiled food or you see colored fuzzy mold, toss it and start over with a clean jar.
Mistake: A layer of liquid forms on top.
That liquid is often called hooch. It usually means the starter is hungry. Pour it off or stir it in, then feed. If it happens a lot, feed more often or keep it a bit warmer.
Mistake: I forgot a feeding.
One missed feeding is usually fine. Just feed it when you remember and keep going. If it has been many days at room temp without feeding, you might need a couple days of consistent feedings to bring it back.
Mistake: My jar is a crusty mess.
Happens to the best of us. Wipe the sides after stirring. And if you are dealing with sticky flour paste on tools or jars, these weird dish soap tricks for the toughest grease oddly help with stubborn kitchen residue too.
One more real talk moment: if you are feeling run down while you are learning this, that can make everything feel harder. I keep this list bookmarked for busy weeks: cold remedies that actually work. Not starter related, but very life related.
Understanding the Role of Flour and Temperature in Sourdough Starter
Two things control your starter more than anything else: what you feed it and how warm it is.
Flour matters because it is food. Unbleached all purpose flour works great long term, but whole wheat or rye flour can jumpstart activity because they carry more natural microbes and nutrients. If your starter is sluggish, try feeding with half whole wheat for a day or two.
Temperature matters because yeast and bacteria are living things. Warmer rooms usually mean faster bubbling and rising. Cooler rooms mean slower fermentation. Most beginners think they did something wrong when really their kitchen is just cold.
Here is a simple way to think about it:
Warm kitchen: starter may double faster, may need feedings sooner.
Cool kitchen: starter may take longer to rise, may need extra days before it is ready to bake.
Once you learn this, sourdough starter stops feeling mysterious. It becomes pretty predictable, which is honestly comforting.
Common Questions
How do I know my starter is ready to bake?
When it doubles in size consistently after feeding and looks bubbly throughout, it is usually ready. The smell should be pleasantly tangy, not gross.
Do I have to use a scale?
No, but it makes things easier. If you use cups, aim for a thick pancake batter texture and keep it consistent.
Can I use whole wheat flour only?
Yes. It may ferment a bit faster and smell stronger. You might also need a little more water since whole wheat absorbs more.
What do I do with discard?
You can save it in the fridge and use it in pancakes, crackers, or quick breads. If you are not ready for discard recipes yet, it is okay to toss it while you learn.
Why does my starter rise and then fall?
That is normal. It rises after feeding, then falls when it runs out of food. You want to catch it near its peak for baking.
A little pep talk before you bake
If you take one thing from this post, let it be this: your Sourdough Starter for Beginners (Step by Step) journey does not have to be perfect to work. Keep it warm, feed it consistently, and give it time. If you want another solid walkthrough to compare notes, I also like Beginner Sourdough Starter Recipe – The Clever Carrot and this helpful guide, How to Make a Sourdough Starter – EASY Beginner’s Guide. Your Sourdough Starter for Beginners (Step by Step) will get stronger every day, and soon enough you will be casually saying things like my starter is thriving, like it is no big deal. Go start that jar today, and future you will be so glad you did. 
Sourdough Starter
Ingredients
Method
- Mix 60 g of flour with 60 g of water in your jar. Stir until no dry spots remain. Scrape down the sides. Cover loosely and leave at room temperature.
- Stir it once to check on it. If you see a few bubbles, great; if not, that is normal.
- Discard about half of the starter. Add 60 g of flour and 60 g of water. Stir well and cover loosely again.
- Repeat the same feeding: discard half, then add 60 g of flour and 60 g of water. Look for a slightly tangy smell.
- Repeat the feeding and look for more bubbles and a little rise. It may start doubling after feedings.
- Keep feeding daily until it reliably doubles in size within 4 to 8 hours after feeding.
