
Black and White Cake is what I bake when I want something that looks a little fancy but still feels like comfort food. You know those days when you need a dessert for a birthday, a potluck, or just a random Tuesday, and you do not want to stress out? This cake has saved me so many times because it is simple, it bakes up reliably, and everyone instantly recognizes that classic chocolate and vanilla vibe. Plus, the frosting situation is half the fun, because you get both flavors in every slice. If you have ever been torn between chocolate and vanilla, this is your peace treaty. 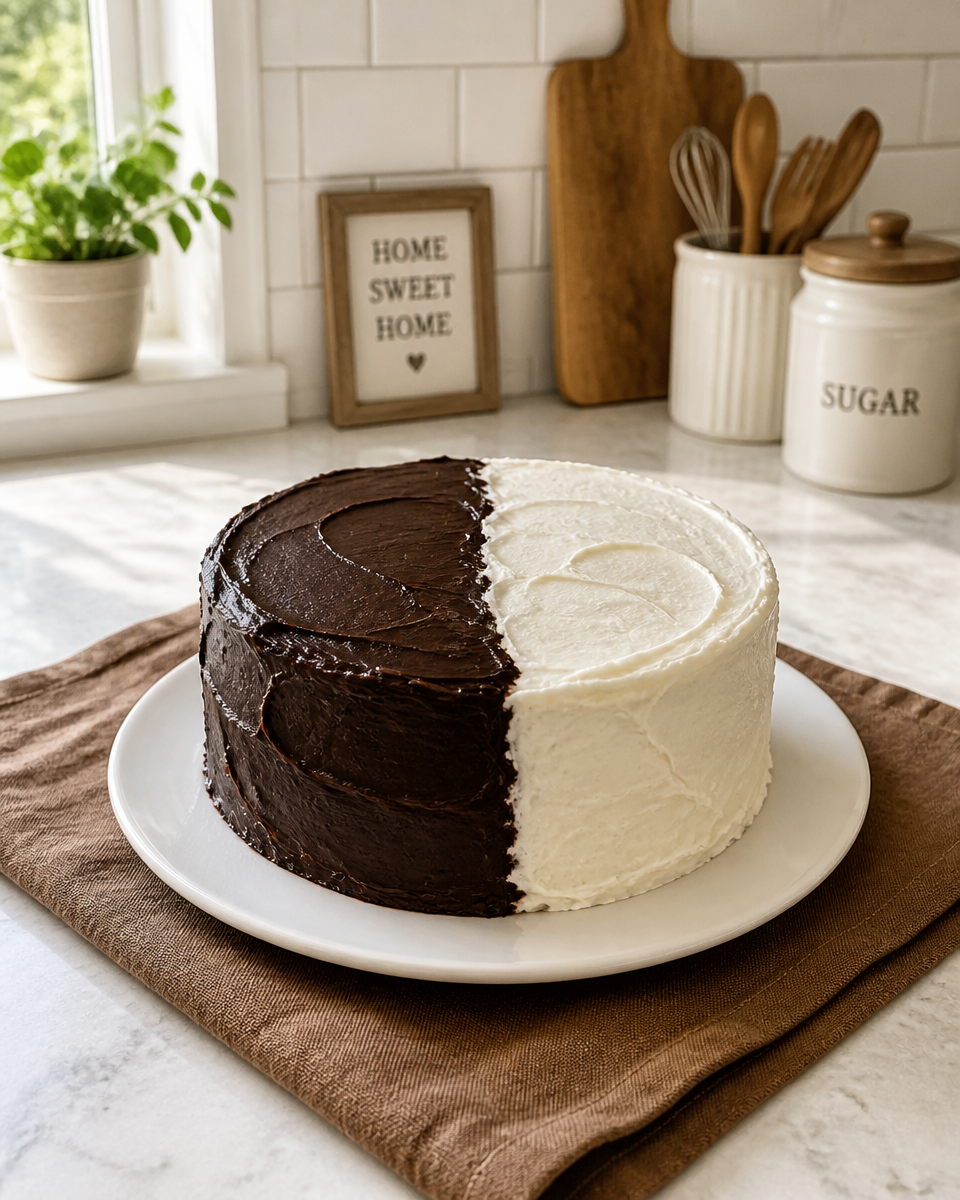
Why this recipe works
I have tried a few versions over the years, and this is the one I keep coming back to because it hits the sweet spot between easy and impressive. The crumb stays soft, the flavor is balanced, and you do not need any weird specialty ingredients. It is also forgiving if you are not the type to measure flour with laboratory precision.
Here is what makes it work so well:
- Two batters, one plan: you mix one base batter, then split it into vanilla and chocolate. Less mess, more consistency.
- Buttermilk (or a smart swap): it keeps the cake tender and gives it a slight tang that makes the sweetness taste better.
- Simple frostings: a vanilla glaze and a chocolate glaze feel like the classic cookie vibe, but on a cake.
- Great for gatherings: people love the look of the black and white top, and slices serve neatly.
By the way, if you are in a black and white dessert mood and want something richer and more dramatic next time, this Black Forest cheesecake is a fun rabbit hole to go down.
Substitutions for buttermilk
Let us talk buttermilk. I love baking with it, but I almost never have it sitting in my fridge when the craving hits. The good news is you have options, and they work. I have used every one of these at least once, and nobody complained.
My favorite swaps:
1) Milk and lemon juice or vinegar
Add 1 tablespoon of lemon juice or white vinegar to 1 cup of milk, stir, then let it sit for 5 to 10 minutes. It will look a little curdled. That is exactly what you want.
2) Greek yogurt and milk
Mix half cup plain Greek yogurt with half cup milk. This gives you a thicker, richer feel, which is great for a soft cake. If you like baking with yogurt, you might also enjoy this blackberry Greek yogurt cake sometime.
3) Sour cream and water (or milk)
Use about three quarters cup sour cream and thin it with a quarter cup water or milk. This one makes the cake extra tender.
4) Kefir
If you already drink kefir, you can use it one for one. It is basically a buttermilk cousin.
I made this for my kid’s class party and did the milk and vinegar swap. The cake stayed super soft even the next day, and the black and white topping made it look bakery level. I am not a confident baker, so this felt like a win.
How to make a Black & White Cookie Cake
This is where the magic happens. Think of it as a Black and White Cake that borrows its personality from the classic black and white cookie, especially that smooth vanilla and chocolate icing on top. You do not need special pans, but I really like using a 9×13 pan for easy slicing, or two 8 inch rounds if you want a layer cake moment.
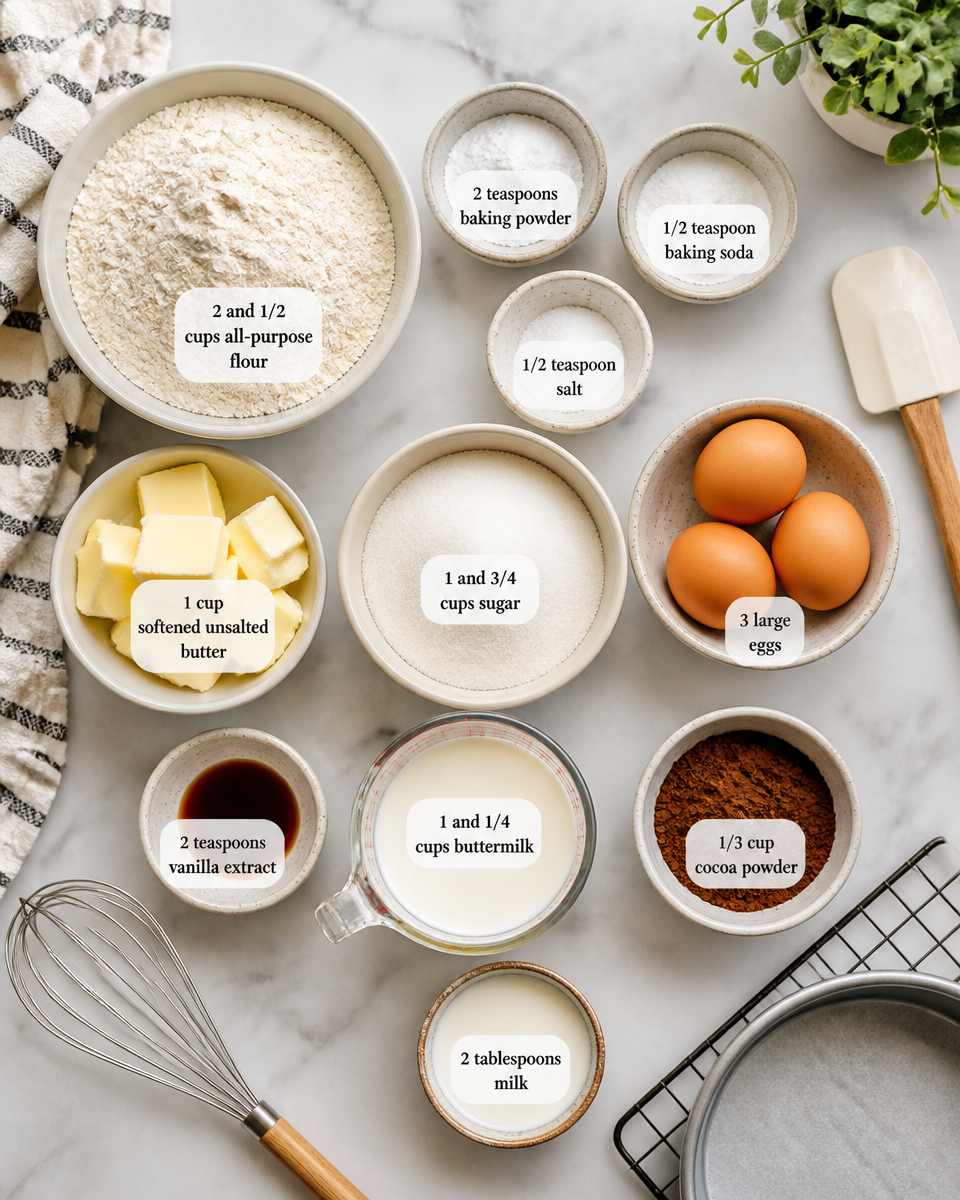
What you will need
- 2 and 1/2 cups all purpose flour
- 2 teaspoons baking powder
- 1/2 teaspoon baking soda
- 1/2 teaspoon salt
- 1 cup unsalted butter, softened
- 1 and 3/4 cups sugar
- 3 large eggs
- 2 teaspoons vanilla extract
- 1 and 1/4 cups buttermilk (or swap)
- 1/3 cup cocoa powder (for the chocolate half)
- 2 tablespoons milk (to loosen chocolate batter if needed)
Step by step directions
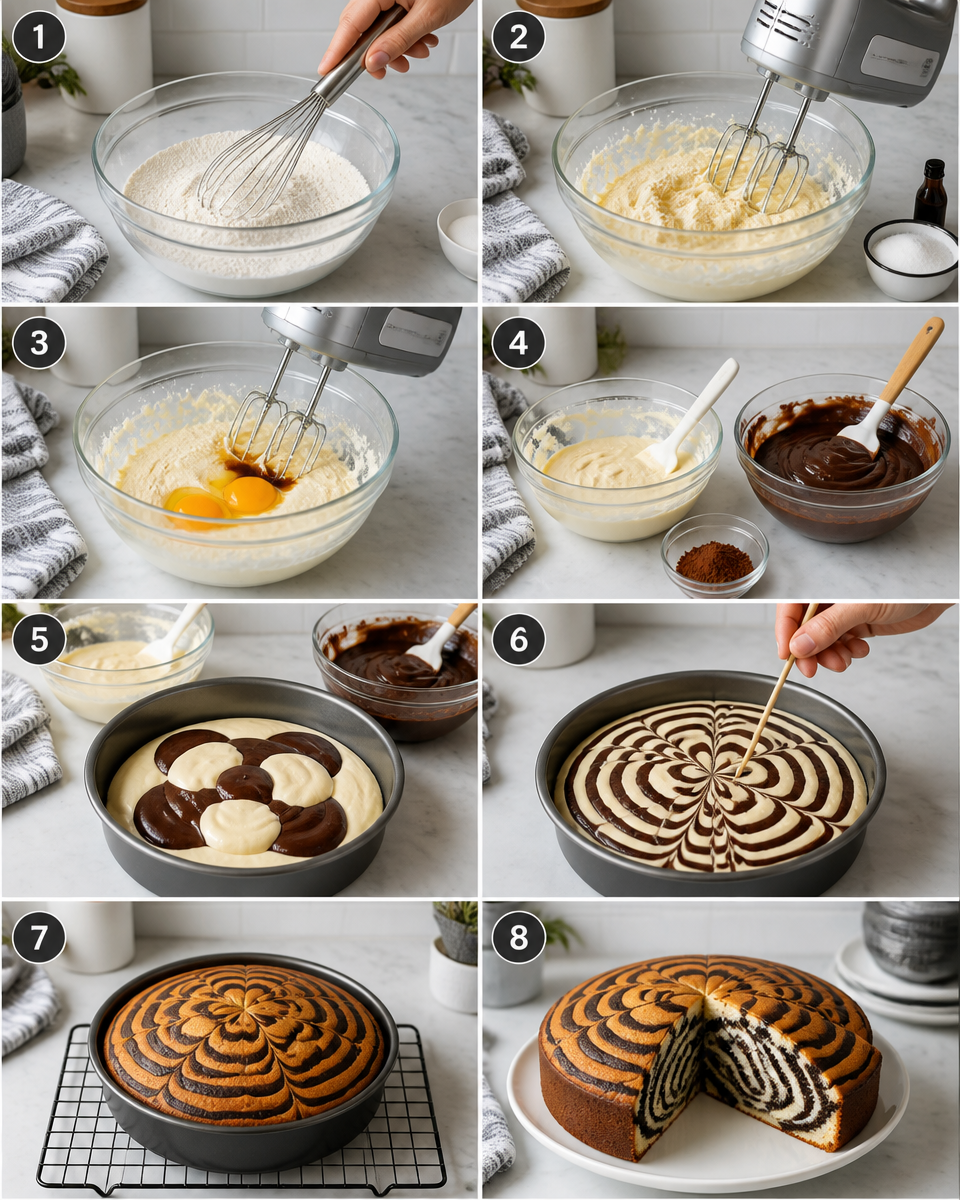
1) Heat and prep
Set your oven to 350 F. Grease your pan and line it with parchment if you have it. Parchment makes lifting and cleanup so much easier.
2) Mix the dry stuff
In a bowl, whisk flour, baking powder, baking soda, and salt. Nothing fancy, just combine it well.
3) Cream butter and sugar
Beat butter and sugar until it looks fluffy, about 2 to 3 minutes. Add eggs one at a time, then vanilla.
4) Add dry and buttermilk
Add the flour mix in parts, alternating with buttermilk. Start and end with the flour mix. The batter should look smooth and thick.
5) Split the batter
Divide batter into two bowls. Into one bowl, sift in the cocoa powder and stir. If it gets too thick, add a splash of milk until it matches the vanilla bowl texture.
6) Pan it up
For a swirled look, alternate dollops of vanilla and chocolate batter, then gently swirl with a butter knife. For a cleaner half and half look, spread vanilla batter on one side and chocolate on the other.
7) Bake
Bake 28 to 35 minutes for a 9×13, or 24 to 30 minutes for 8 inch rounds. A toothpick should come out with a few moist crumbs, not wet batter.
8) Cool completely
This part matters because glaze on a warm cake will slide right off and get weird.
Quick black and white glaze
Mix 2 cups powdered sugar, 2 tablespoons milk, and 1 teaspoon vanilla. Spread over half the cake. For the chocolate side, mix 1 and 1/2 cups powdered sugar, 2 tablespoons cocoa powder, 2 tablespoons milk, and a tiny pinch of salt. Spread over the other half. I like to run a spoon along the center line to make it look neat, but it still looks good even if it is a little rustic.
If you want to explore more chocolatey bakes with a soft texture, you might like this black magic cake. It is a totally different vibe but still a crowd pleaser.
Storage and make-ahead instructions
This Black and White Cake is honestly a great make ahead dessert, which is exactly what I need when life is busy. The flavor actually settles in nicely after a few hours, and the glaze firms up so slicing gets cleaner.
How I store it:

Room temperature: If your kitchen is cool, cover the cake tightly and keep it on the counter for up to 2 days. The glaze protects the top from drying out.
Fridge: For up to 5 days, covered well. I recommend letting slices sit out 15 to 20 minutes before eating so the texture softens again.
Freezer: Freeze unfrosted layers wrapped tightly for up to 2 months. Thaw overnight in the fridge, then glaze the next day. You can freeze frosted slices too, but the glaze may sweat a bit when thawed, so do not panic if it looks glossy at first.
If you are planning a dessert table and want something fruity next to it, this blackberry lemon drizzle cake is bright and refreshing, which balances the chocolate nicely.
Some Tips and Pointers
I have learned these the hard way, so you do not have to.
Do not rush the cooling. I know it is tempting. But if you glaze too early, it melts and you lose that crisp black and white look.
Use a light hand when swirling. Two or three gentle passes are enough. If you go wild, you will end up with a muddy color instead of a pretty contrast.
Sift the cocoa powder. Cocoa lumps are stubborn little things. A quick sift saves you from bitter pockets.
Taste your glazes. If it is too sweet, add a tiny pinch of salt. If it is too thick, add milk one teaspoon at a time. If it is too thin, add more powdered sugar slowly.
Slice with a warm knife. Run the knife under hot water, wipe it, then slice. Especially helpful once the glaze sets.
Also, if you are the type who likes pairing dessert with something savory for a cozy weekend spread, I randomly love making soup and cake on the same day. This black bean and chorizo soup is bold and hearty, and then the cake feels like a sweet reward afterward.
Common Questions
Can I make this Black and White Cake as cupcakes instead?
Yes. Fill liners about two thirds full, bake around 16 to 20 minutes, then glaze the tops once fully cool.
What cocoa powder should I use?
Regular unsweetened cocoa powder is perfect. Dutch process works too, but the flavor will be slightly smoother and less sharp.
How do I get a clean half and half frosting line?
Frost the vanilla side first, chill 10 minutes, then do the chocolate side. You can also use a strip of parchment as a quick divider, then lift it out.
Can I make it without eggs?
You can try using a commercial egg replacer or a flax egg, but the cake will be a bit more dense. If you need egg free often, it is worth testing a small batch first.
Why did my glaze turn dull or sticky?
Usually humidity or warm cake. Let the cake cool completely and store it covered once the glaze sets.
A sweet finish and a little baking courage
If you have been wanting a dessert that feels classic but still fun, this Black and White Cake is such a good one to keep in your back pocket. It is approachable, it travels well, and the chocolate plus vanilla combo never gets old. If you want to compare styles, I found this helpful for inspiration: Black and White Cookie Cake – Scotch & Scones, and for a simple twist, this is also worth a peek: Easy Black and White Cake Recipe | Elana’s Pantry. Bake it once, and I bet you will start thinking of reasons to bake it again. Let me know how your swirls turn out. 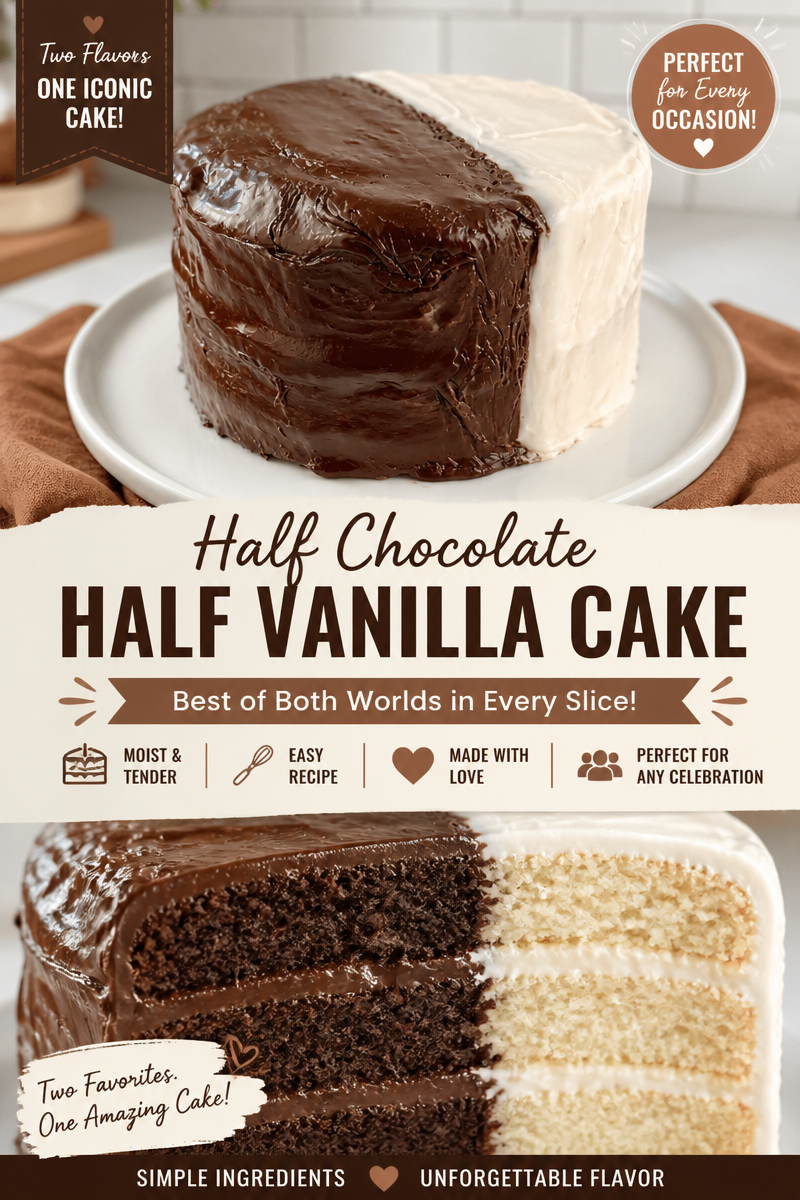
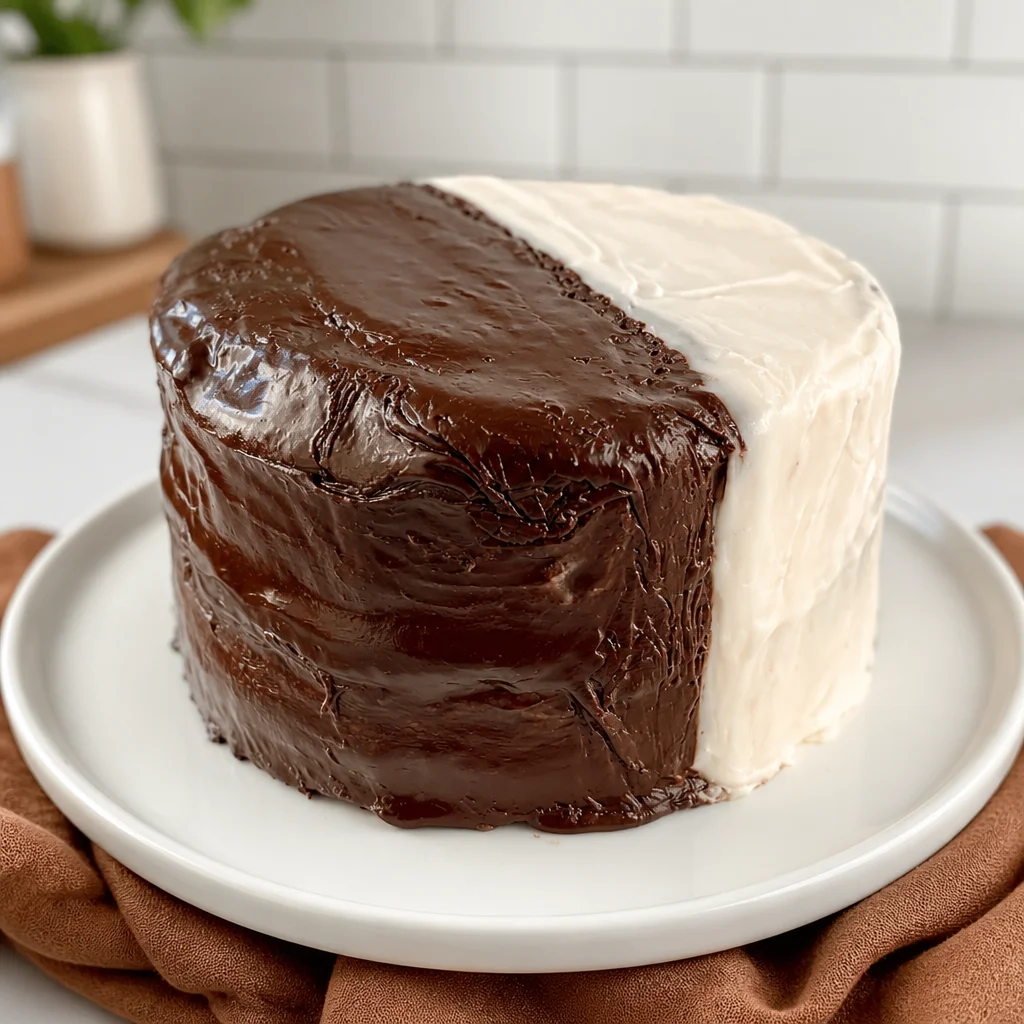
Black and White Cake
Ingredients
Method
- Preheat your oven to 350°F (175°C). Grease your pan and line it with parchment paper if available.
- In a bowl, whisk together the flour, baking powder, baking soda, and salt.
- In another bowl, beat the butter and sugar until fluffy, about 2 to 3 minutes. Add eggs one at a time, followed by the vanilla extract.
- Gradually add the dry ingredients in portions, alternating with the buttermilk until the mixture is smooth and thick.
- Split the batter into two bowls. Sift cocoa powder into one and mix. If too thick, add a splash of milk.
- For a swirled effect, alternate dollops of the vanilla and chocolate batter in the pan and gently swirl. For a cleaner look, spread evenly.
- Bake for 28 to 35 minutes for a 9×13 pan, or 24 to 30 minutes for two 8-inch rounds. A toothpick should come out with a few moist crumbs.
- Allow the cake to cool completely before glazing.
- For the quick black and white glaze, mix powdered sugar, milk, and vanilla for the vanilla side and cocoa powder for the chocolate side.
- Spread the vanilla glaze over half of the cake and the chocolate glaze over the other half.
- For a neat look, run a spoon along the center line.
