

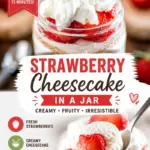
No-Bake Strawberry Cheesecake Jars are my go to dessert when I want something cute, creamy, and honestly kind of foolproof. You know those days when you want cheesecake but you do not want to turn on the oven, wash a springform pan, or wait forever for it to cool? Same. These little jars feel fancy enough for guests, but they are also totally weeknight friendly. Plus, everyone gets their own serving, which means no messy slicing and no fighting over the best piece. 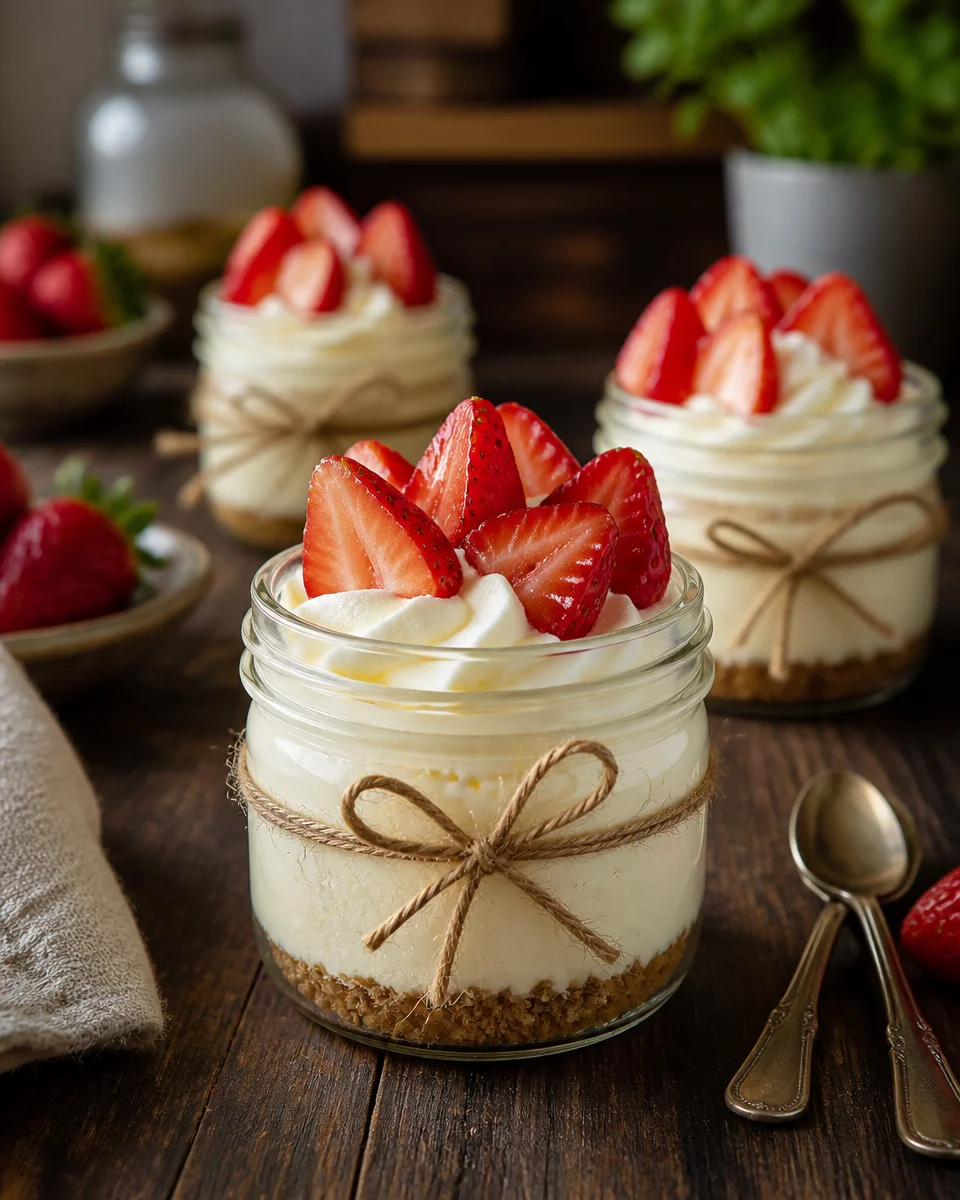
The Story Behind This Recipe
I’ve spent years testing recipes for Middle East Sector, and this No-Bake Strawberry Cheesecake Jars is a keeper: big on flavor with no weird tricks. No-Bake Strawberry Cheesecake Jars are my go to dessert when I want something cute, creamy, and honestly kind of foolproof. You know those days when you…
Why You’ll Love Individual No-Bake Cheesecake Jars
I started making these jars after one too many parties where the cheesecake looked great until I tried to cut it. The first slice always turns into a crumbly, creamy situation. With jars, that problem disappears. You layer, chill, and serve. That is it.
Here is why I keep coming back to No-Bake Strawberry Cheesecake Jars:
- They are portable, which is perfect for picnics, potlucks, or dropping dessert off at a friend’s house.
- No oven needed, so they are ideal in warm weather or when the kitchen already feels like a sauna.
- They look impressive without extra effort. Layers do all the work.
- Easy to customize if you want more fruit, more crust, or extra whipped topping.
- They help with portioning, which sounds boring, but it is actually nice when you want a sweet treat without a giant slab staring at you.
If you are in a cheesecake mood lately, I also love browsing other fun spins. These strawberry oreo cheesecake cups are a total crowd pleaser when you want that cookies and cream vibe with strawberry on top.
One more thing I will say from experience. Make them a few hours ahead if you can. The chill time helps the layers set, and the flavor gets even better. 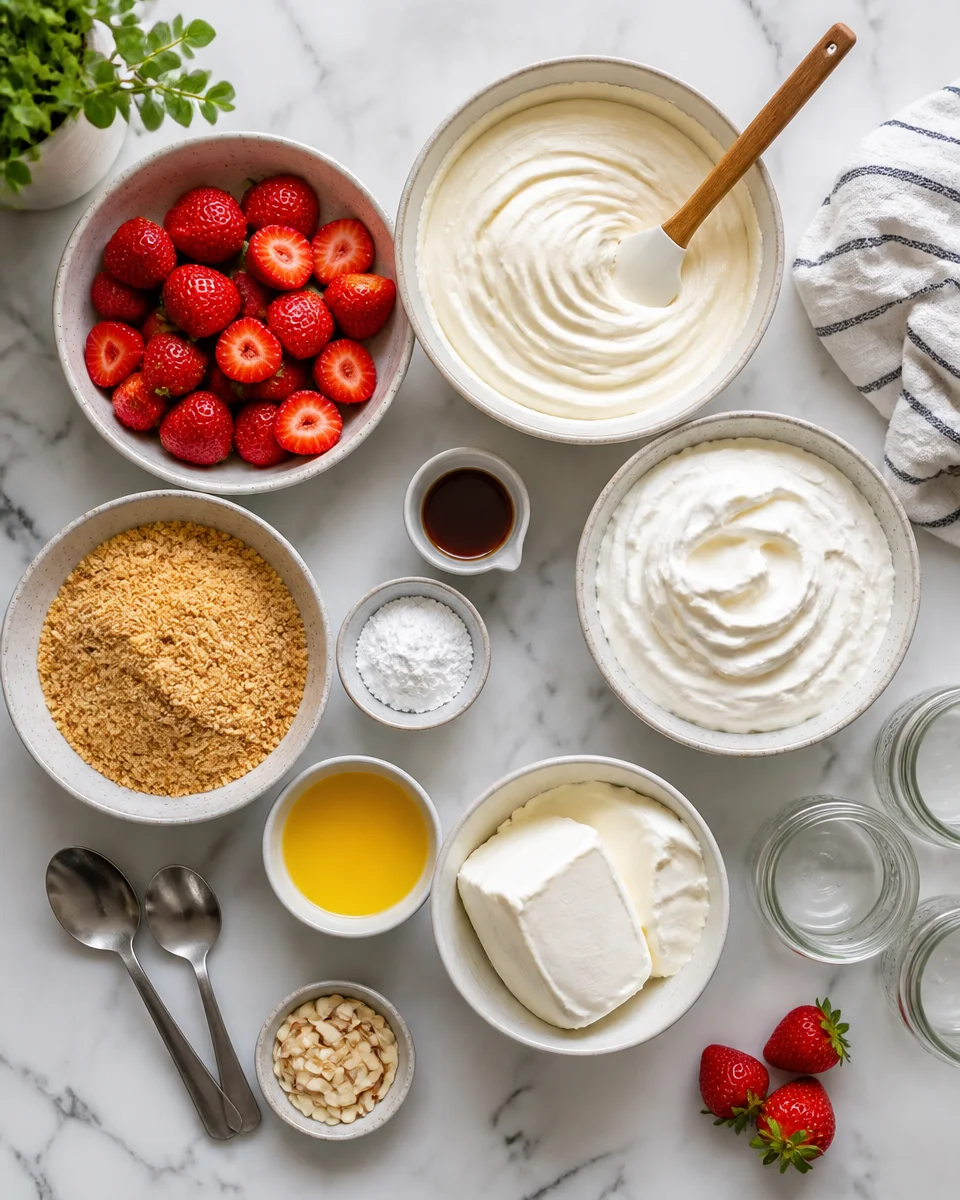
Video Tutorial: No Bake Cheesecake Jars {video_youtube}
If you are the kind of person who likes to see the texture before you commit, a quick video tutorial is super helpful for this recipe. The biggest visual cue is the filling. You want it thick and spoonable, not runny like frosting that melted in the sun.
When I film or watch a tutorial for No-Bake Strawberry Cheesecake Jars, these are the steps I pay attention to most:
First, the crust mixture should look like damp sand. If you squeeze it in your hand, it should hold together. Second, the cheesecake filling should make soft peaks and stay put on a spoon. Third, the strawberry layer should look glossy and juicy, not watery.
Also, jar size matters more than you would think. Short, wide jars make prettier layers and are easier to eat from. Tall skinny jars are cute too, but you may end up digging around with a spoon like you are mining for treasure.
“I made these for my daughter’s birthday dinner and everyone loved having their own jar. The best part was I could prep them the night before and they still tasted fresh and creamy.”
And if you want another no bake jar idea for a different flavor day, this no bake blueberry cheesecake is a great one to keep in your back pocket. 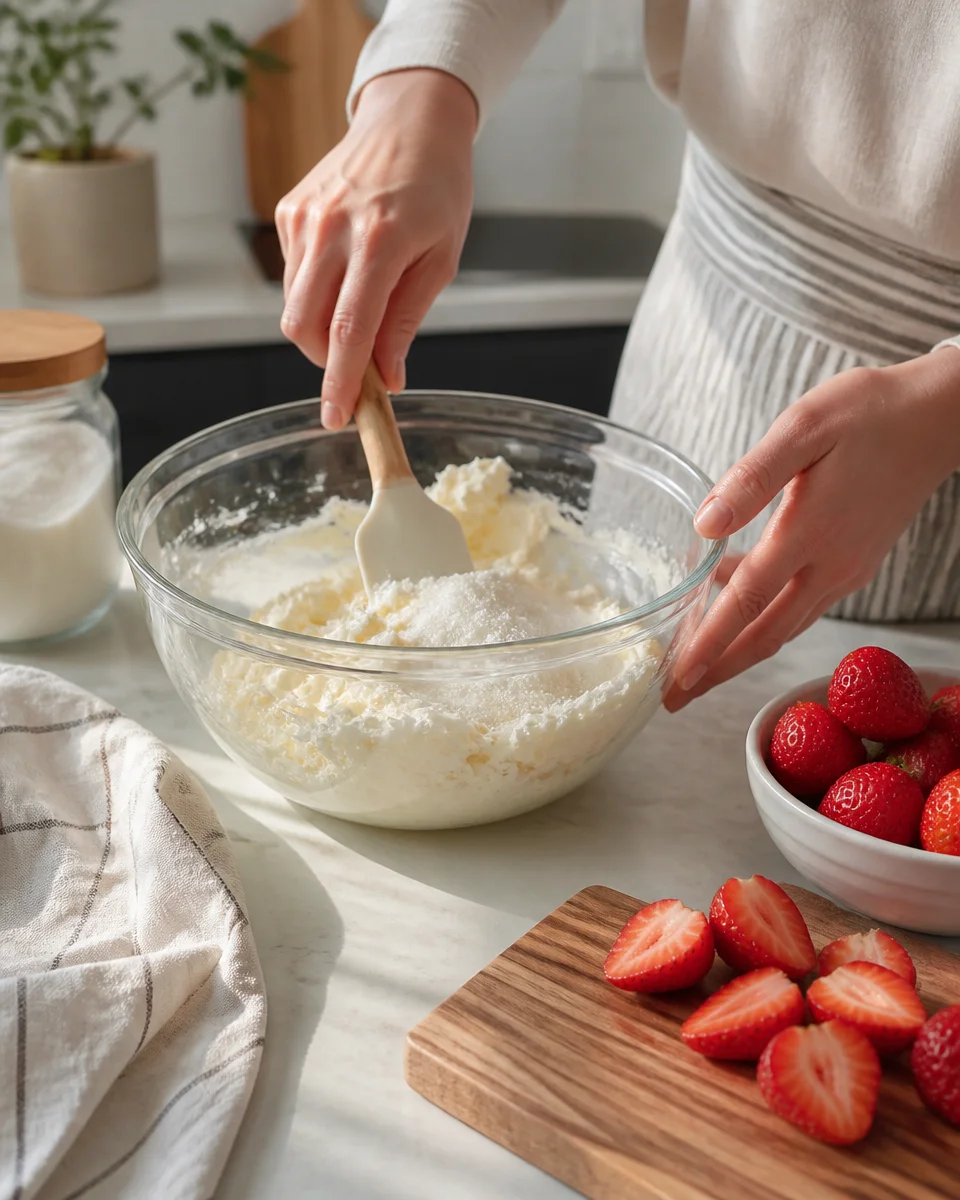
3 Layers in No-Bake Cheesecake Jars
These jars are basically three simple layers, and once you get the hang of it, you can freestyle the amounts depending on what you love most. I like a thicker cheesecake layer because I am here for the creamy part, but nobody is stopping you from going heavy on strawberries.
Layer 1: The crust
This is usually crushed graham crackers mixed with a little sugar and melted butter. Press it down gently in the bottom of each jar. I do not pack it super hard, because I want it to stay tender and easy to scoop.
Layer 2: The cheesecake filling
This is the fluffy, tangy middle that makes the whole thing taste like actual cheesecake. The key is using softened cream cheese so you do not end up with little lumps. If you forget to soften it, let it sit out for 30 to 45 minutes, or cut it into cubes to speed things up.
Layer 3: Strawberries
You can use fresh sliced strawberries, a quick strawberry sauce, or even strawberry jam warmed slightly so it spreads. When strawberries are in season, I do fresh plus a spoonful of sauce for that juicy look.
I like doing crust, filling, strawberries, then repeating if my jars are tall enough. If they are small, one round of layers is totally fine and still looks adorable.
By the way, if you like layered desserts in general, this no bake brownie cheesecake parfait is dangerously good for chocolate lovers.
Cheesecake Jar Filling Ingredients
Let’s talk about the filling, because it is the heart of these jars. I have made versions that were too sweet, too thin, or weirdly heavy. This one hits the sweet spot: creamy, light, and still rich enough to feel like a treat.
;
Here is what I typically use, and why:
- Cream cheese: Full fat is best for texture. Let it soften so it blends smooth.
- Powdered sugar: It dissolves easily and keeps the filling silky.
- Vanilla extract: Simple, but it makes everything taste more like dessert.
- Heavy whipping cream: Whipped into soft peaks, it lightens the filling so it is not dense.
- Pinch of salt: This sounds tiny, but it balances sweetness in a big way.
- Optional lemon juice: Just a little makes the strawberry flavor pop.
My best practical tip: whip the cream separately, then fold it into the cream cheese mixture. If you dump it all together, the filling can turn looser and you will lose that fluffy cheesecake vibe.
Also, taste as you go. Some strawberries are super sweet, some are more tart. You can slightly adjust your sugar so the final jars taste balanced.
If you are craving another strawberry dessert that leans more playful, these delightful strawberry cheesecake filled donuts are such a fun weekend project.
Toppings
Toppings are where you can make these jars feel personal. I have served them plain and they were still a hit, but toppings add that little extra something, especially if you are putting them out for guests.
My favorite topping ideas:
Fresh strawberries sliced or diced, a dollop of whipped cream, extra graham cracker crumbs, a drizzle of strawberry sauce, or a tiny mint leaf if you want them to look bakery pretty. If you want a bit of crunch, chopped toasted almonds are surprisingly good with strawberries. For a sweeter shortcut, a spoonful of strawberry jam works in a pinch.
One small warning from trial and error: if you are making these far ahead, keep crunchy toppings off until serving. Graham crumbs and cookies can soften in the fridge.
I also sometimes do a mini topping bar. It sounds extra, but it is honestly just setting out bowls of fruit and crumbs and letting people decorate their own jar. Kids love it. Adults also love it, they just pretend they are doing it for the kids.
Common Questions
How long do these jars need to chill?
At least 2 hours, but 4 hours is better. If you can chill overnight, the layers set up really nicely.
Can I make No-Bake Strawberry Cheesecake Jars the day before?
Yes, and I do it all the time. Just add any crunchy toppings right before serving so they stay crisp.
What kind of jars should I use?
Any small jar or clear cup works. I like 6 to 8 ounce jars for a good single serving. Even little plastic cups are fine for parties.
Can I use frozen strawberries?
Yes. Thaw them first and drain off extra liquid. Frozen berries are great for making a quick sauce because they break down easily.
My filling feels runny. What happened?
Usually it is cream cheese that was too warm, cream that was not whipped enough, or overmixing after adding whipped cream. Chill the filling for 20 to 30 minutes and it often thickens up.
A sweet little jar you will actually make again
If you want a dessert that feels special but does not stress you out, No-Bake Strawberry Cheesecake Jars are the move. You get that classic cheesecake flavor, the fresh strawberry hit, and the cutest presentation with almost no effort. If you want to compare variations, I found some helpful inspiration from No-Bake Strawberry Cheesecake Jars – Gal on a Mission and this easy take on No Bake Strawberry Cheesecake in a Jar – Almost Supermom. Now promise me you will stash one jar in the back of the fridge just for you, because you totally deserve that first bite.
No-Bake Strawberry Cheesecake Jars
Ingredients
Method
- In a bowl, combine the crushed graham crackers, sugar, and melted butter. Mix until the mixture resembles damp sand.
- Press the crust mixture into the bottom of each jar. Do not pack too tightly.
- In another bowl, beat the softened cream cheese until smooth. Add powdered sugar and vanilla extract, then blend until creamy.
- In a separate bowl, whip the heavy cream to soft peaks. Carefully fold the whipped cream into the cream cheese mixture.
- Taste the filling and adjust the sweetness with more sugar if necessary. Add a pinch of salt and lemon juice if using.
- Layer the cheesecake filling over the crust, then add a layer of sliced strawberries. Repeat the layers as desired.
- Cover the jars and refrigerate for at least 2 hours, but 4 hours or overnight for best results.