


Homemade Crunch Bars are one of those treats I make when I want something sweet and chocolatey, but I do not feel like turning on the oven or dealing with a complicated candy thermometer situation. Maybe you have had that moment too, when you are standing in the kitchen craving a crispy chocolate bar, and all you can find is a half bag of cereal and some chocolate chips. Good news, that is basically the whole idea here. These bars are quick, super satisfying, and honestly kind of fun to make because you get to press everything into a pan like a kid doing crafts. And yes, they do that classic snap and crunch when you bite in. 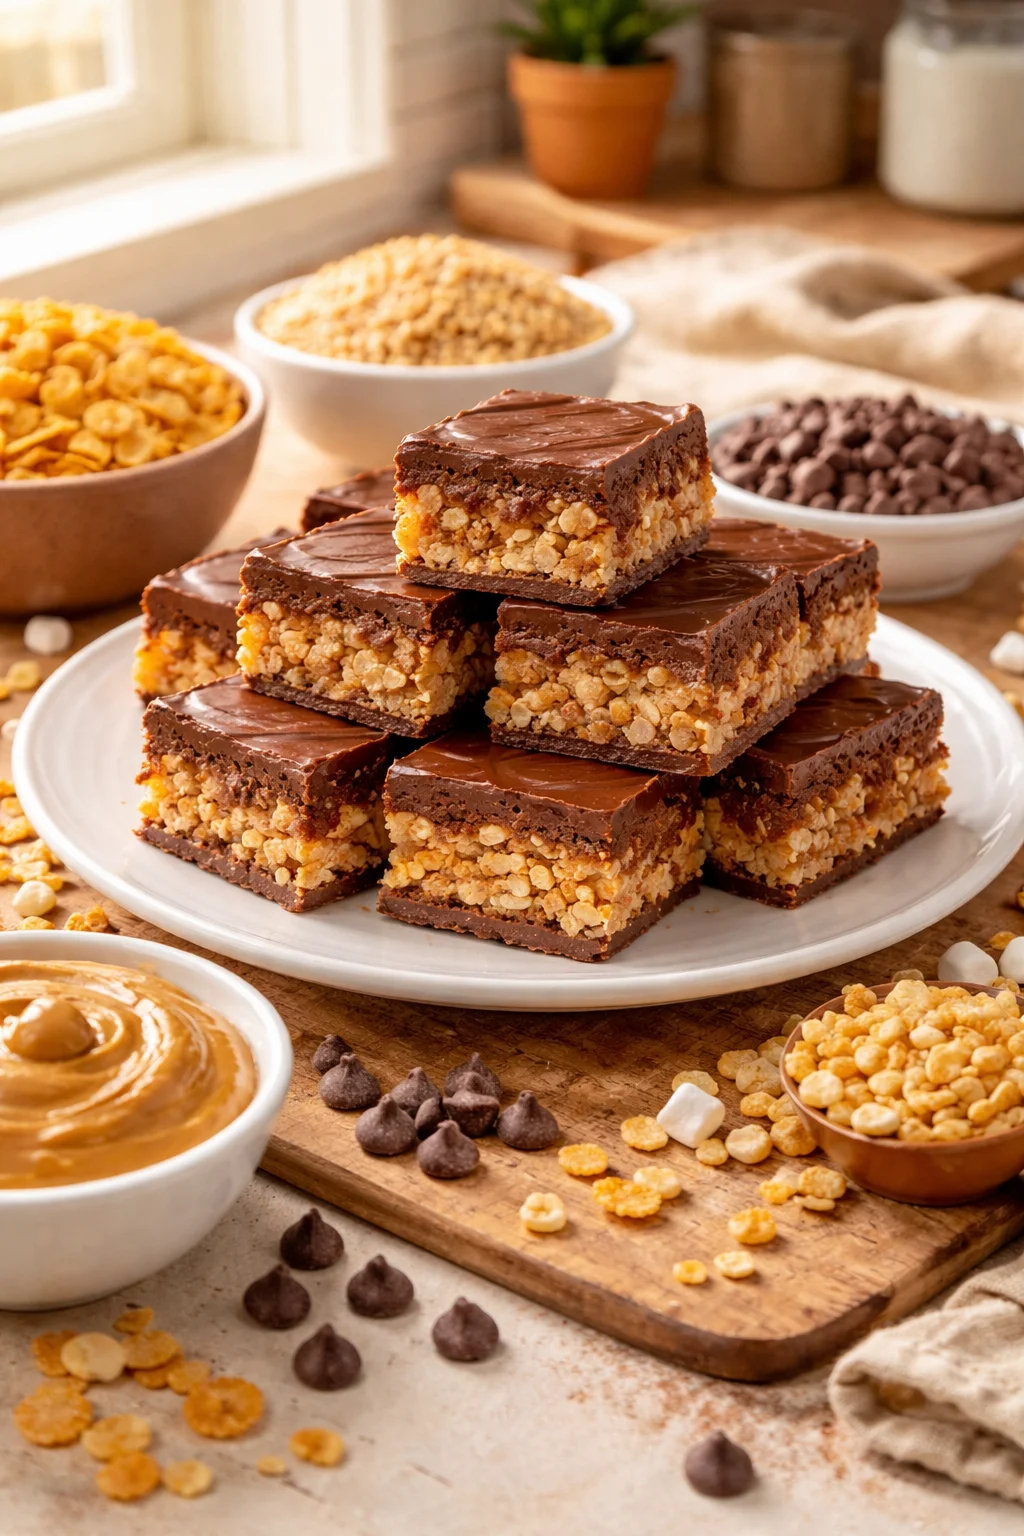
The Story Behind This Recipe
I’m Alexandraa, the cook behind this Homemade Crunch Bars. On a rainy weekend, I dialed in the flavors so it’s easy and full of comfort vibes. Homemade Crunch Bars are one of those treats I make when I want something sweet and chocolatey, but I do not feel like turning on the…
Why Youll Love These Crunch Bars
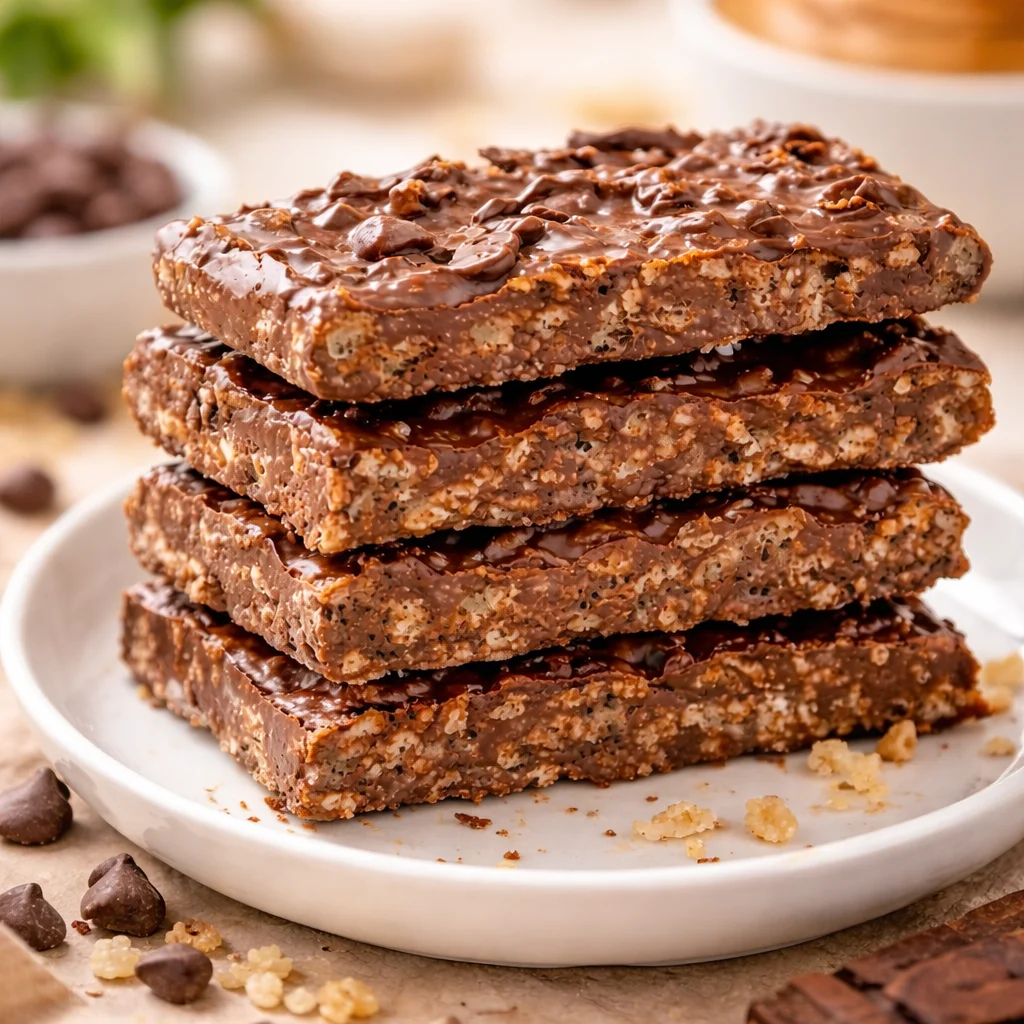
I am not saying these are dangerous, but they are dangerously easy to keep making. The texture is the big win here, that crispy rice crunch tucked inside a smooth chocolate bite feels like a store bought candy bar, but fresher.
Here is why they are on repeat at my house:
- Fast: you can pull them together in about 15 minutes, plus chill time.
- No oven: perfect for hot days or when you just do not want to bake.
- Simple ingredients: nothing strange, just pantry basics.
- Easy to customize: dark chocolate, milk chocolate, peanut butter, sea salt, you name it.
Also, if you are in a snack bar mood lately, you might like my other candy style experiments. I recently made these gooey smores chocolate bars and they totally hit the same cozy sweet spot, just in a different way.
;
“I made a batch for movie night and they disappeared before the opening credits. The crunch is perfect and they taste even better the next day.”
Homemade Crunch Bars (Step by Step)
This is my go to method because it keeps the bars shiny and crisp, not crumbly. The biggest tip is to melt gently and not overmix the cereal. You want the cereal coated, not smashed.
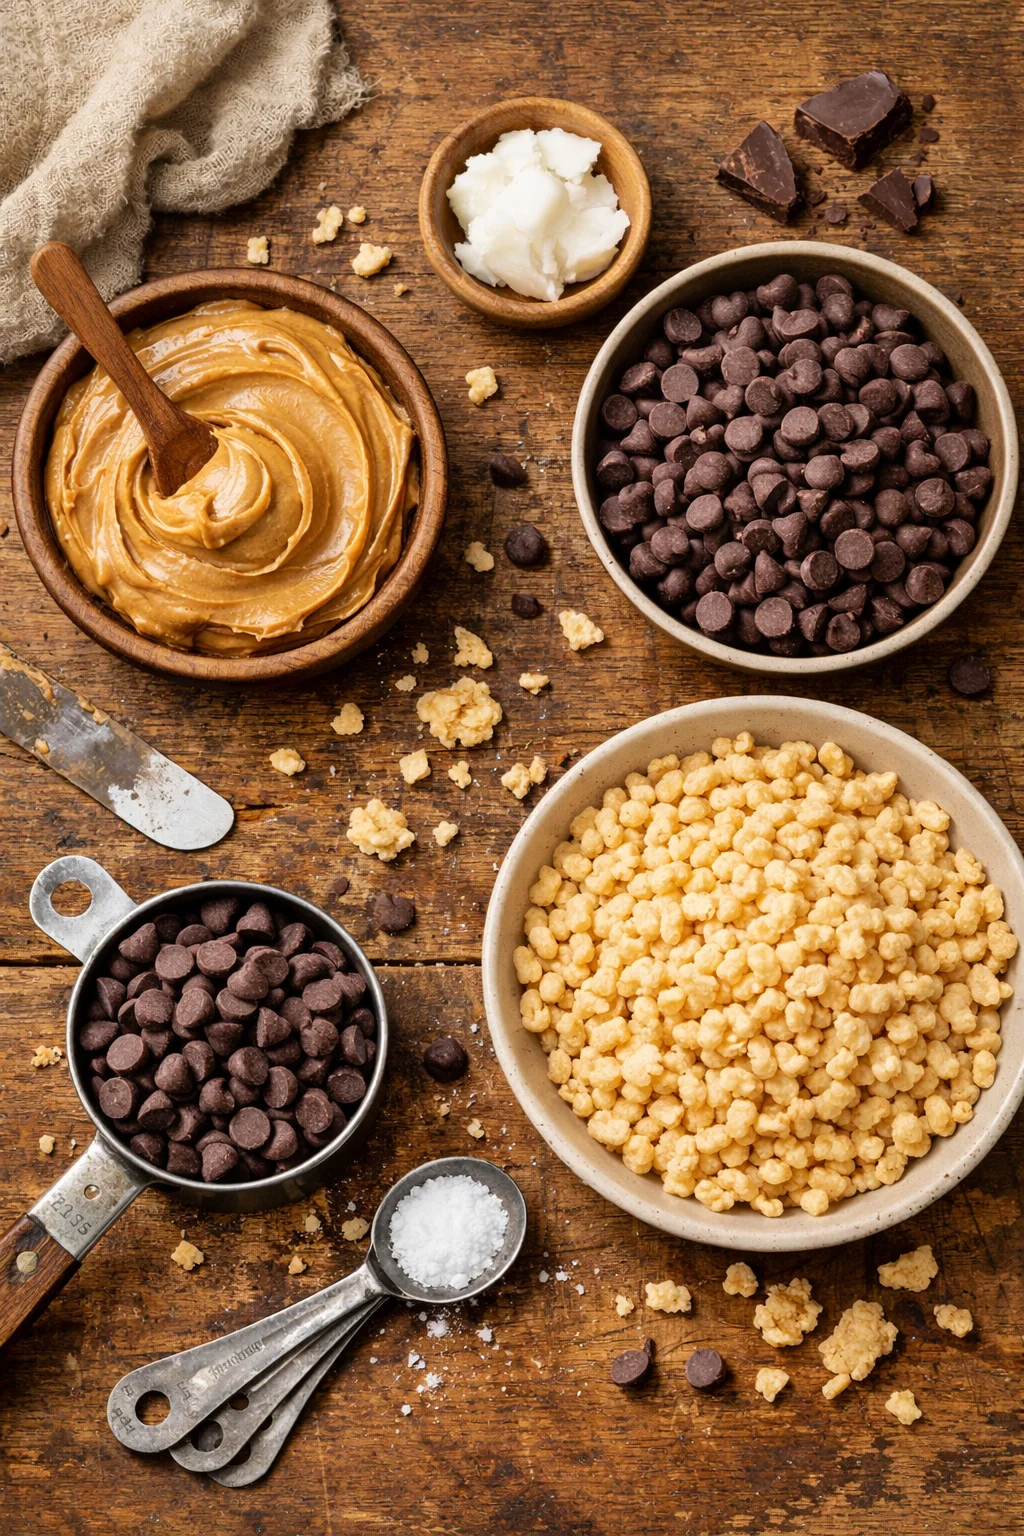
What you will need
- 2 cups crispy rice cereal
- 2 cups chocolate chips (semi sweet or milk)
- 2 tablespoons coconut oil or butter (helps the chocolate melt smoother)
- Pinch of salt (optional but really good)
Step by step directions
1) Line an 8×8 pan with parchment paper. Leave a little overhang so you can lift the whole slab out later.
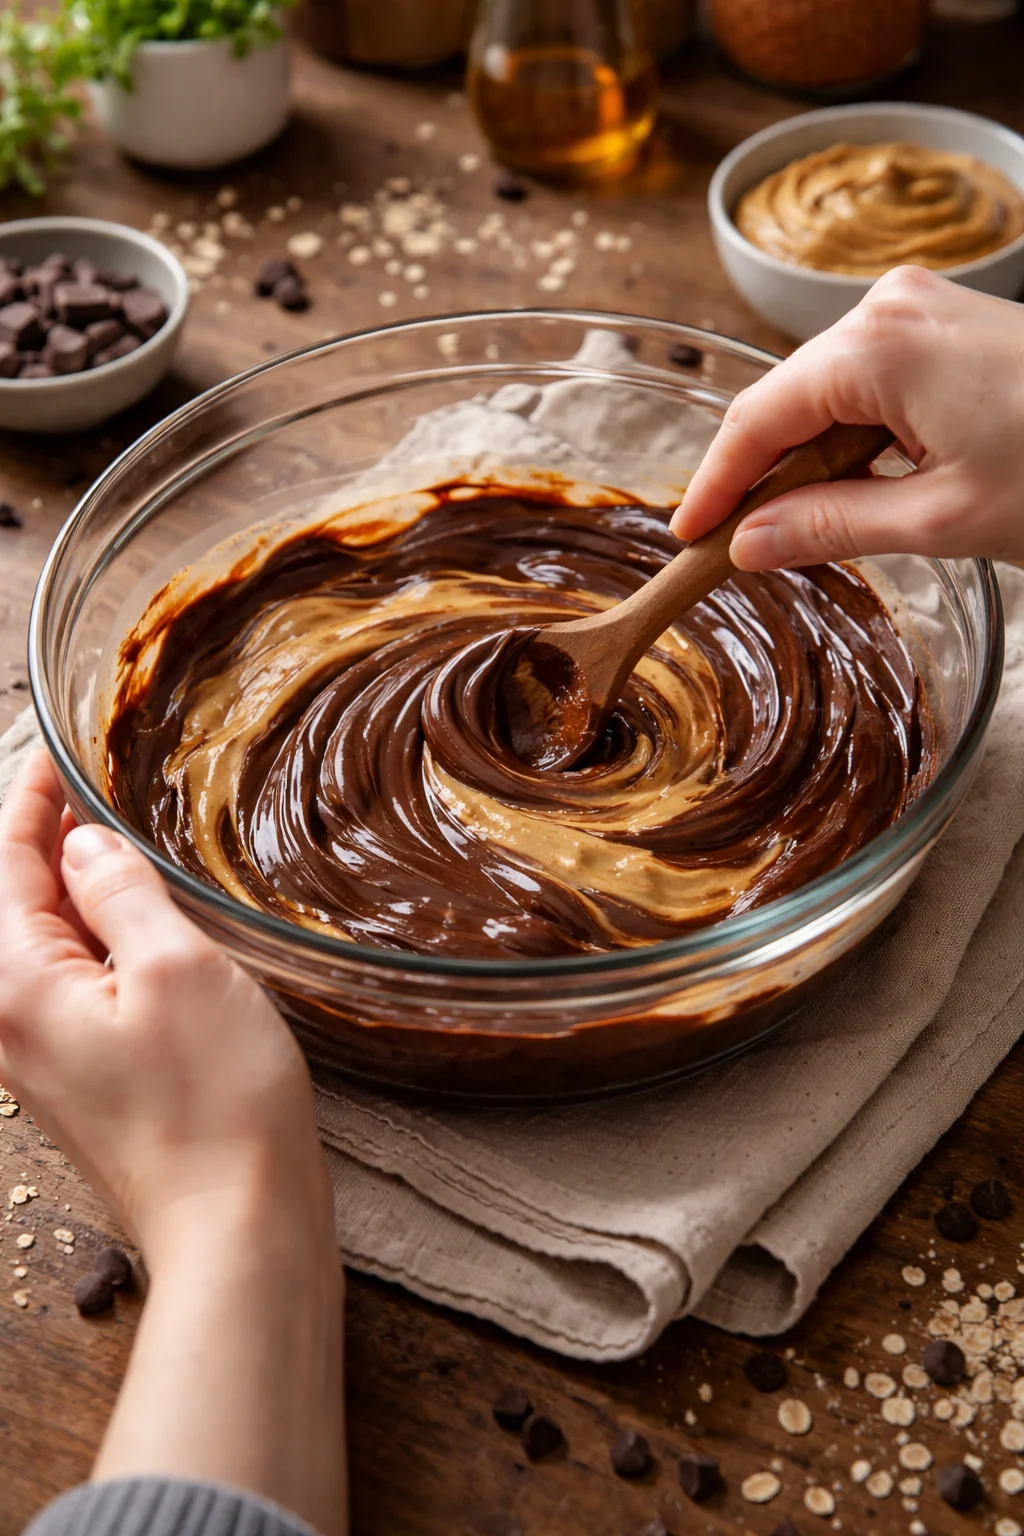
2) Melt the chocolate and coconut oil. I do this in the microwave in 20 to 30 second bursts, stirring each time. You can use a double boiler too, just keep the heat low.
3) Stir in the pinch of salt if you are using it. This is the tiny step that makes the chocolate taste bigger, if that makes sense.
4) Add the crispy rice cereal and fold gently until everything is coated. Do not stir aggressively or you will lose the crunch.
5) Pour the mixture into the pan and press it down. I use the back of a spoon, then I lightly press with a piece of parchment so my hands do not get messy.
6) Chill until firm, about 45 minutes in the fridge. If you are impatient, 20 minutes in the freezer usually does it, but do not forget it in there for hours or it can get too hard to slice neatly.
7) Lift out and cut into bars or squares. Wipe your knife between cuts for clean edges.
If you want to play around with the crunch factor, try mixing in a spoonful of toasted quinoa or crushed cornflakes. I have a whole thing for texture, which is why I also love these chocolate quinoa crunch bars. Same vibe, slightly different kind of crispy.
Little add in ideas if you want to make them your own:
Mini marshmallows, chopped almonds, peanut butter drizzle, shredded coconut, or a sprinkle of flaky salt on top before chilling.
How to Store Chocolate Crunch Bars
Homemade Crunch Bars store really well, which is great because you can make a batch and have treats ready all week. The only thing that can mess them up is heat. Chocolate gets soft, and then the bars can lose that snappy bite.
Best storage tips
Room temperature: If your kitchen is cool, store them in an airtight container for up to 5 days. Put parchment between layers so they do not stick.
Fridge: My personal favorite for the cleanest snap. They last about 10 to 14 days in a sealed container. Let them sit for a couple minutes before biting if you do not like super cold chocolate.
Freezer: Yes, you can freeze them. Wrap bars individually and freeze up to 2 months. Thaw in the fridge or on the counter for about 20 minutes.
One more practical tip: keep them away from strong smelling foods in the fridge. Chocolate can pick up flavors, and nobody wants a faint onion scented candy bar.
If you are doing a whole dessert tray situation, I love pairing these with something fruity like almond raspberry bars so there is a little contrast and not everything tastes like pure chocolate.
What are Chocolate Crunch Bars?
Chocolate crunch bars are basically chocolate bars with something crispy mixed in, usually crisped rice. The classic candy bar version has a very smooth chocolate coating and a light crunchy center. Making them at home is the same idea, just without the factory equipment and extra additives.
What I like about making Homemade Crunch Bars yourself is that you control everything. Want darker chocolate? Do it. Want a thicker bar? Press it into a smaller pan. Want to add a drizzle on top? Nobody is stopping you.
And if you grew up loving nostalgic candy flavors, you might also get a kick out of making buckeye bars sometime. They are a different texture, more creamy than crispy, but still very snackable.
Are Crunch Bars Gluten Free?
They can be, but you have to check your ingredients. Crispy rice cereal is sometimes gluten free, and sometimes it is not, depending on how it is made and packaged. Chocolate chips are often gluten free, but cross contamination can happen.
Here is how I handle it when I am making them for a friend who avoids gluten:
1) Read the cereal label: Look for certified gluten free if you want to be extra safe.
2) Check the chocolate: Most brands list allergens clearly. If it says may contain wheat, pick a different one.
3) Watch your add ins: Things like cookie crumbs or certain sprinkles can sneak in gluten.
Once you have the right ingredients, Homemade Crunch Bars are a super easy gluten free friendly treat to bring to a party.
Common Questions
1) Can I use chocolate bars instead of chocolate chips?
Yes. Chop them up so they melt evenly. If the chocolate is very thick, add a little coconut oil or butter like in the recipe.
2) Why did my bars turn crumbly?
Usually it is from not enough chocolate to bind, or from overmixing and crushing the cereal. Fold gently and make sure everything is coated.
3) Can I make these dairy free?
Yes. Use dairy free chocolate chips and coconut oil instead of butter. Just double check labels.
4) How do I make them extra thick like a candy bar?
Use a smaller pan, like a loaf pan, or double the recipe and use an 8×8. Press firmly so they slice clean.
5) Do I have to chill them?
Pretty much, yes. Chilling is what sets the chocolate so the bars hold their shape and snap when you bite.
One last sweet push to try them
If you want a quick win dessert that feels nostalgic, these Homemade Crunch Bars are it. You get that classic crispy bite, you can tweak the chocolate level to your taste, and you do not need any fancy tools to pull it off. If you want more inspiration, I found it helpful to compare methods like Homemade Crunch Bars – Detoxinista for different ingredient options, and this super simple idea from 3 Ingredient Homemade Crunch Bars (Gluten Free) – Beaming Baker when I am feeling extra lazy. Make a batch, stash a few in the fridge, and tell me if you can actually stop at one, because I rarely can.
Homemade Crunch Bars
Ingredients
Method
- Line an 8×8 pan with parchment paper, leaving some overhang for easy removal later.
- Melt the chocolate chips and coconut oil in the microwave in 20-30 second bursts, stirring each time. Alternatively, use a double boiler on low heat.
- If using, stir in the pinch of salt to enhance the chocolate flavor.
- Gently fold in the crispy rice cereal until fully coated, being careful not to crush the cereal.
- Pour the mixture into the prepared pan and press down with a spoon. Use a piece of parchment to press down without getting your hands messy.
- Chill in the fridge for about 45 minutes or in the freezer for about 20 minutes until firm.
- Lift out the bars using the parchment overhang and cut into squares or bars with a clean knife.