

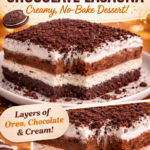
OREO LASAGNA RECIPE days are the ones I reach for when life is loud and I still want to show up with dessert. You know that feeling when you promised to bring something sweet, but the idea of turning on the oven makes you want to hide in your kitchen pantry? Same. This is my little no bake hero because it looks fancy, tastes like a cookies and cream dream, and it is honestly hard to mess up once you know a few simple tricks. I have made it for birthdays, potlucks, and random Tuesdays when we just needed a win. Let me walk you through how I make it, plus the small things I learned the hard way so you do not have to.
The Story Behind This Recipe
Hey, I’m Alexandraa! This Oreo Lasagna Recipe was built for real kitchens: simple steps, reliable results, and flavor that makes people ask for seconds. OREO LASAGNA RECIPE days are the ones I reach for when life is loud and I still want to show up with dessert. You know that…
Key Benefits of the Topic
What I love most about this dessert is that it solves a bunch of problems at once. It is quick, it is crowd friendly, and it hits that sweet spot between creamy and crunchy. If you are new to layered desserts, this is a great place to start because every step is simple and forgiving.
Here are the biggest perks, in real life terms:
No oven needed. If your kitchen is hot or your schedule is packed, this is such a relief.
Make ahead friendly. Actually, it is better after chilling, so it rewards you for being prepared.
Easy to scale. You can make it in a big 9×13 dish for a party or cut it in half for a smaller pan.
Everyone recognizes it. Oreos are familiar, so even picky eaters usually say yes.
If you are the kind of person who likes to keep a couple of dependable desserts in your back pocket, this belongs on that list. I also keep other easy, cozy recipes bookmarked, like this apple cinnamon roll lasagna when I want something warm and spiced but still fun and layered.
Common Mistakes to Avoid
I have definitely had my little “oops” moments with Oreo lasagna, especially the first couple of times. The good news is that the fixes are simple, and once you know them, you will look like you have been making this forever.
Little slip ups that can throw things off
Not crushing the cookies enough. If the base has big chunks, it will not slice cleanly and it can feel awkward to eat. You want mostly fine crumbs with a few tiny bits for texture.
Using butter that is too hot. Melted butter should be melted, not sizzling. If it is super hot, it can make the crust greasy and heavy.
Not letting the cream cheese soften. Cold cream cheese makes lumps, and nobody wants that surprise. Let it sit out for about 30 minutes so it mixes smoothly.
Skipping chill time. This is the number one thing. If you try to cut it too soon, it turns into a creamy spoon dessert. Still tasty, just not that pretty layered slice.
Overmixing whipped topping. Fold it in gently so the layer stays fluffy. If you stir it hard, it gets looser and less airy.
Also, do not feel bad if your first pan is a little messy on top. I have had plenty of “rustic” looking pans that disappeared in minutes. If you want more no stress party snacks to balance out dessert, I love having something savory nearby, like this crab dip cheeseball for a snack table situation.
Expert Tips for Success
I am not a professional chef, but I have made this enough times to have opinions. These are the small habits that make your OREO LASAGNA RECIPE come out consistent every time, with clean layers and that perfect cookies and cream vibe.
Tip 1: Line your pan if you care about neat slices. If I am bringing it somewhere and want those sharp edges, I line the dish with parchment paper with a little overhang. Then I can lift and slice like bars.
Tip 2: Add a pinch of salt to the crust. This sounds tiny, but it makes the chocolate cookie flavor pop and keeps the whole dessert from tasting one note sweet.
Tip 3: Chill the crust for 10 minutes before adding the next layer. It helps the base set up so the creamy layer spreads without dragging crumbs everywhere.
Tip 4: Use instant pudding and let it thicken. Give the pudding a few minutes to set before you pour or spread it. That way it stays in its layer and does not soak down.
Tip 5: Save a handful of crumbs for the end. That final sprinkle makes it look finished, like you planned the whole thing. Because you did.
“I made this for a work potluck and it was the first dessert gone. People kept asking if it came from a bakery, which made my whole week.”
And if you like having a couple of easy sweet add ons around, I keep a jar of crunchy toppings ready. This candied pecans recipe is awesome for sprinkling on ice cream or even on the side of desserts when you want that extra crunch.
Step-by-Step Guide
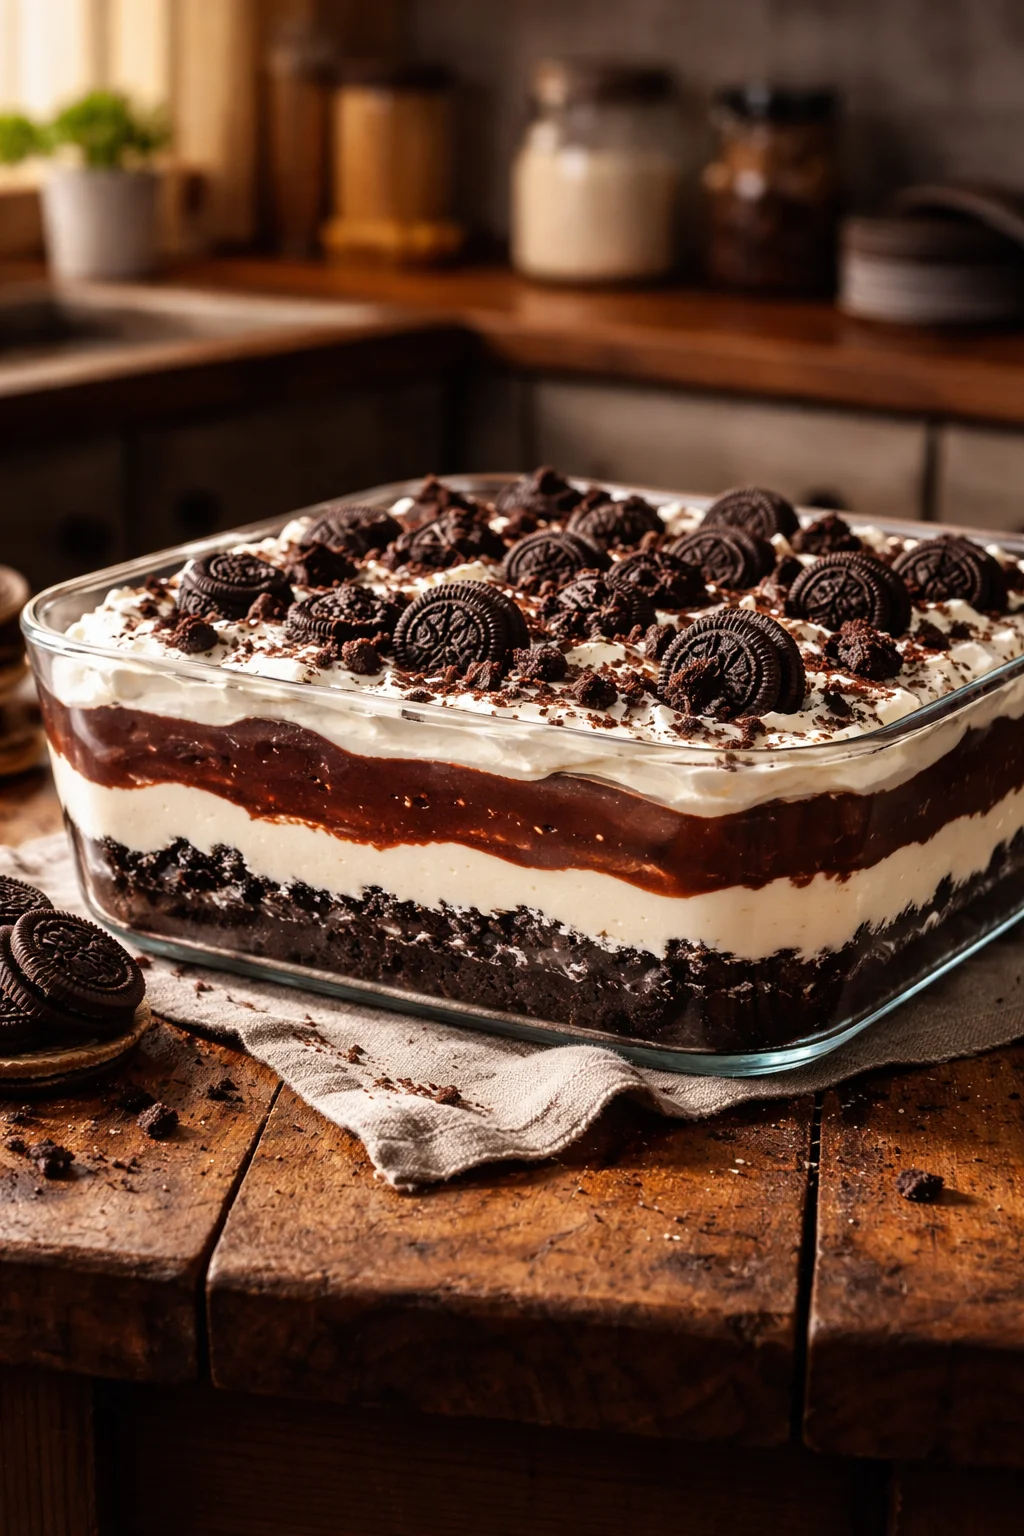
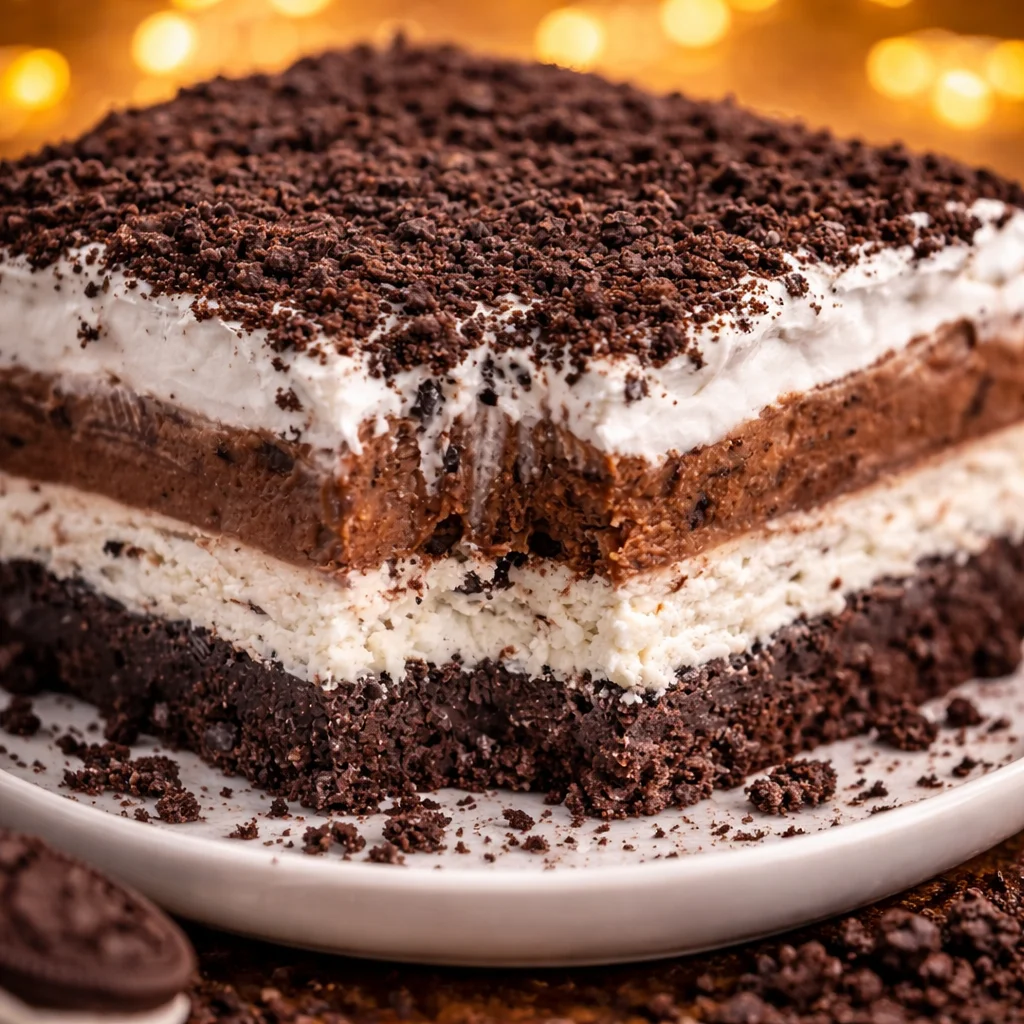
This is the part where we get into the actual build. The OREO LASAGNA RECIPE is basically four layers that stack up into something way more impressive than the effort it takes.
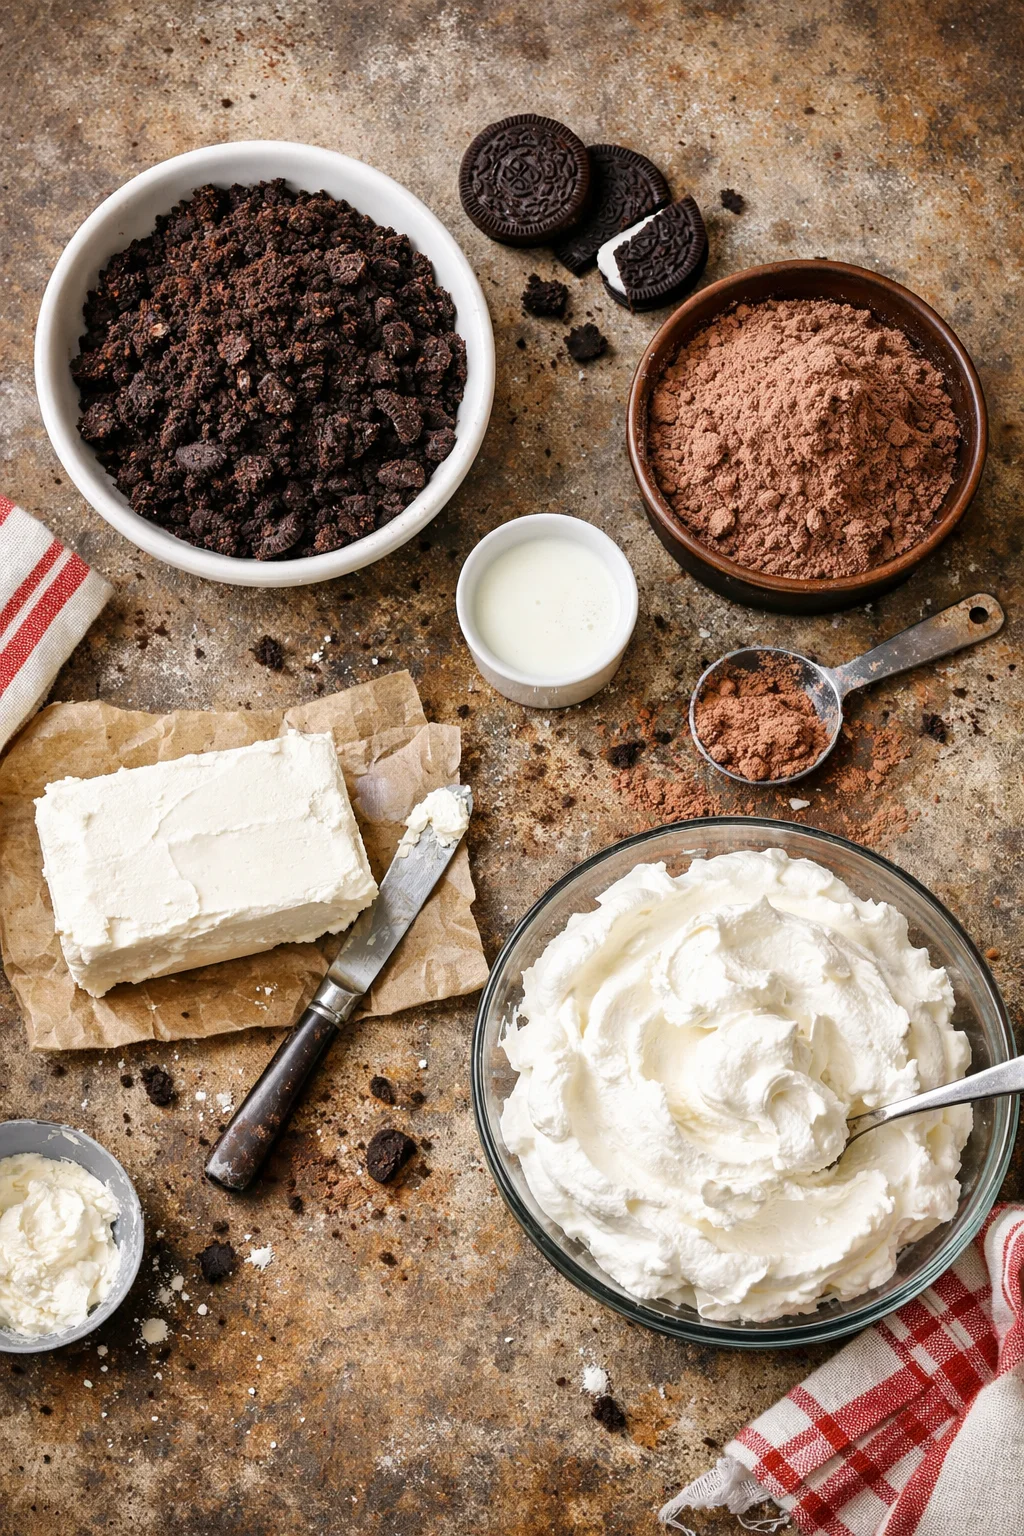
Ingredients you will need
- 1 family size package Oreo cookies, divided (some for crust, some for topping)
- 6 tablespoons melted butter
- 8 ounces cream cheese, softened
- 1 cup powdered sugar
- 1 tub whipped topping (about 8 ounces), divided
- 2 small boxes instant chocolate pudding mix
- 3 cups cold milk (check your pudding box, but this is usually right for two small boxes)
- Optional: mini chocolate chips, extra cookie chunks, or a drizzle of chocolate syrup
Directions for layering it all together
1) Crush the Oreos. I use a food processor when I am feeling efficient, but a zip bag and rolling pin works great too. Set aside about 1 cup of crumbs for topping later.
2) Make the crust. Mix the cookie crumbs with melted butter until it looks like wet sand. Press it firmly into the bottom of a 9×13 dish. Use the bottom of a cup to really pack it in. Chill for 10 minutes.
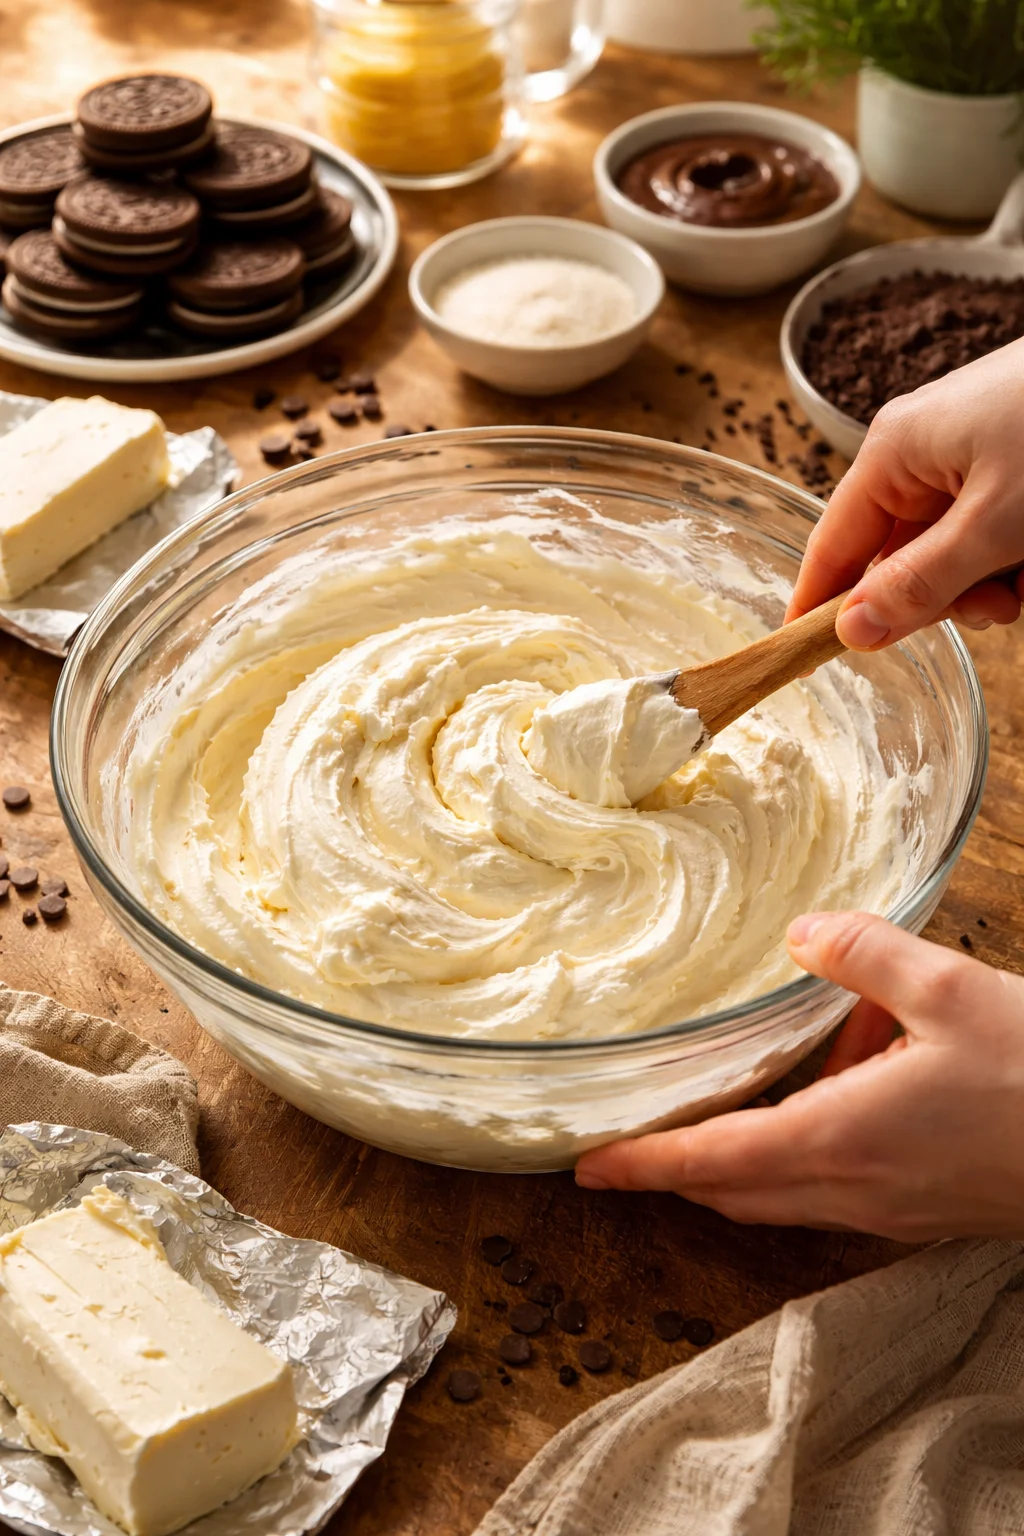
3) Mix the cream cheese layer. In a bowl, beat softened cream cheese with powdered sugar until smooth. Then fold in about half the whipped topping. Spread it gently over the chilled crust.
4) Make the pudding layer. Whisk the instant chocolate pudding mixes with cold milk for a couple minutes until it starts to thicken. Let it sit for 3 to 5 minutes, then spread it over the cream layer.
5) Add the final whipped topping. Spread the remaining whipped topping over the pudding layer like you are frosting a cake.
6) Finish with crumbs. Sprinkle the saved Oreo crumbs on top. Add mini chocolate chips if you want extra texture.
7) Chill. Cover and refrigerate at least 4 hours, but overnight is even better. This is when it turns into that sliceable, layered dessert that people go crazy for.
When I am planning a party menu, I like to pair this dessert with something simple and refreshing on the side. If you need ideas beyond sweets, I browse this all recipes collection when I want one place to pull inspiration from without overthinking it.
Recommended Tools and Resources
You do not need fancy equipment, but a few basic tools make the whole thing faster and cleaner.
Here is what I actually use:
Food processor for quick cookie crumbs, but a zip bag works if you do not have one.
9×13 baking dish because it gives you those nice wide layers.
Hand mixer for the cream cheese layer, especially if you want it extra smooth.
Rubber spatula for spreading without tearing up the layer underneath.
Parchment paper if you want to lift and slice neat squares.
Plastic wrap or a lid so your fridge smells do not end up in your dessert. Yes, it can happen.
If you are building a little “go to” list of easy desserts, it is worth trying a few other no fuss classics too. I have had my eye on this cream puff cake recipe because it has that same creamy, chilled comfort vibe.
Common Questions
How long does Oreo lasagna need to chill?
At least 4 hours, but overnight is best. If you want clean slices, give it time.
Can I make this OREO LASAGNA RECIPE a day ahead?
Yes, and it is honestly ideal. The layers set and the flavor blends in a really good way.
Can I use vanilla pudding instead of chocolate?
Totally. It becomes more of a cookies and cream flavor. You can even do one box chocolate and one box vanilla if you want a mix.
How do I store leftovers?
Cover and refrigerate for up to 4 days. The crust softens a bit over time, but it is still delicious.
Can I freeze it?
You can, but the texture may change slightly when thawed. If you freeze it, wrap it well and thaw in the fridge overnight.
Sweet finish and a little nudge to try it
If you have been wanting a no bake dessert that feels like a guaranteed win, this OREO LASAGNA RECIPE is it. You get a crunchy cookie base, a fluffy cream layer, rich pudding, and that final crumb topping that makes people hover around the fridge. If you want to compare versions or grab extra ideas, I have also enjoyed reading No-Bake Chocolate Oreo Lasagna Recipe – A Fork’s Tale and No Bake Chocolate Oreo Lasagna – Sugar Apron for fun twists and topping ideas. Make it once, stash it in the fridge, and let it do its thing while you live your life. Then cut a big square, pour a glass of milk, and enjoy the fact that you did not even turn on the oven.
Oreo Lasagna
Ingredients
Method
- Crush the Oreos using a food processor or a zip bag and rolling pin. Set aside about 1 cup of crumbs for topping later.
- Combine the crushed Oreos with melted butter until it resembles wet sand. Press firmly into the bottom of a 9×13 dish and chill for 10 minutes.
- In a bowl, beat softened cream cheese and powdered sugar until smooth. Fold in about half of the whipped topping and spread over the chilled crust.
- Whisk the instant chocolate pudding mixes with cold milk for a couple of minutes until thickened. Let it sit for 3 to 5 minutes, then spread over the cream cheese layer.
- Spread the remaining whipped topping over the pudding layer like frosting.
- Sprinkle saved Oreo crumbs on top and add mini chocolate chips if desired.
- Cover and refrigerate for at least 4 hours, preferably overnight, before serving.