
There’s something magical about homemade bread—the scent of it filling your kitchen, the golden crust, the soft, airy interior. But making bread can often feel like a daunting task, especially when it involves kneading and long hours of rising. That’s where this No-Knead Bread comes in—a recipe that allows you to enjoy the joy of freshly baked bread without all the hard work.
What makes this bread so special is its simplicity. With just a handful of basic ingredients and minimal hands-on time, you can have a beautiful loaf of bread in your oven, ready to serve with soups, salads, or just a little butter. The dough requires no kneading, just a long, slow rise that does the work for you. All you need to do is mix, rest, and bake—let the magic happen as the yeast does its job.
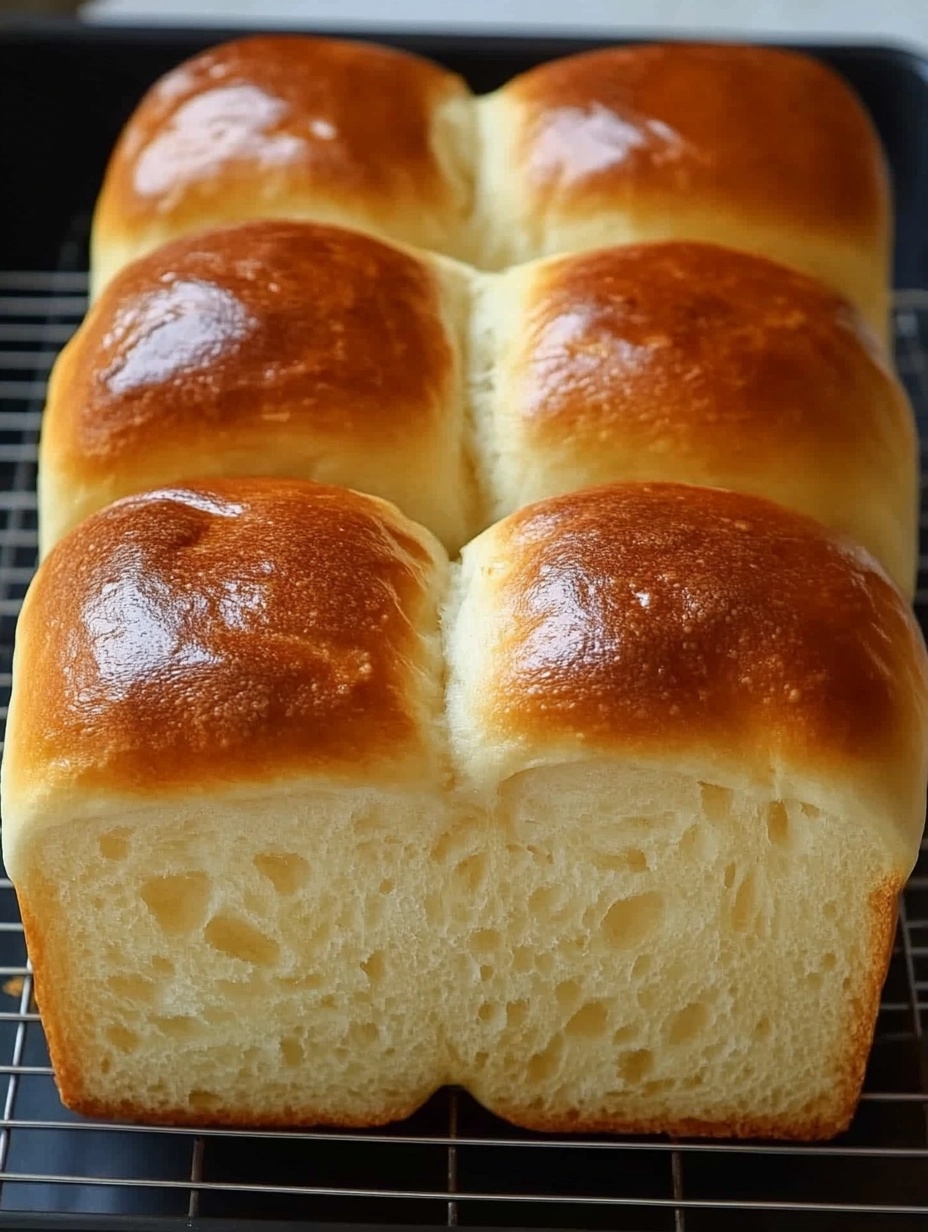
The texture of this no-knead bread is everything you want in a homemade loaf: a crunchy, golden crust with a soft, airy crumb inside. It’s perfect for sopping up sauces, making sandwiches, or simply enjoying with a dollop of your favorite spread. Whether you’re an experienced baker or a beginner, this recipe takes all the stress out of baking bread, giving you a perfect loaf every time.
There’s a certain satisfaction that comes from pulling a warm, golden loaf of bread from the oven, especially when it’s this easy to make. This No-Knead Bread is the perfect recipe for anyone who wants the taste of homemade bread without all the effort.
Resume:
This No-Knead Bread is the perfect blend of simplicity and deliciousness. Made with just a few basic ingredients—flour, water, yeast, and salt—the dough requires minimal effort, yet delivers a beautiful, bakery-quality loaf.
The key to this recipe is the long resting time, allowing the yeast to develop flavor and create a soft, airy crumb. No kneading, no fancy techniques—just mix, let the dough rise, and bake. The result is a golden, crunchy crust with a light and chewy interior that’s perfect for any meal.
This recipe is ideal for beginners or anyone looking for an easy way to bake fresh bread at home without all the effort. Serve it warm with your favorite butter, slice it for sandwiches, or pair it with a hearty stew for a comforting meal.
The Diabetes Cookbook
Instant Healthy Meals From Managing Diabetes

Exciting Story:
I remember the first time I made this No-Knead Bread. I’d always been intimidated by bread-making—who has the time for all the kneading, rising, and shaping? But one lazy afternoon, I stumbled across this simple recipe and thought, “Why not give it a try?”
I mixed the ingredients together, covered the bowl, and let it rest. After just a few hours, I had a bubbly dough ready to go. I preheated my oven, placed the dough in a pot, and waited as the magic happened. When I pulled the loaf from the oven, it was everything I had hoped for—golden brown, with a crunchy crust and a soft, airy interior. The smell alone had my family gathered around the kitchen, eagerly waiting to dig in.
The bread turned out perfectly—better than anything I could have purchased at the store—and it took only a fraction of the time and effort I expected. Since that day, I’ve made this no-knead bread countless times, and it has become a go-to recipe in my kitchen. Whether for casual dinners, holiday gatherings, or just when I’m craving something comforting, this bread always hits the mark.
What I love most about this recipe is that it’s foolproof—no matter how many times I make it, the result is always a beautiful, delicious loaf. And the best part? It’s a breeze to make, even for someone like me who’s intimidated by traditional bread-making.
Why This No-Knead Bread:
- Simple and Foolproof: With only a few ingredients and minimal effort, this bread is perfect for beginners or anyone who wants to bake fresh bread without the hassle.
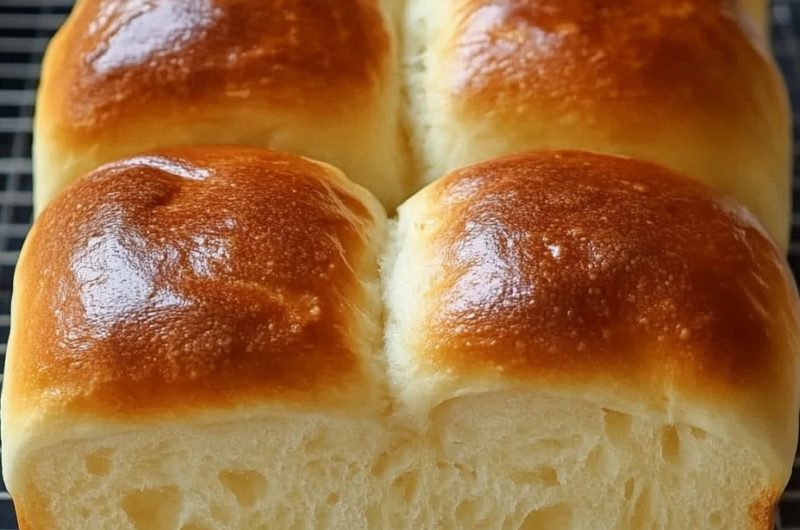
- Perfect Texture: The result is a beautifully crisp, golden crust with a soft, airy crumb that’s perfect for everything from sandwiches to soup.
- Minimal Hands-On Time: No kneading required—just mix, let the dough rise, and bake!
- Versatile: Use it for sandwiches, dipping in olive oil, or enjoying with butter and jam.
- Impressive: Despite being so easy to make, this bread has a professional bakery quality, making it the perfect centerpiece for any meal.
What You Need For No-Knead Bread:
- 3 cups all-purpose flour
- 1 ½ teaspoons salt
- ¼ teaspoon active dry yeast
- 1 ½ cups water (lukewarm)
How to Make No-Knead Bread:
Start by combining the flour, salt, and yeast in a large mixing bowl. Add the lukewarm water and stir with a wooden spoon until the dough comes together. It will be sticky, but that’s okay—don’t worry about it being perfect.
Cover the bowl with plastic wrap or a clean kitchen towel, and let the dough rest at room temperature for 12-18 hours. The dough should be bubbly and have doubled in size.
Once the dough has rested and risen, preheat your oven to 450°F (230°C). Place a large Dutch oven or heavy oven-safe pot with a lid in the oven while it preheats. When the pot is hot, carefully remove it from the oven and transfer the dough to the pot, being careful not to burn yourself.
Cover the pot and bake for 30 minutes. After 30 minutes, remove the lid and continue baking for another 15-20 minutes, or until the bread is golden brown and the crust is crispy.
Once baked, remove the bread from the pot and let it cool on a wire rack. Slice and enjoy!
Tips for No-Knead Bread:
- Long Resting Time: The key to this bread is the long resting time, which allows the yeast to work its magic and develop flavor.
- Dutch Oven: If you don’t have a Dutch oven, you can use any oven-safe pot with a lid or even a baking sheet, though the crust may not be as crisp.
- Shape the Dough: If you want a more traditional round loaf, you can shape the dough slightly before placing it in the pot, but it’s not necessary.
Substitutions and Variations:
- Whole Wheat Version: Use whole wheat flour in place of some or all of the all-purpose flour for a heartier loaf.
- Add-ins: Feel free to mix in seeds, herbs, or olives for extra flavor. Just fold them in after the dough has rested.
- Flavored Bread: Add garlic, rosemary, or even cheese to the dough before the rise to infuse different flavors into the bread.
Make a Healthier Version:
- Gluten-Free: Use a gluten-free flour blend to make this bread gluten-free. Be sure to also use a gluten-free yeast.
- Lower Carb: For a lower-carb option, try using almond flour instead of all-purpose flour, though the texture will vary.
Closing for No-Knead Bread:
And there you have it! This No-Knead Bread is the ultimate solution for fresh, homemade bread with minimal effort. The beautiful golden crust, the soft, airy interior—this bread is the perfect addition to any meal. Whether you’re a seasoned baker or a beginner, this recipe guarantees a delicious loaf every time. Don’t forget to let us know how your bread turns out, and make sure to check out some of our other easy baking recipes for more delicious inspiration!
Frequently Asked Questions For No-Knead Bread:
- Can I use instant yeast instead of active dry yeast?
Yes! You can use instant yeast; just add it directly to the flour without proofing it in water. - Can I make this in a regular baking pan?
Yes, but using a covered pot, like a Dutch oven, helps create the crisp crust. If using a regular baking pan, you may need to increase the baking time. - How long can I store this bread?
Store it in an airtight container at room temperature for up to 3 days. For longer storage, freeze it for up to 2 months. - Do I need to use a Dutch oven?
While it helps with creating a crispy crust, you can bake the bread on a baking sheet or in any covered oven-safe pot. - Can I double the recipe?
Yes, you can double the recipe. Just make sure to use a larger bowl for the dough and a larger pot for baking. - Can I add herbs or seeds to this bread?
Absolutely! Fold in herbs, garlic, or seeds like sunflower or pumpkin after the dough has rested for added flavor and texture. - What if I don’t have a large enough pot?
You can use a smaller pot or divide the dough between two smaller baking pans. - Can I make this bread in a bread machine?
This recipe is designed for no-knead, hand-mixed dough, but you could try using the bread machine for mixing and rising, then bake in a traditional oven. - What if the dough doesn’t rise properly?
Make sure the yeast is fresh, and allow for a full 12-18 hours of resting time. If the dough doesn’t rise, it may be due to a cooler environment or inactive yeast. - How can I make the crust even crunchier?
Place a small pan of water on the lower rack of the oven while baking to create steam, which will help the crust develop a crunchier texture.
This no-knead bread
4
servings30
minutes40
minutes300
kcal1
hour10
minutesKeep the screen of your device on
Ingredients
3 cups all-purpose flour
1 ½ teaspoons salt
¼ teaspoon active dry yeast
1 ½ cups water (lukewarm)
Directions
- Start by combining the flour, salt, and yeast in a large mixing bowl. Add the lukewarm water and stir with a wooden spoon until the dough comes together. It will be sticky, but that’s okay—don’t worry about it being perfect.
- Cover the bowl with plastic wrap or a clean kitchen towel, and let the dough rest at room temperature for 12-18 hours. The dough should be bubbly and have doubled in size.
- Once the dough has rested and risen, preheat your oven to 450°F (230°C). Place a large Dutch oven or heavy oven-safe pot with a lid in the oven while it preheats. When the pot is hot, carefully remove it from the oven and transfer the dough to the pot, being careful not to burn yourself.
- Cover the pot and bake for 30 minutes. After 30 minutes, remove the lid and continue baking for another 15-20 minutes, or until the bread is golden brown and the crust is crispy.
- Once baked, remove the bread from the pot and let it cool on a wire rack. Slice and enjoy!
Follow US on Pinterest
Follow @middleeastsector on Pinterest