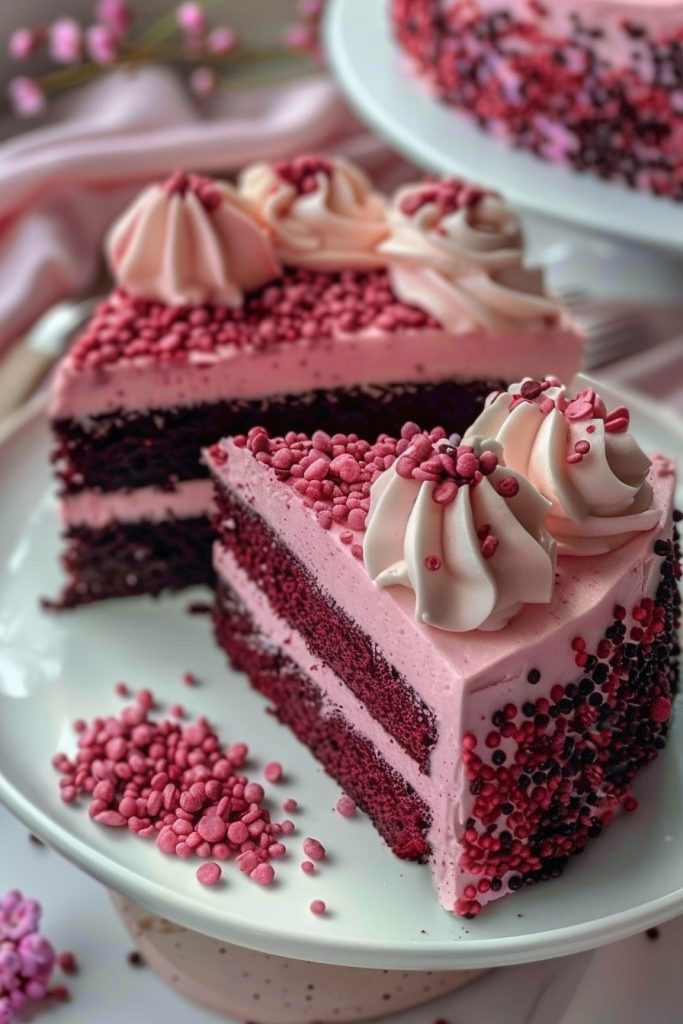
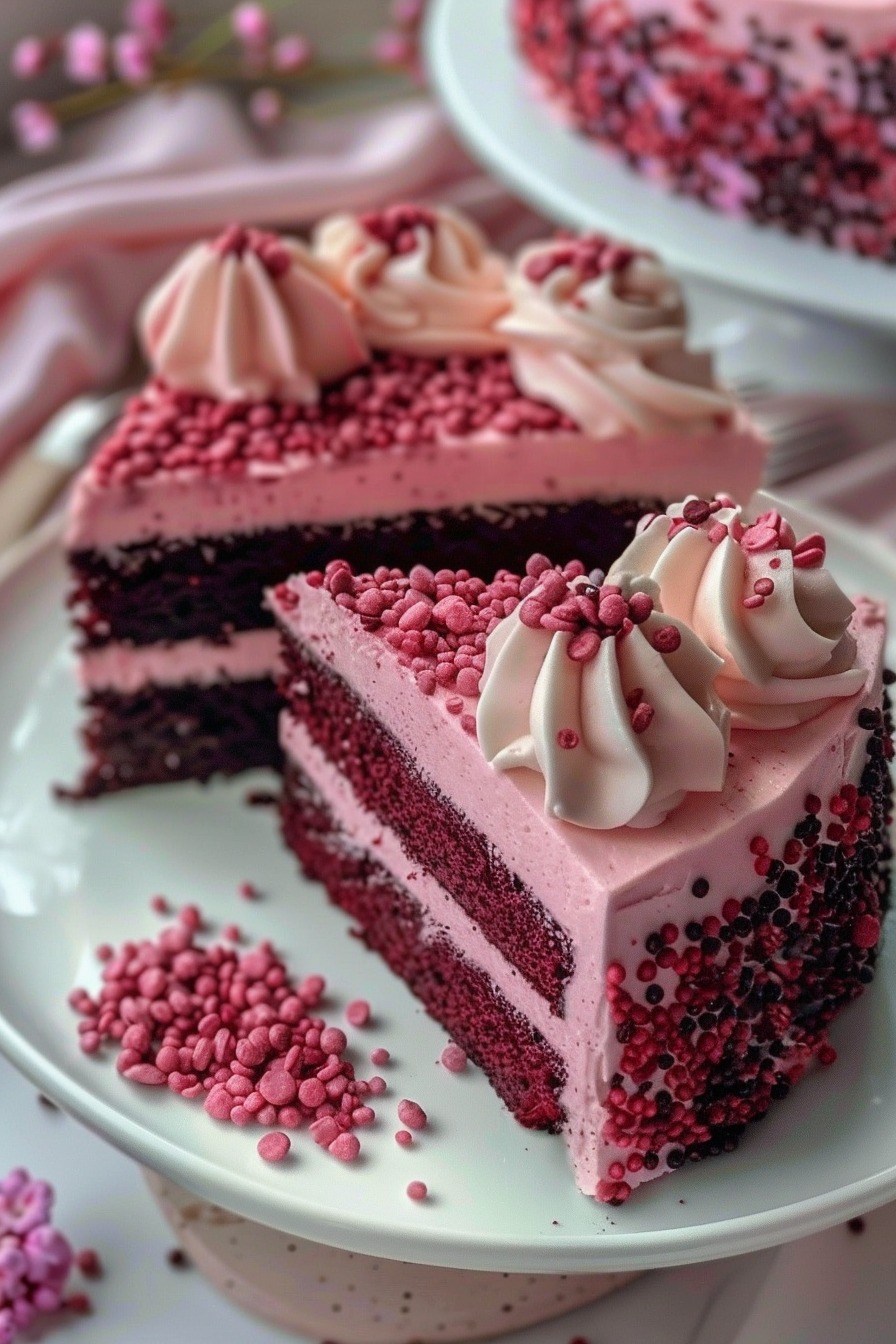
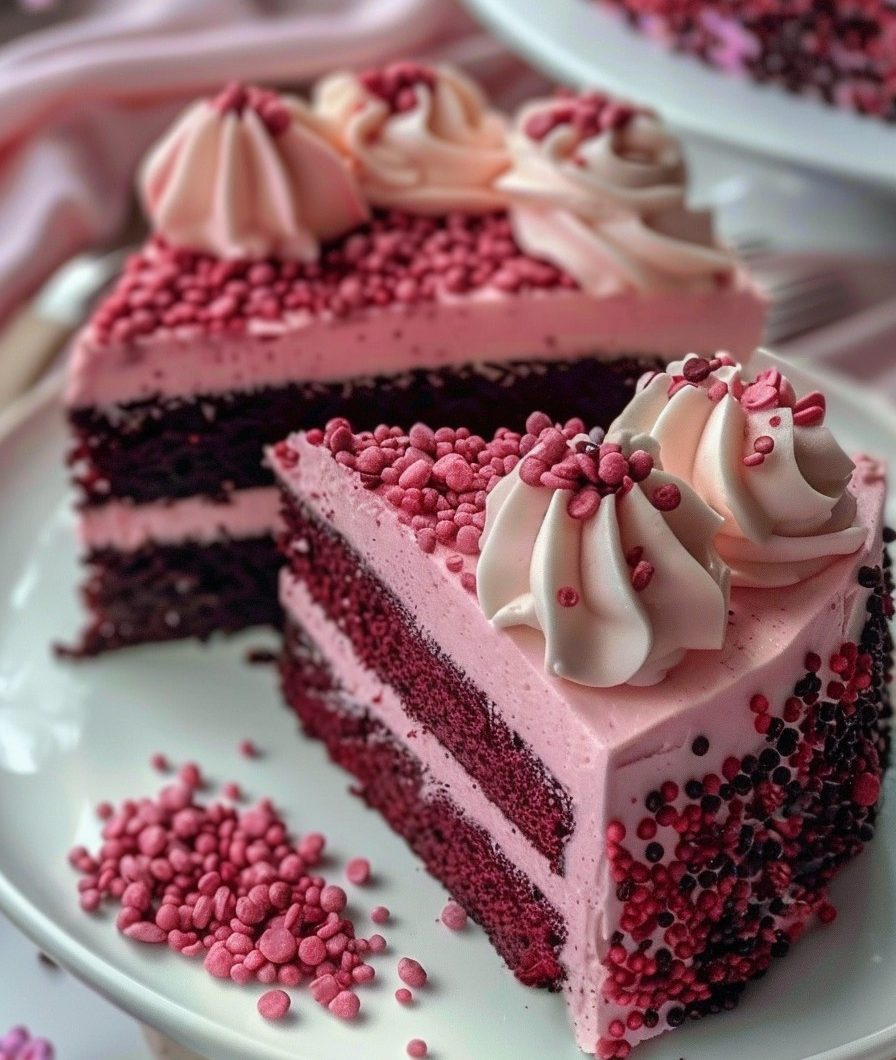
the whimsical world of Pink Velvet Dream Cake, where moist, fluffy cake meets a luscious cream cheese frosting, all in a delightful pink hue! Imagine slicing into a beautiful cake that’s not only stunning but also incredibly delicious, with a hint of vanilla and just the right amount of sweetness. This cake is not just a dessert; it’s a celebration on a plate that will brighten any occasion!
This recipe is perfect for birthdays, baby showers, or any festive gathering where you want to impress with a stunning and delectable treat. Let’s dive into this scrumptious recipe and discover how to create this delightful Pink Velvet Dream Cake that will have everyone dreaming for more!
Resume of the Recipe
This Pink Velvet Dream Cake features layers of soft pink velvet cake paired with a creamy, tangy cream cheese frosting. Adorned with sprinkles or fresh flowers, this cake is both beautiful and delicious, making it a perfect centerpiece for any dessert table.
Quick to prepare and elegantly presented, this cake is sure to be the highlight of your celebration. Get ready to indulge in this dreamy treat!
Exciting Story:
Let me share how Pink Velvet Dream Cake became a cherished recipe in our home. One day, inspired by a love for vibrant desserts, I decided to create a cake that combined the classic flavors of red velvet with a fun twist. I thought about how beautiful a pink cake would look, and the idea of a “Pink Velvet Dream Cake” was born.
As I baked the layers and prepared the creamy frosting, the kitchen filled with sweet aromas that made my family eager to taste what was coming. When I assembled the cake and decorated it, it turned out even more enchanting than I had imagined! The first slice revealed the stunning pink layers, and the taste was met with cheers of delight. Since that day, this cake has become a favorite for our celebrations, a sweet reminder of how wonderful it is to indulge in beautiful desserts.
Why This Pink Velvet Dream Cake is a Must-Try
- Delightful Flavor: The combination of vanilla and buttermilk creates a rich, velvety texture.
- Stunning Presentation: The vibrant pink color makes it a beautiful addition to any celebration.
- Creamy Frosting: The tangy cream cheese frosting perfectly complements the cake’s sweetness.

How to Make Pink Velvet Dream Cake
Start by preheating your oven to 350°F (175°C). Grease and flour two 9-inch round cake pans.
In a large mixing bowl, whisk together the flour, sugar, baking soda, baking powder, and salt. In another bowl, mix the vegetable oil, buttermilk, eggs, vanilla extract, vinegar, and pink food coloring until well combined.
Gradually add the wet ingredients to the dry ingredients, mixing until just combined. Be careful not to overmix.
Divide the batter evenly between the prepared cake pans and smooth the tops. Bake for 25-30 minutes, or until a toothpick inserted into the center comes out clean. Allow the cakes to cool in the pans for about 10 minutes before transferring them to a wire rack to cool completely.
While the cakes are cooling, prepare the cream cheese frosting. In a mixing bowl, beat the softened cream cheese and butter together until smooth and creamy. Gradually add the powdered sugar, mixing until well combined. Stir in the vanilla extract and add heavy cream as needed to achieve the desired consistency.
Once the cakes are completely cool, place one layer on a serving plate and spread a generous amount of cream cheese frosting on top. Place the second layer on top and frost the top and sides of the cake with the remaining cream cheese frosting.
Decorate with sprinkles or fresh flowers if desired. Slice and enjoy this dreamy pink treat!
Tips:
- Use room temperature ingredients for a smoother batter and frosting.
- Adjust the amount of food coloring to achieve your desired shade of pink.
Substitutions and Variations:
- Use whole wheat flour for a healthier option.
- Substitute the cream cheese frosting with whipped cream for a lighter finish.
- Add a layer of fresh fruit or berry compote between the cake layers for added flavor.
Make a Healthier Version:
- Use light cream cheese and reduced sugar for a lighter frosting.
- Incorporate Greek yogurt into the cake for added moisture and nutrition.
Closing
And there you have it! This Pink Velvet Dream Cake is sure to become a favorite in your dessert collection. Don’t forget to let us know how your cake turns out, and consider checking out some of our other recipes for more delicious inspirations!
Frequently Asked Questions:
- Can I use a different color for the cake?
Yes! Any color gel food coloring can work for a fun twist. - How do I store leftovers?
Store in an airtight container in the refrigerator for up to 5 days. - Can I make this cake in advance?
Yes! The cake can be baked a day ahead and frosted just before serving. - What can I serve with this cake?
It pairs beautifully with tea, coffee, or a glass of milk. - How do I know when the cake is done?
A toothpick inserted in the center should come out clean. - Can I add more vanilla to the frosting?
Absolutely! Feel free to adjust the amount to suit your taste. - How do I prevent the cake from cracking?
Bake at a lower temperature and let it cool gradually. - Can I freeze this cake?
Yes! Wrap it tightly and freeze for up to 2 months; thaw before serving. - How do I slice the cake cleanly?
Use a hot, dry knife and wipe it clean between cuts for neat slices. - Can I use flavored cream cheese?
Yes! A vanilla or fruit-flavored cream cheese can add extra flavor to the frosting.


